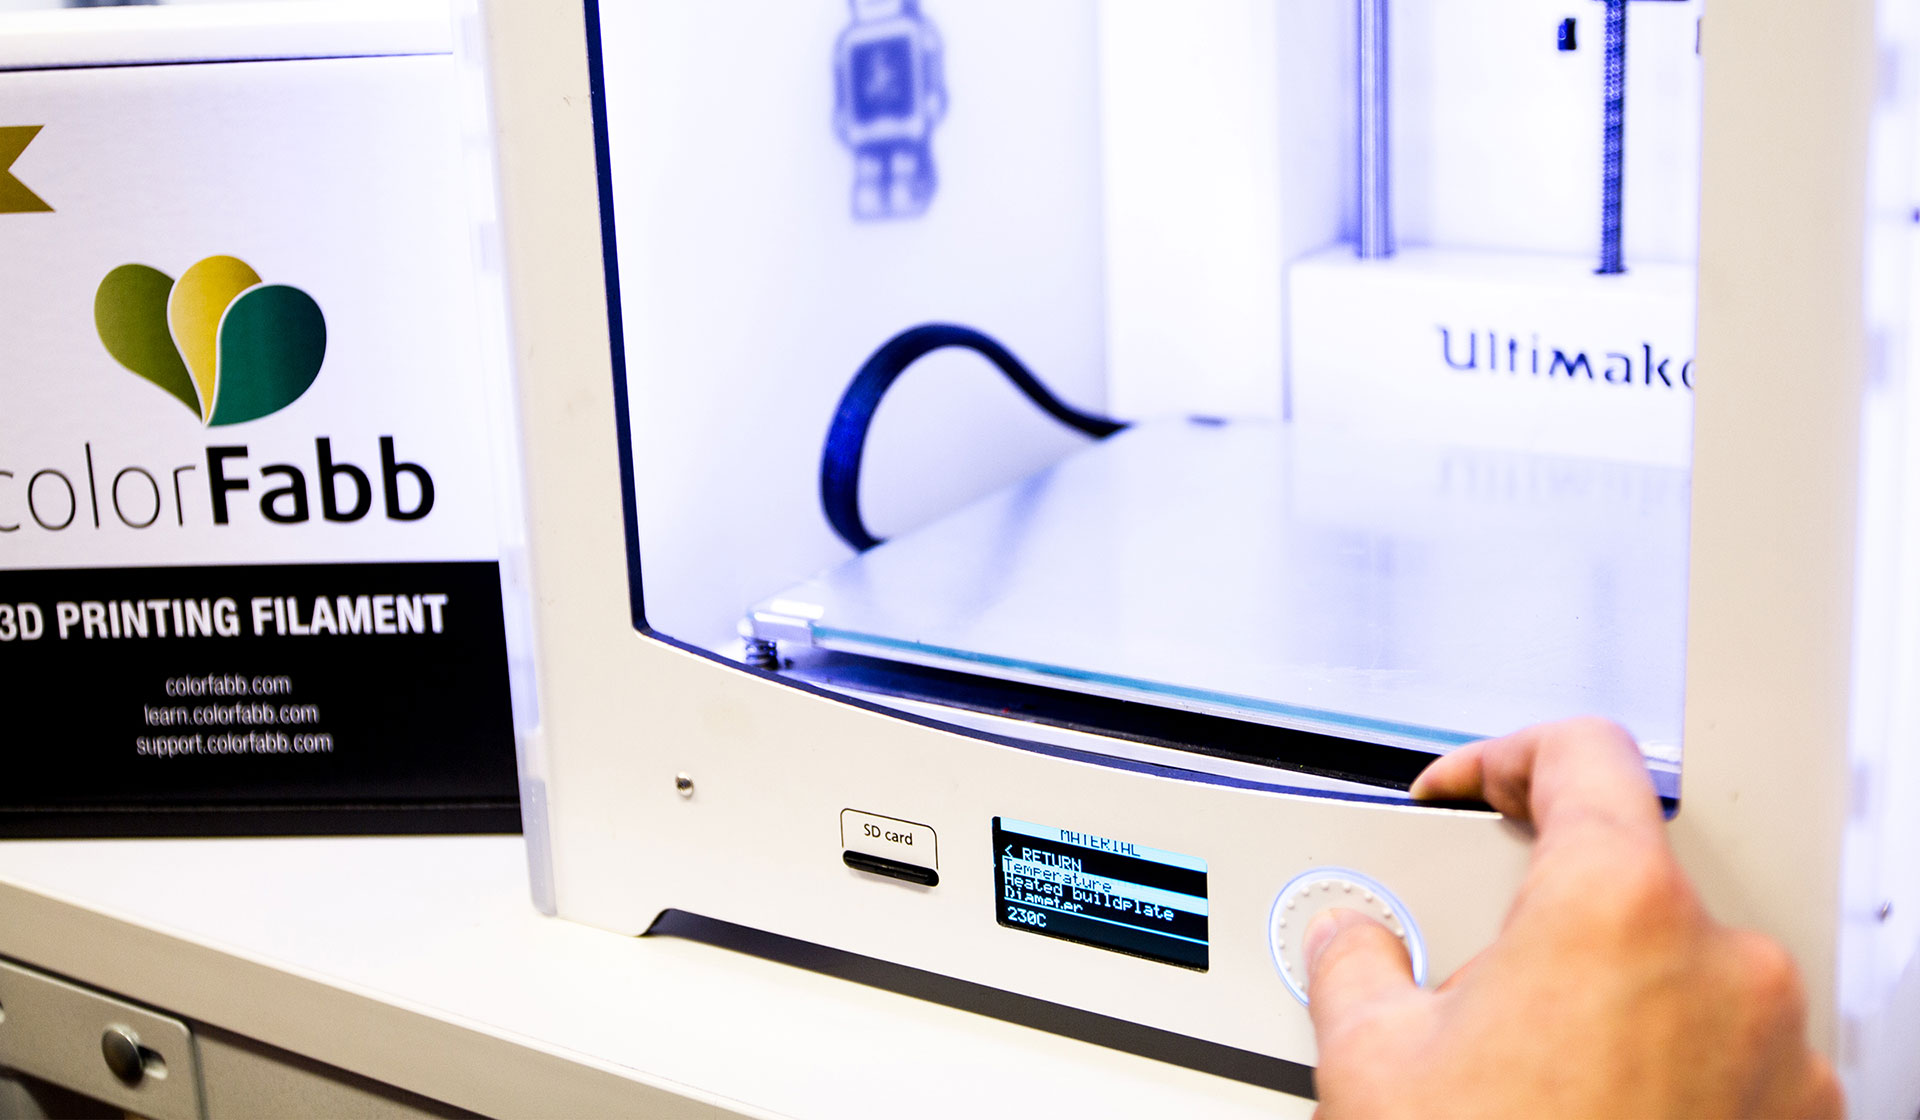
How to print with DPA-100

What is DPA-100

DPA-100 is a dissolvable polyacrylate support material. A mild alkaline solution is needed to dissolve DPA-100 support material. Unlike PVA our DPA-100 is less sensitive to moisture uptake and offers better shelf-life and print performance over time.

Our DPA-100 support material is engineered to match with a variety of materials which can’t be supported by PVA due to bad adhesion to the build material. DPA-100 shows strong adhesion to PETG, ABS, ASA, PC and PA materials.

This means the DPA-100 is uniquely suited to match our co-polyester filament offering, nGen, colorFabb_XT, colorFabb_HT and PETG. DPA-100 is not recommended for use with PLA as build material due to the relatively high water temperature needed for dissolution.
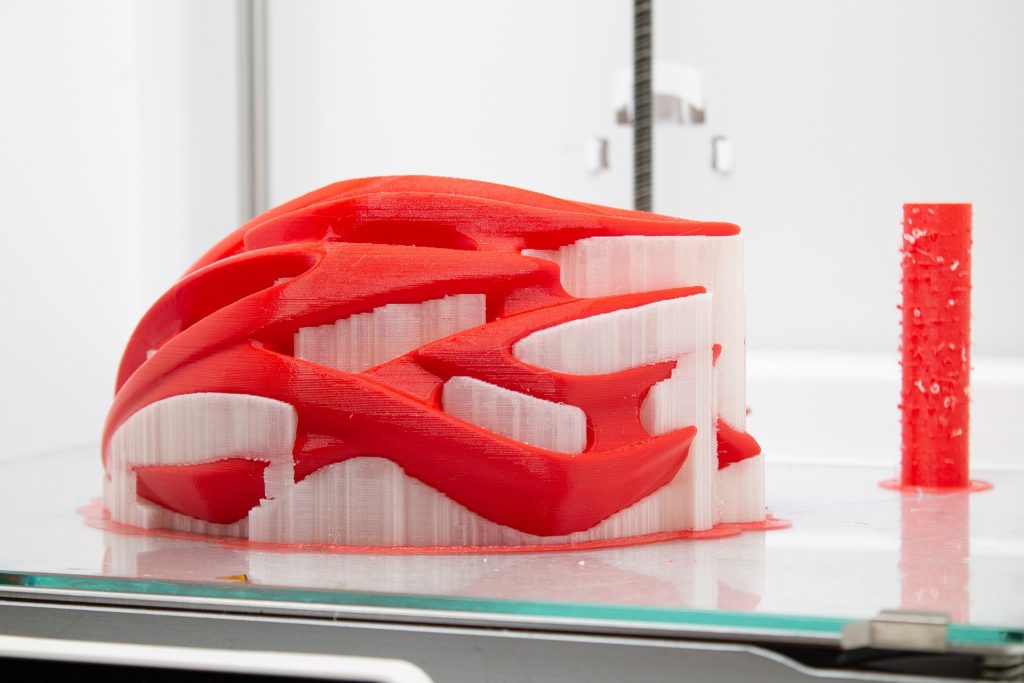
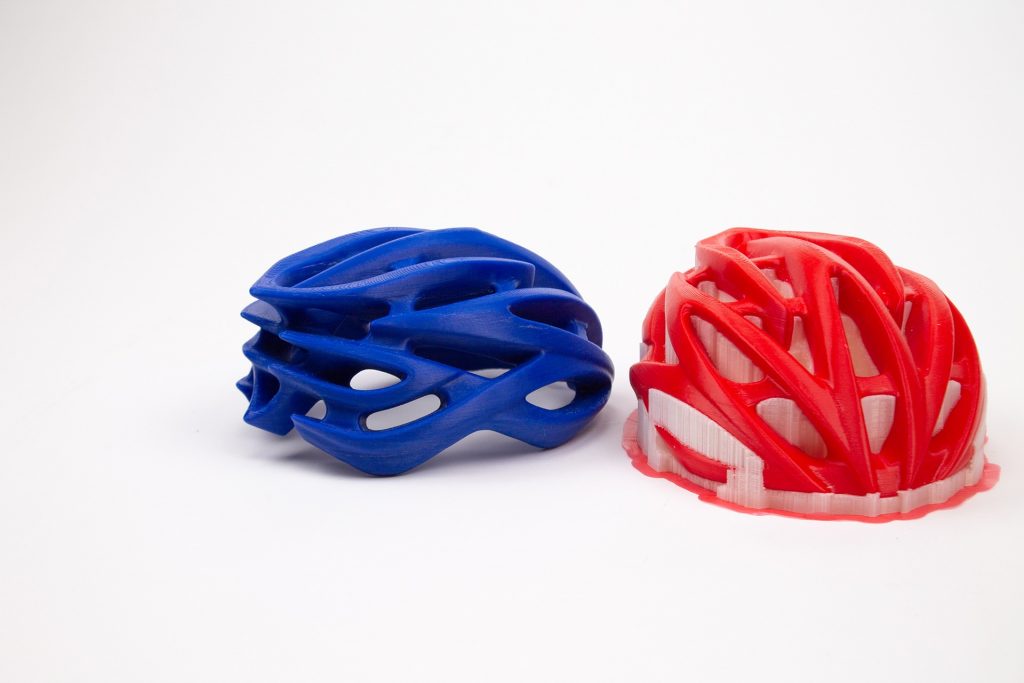
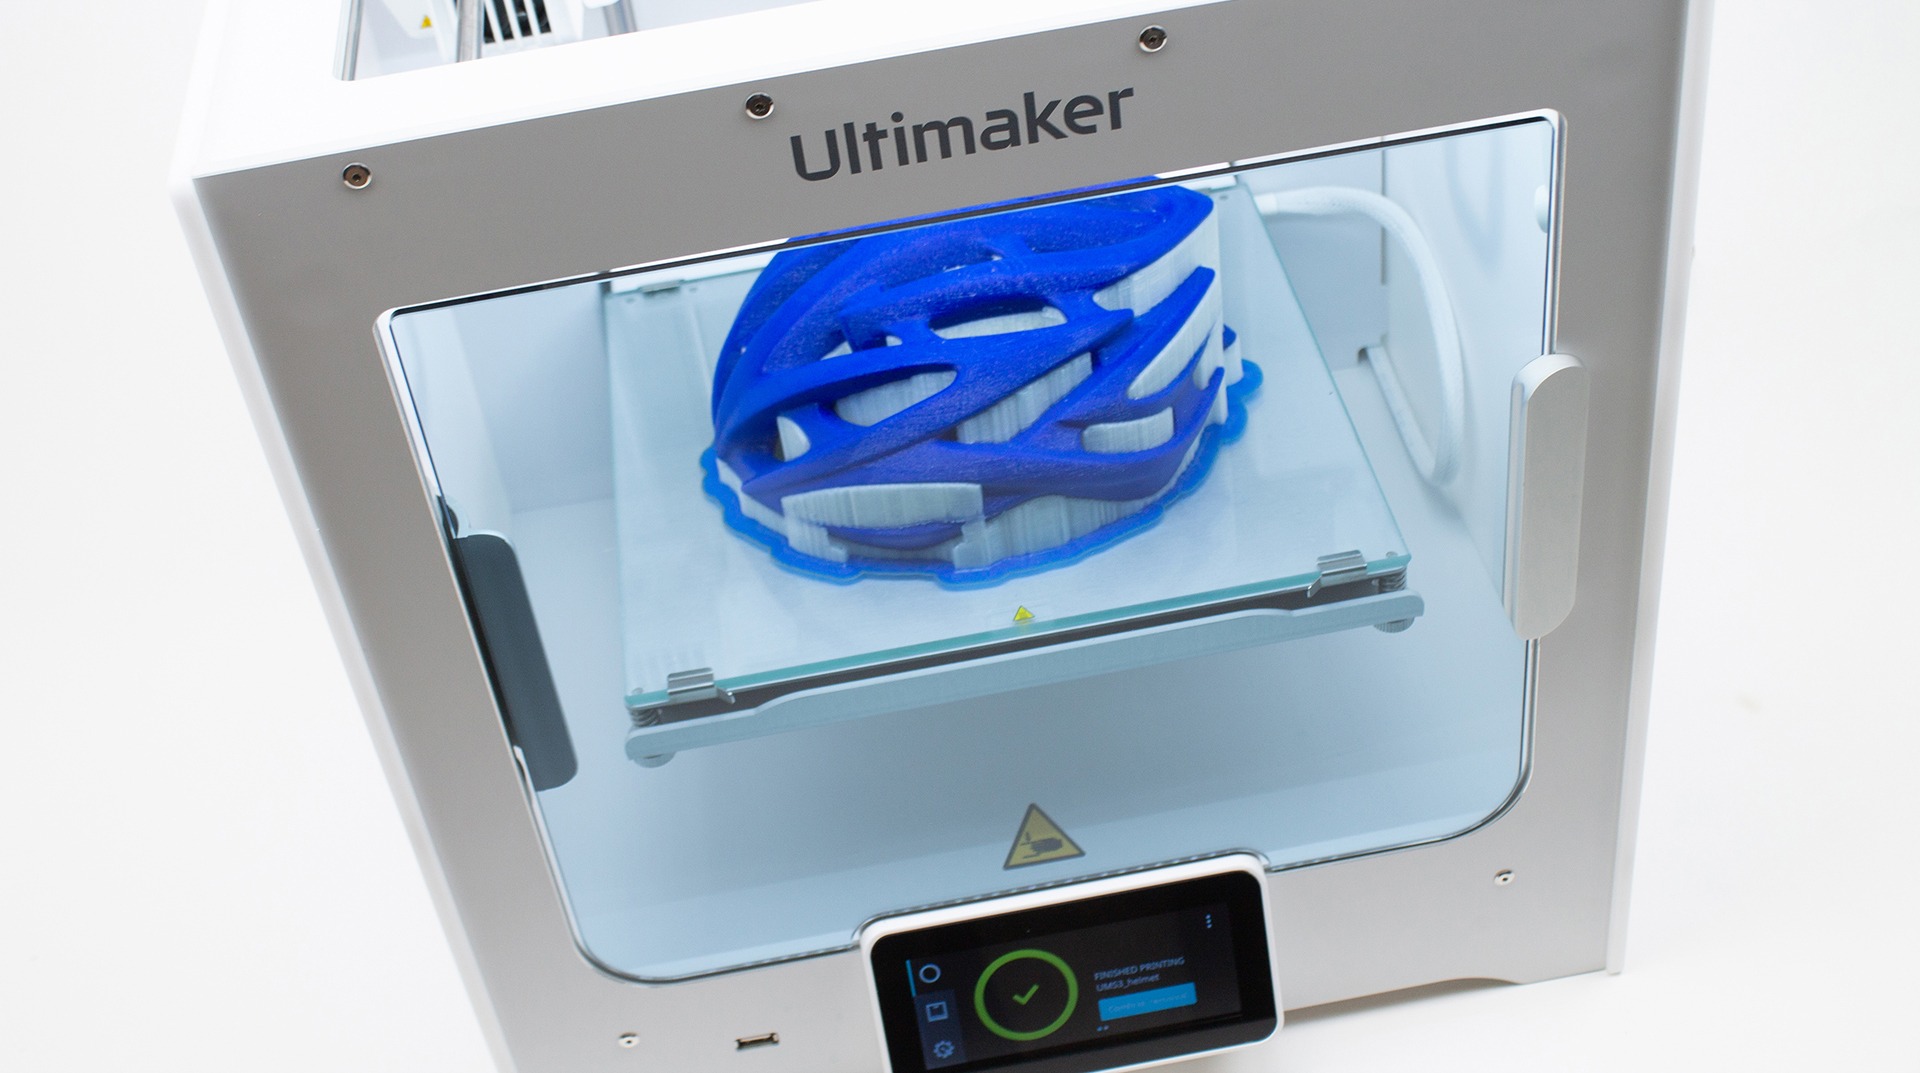
colorFabb nGen supported by DPA-100 on the Ultimaker S5 – Bicycle Helmet by Neomek

How to Print with DPA-100

General settings

In order to successfully print with DPA-100 make sure your printer and slicer are able to set the below recommended settings.

Parameter DPA-100
Nozzle temperature 230-250C
Platform temperature 90-110C
Print speed 40-80 mm/s
Cooling fan 0% for best adhesion between layers
Standby nozzle temperature ~190C
Platform material PEI/BuildTak/Glass + adhesion promoter

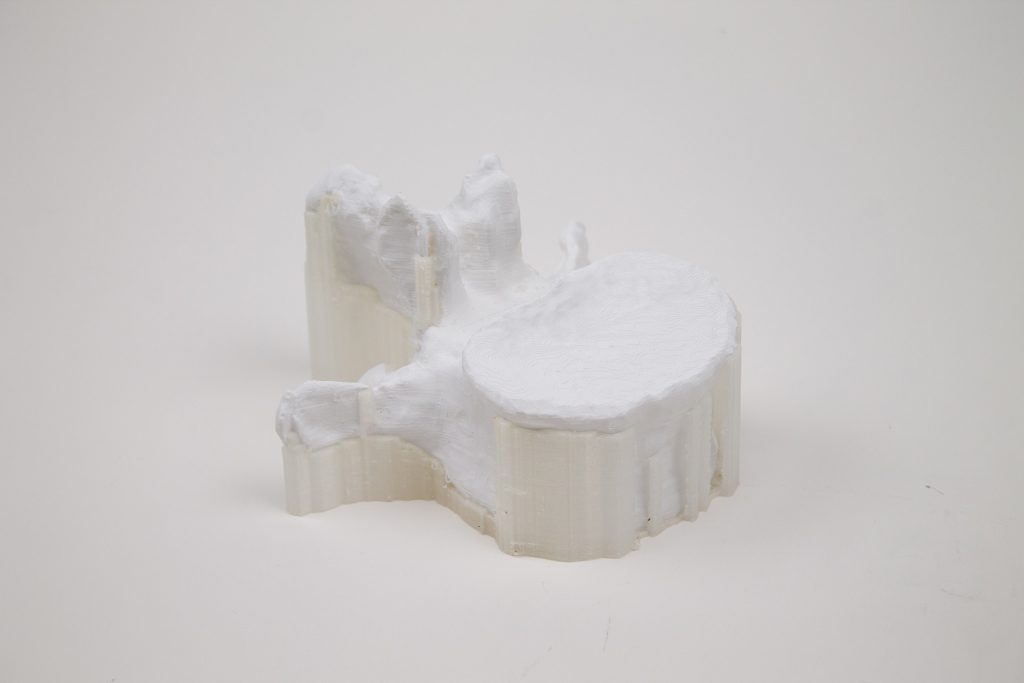
Design by Ken Schulze

Avoid layer delamination – DPA-100

Make sure the printing temperature is high enough so you avoid the support structures from delaminating during the print. For most machines we would recommend  printing temperature of 240-260C, if your printer doesn’t feature a closed build chamber you would likely print at the higher range to avoid delamination of layers during the print.

If you do have a heated chamber, the temperature can be set to 70-90C. Without heated chamber the recommendation is to have the Platform temperature set to 90-110C.
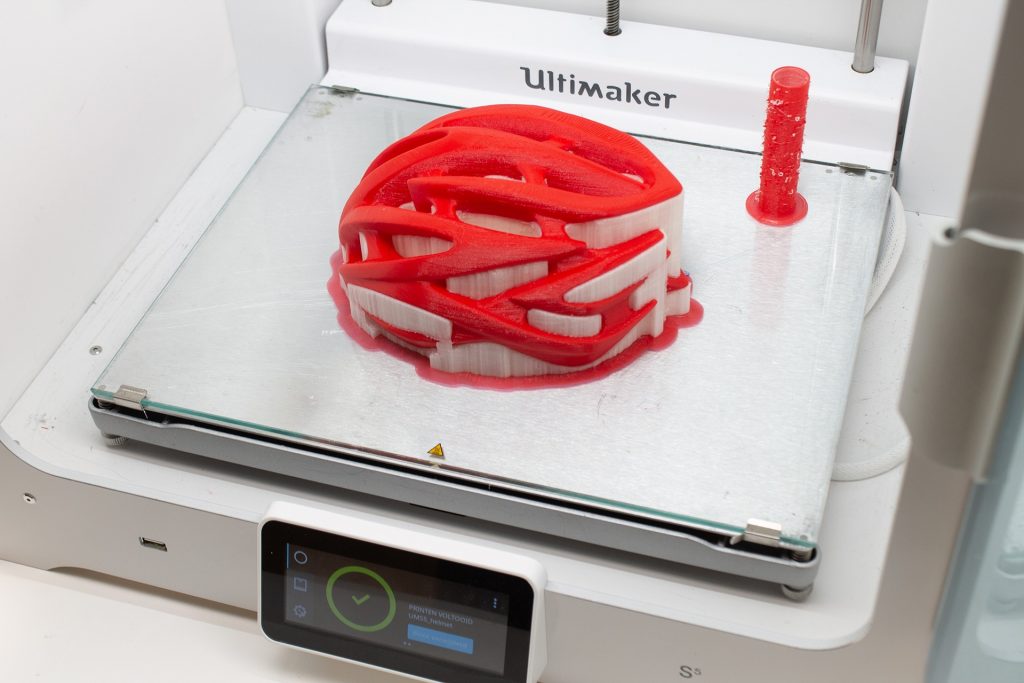
Print a brim!

Use a brim around your model and support structures. If your slicer has the option select the build material to be used for printing the brim. This will help to keep the DPA-100 support structure in place. This is useful for thin and tall support beams to make sure these won’t tip over during the build. It also reduces warping of the DPA-100.
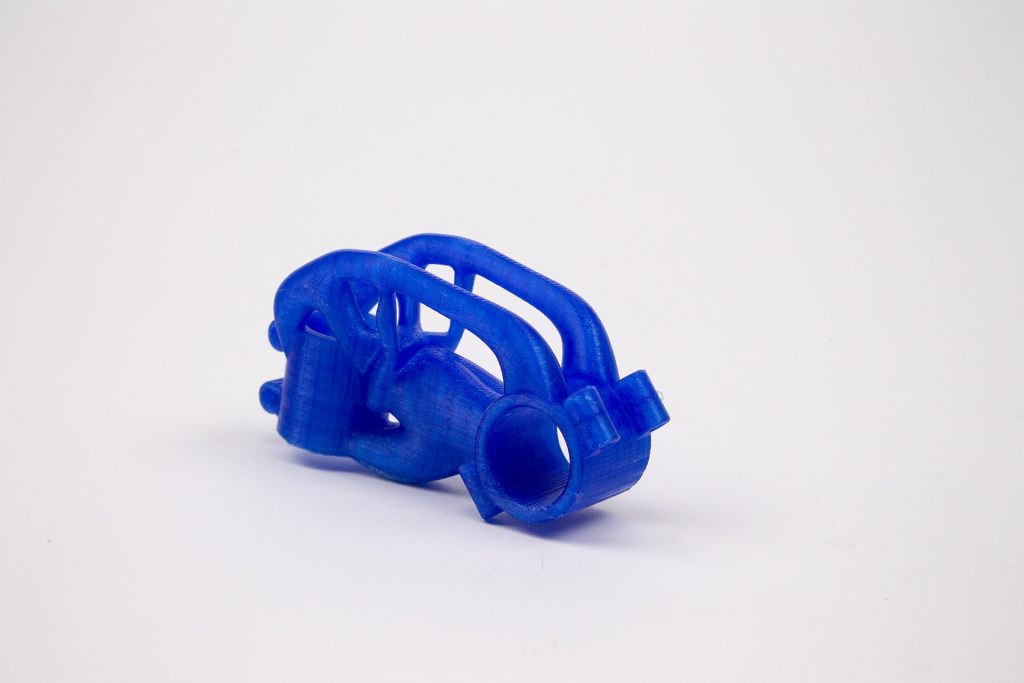
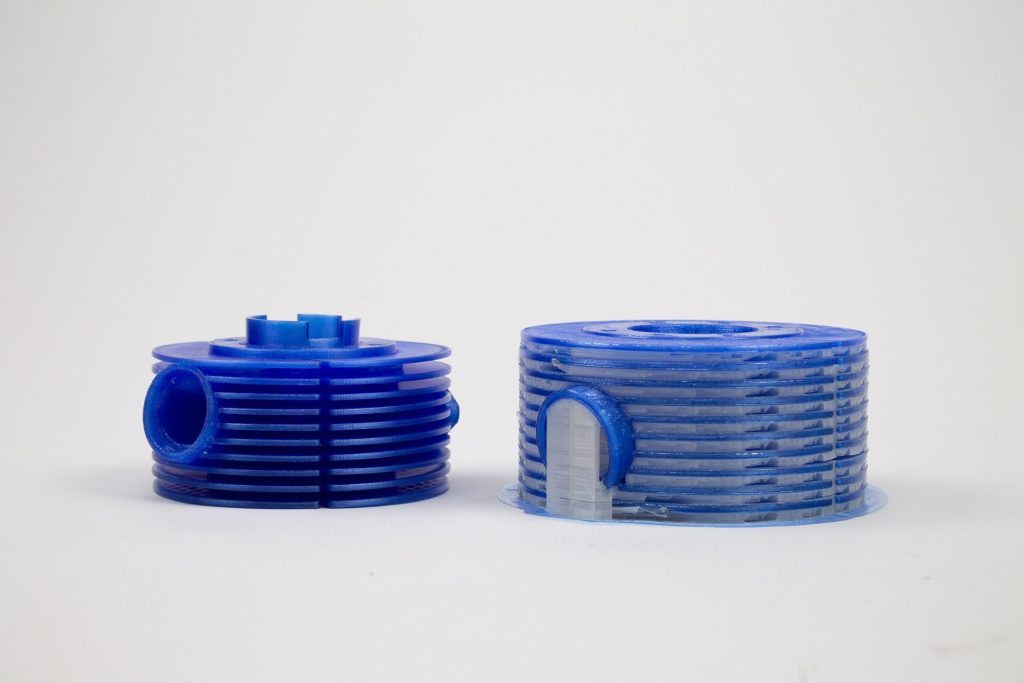
Design by Christopher Tenelsen

Solid support interface layer and 0 offset.

This might not be a surprise for most users, but make sure to enable the interface support layers and make these solid for the best surface quality on the build material. In our testing we also set the support structure offset to 0, to ensure best chance of good adhesion between support material and build material.


Which materials does DPA-100 support.

Match Hotend temp Support Bed temp
nGen Yes 250 C 90C
colorFabb_XT Yes 250 C 90C
colorFabb_HT Yes 260 C 110C
PETG Economy Yes 250 C 90C
Generic ABS Yes 250C 100C
Generic ASA Yes 250C 100C

Our DPA-100 support material is engineered to match with a variety of materials which can’t be supported by PVA due to bad adhesion to the build material. DPA-100 shows strong adhesion to PETG, ABS, ASA, PC and PA materials.

Prepare your prints

For a faster dissolving cycle try to remove as much support material before putting the model in the dissolving device. Wear eye protection and gloves when removing support material. If your model has fine detailed features do not try to attempt removing support material, you will risk damaging the model.

It’s good idea to keep note how much support material is removed so you know how much is going to be dissolved. Once the alkaline solution is saturated it can’t dissolve anymore support material and you will need to renew the alkaline solution.
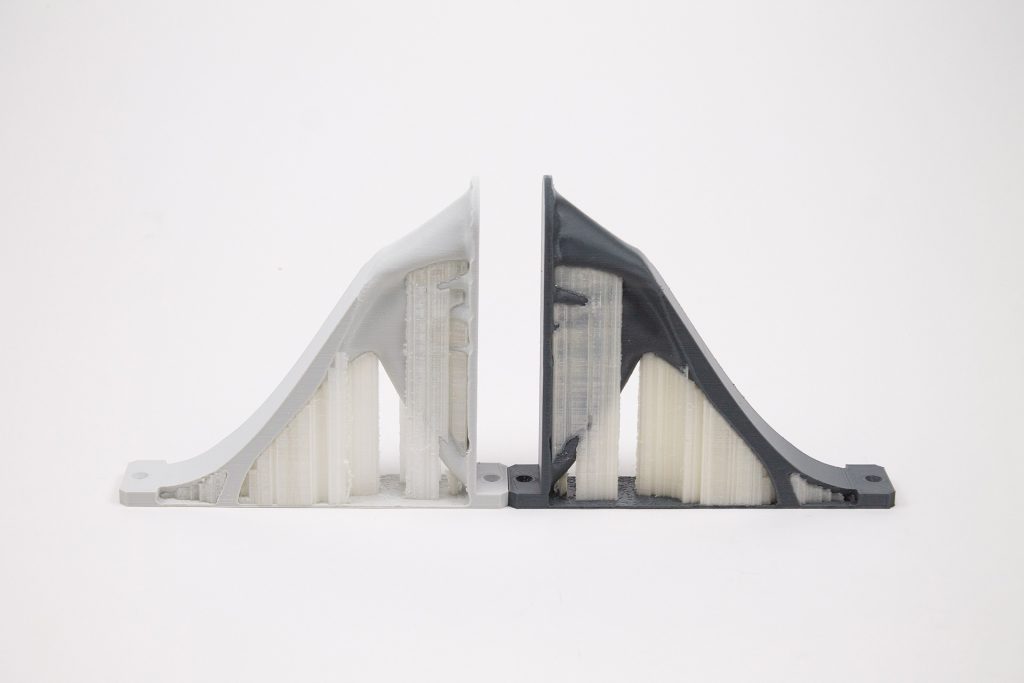
colorFabb_XT to the left and colorFabb PETG Economy to the right. Topology optimized shelf bracket – by toms3dp

How to dissolve DPA-100

In order to dissolve DPA-100 you need a mild alkaline solution which is heated and stirred. At higher temperature DPA-100 will dissolve faster than at lower temperature. The temperature you choose depends on the temperature resistance of your build material. In general 20c below the temperature resistance of your build material is a safe settings. Thicker models would be less likely to deform and can handle temperatures closer to softening temperature. The minimum pH value for the alkaline solution is >10. We recommend using our DPA Detergent for making the alkaline solution.
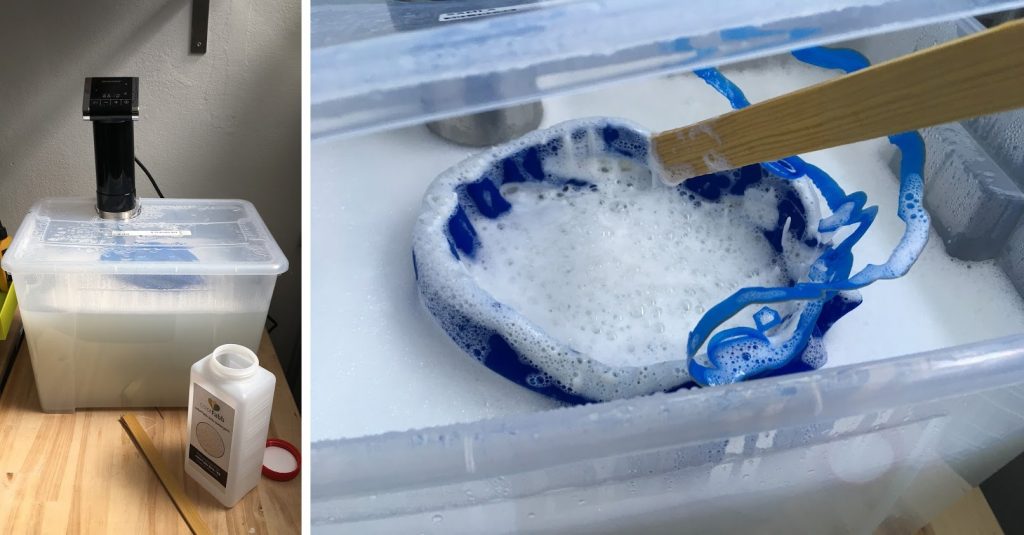
At colorFabb we experimented with a low cost set-up for dissolving DPA-100. We used a sous-vide stick and a plastic containter with lid. The sous-vide stick will heatup the water to desired temp and circulate water.
 

The process step by step:

  • Fill up your dissolving device with water, use 4 l of water to dissolve 100 g of DPA deterent.
  • Heat the bath to the required temperature and start the recirculation process.
  • You can add your models as soon as the bath has reached the correct temperature and DPA detergent has been dissolved in water.
  • The dissolving process usually takes between an hour and 9 hours, depending on the amount of DPA-100 supportmaterial being dissolved, the geometry of the model and the temperature of the water. It’s a good idea to periodically check the process and if necessary change the position of the model in the device. Make sure the model is submerged for the duration of dissolving DPA-100 support material.
  • When the support material is full dissolved, let the model dry for at least 15 minutes, rotating the model a couple of times to make sure the detergent can drain off.
  • After initial drying, rinse the model thoroughly using warm, running water to remove the remaining detergent and then let dry completely.
  • After completely drying white residue could appear, if so, put the model into a warm (30 – 50 °C) water bath for at least one hour. Add rinsing agent for dish washers to speed up the process.
  • 1 kg of DPA-100 can dissolve at least 1 kg of support material. The more support material is dissolved, the slower the material will be able to dissolve. It’s a good idea to keep track of how many grams of support material has been dissolved so you know when to renew the alkaline solution.
  • Before disposing the solution, it must be neutralized. For this, we recommend 5 – 10 g citric acid per litre of used up solution. When foam formation occurs, the solution has reached a neutral pH area.
  • The detergent, dissolved in water, produces a mild alkaline which usually, together with the dissolved support material, can (in limited quantities) be disposed of via the wastewater. Please check your local regulations. You can acquire our waste profile datasheet by contacting support@colorfabb.com

For complete operating instruction on using DPA Detergent please click here.
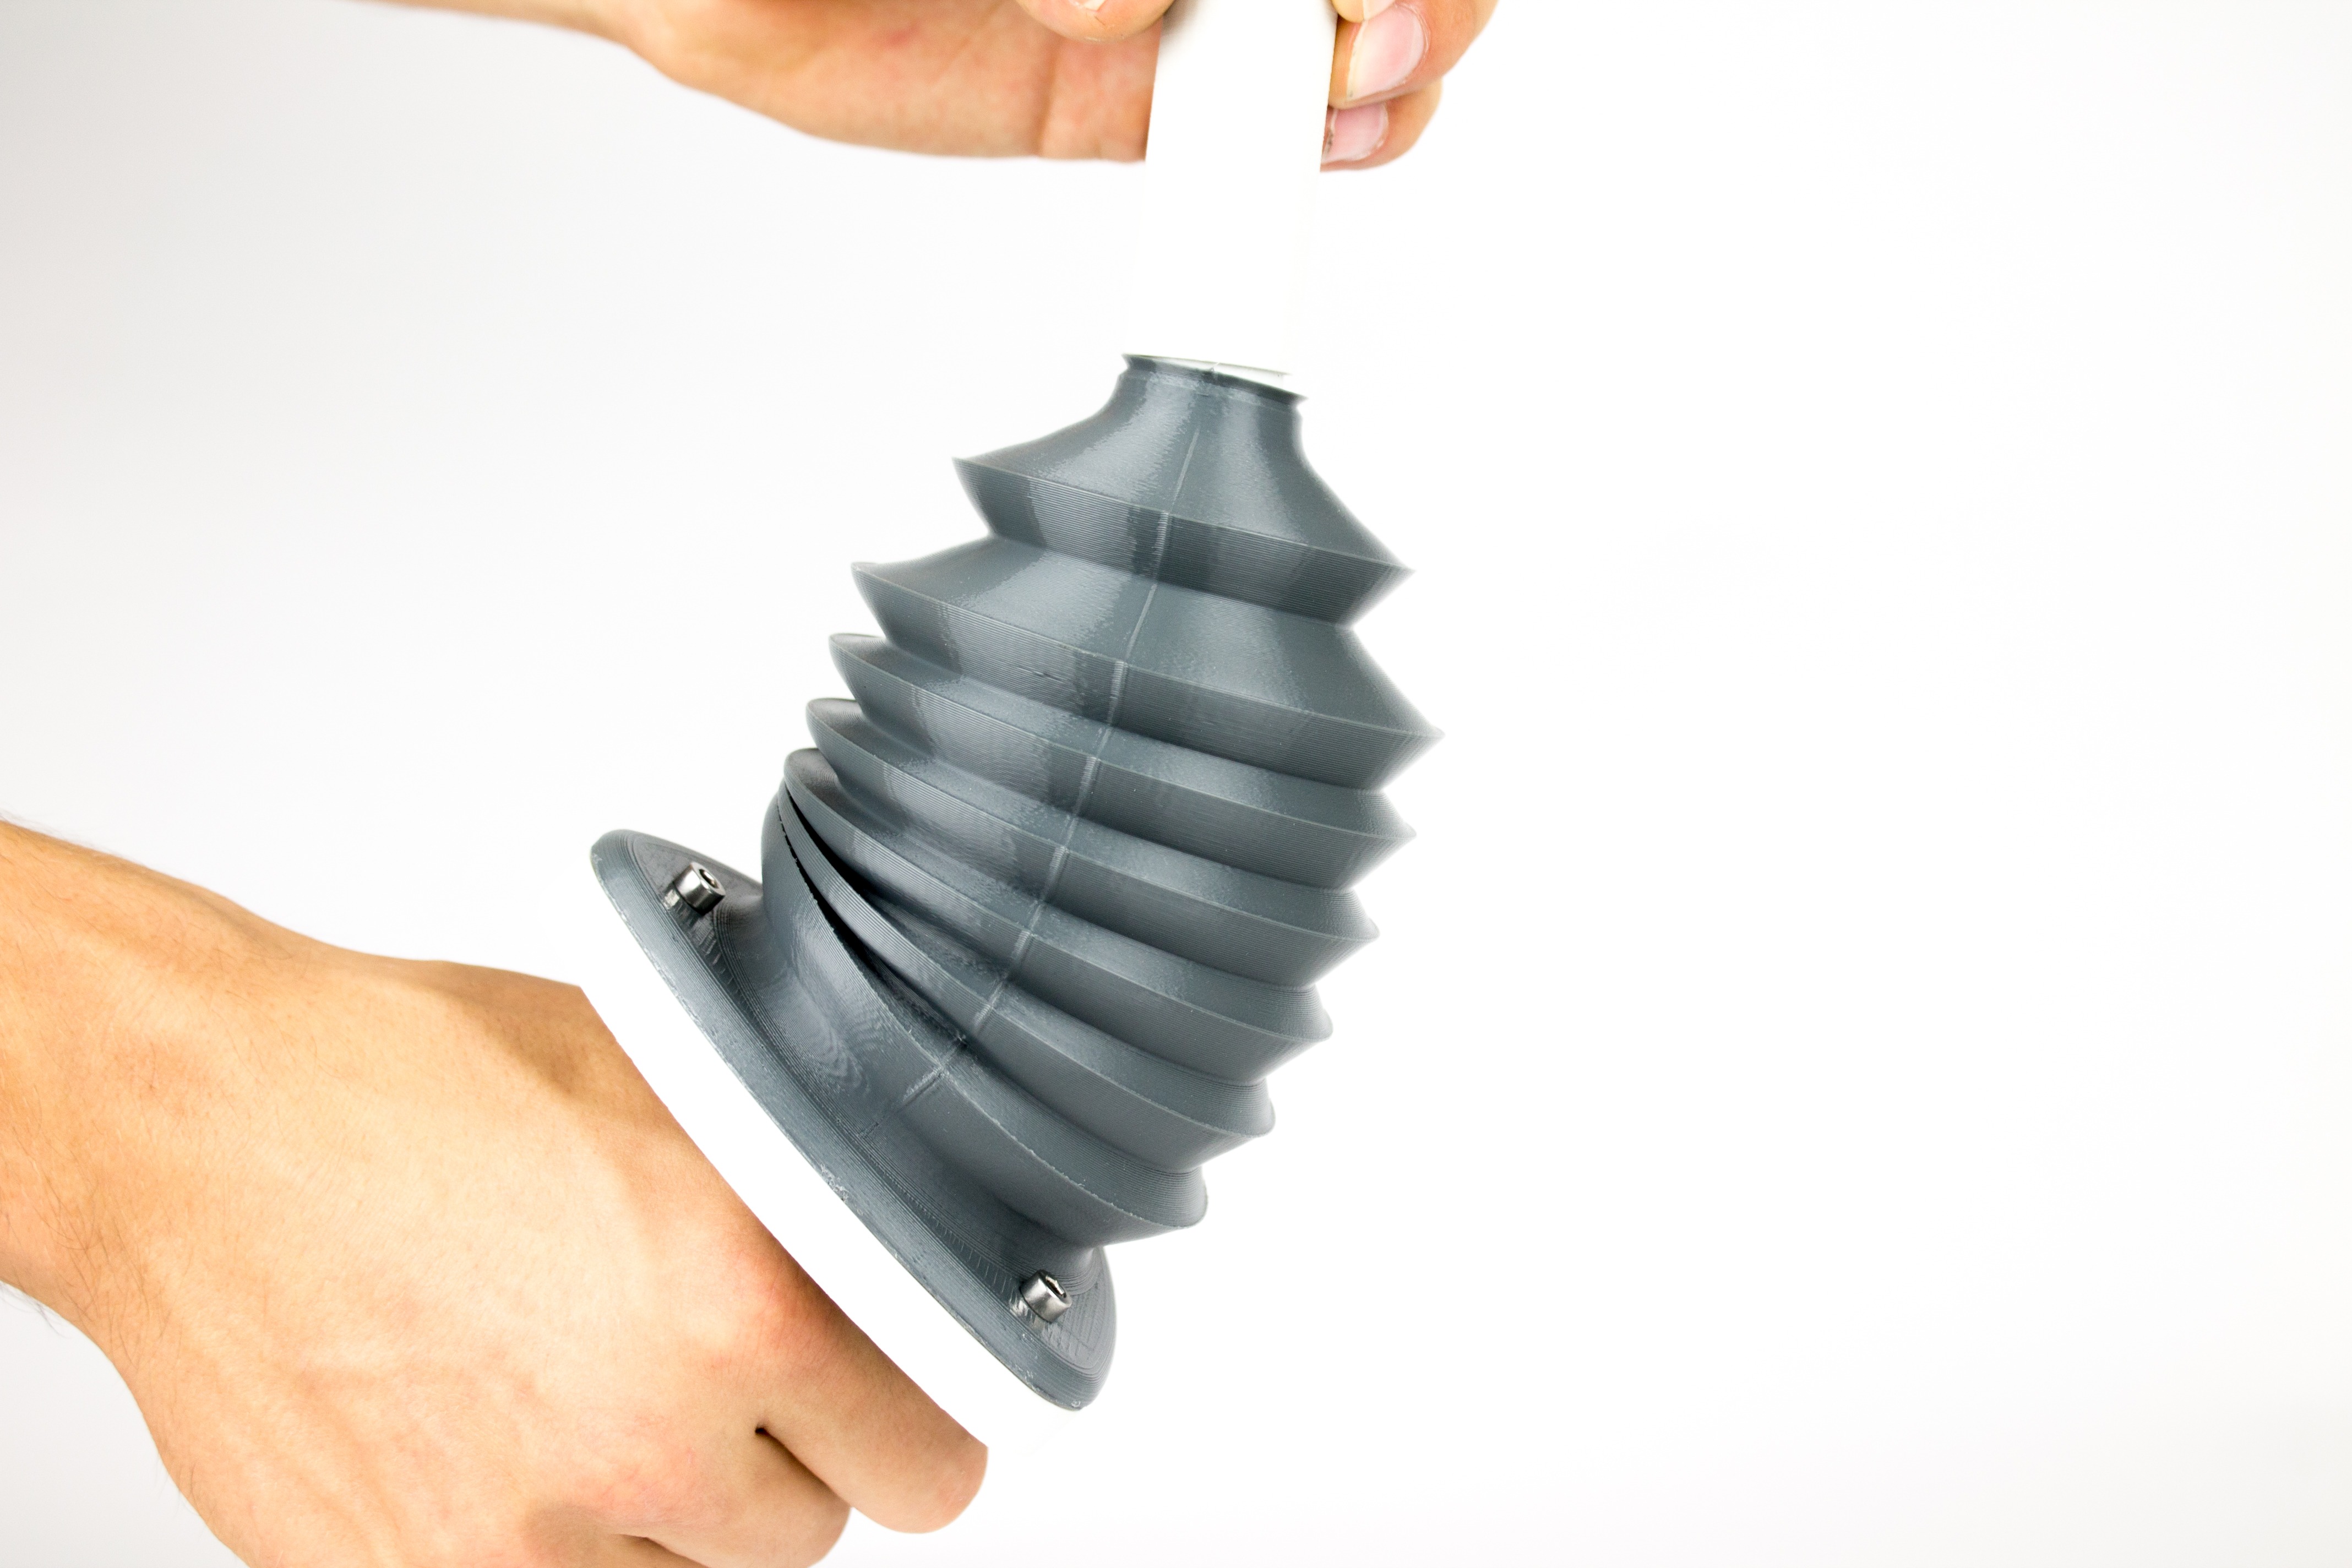
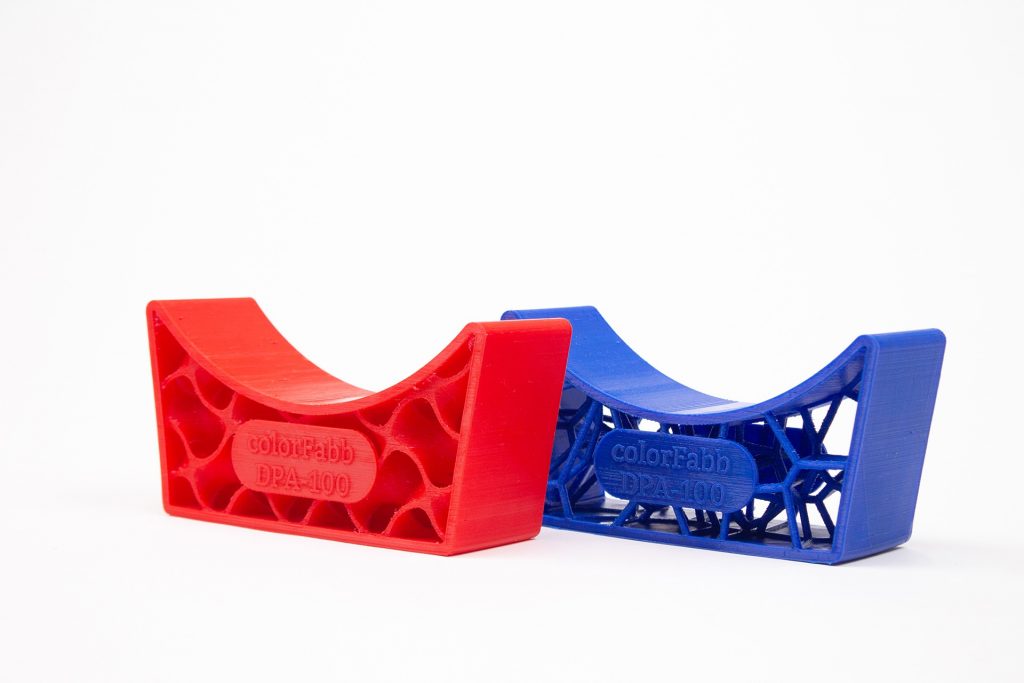
Design by ISIFC
How to print with LW-PLA

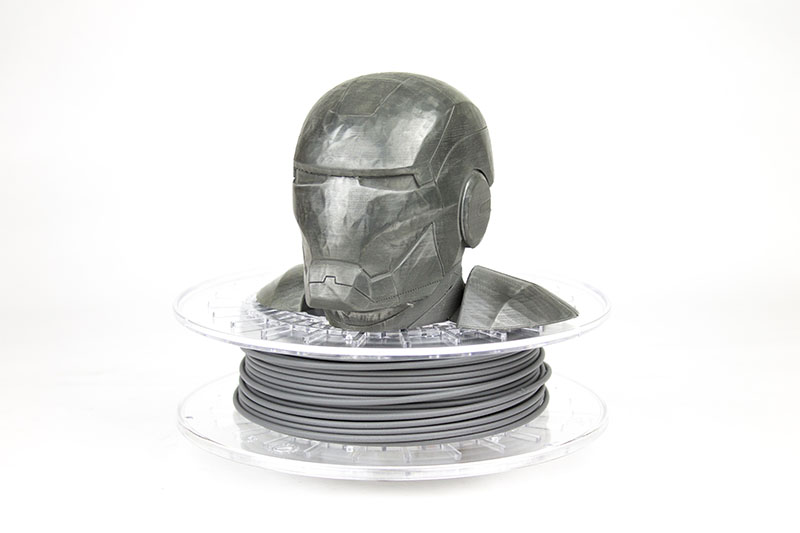
colorFabb LW-PLA is available in our webshop

How to print with LW-PLA

At colorFabb material development never stops. We’re starting 2019 with a fascinating new material, first of its kind in FFF 3D printing materials.

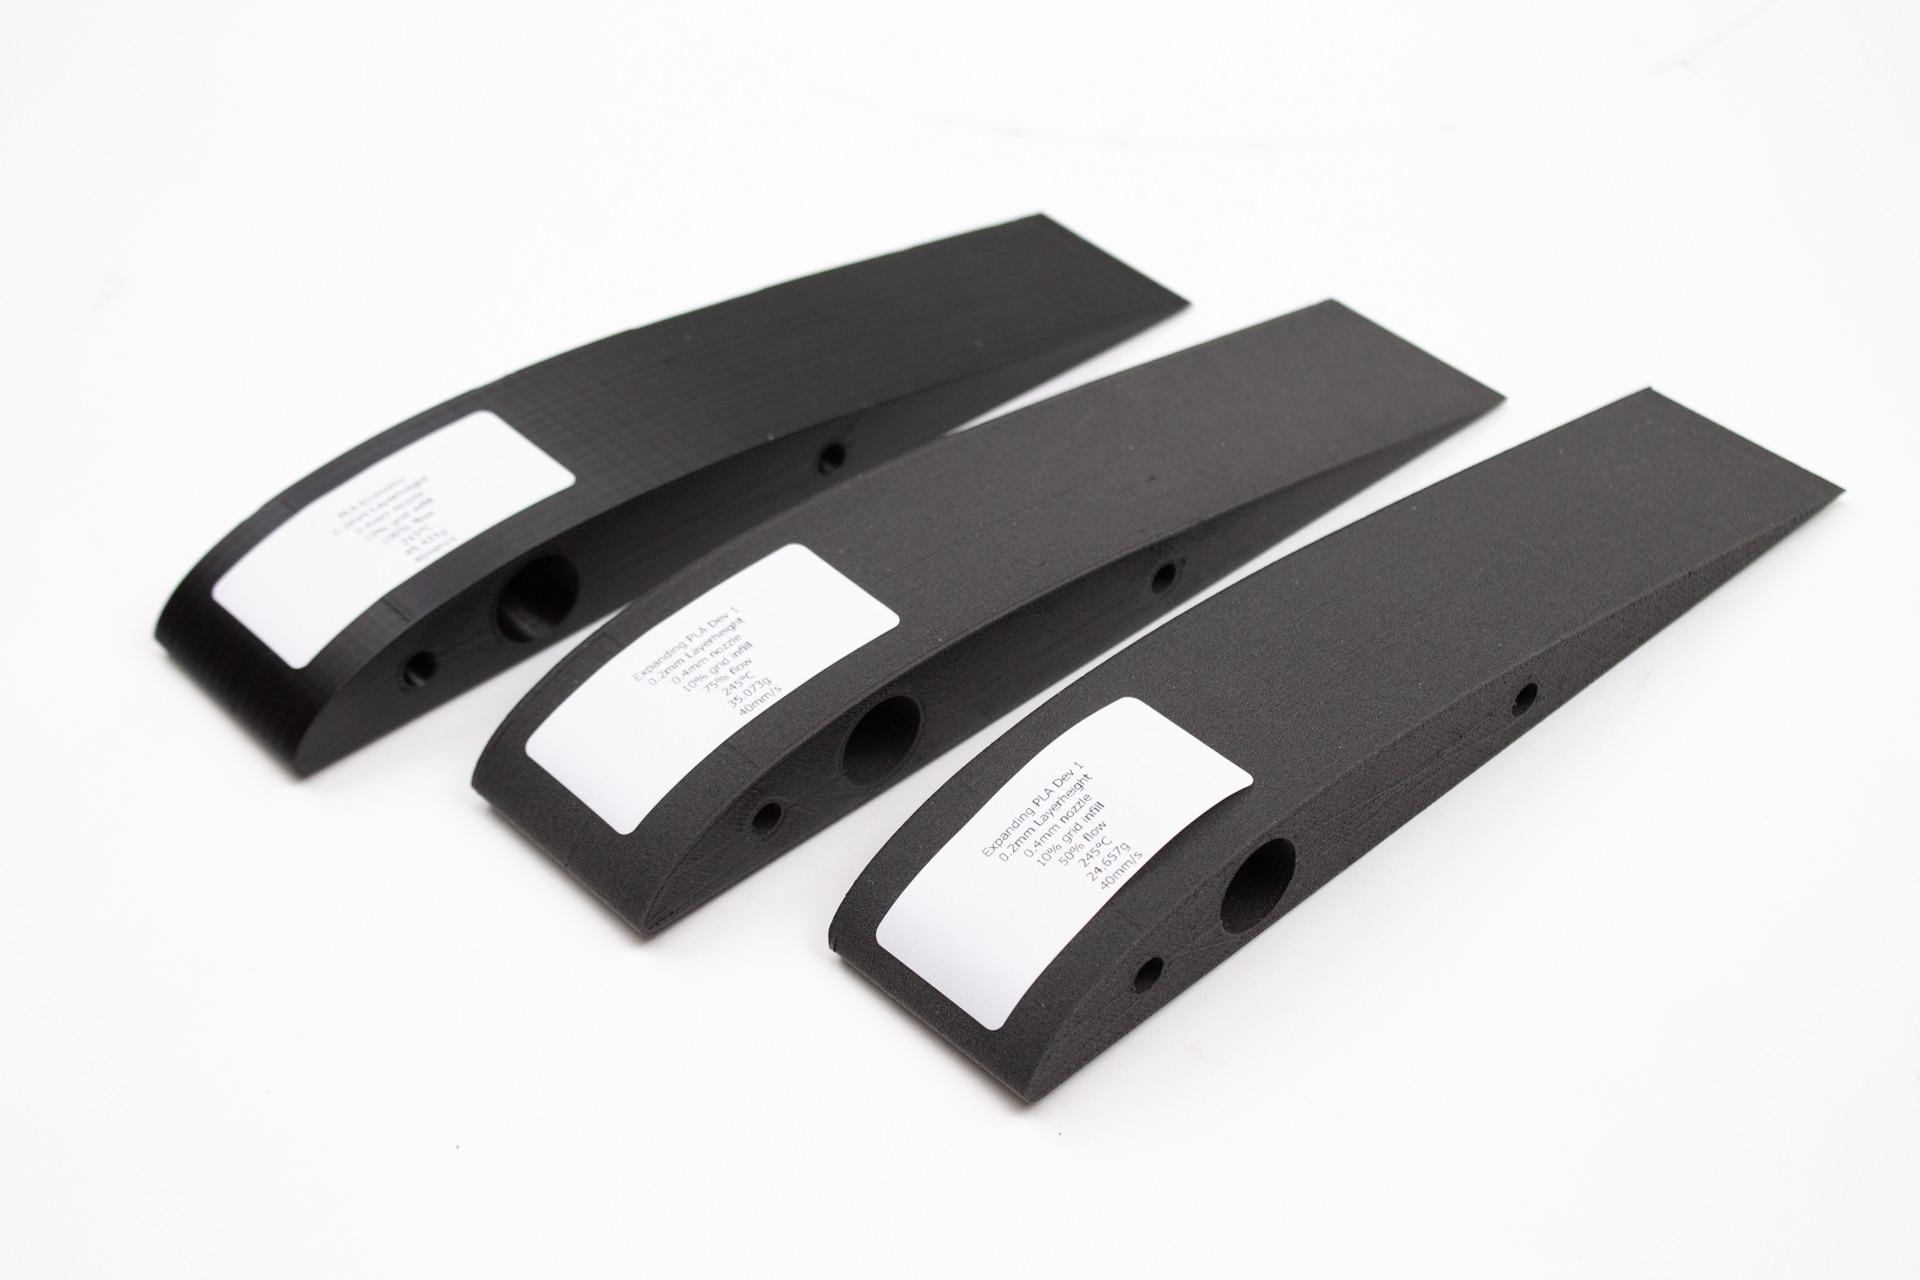
We’re proud to announce, colorFabb LW-PLA. This filament uses an active foaming technology which is triggered by temperature. At it’s peak the filament will expand nearly 3x it’s volume, meaning users can decrease flow by 65% to obtain lightweight parts, or use the expanding properties to speed up print time by using big layer heights or single extra thick perimeters.

Continue reading

Click here – a collection of handy links

This is the click bait you have been waiting for. If you are going to bookmark one page today, let this one be it. At colorFabb we have quite some information on our website and sub sites. Here is a guide to the most handy links (updated July 2018):


Landing pages

Our most recent products have dedicated landing pages with all relevant information available. You can find them here:


Buying

Our webshop has all products categorized by material. Click on Materials and go to the requested material to see the full selection:

Click here to see where you can purchase colorFabb filaments online (all of them web based, some of them physical stores – please inquire)

We do offer discounts, check out all the options here

Looking for sponsorship? Check out this FAQ entry first.


Color on Demand

Make your prints truly unique. With Color on Demand you can request a RAL reference which will be matched in PLA by colorFabb’s team. With an MOQ of 2kg, the threshold is lower than ever for 3D printing users to create with their very own color! Click here.


Support

Our entire FAQ with all the questions you may have? Click here:

Data sheets of our filaments have been collected and you find them by clicking here

What you need to know about food safety in filaments, clikc here

Post-processing techniques for our metal filled filaments: click here

Curious about the length of our filaments? Click here. Size of our spools? Click here

How to achieve a clear print with colorFabb_HT: Click here

Want to know what co-polyesters are? Click here


Something to read

All our news, blogs & tutorials are gathere in this very place. If you have not arrived here through our blog site, click here:


We regularly update our catalogue. Click on the image below to open it:


Want to see all product reviews in one place? Click here

Eager to read all our news letters again? Click here


How to print with PA-CF Low Warp

How to print with PA-CF Low Warp

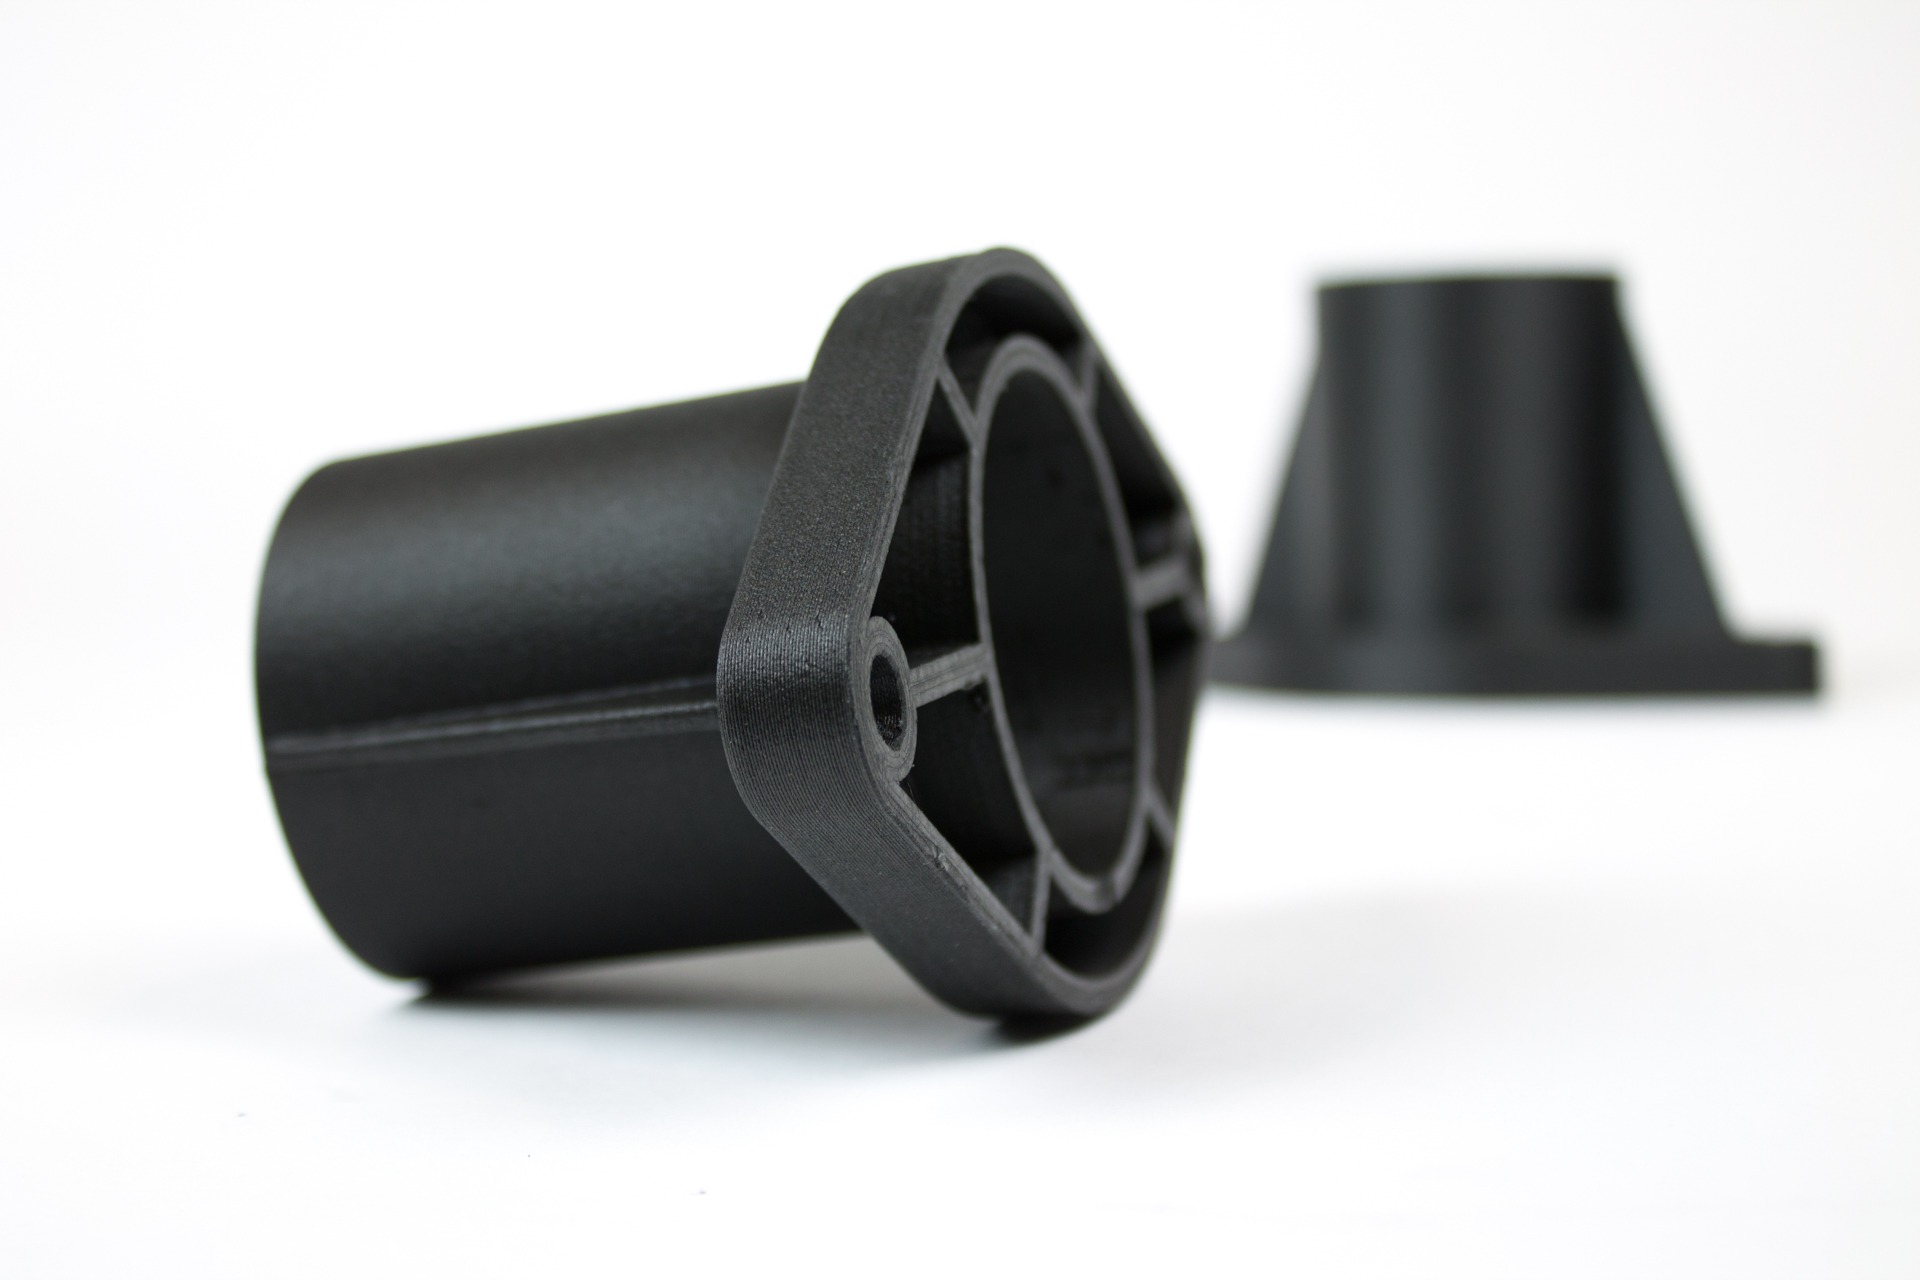
Below are some tips and tricks to get the best results with PA-CF Low Warp, colorFabb’s first nylon based engineering filament.

Original blog announcement: click here
Available in our webshop: click here
To get the best possible quality out of any 3D printing material it’s important to match the slicer settings with the material which is used.
On this page we’ll address the most important settings and formulate general settings to be used as a starting point for further fine tuning.
Build platform
The material shows good results when printed at ambient temperature, or cold bed. For some model geometries or high density infill parts a heated bed at 40C / 50C is advised. Using a brim will help when printing on a cold bed and heated bed. The material has been tested on buildTak and glass bed. When printing on glass bed we advise using 3DLac to obtain better adhesion to the plate.

Printing temperature

A minimum hot-end temperature of 260C is recommended. If you’re machine has 260C as the maximum temperature you’ll need to fine tune by lowering speed settings to make sure the 3D printer can keep up with the extrusion needed at certain speeds. The advised processing temperature for this material is set between 260C and 280C.

Cooling

As always, less cooling results in better layer-to-layer adhesion, more cooling gives better result on complex overhanging surfaces. We would recommend a 50% fan speed as default and use less fan speed if the print geometry allows for this.

Abrasive resistant nozzle

The addition of carbon fibers makes this filament highly abrasive for regular brass nozzle. We recommend users to use abrasive resistant nozzles, such as E3D hardened steel nozzles or Olsson Ruby nozzle.

Retraction
Users can expect a slight increase in retraction length and speed to prevent oozing from the nozzle on travel moves. If the material is saturated with moisture users can notice more oozing of the material on travel moves.
Layer height

For this material we recommend a minimum of 0.2mm layerheight. Due to the length of the fibers layers lower then 0.15mm can cause issues such as clogging or partial clogging of the nozzle.

Print speed
Most 3D printers will process this material at speeds of around 30/40 mm/s for layer height around 0.2mm with a 0.4mm nozzle. Outer perimeters can be printed slower at 30mm/s for better surface quality
This information was first published on the dedicated landing page: http://pa.colorfabb.com/how/

How to post-process co-polyesters

Of course we love our prints as they are. We put great effort to choose the best materials and the finest materials. With our “How To…” posts we want everybody to be able to create the best prints possible on a wide variety of printers. We have written before about post-processing our metal filled filaments, which literally truly shine when processed the right way. More links to blogs about post-processing these special filaments can be found here.

Beyond the special filaments, which have great aesthetic properties, we also have our range of co-polyesters: nGen, colorFabb_XT and colorFabb_HT and we received quite a few questions about post-processing these materials. To find our more about the materials themselves, check out the blog we have written before by clicking here.

Developed by Eastman Chemical Company, Eastman Amphora™ 3D polymers are the basis of our co-polyesters and offer a low-odor, styrene-free choice that is uniquely suited for 3D printing applications. With Amphora, items can be created that are more functional, more durable, more efficient, and attractive. With superior melt strength and dimensional stability, our range of co-polyesters deliver advanced bridging capabilities to create stronger and more detailed items—with low odor and low emissions.

678778

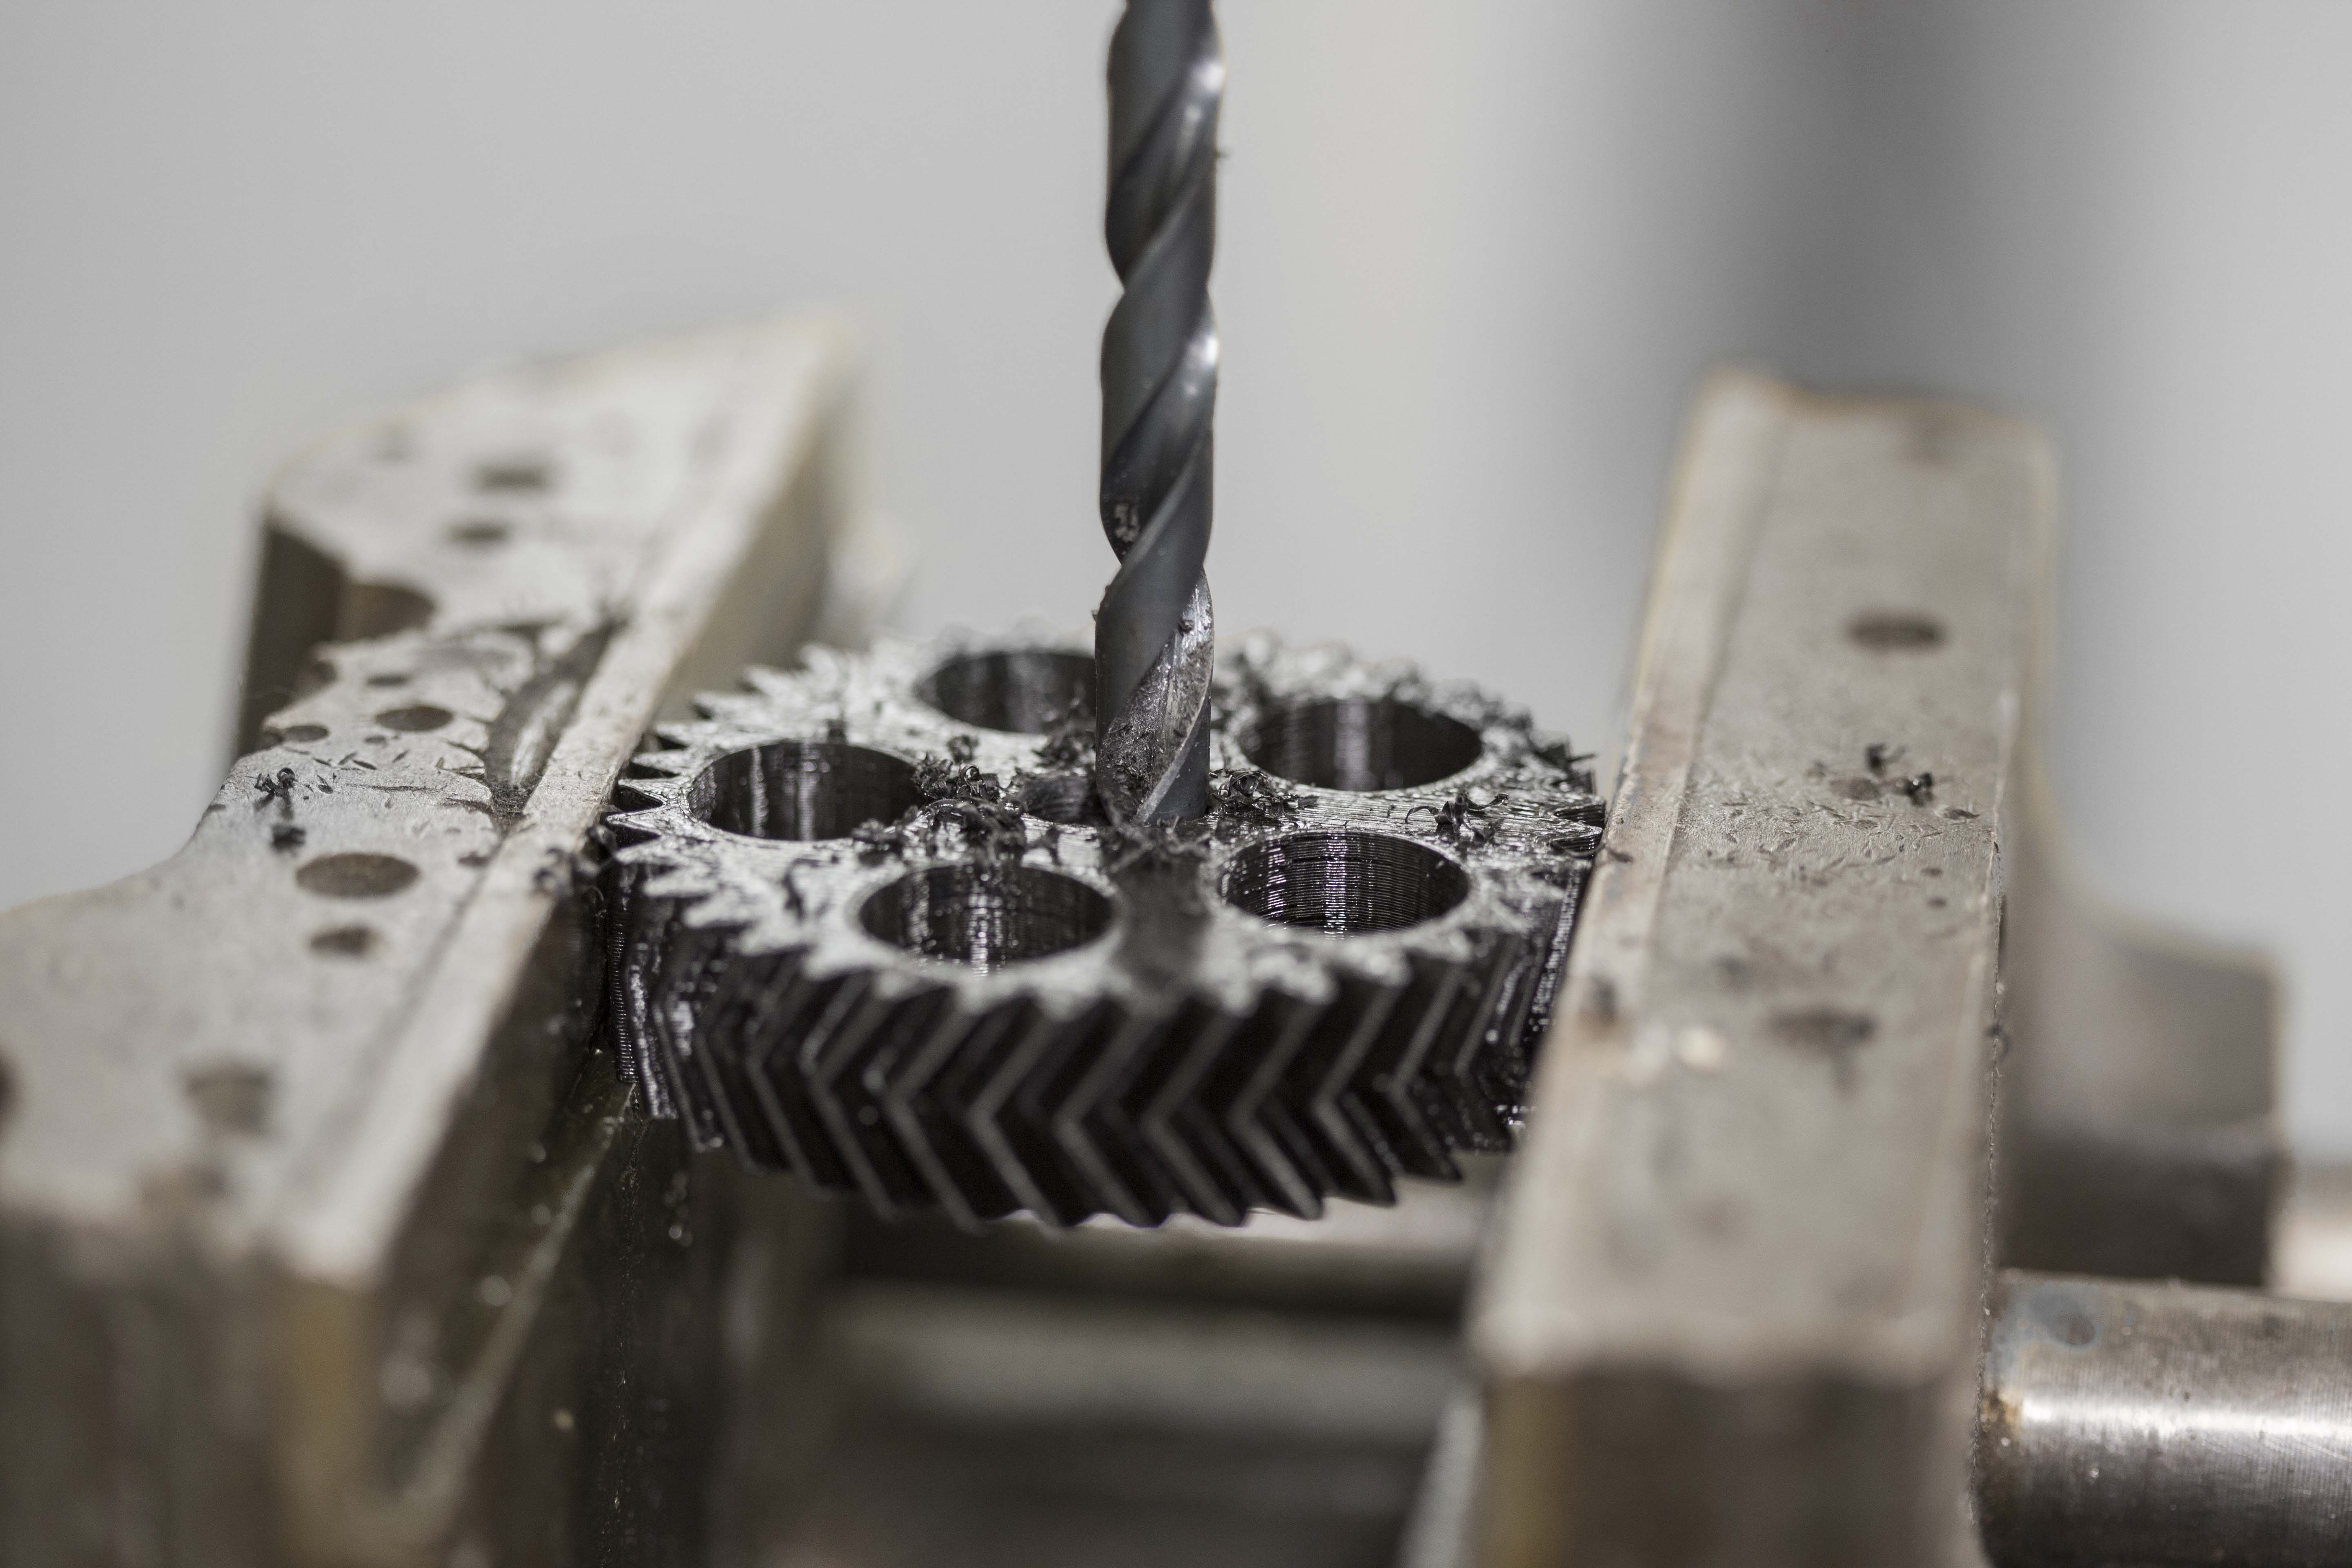
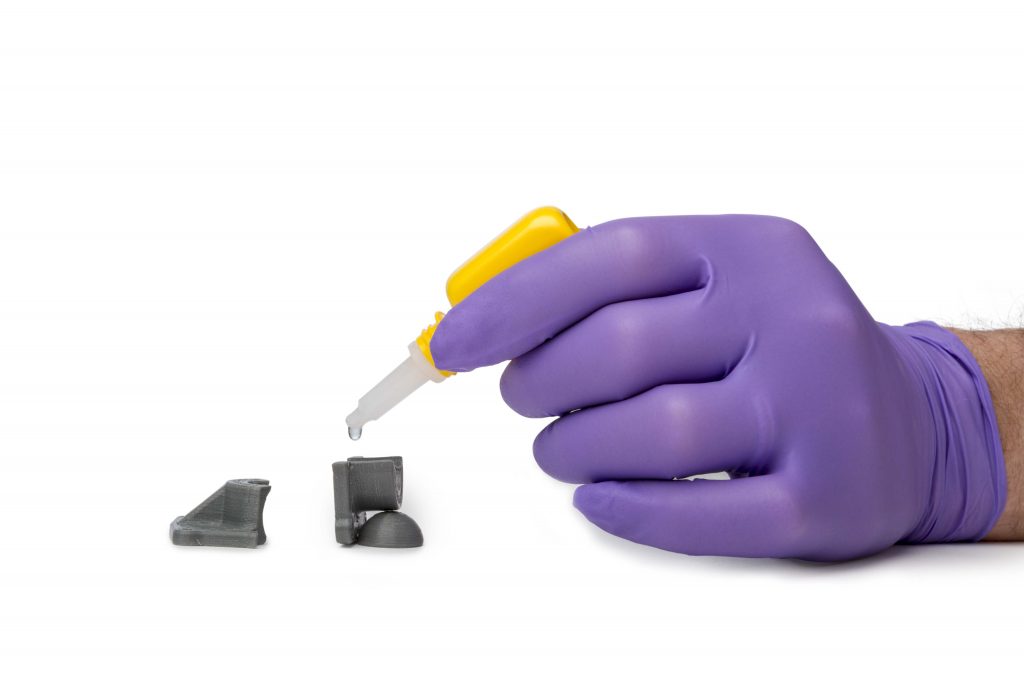
Now, once a print comes of the printer and you want to be doing something truly functional with it you may need some kind of post-processing with it, also called secondary operations. Be it painting, drilling or glueing there are multiple ways to work with a printed object once it has been printed, but before you can use it. You can truly bring 3D printing into your life by making useful applications.

For instance, you need to drill into a part. This should be no problem with co-polyesters. We recommend drills specifically made for plastic. Steel drills are possible, but only when grounded. Tips like these are to be found in the brochure that Eastman has prepared and which you can find by clicking here.

678782


Click on the image below to find the full guide prepared by Eastman Chemical Company:

operations-guide


Our range of co-polyesters are available online.

How to print with colorFabb nGen_FLEX

How to print with colorFabb nGen_FLEX

To get the best possible quality out of any 3D printing material it’s important to match the slicer settings with the material which is used. On this page we’ll run through the most important settings and suggest good starting values for various printers. If your machine isn’t in our list use the general recommended settings.

In the table below you can quickly find values for your machine, scroll a bit further down to read more about each settings.

[table id=12 /]


Heated platform – 80/100C

We highly recommend using a BuildTak plate for better adhesion. Parts which are likely to warp, either due to high infill, need for external cooling fans or due to the specific geometry of the model will get better results printed on a buildTak plate.
Advice on Using BuildTak – when printing on a brand new buildTak make sure the first layer is not pressed into the buildTak. There should be enough space between nozzle and buildTak, most likely more then you would normally use on a regular glass build surface.
Part removal from a BuildTak plate – when removing a part from the buildTak plate we advice to cool down completely and reheat to 80C. With a thin spatula, slide underneath the brim from all sides, then carefully continue with the rest of the model.
Build plate adhesion – most slicers will have the option for adding a brim around the printed object. We highly recommend to use this feature, removal after printing is very easy, the brim peals right off after making an initial cut.


Printing temperature – 240/260C

nGen_FLEX is processed at 240/260C on most 3D printers. This allows most 3D printers to achieve good flow and reach speeds quite similar to PLA.

To reach higher speed / output of material, you might need to increase temperature. The material handles higher temperatures very well.


Cooling

As always, for tough strong parts with excellent layer adhesion we recommend using 0% fan. However to improve overhanging surfaces, small details and top surface quality some cooling will be required. 50% would be a good start point for most 3D printers. If layer adhesion isn’t affected you will be able to increase cooling and maybe gain some print speed at the same time without loss of quality.


Minimal layer time

If you’re familiar with the minimal layer time setting then you’ll know this is what causes a printer to slow down when printing fine features on a model. Slowing down the print allows each layer to cool down a minimum amount of time. This is of course different for each material, because it depends on how fast a material can dissipate heat and how much heat needs to be dissipated.

For colorFabb_HT it’s also important to adjust the minimum layer time when you want to print without cooling for best layer adhesion.


Retraction

Before you start tweaking the retraction values make sure you’ve found the sweet spot in terms of printing temperature and speed for your machine.

PLA retraction values should be a good starting value for most machines. One can expect slightly higher values of retraction speed and retraction length. For more specific values have a look at our table above.

Coasting is a nice option included in Simplify3D. This is the act of stopping the extrusion just before a travel move is triggered, this helps get rid of the pressure in the hot-end and therefor also making a retraction move more effective.


Print speed

Most machines showed good printability of the nGen_FLEX material printing at PLA speeds, but at elevated temperatures of 250/260C. Whether you can print this fast also depends on the model, some models with overhanging surfaces, or small islands / details, can’t be printed fast due the cooling down of the layers.

Let’s make something clear

We’re taking a look at how to 3D print with a high level of transparency. Our latest material, colorFabb_HT, is highly suited for this because of its high-flow characteristics. More information will be published later once we have it, we’re still very much in the testing-phase. But here are the basics so you can try it yourselves.

colorfabb_HT-6 You can find the model of this print designed by Walter Hsiao on Thingiverse here: http://www.thingiverse.com/thing:854360


colorFabb_HT

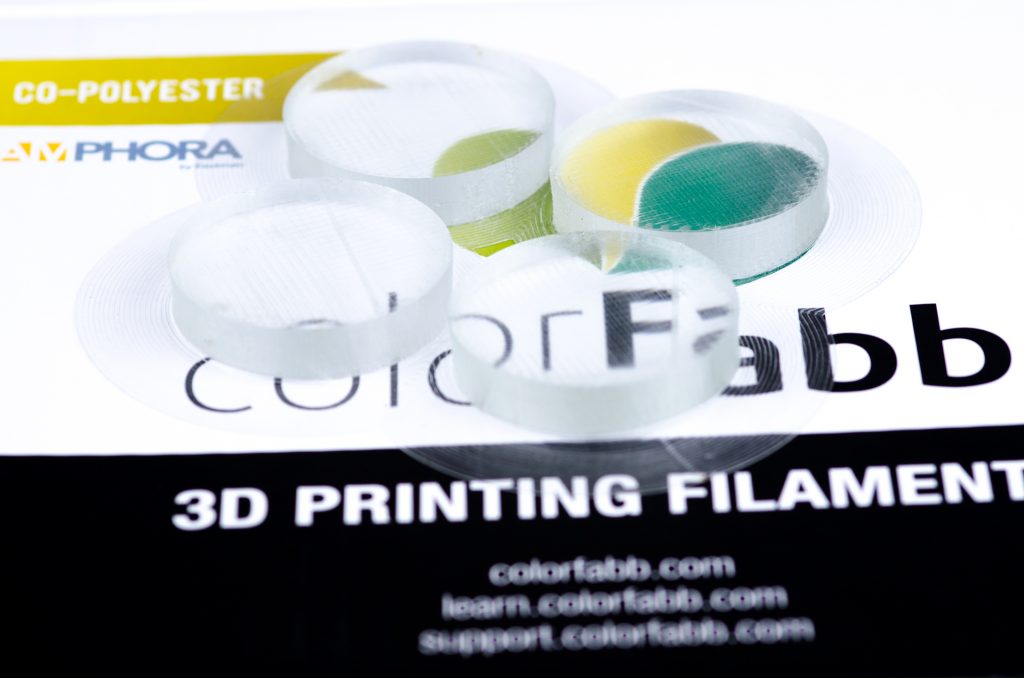
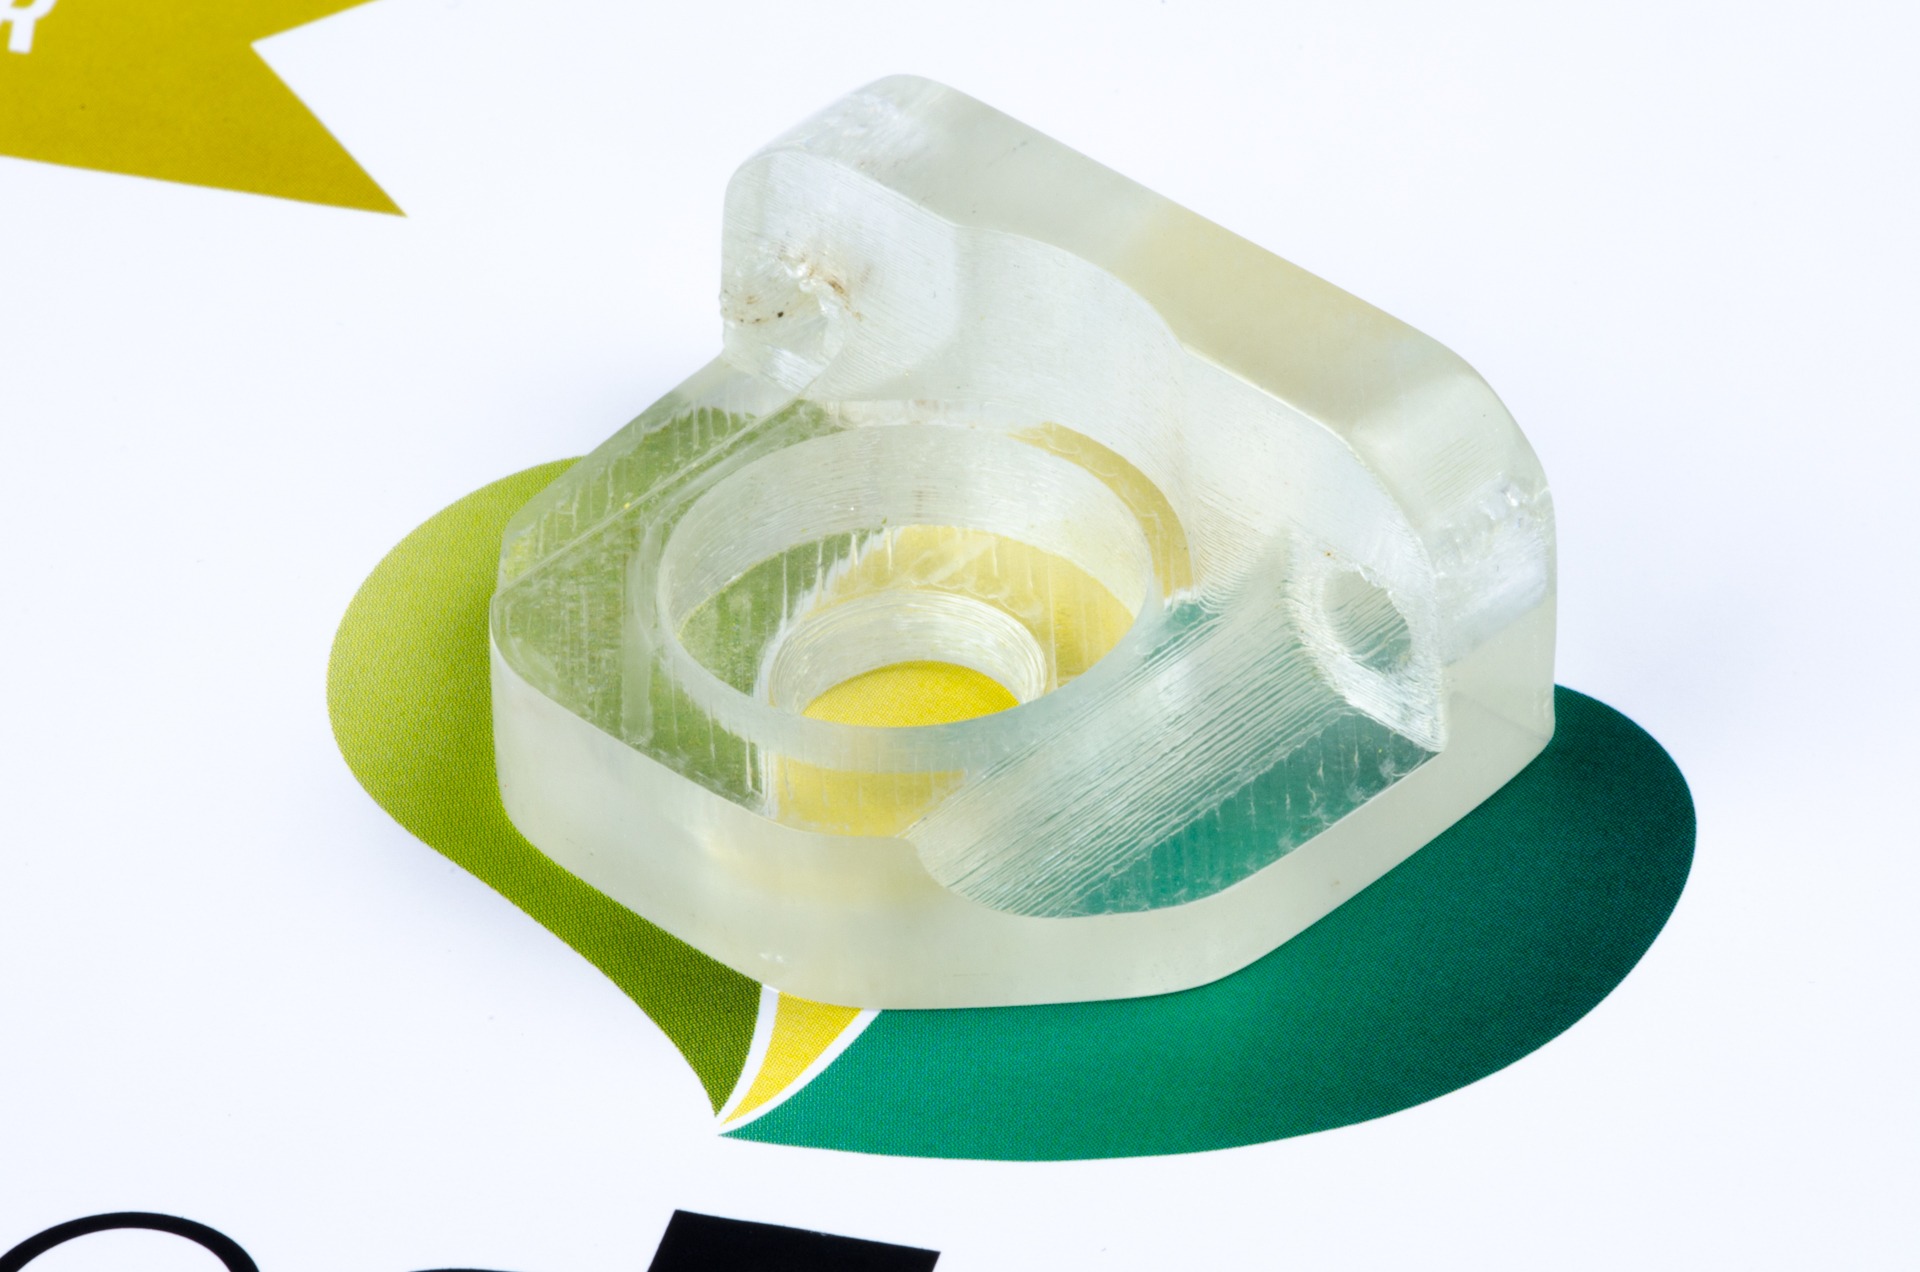
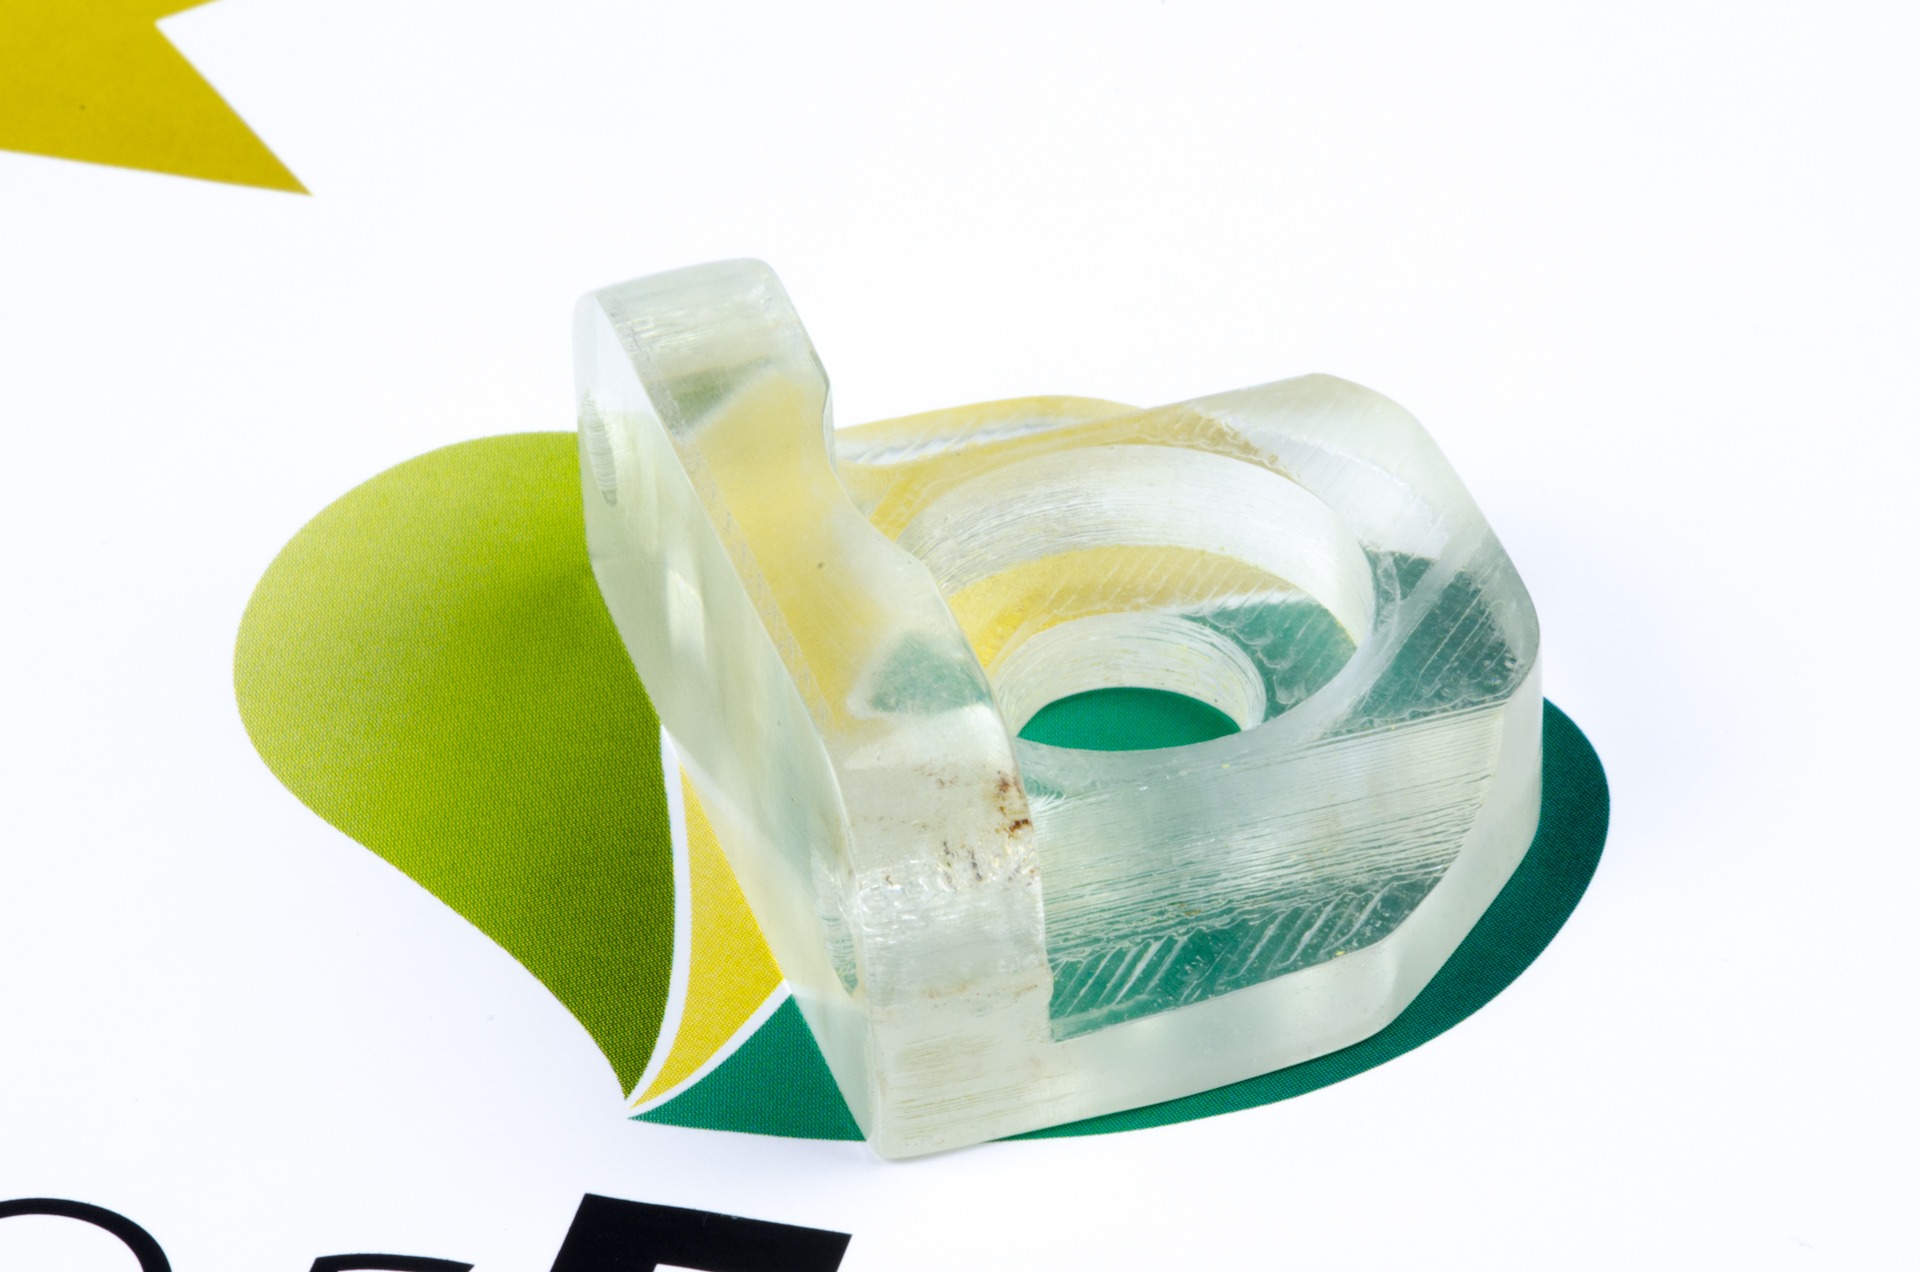
Due to the process of 3D printing, there is always a limit to how clear your print will become. With most materials the small gaps in between the 3D printed lines never really gets filled, resulting in a milky look when printing with transparent filaments. colorFabb_HT manages to fully close these gaps, resulting in a fully solid and transparent part. Printing transparent not only means new and exciting optical applications, but it also means maximum toughness as the material is fully fused together.
For more information about the _HT material, take a look here: http://ht.colorfabb.com/


Material and heat

Printing clear products mainly relies on two key aspects: extruding enough material and getting enough heat (energy) into the new material. The easiest way to start is by locking in some settings and only play with temperature, speed and flow.

We’ve started with a 0,8mm nozzle; no cooling; 0,1mm layerheight; 20mm/s and of course 100% infill. In terms of temperature, set your heated bed to the max get your hotend up to at least 260°c. Using this as a starting point, we’ve found settings to print transparent on a few different machines already. But with so much variation between printers (even from the same type!) you will always have to find the best settings for yourself. Also, the bed material has a big influence on the transparency straight out of the printer, the smoother the bed material the better. A coat of 3DLAC on a glass plate seems to work the best for us so far.

Looking at the two key components, first start with getting the right amount of heat into the material. This is a combination of volume per second and nozzle temperature. If your printer has a maximum of 260°c than your stuck playing with speed, otherwise you could try printing a bit hotter to allow for more speed.
Printing too hot will result in minuscule bubbles inside the print and may also cause the part to turn a bit yellowish. Printing too cold will not fuse the sides of the lines together properly and show as white stripes.
With the temperature dialed in, start playing with the flow. Try to turn it up to the maximum without losing (too much) dimensional accuracy or creating a bulge on top of the print. The Ultimaker 2 we used for this required about 110% flow to achieve an optimal filling.

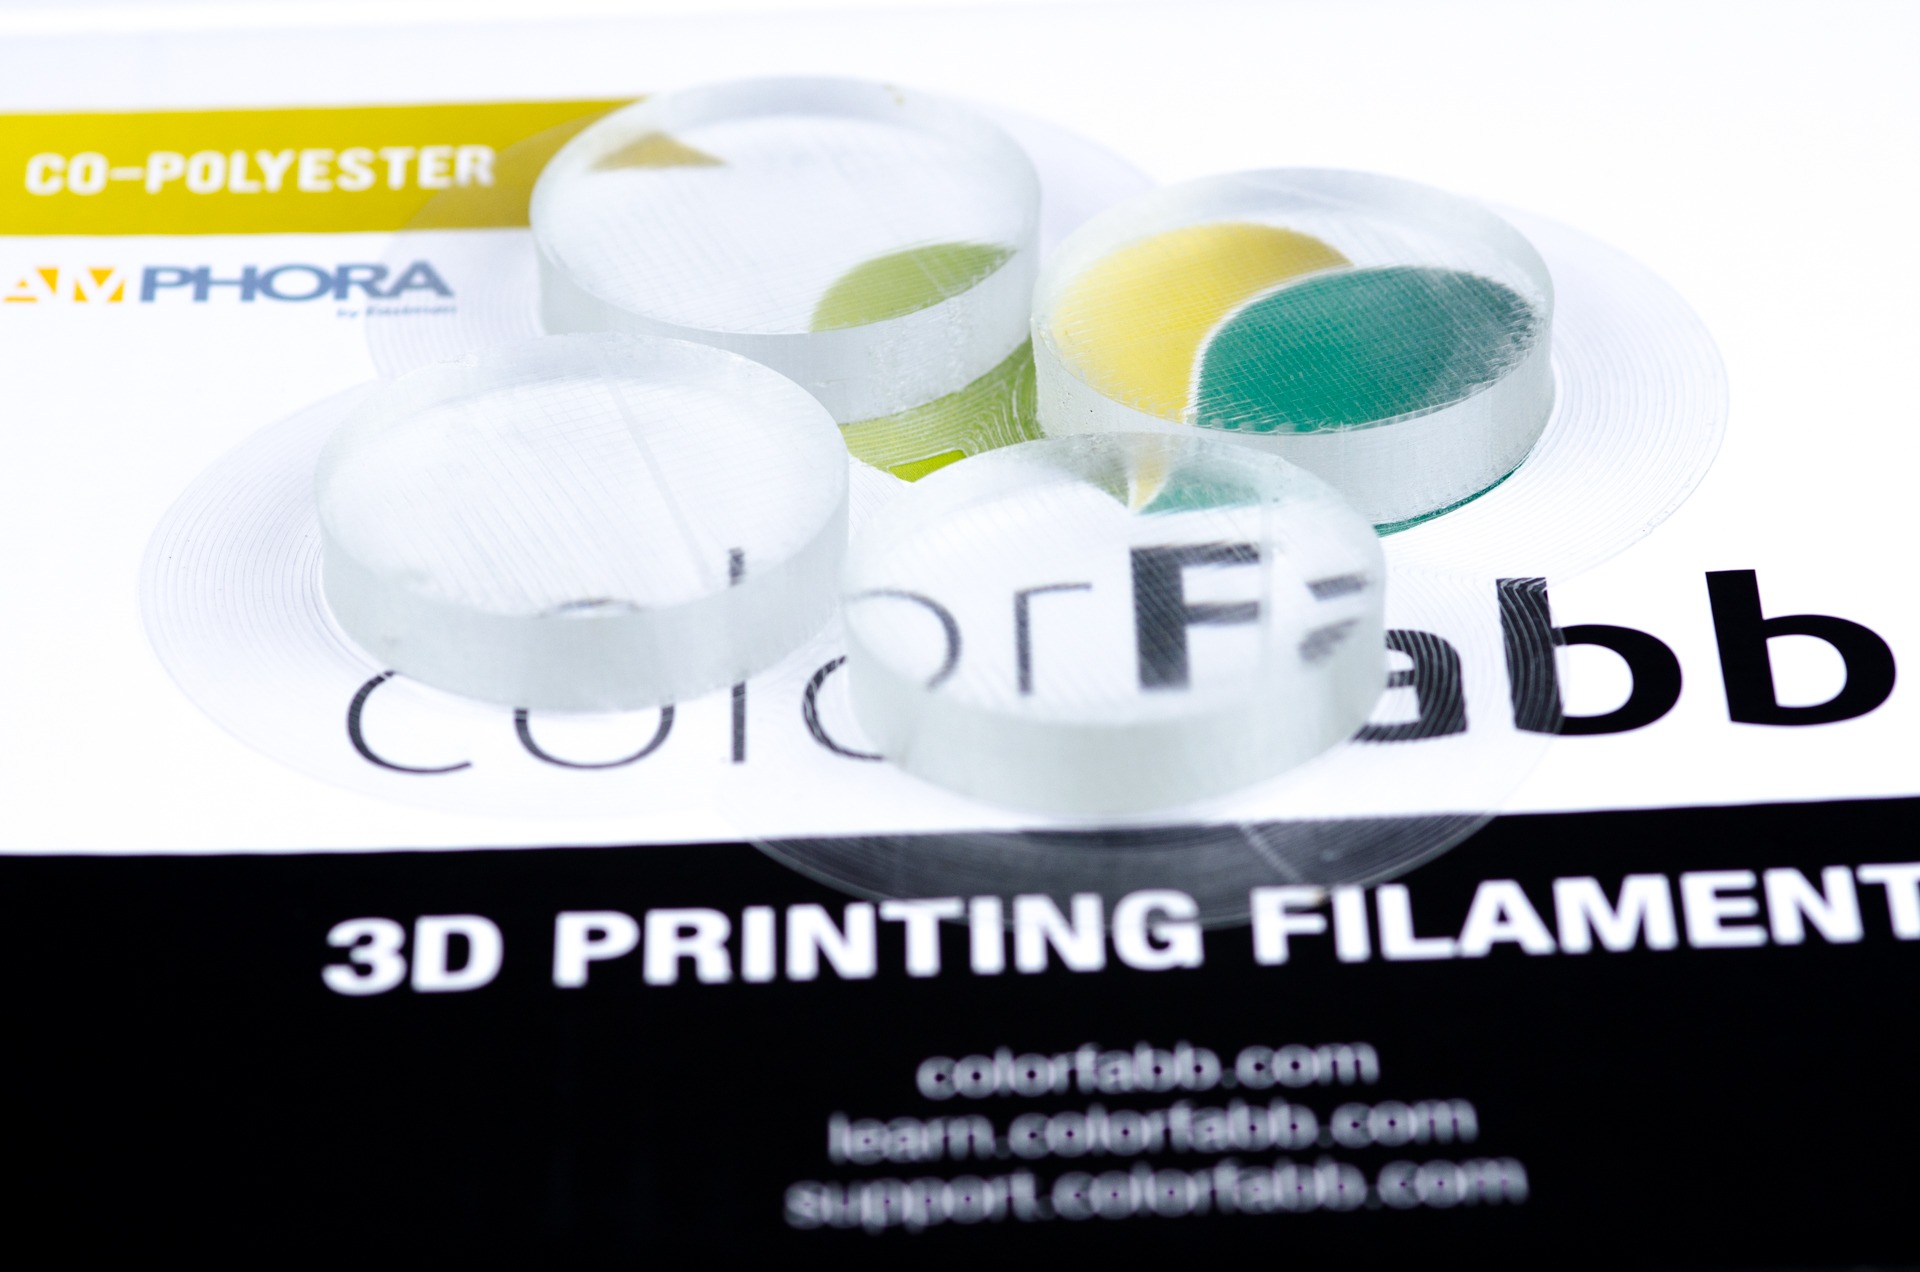
Optimal settings can lead to some very clear and transparent parts straight from the printer. These cylinders have had no post-processing at all.
colorfabb_HT-17

With some extra effort though, you can create parts which look amazingly transparent.
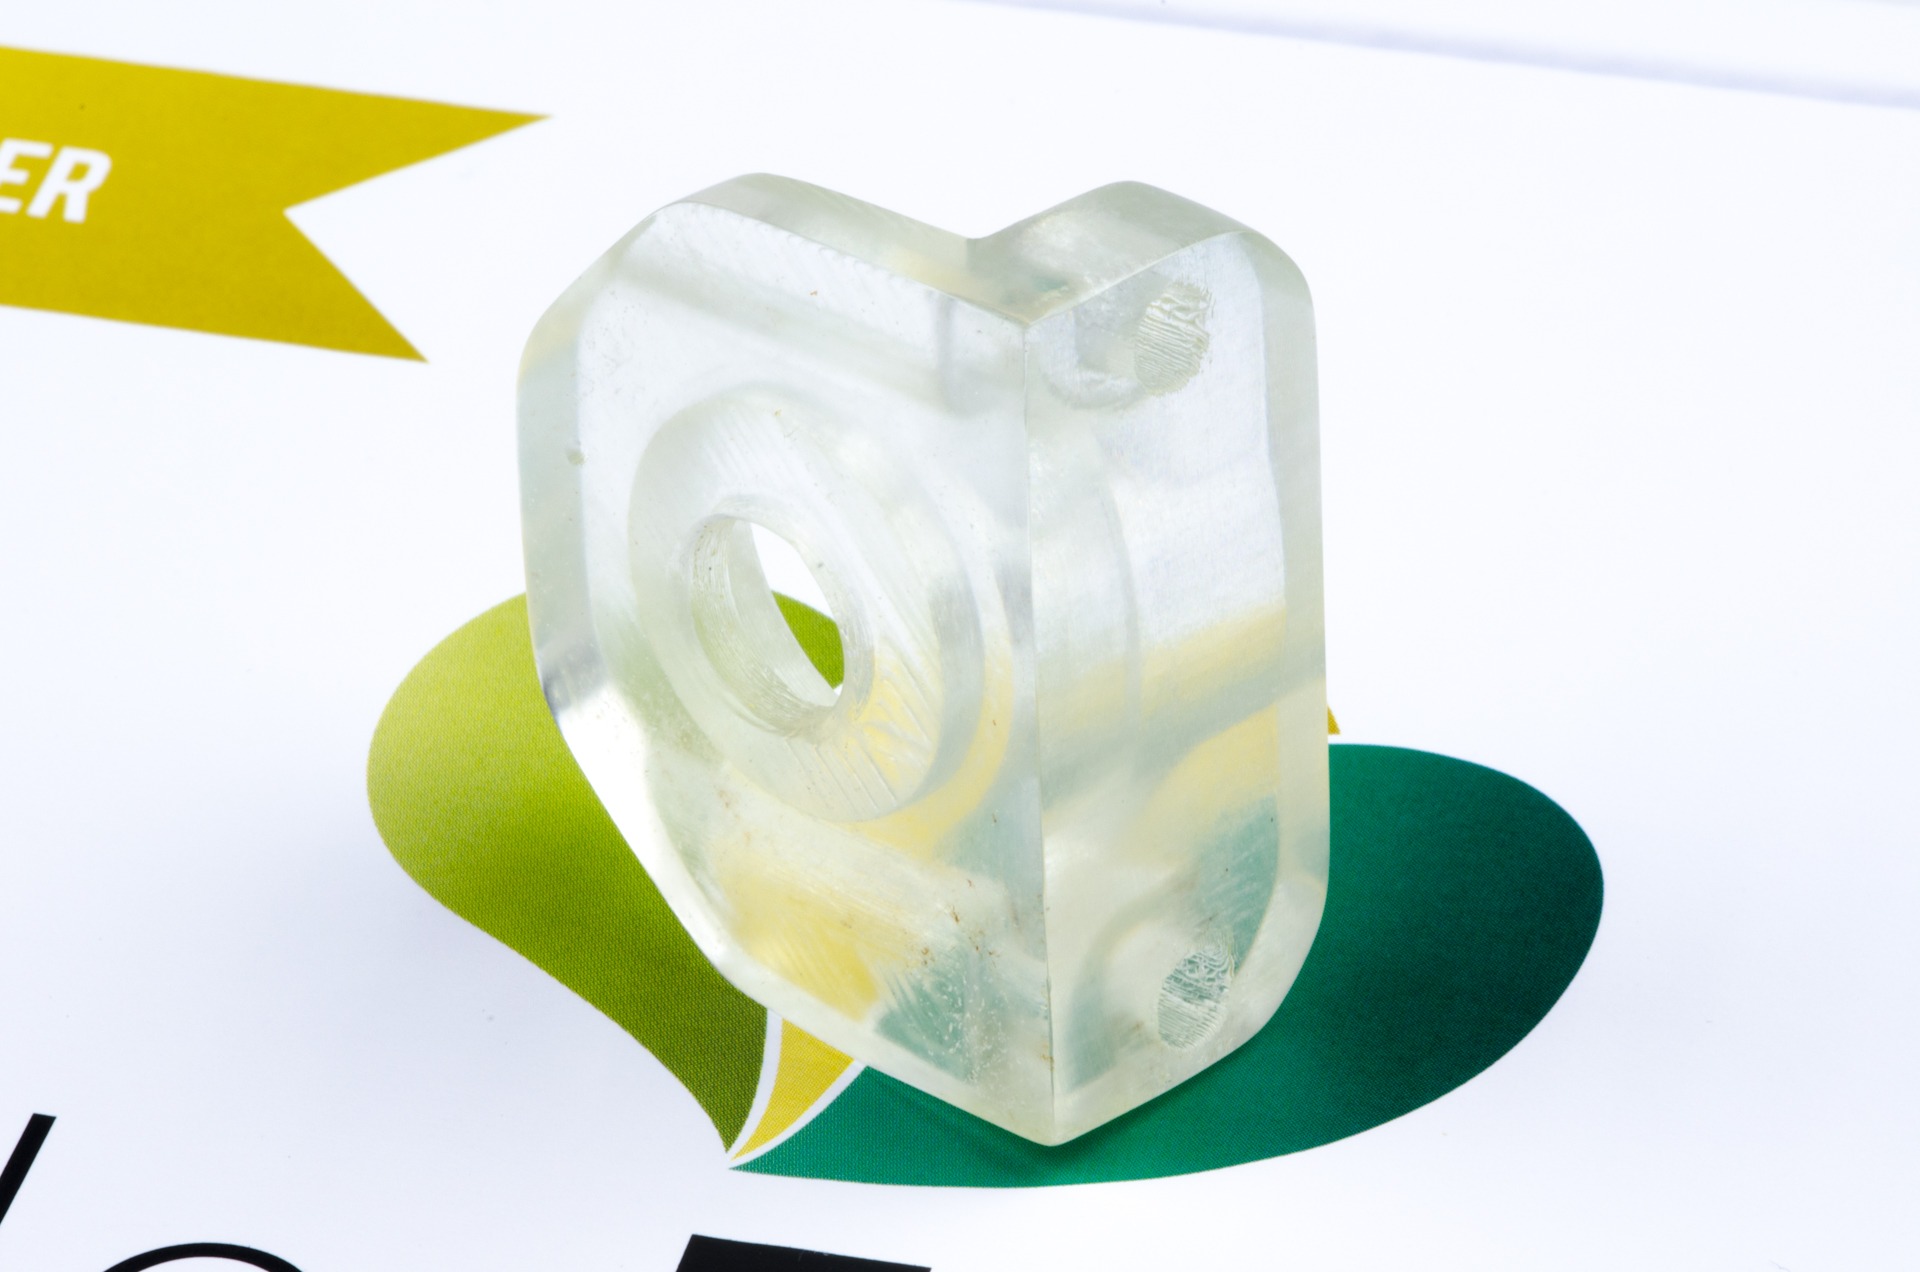
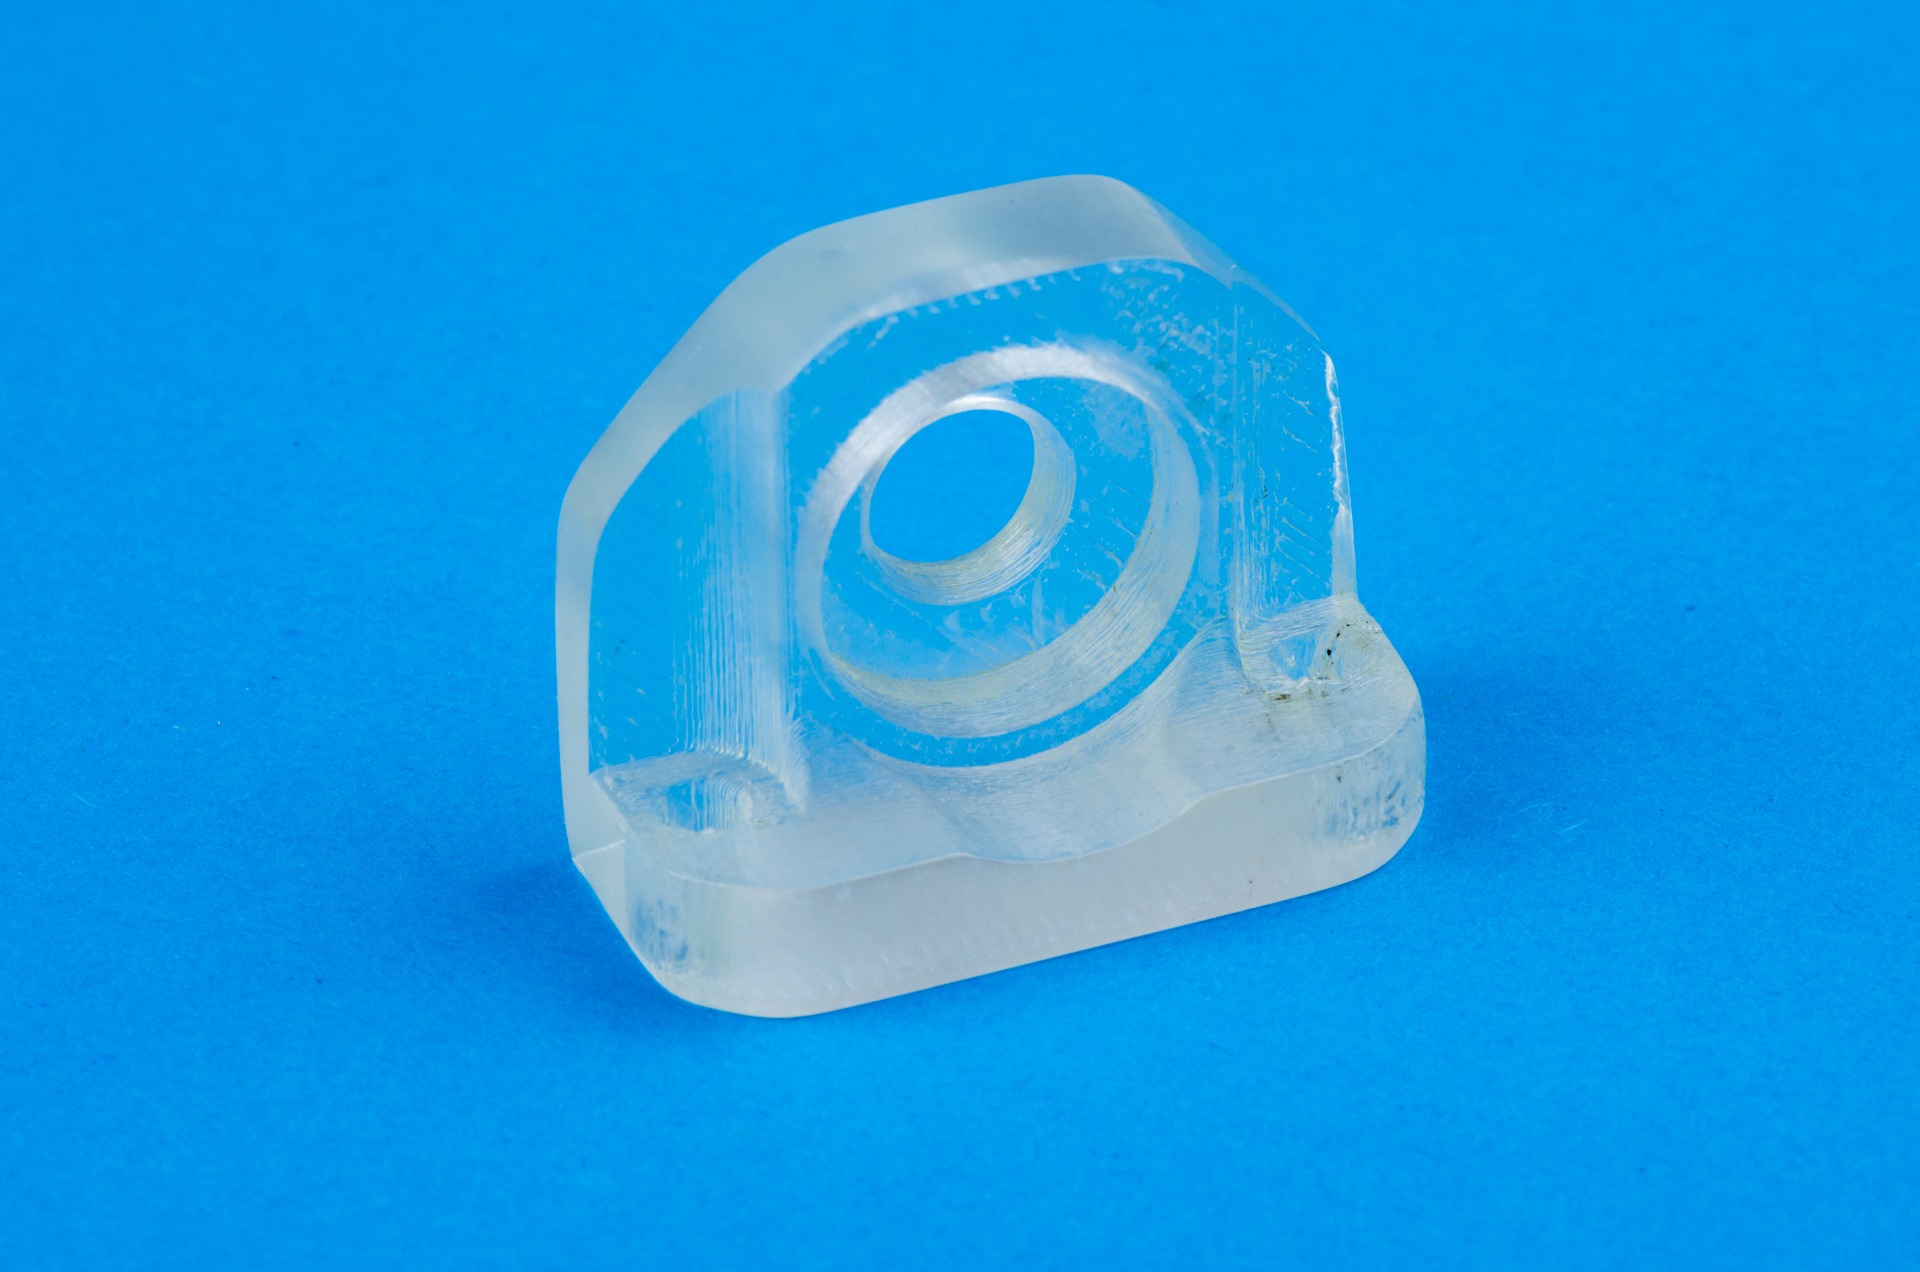
Using the same technique as for post-processing our metal-filled filaments, we have sanded most of the outside of this bearing holder using up to 600 grit sanding paper. This results in a very smooth but matte finish, which you can than polish to create the best transparency we’ve ever seen in a 3D printed part. But more on this later, because we’ve only just started testing this.

Properly photographing a transparent part is quite tricky, take a look at the last (blue) picture to get a better understanding of how transparent it really is.

colorfabb_HT-10

colorfabb_HT

How to print with colorFabb_HT

How to print with colorFabb_HT

To get the best possible quality out of any 3D printing material it’s important to match the slicer settings with the material which is used. On this page we’ll run through the most important settings and suggest good starting values for various printers. If your machine isn’t in our list use the general recommended settings.

In the table below you can quickly find values for your machine, scroll a bit further down to read more about each settings.

[table id=10 /]


Heated platform

ColorFabb_HT is best printed with a heated build plate to preven medium to large sized objects from warping at the bottom layer. You don’t need to worry about layer delamination due to warping, but only about making sure the first layer stays nice and flat.

For printers with glassplate as build surface we recommend high temperatures of 110/120C. For most small to medium sized part this should be sufficient.

For bigger parts with a larger flat surface touching the buildplate you might need more adhesion to keep the part from warping. In this case BuildTak plate can help prevent warping.

Printing temperature

The temperature we set when starting a print really depends on the chosen layerheight and print speed.

Flow of material in mm3/s = (layerheight*nozzle width)*print speed

When considering normal settings such as 0.2mm layerheight and 50 mm/s speed we recommend for most machines a processing temperature of 260/280C.

At 0.1mm and 50mm/s temperature might be lower towards 250/270C.

Make sure your machine can reliably work at these elevated temperatures, not all 3D printers are able to go beyond 250C / 260C.

Cooling

In order to get best possible strength from colorFabb_HT we recommend printing without cooling whenever the model geometry allows for this. If your model doesn’t feature overhanging surfaces or fine positive features  (pointy bits) then it’s likely your model will print fine without cooling.

This will results in better layer adhesion, but also less issues with warping of the material.

We also like the option of only activating layer cooling for the perimeter lines, the infill is not cooled and therefore should maintain best possible layer adhesion.

Bridging

Most slicers will allow users to set special settings when a bridge is printed in a model. Usually we can set bridging speed, bridging cooling and sometimes also bridging perimeter width (or flow).

We recommend slower printing on bridges, since there’s no material to support the printed line we don’t want to ‘break the melt’ by moving too fast. Slowing down the speed when bridging helps retain the melt strength and also allows the printed line to cool down in mid-air.

Cooling can be set at 100% to help the cool down of the first printed lines.

If you can still see the melt break when printing a bridge, try and increase the flow or bridge perimeter width.

Retraction

Before you start tweaking the retraction values make sure you’ve found the sweet spot in terms of printing temperature and speed for your machine.

PLA retraction values should be a good starting value for most machines. One can expect slightly higher values of retraction speed and retraction length. For more specific values have a look at our table above.

Coasting is a nice option included in Simplify3D. This is the act of stopping the extrusion just before a travel move is triggered, this helps get rid of the pressure in the hot-end and therefor also making a retraction move more effective.

Minimal layer time

If you’re familiar with the minimal layer time setting then you’ll know this is what causes a printer to slow down when printing fine features on a model. Slowing down the print allows each layer to cool down a minimum amount of time. This is of course different for each material, because it depends on how fast a material can dissipate heat and  how much heat needs to be dissipated.

For colorFabb_HT it’s also important to adjust the minimum layer time when you want to print without cooling for best layer adhesion.