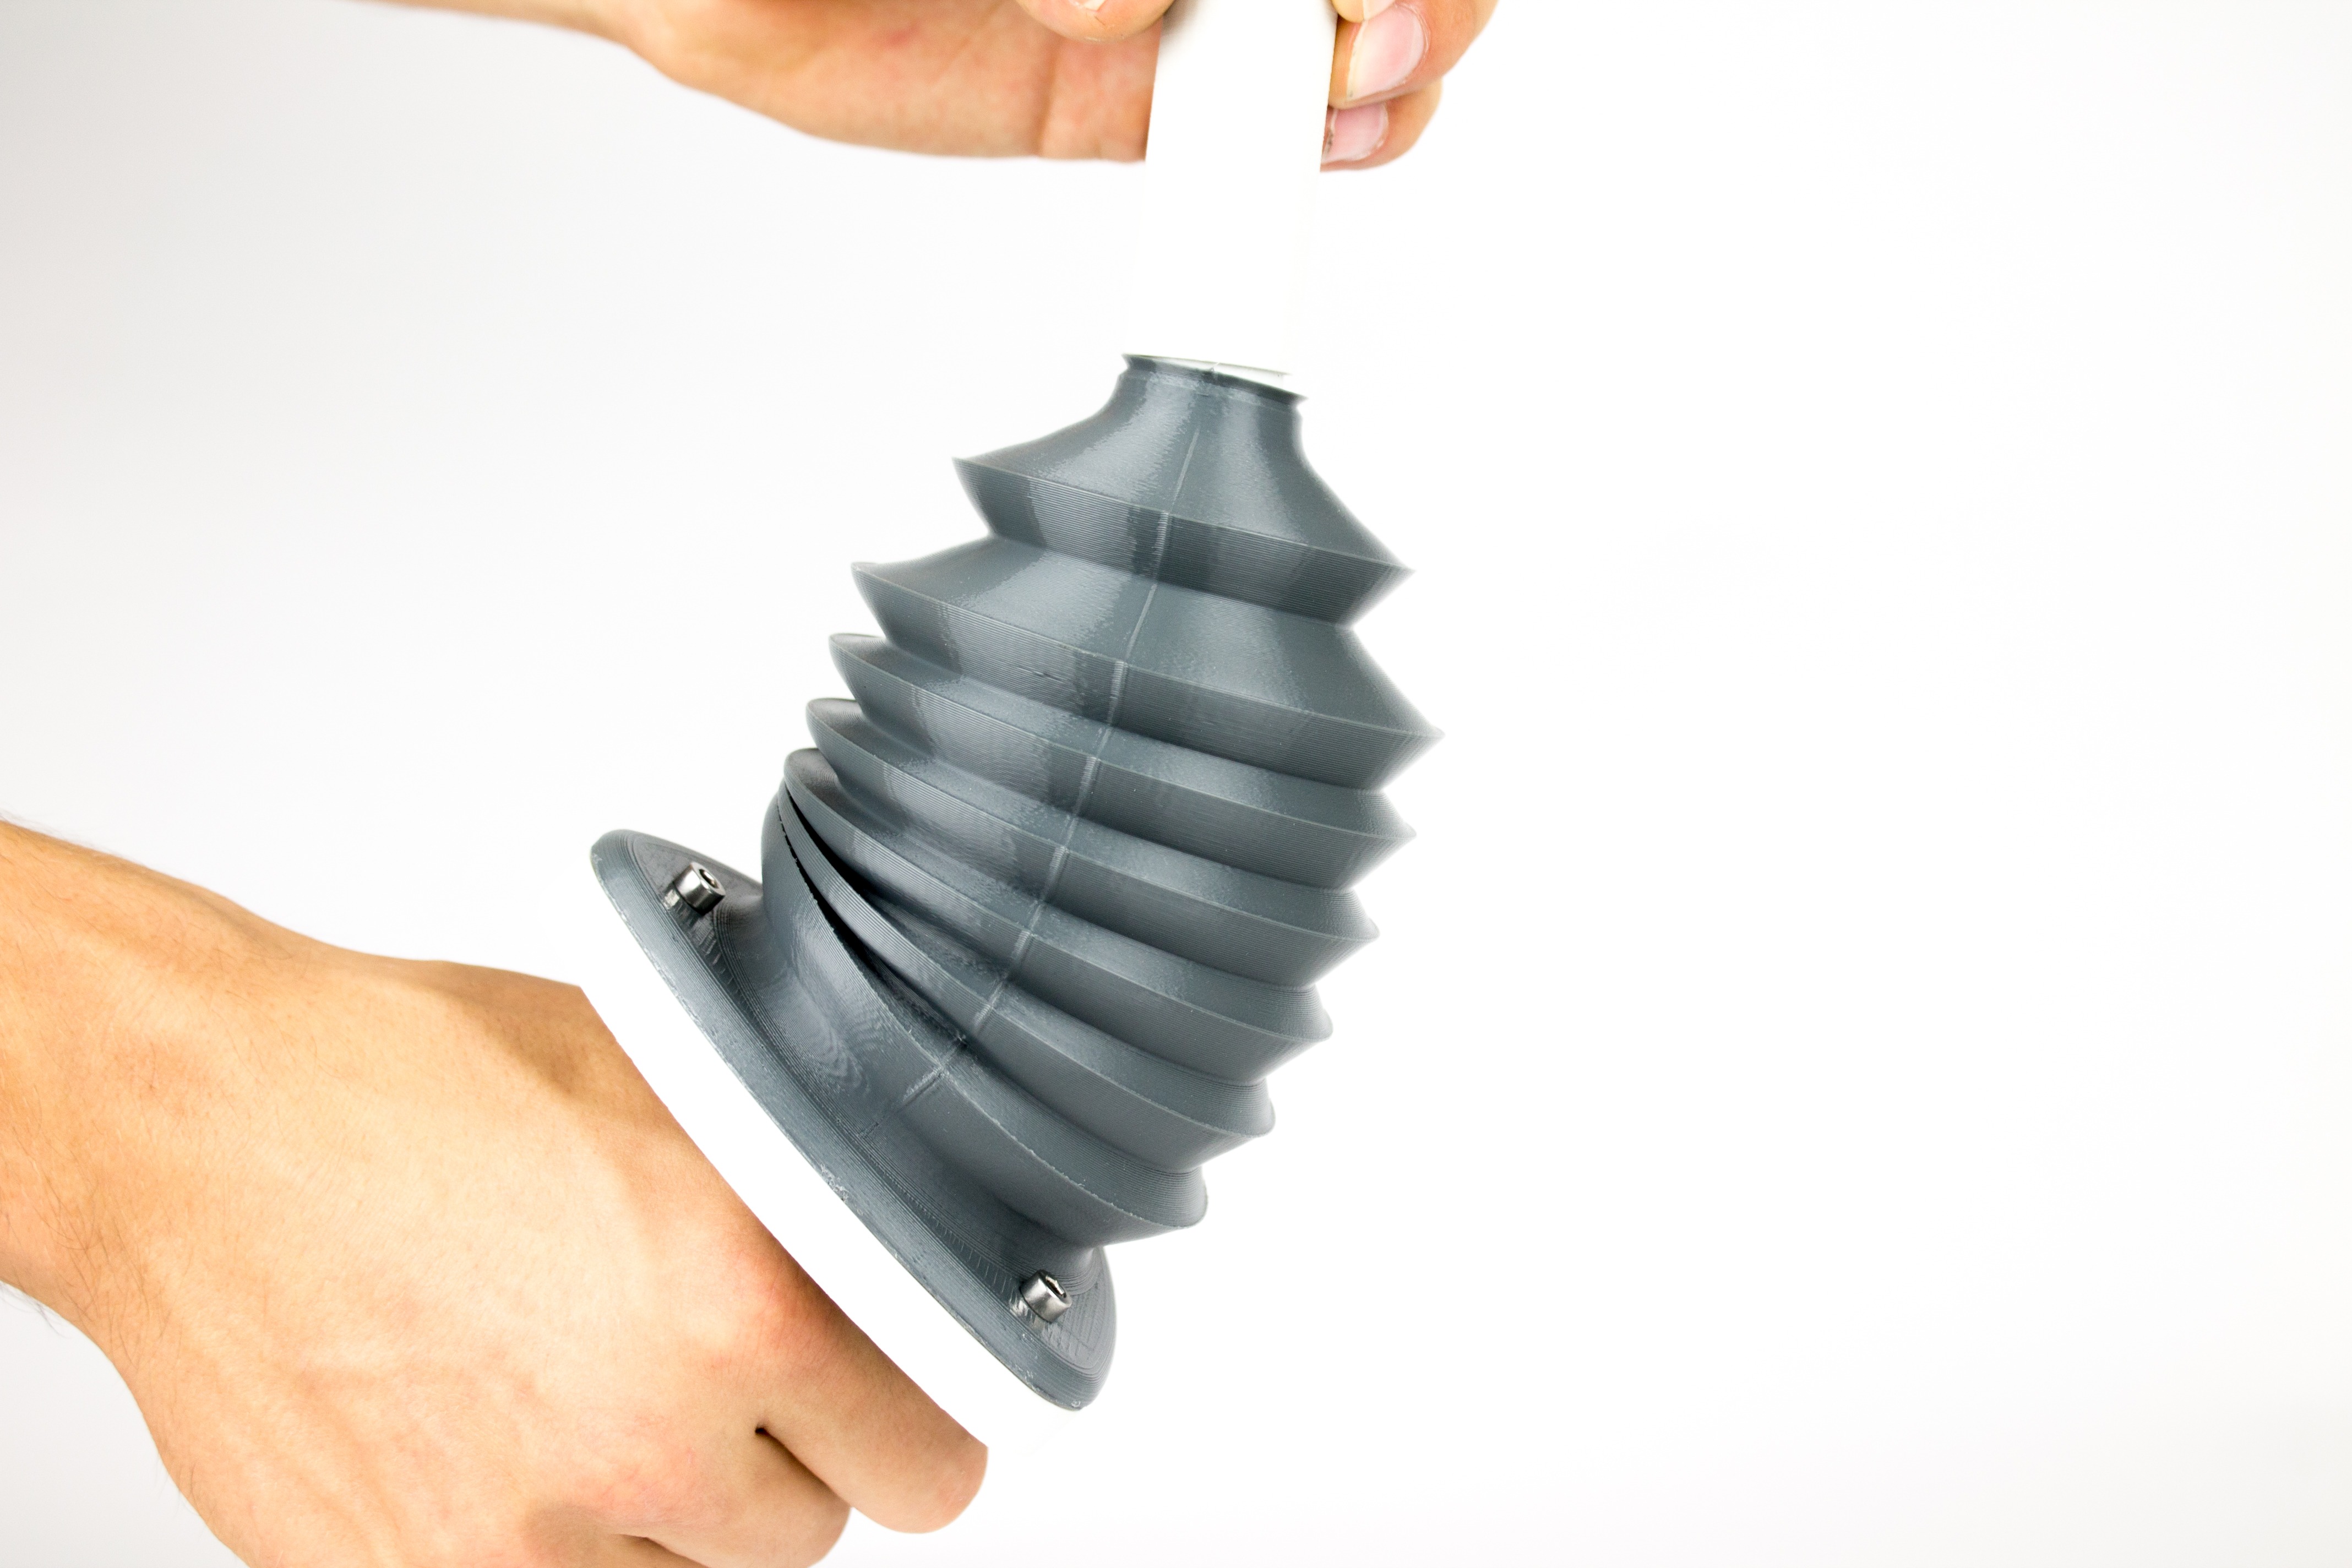
How to print with colorFabb nGen_FLEX
To get the best possible quality out of any 3D printing material it’s important to match the slicer settings with the material which is used. On this page we’ll run through the most important settings and suggest good starting values for various printers. If your machine isn’t in our list use the general recommended settings.
In the table below you can quickly find values for your machine, scroll a bit further down to read more about each settings.
[table id=12 /]
Heated platform – 80/100C
We highly recommend using a BuildTak plate for better adhesion. Parts which are likely to warp, either due to high infill, need for external cooling fans or due to the specific geometry of the model will get better results printed on a buildTak plate.
Advice on Using BuildTak – when printing on a brand new buildTak make sure the first layer is not pressed into the buildTak. There should be enough space between nozzle and buildTak, most likely more then you would normally use on a regular glass build surface.
Part removal from a BuildTak plate – when removing a part from the buildTak plate we advice to cool down completely and reheat to 80C. With a thin spatula, slide underneath the brim from all sides, then carefully continue with the rest of the model.
Build plate adhesion – most slicers will have the option for adding a brim around the printed object. We highly recommend to use this feature, removal after printing is very easy, the brim peals right off after making an initial cut.
Printing temperature – 240/260C
nGen_FLEX is processed at 240/260C on most 3D printers. This allows most 3D printers to achieve good flow and reach speeds quite similar to PLA.
To reach higher speed / output of material, you might need to increase temperature. The material handles higher temperatures very well.
Cooling
As always, for tough strong parts with excellent layer adhesion we recommend using 0% fan. However to improve overhanging surfaces, small details and top surface quality some cooling will be required. 50% would be a good start point for most 3D printers. If layer adhesion isn’t affected you will be able to increase cooling and maybe gain some print speed at the same time without loss of quality.
Minimal layer time
If you’re familiar with the minimal layer time setting then you’ll know this is what causes a printer to slow down when printing fine features on a model. Slowing down the print allows each layer to cool down a minimum amount of time. This is of course different for each material, because it depends on how fast a material can dissipate heat and how much heat needs to be dissipated.
For colorFabb_HT it’s also important to adjust the minimum layer time when you want to print without cooling for best layer adhesion.
Retraction
Before you start tweaking the retraction values make sure you’ve found the sweet spot in terms of printing temperature and speed for your machine.
PLA retraction values should be a good starting value for most machines. One can expect slightly higher values of retraction speed and retraction length. For more specific values have a look at our table above.
Coasting is a nice option included in Simplify3D. This is the act of stopping the extrusion just before a travel move is triggered, this helps get rid of the pressure in the hot-end and therefor also making a retraction move more effective.
Print speed
Most machines showed good printability of the nGen_FLEX material printing at PLA speeds, but at elevated temperatures of 250/260C. Whether you can print this fast also depends on the model, some models with overhanging surfaces, or small islands / details, can’t be printed fast due the cooling down of the layers.
