What is DPA-100
DPA-100 is a dissolvable polyacrylate support material. A mild alkaline solution is needed to dissolve DPA-100 support material. Unlike PVA our DPA-100 is less sensitive to moisture uptake and offers better shelf-life and print performance over time.
Our DPA-100 support material is engineered to match with a variety of materials which can’t be supported by PVA due to bad adhesion to the build material. DPA-100 shows strong adhesion to PETG, ABS, ASA, PC and PA materials.
This means the DPA-100 is uniquely suited to match our co-polyester filament offering, nGen, colorFabb_XT, colorFabb_HT and PETG. DPA-100 is not recommended for use with PLA as build material due to the relatively high water temperature needed for dissolution.

How to Print with DPA-100
General settings
In order to successfully print with DPA-100 make sure your printer and slicer are able to set the below recommended settings.
| Parameter | DPA-100 |
| Nozzle temperature | 230-250C |
| Platform temperature | 90-110C |
| Print speed | 40-80 mm/s |
| Cooling fan | 0% for best adhesion between layers |
| Standby nozzle temperature | ~190C |
| Platform material | PEI/BuildTak/Glass + adhesion promoter |
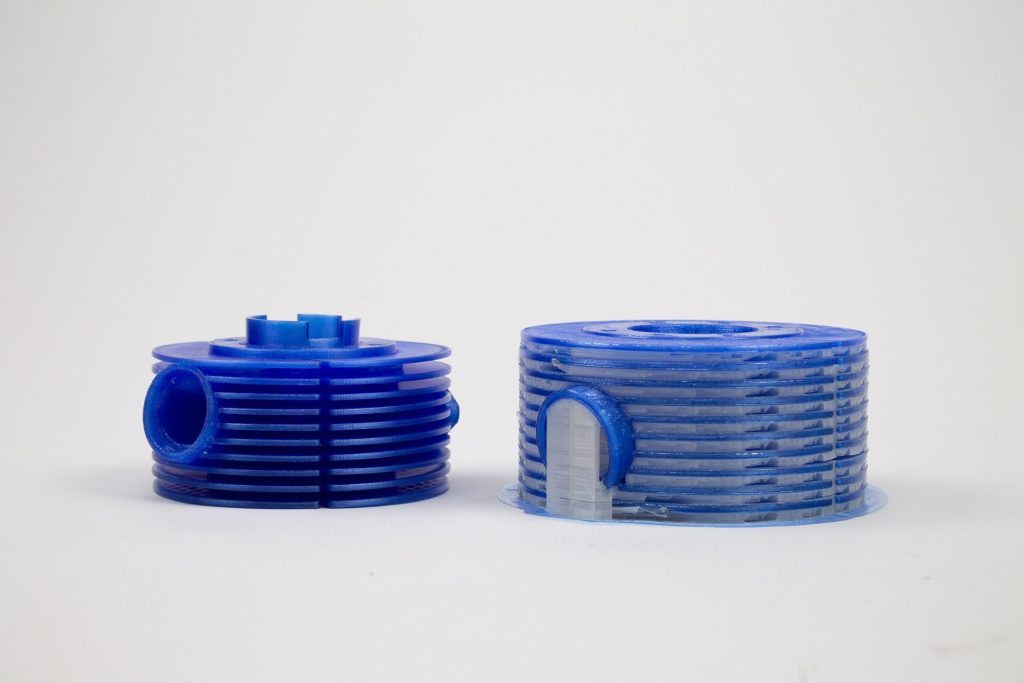
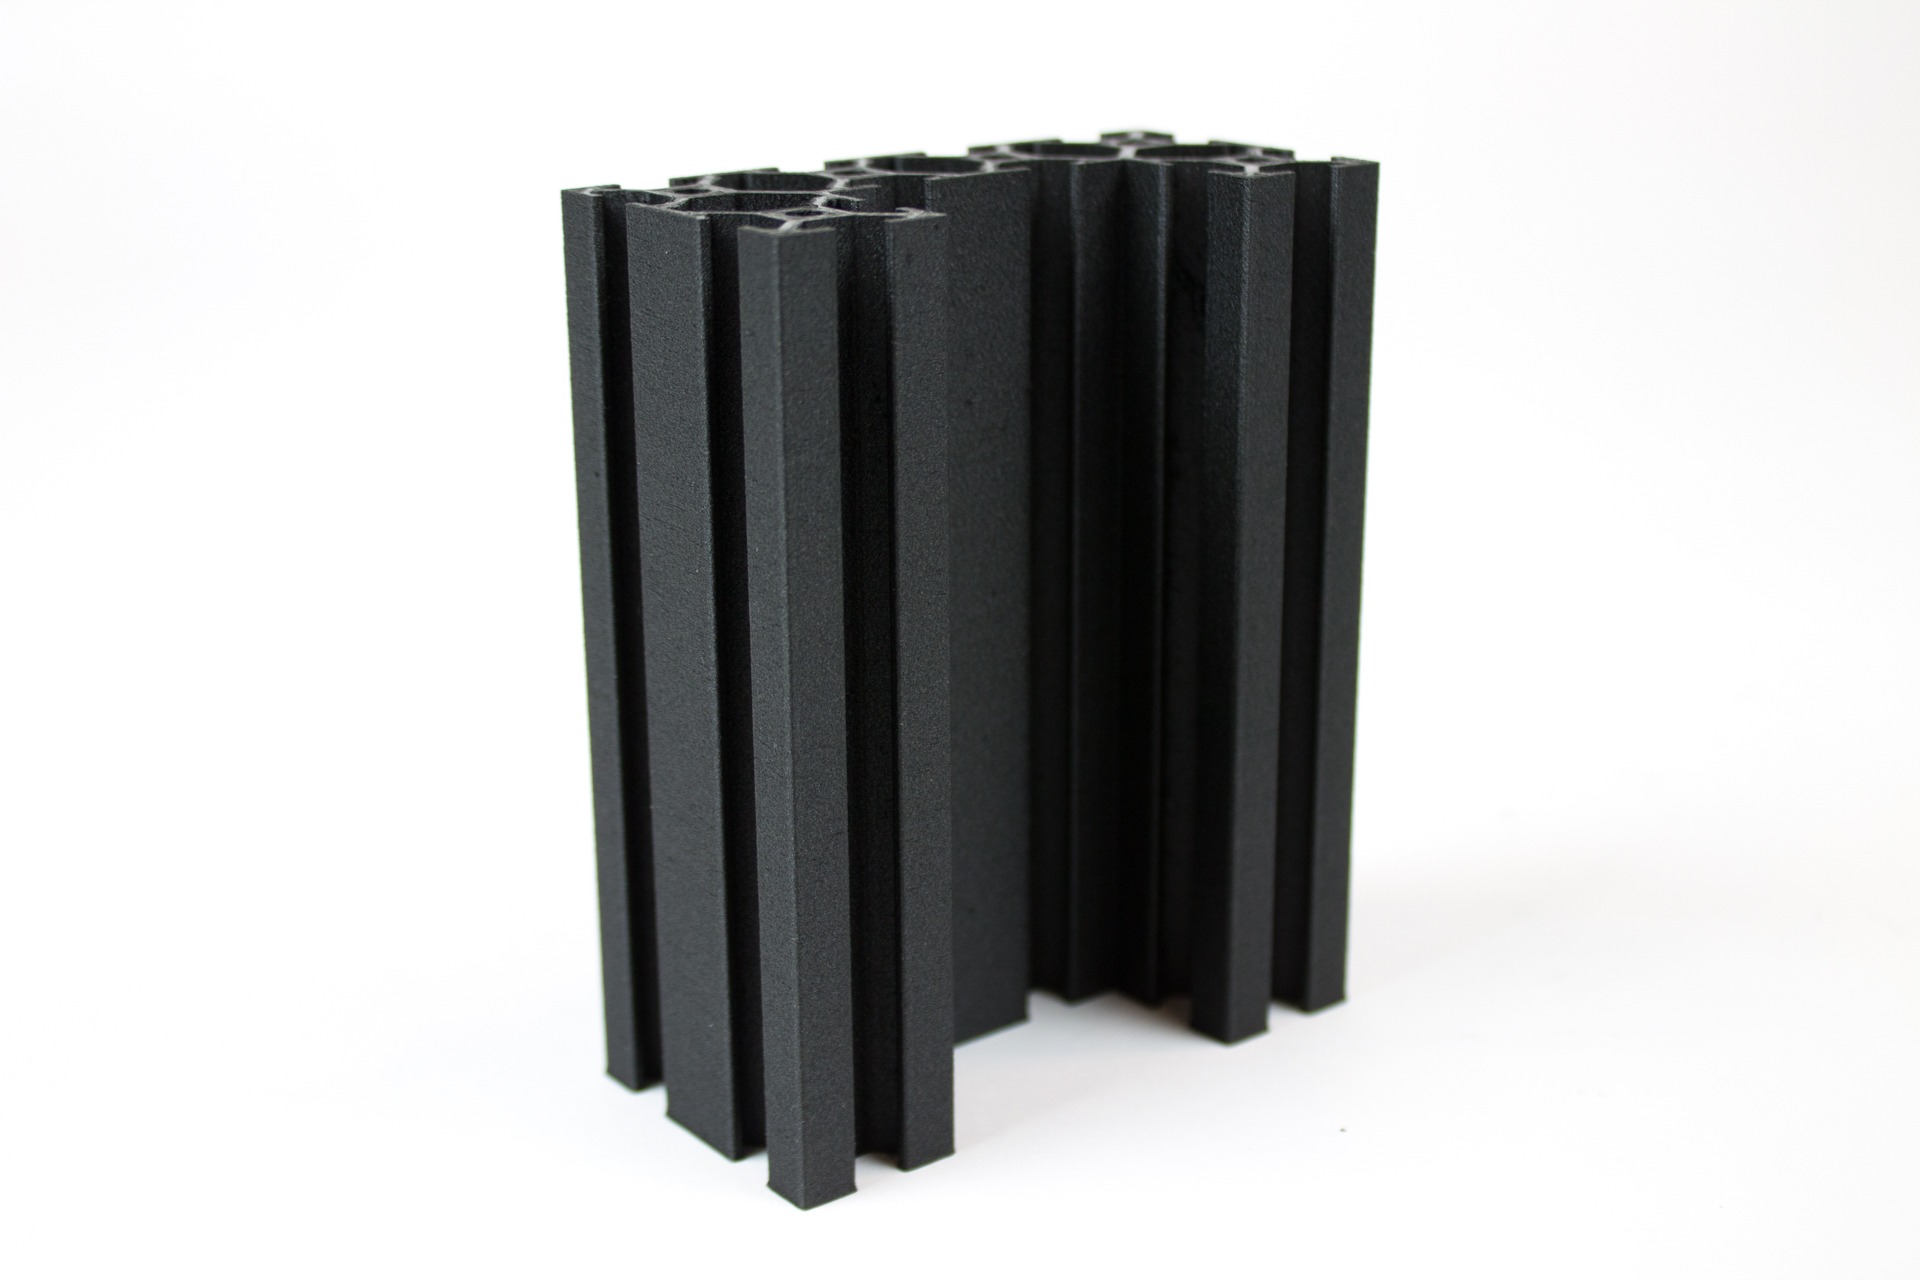
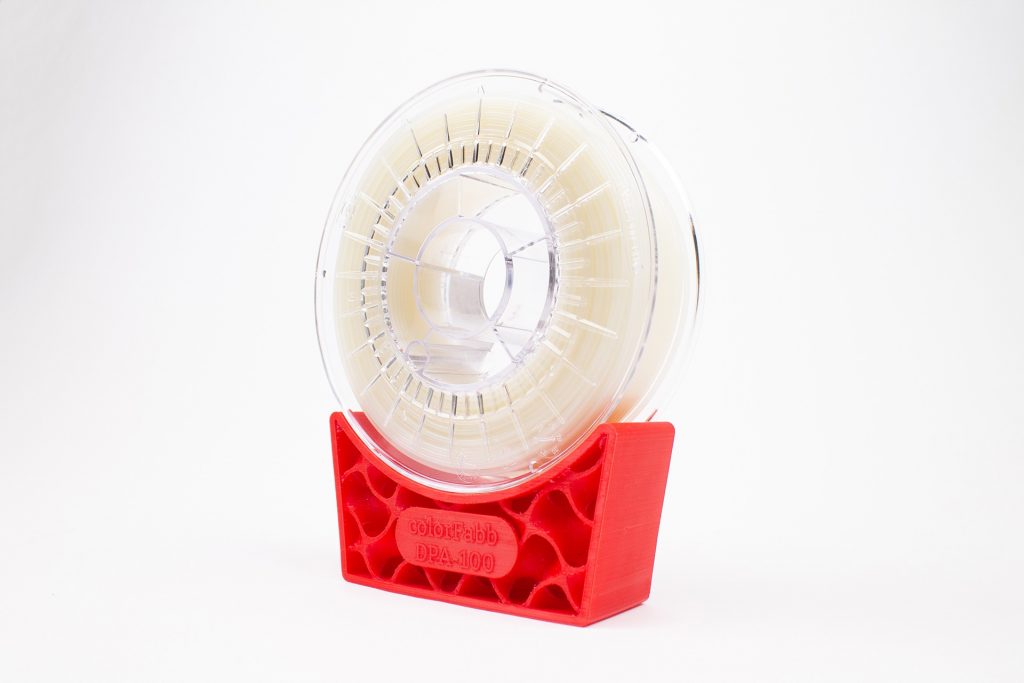
Design by Ken Schulze
Avoid layer delamination – DPA-100
Make sure the printing temperature is high enough so you avoid the support structures from delaminating during the print. For most machines we would recommend printing temperature of 240-260C, if your printer doesn’t feature a closed build chamber you would likely print at the higher range to avoid delamination of layers during the print.
If you do have a heated chamber, the temperature can be set to 70-90C. Without heated chamber the recommendation is to have the Platform temperature set to 90-110C.
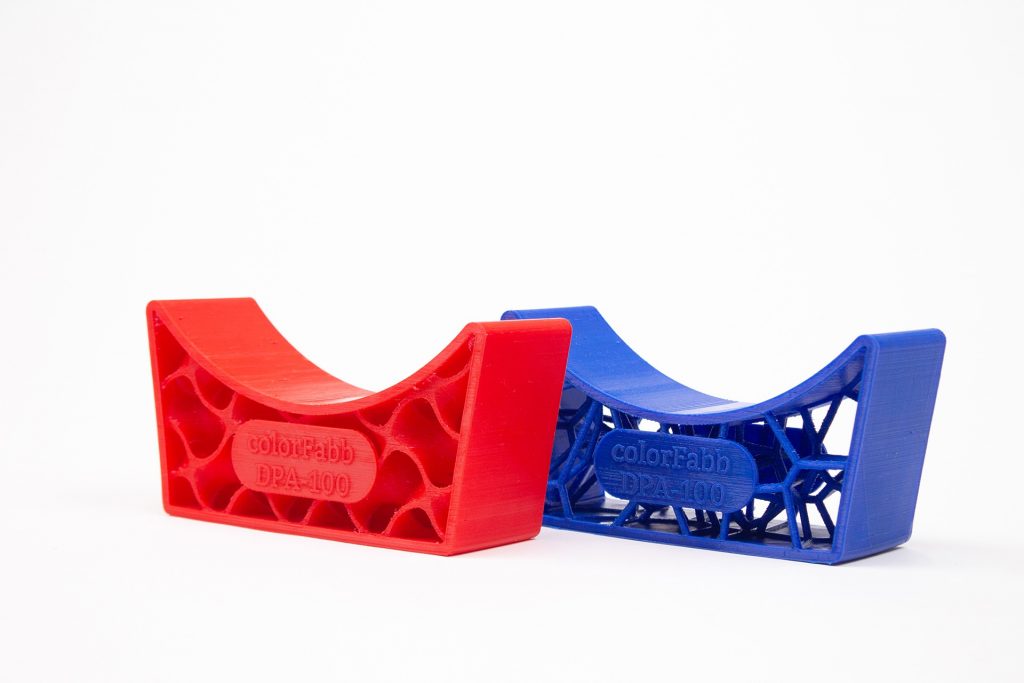
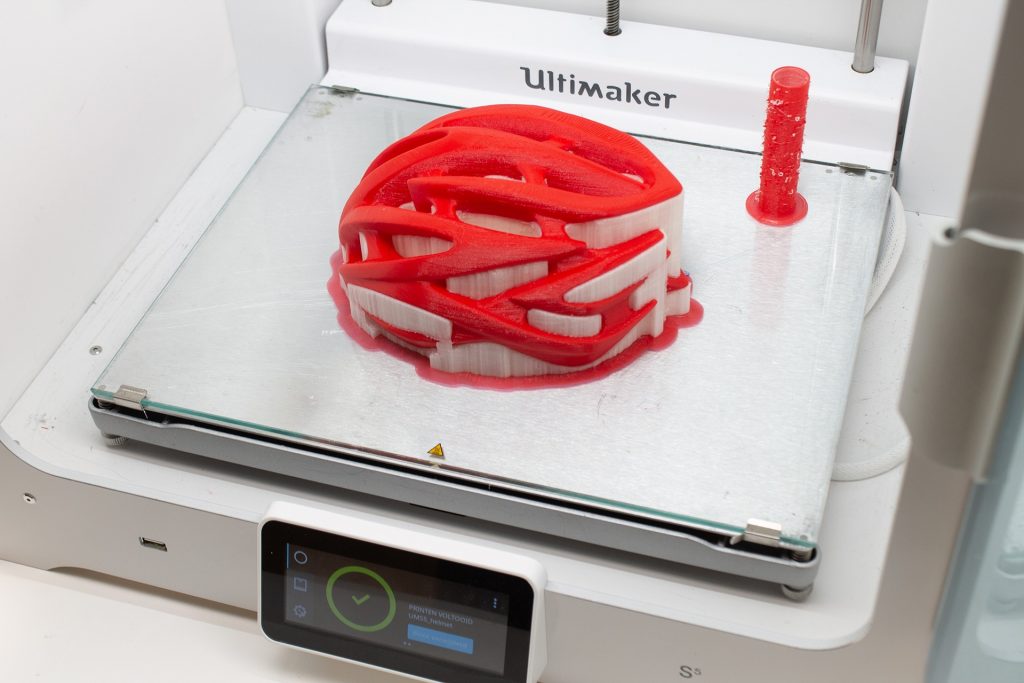 Print a brim!
Use a brim around your model and support structures. If your slicer has the option select the build material to be used for printing the brim. This will help to keep the DPA-100 support structure in place. This is useful for thin and tall support beams to make sure these won’t tip over during the build. It also reduces warping of the DPA-100.
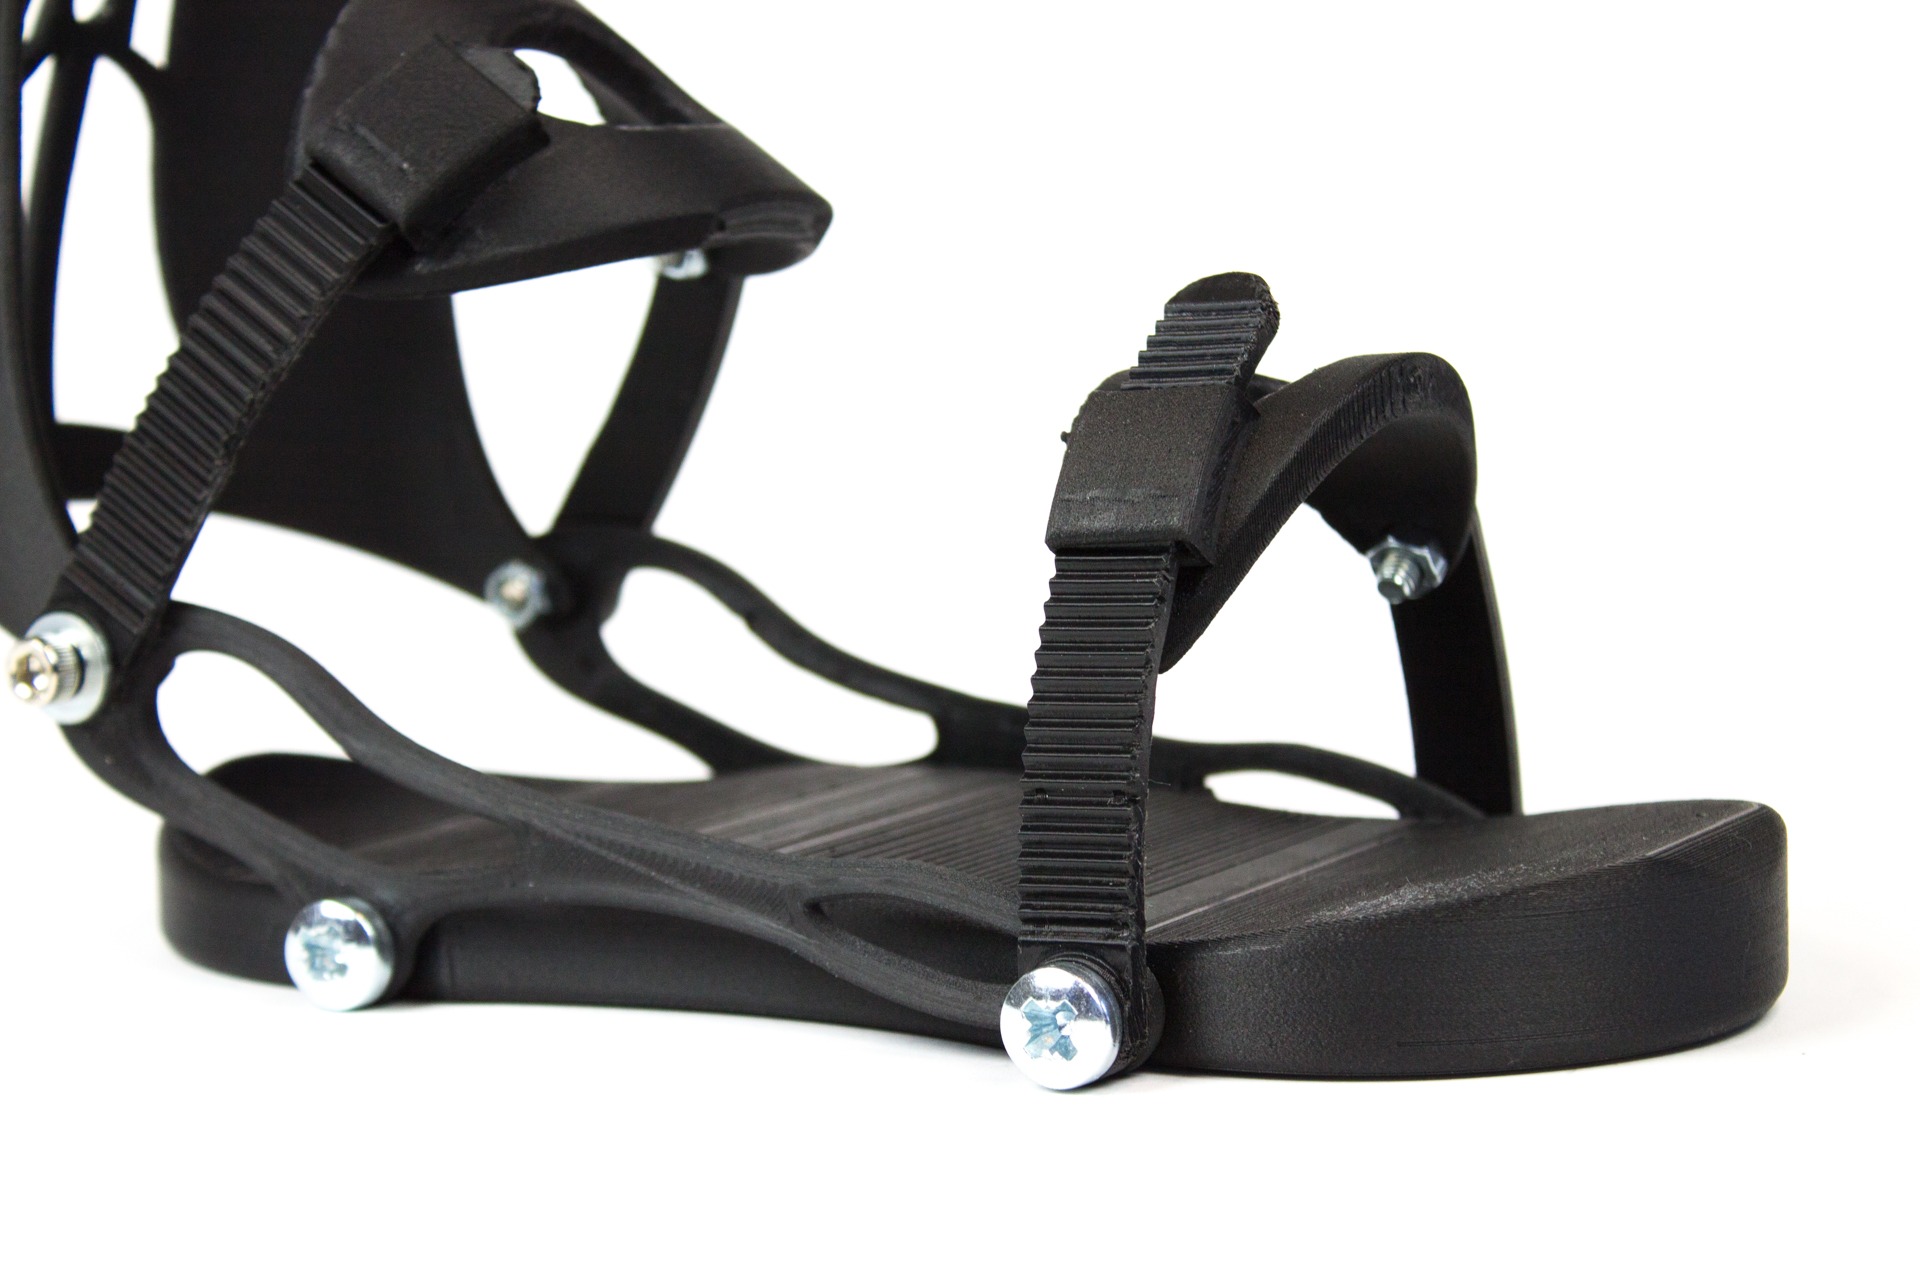
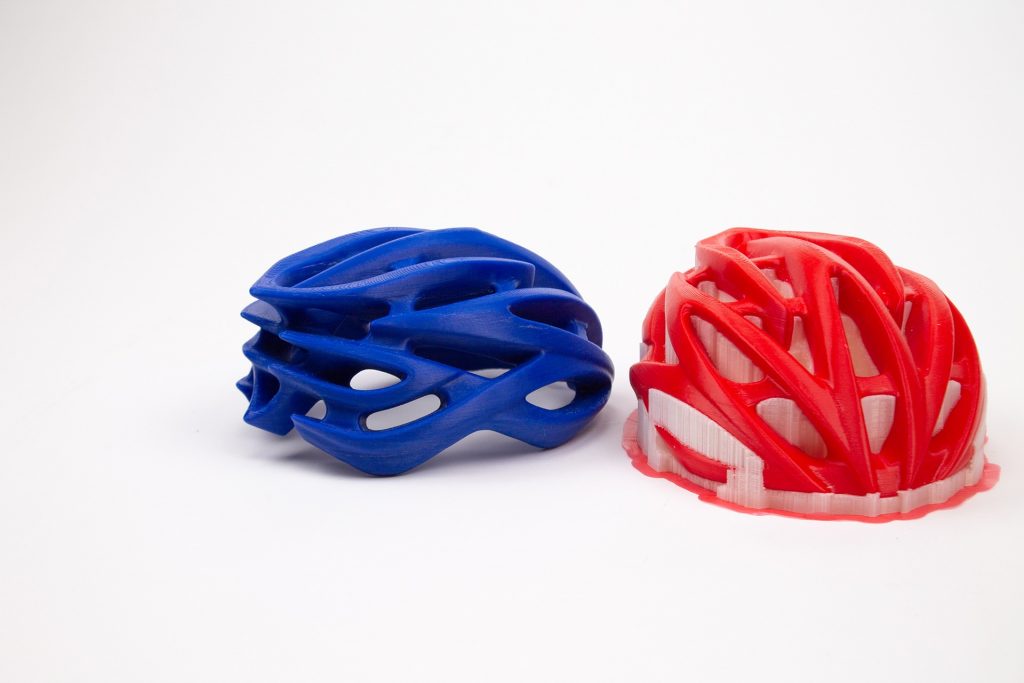
Design by Christopher Tenelsen
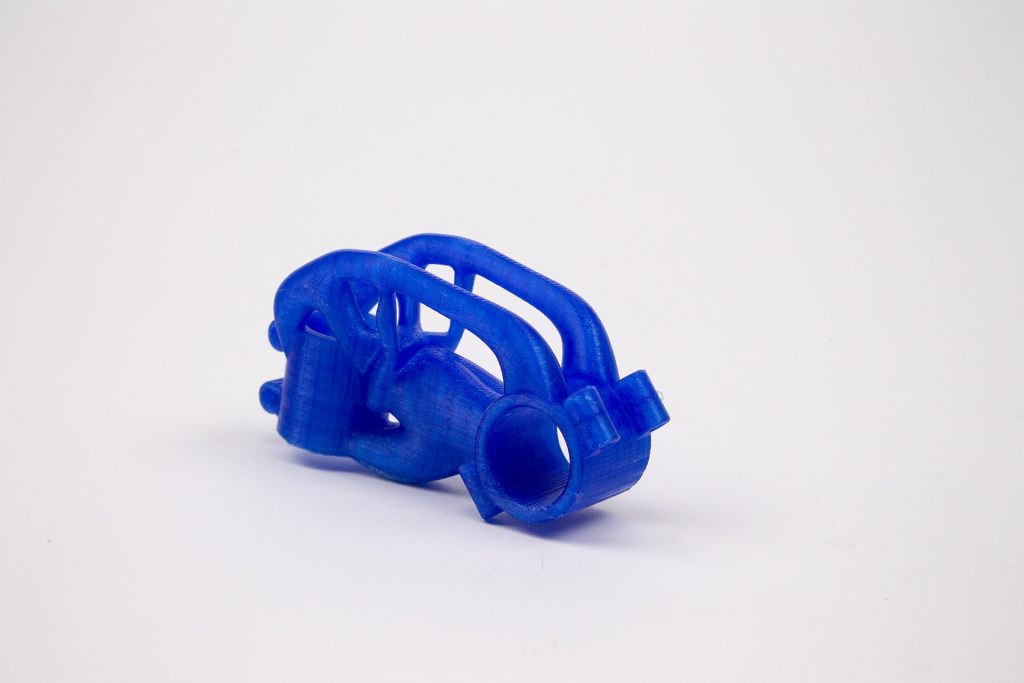
Solid support interface layer and 0 offset.
This might not be a surprise for most users, but make sure to enable the interface support layers and make these solid for the best surface quality on the build material. In our testing we also set the support structure offset to 0, to ensure best chance of good adhesion between support material and build material.
Which materials does DPA-100 support.
| Match | Hotend temp Support | Bed temp | |
| nGen | Yes | 250 C | 90C |
| colorFabb_XT | Yes | 250 C | 90C |
| colorFabb_HT | Yes | 260 C | 110C |
| PETG Economy | Yes | 250 C | 90C |
| Generic ABS | Yes | 250C | 100C |
| Generic ASA | Yes | 250C | 100C |
Our DPA-100 support material is engineered to match with a variety of materials which can’t be supported by PVA due to bad adhesion to the build material. DPA-100 shows strong adhesion to PETG, ABS, ASA, PC and PA materials.
Prepare your prints
For a faster dissolving cycle try to remove as much support material before putting the model in the dissolving device. Wear eye protection and gloves when removing support material. If your model has fine detailed features do not try to attempt removing support material, you will risk damaging the model.
It’s good idea to keep note how much support material is removed so you know how much is going to be dissolved. Once the alkaline solution is saturated it can’t dissolve anymore support material and you will need to renew the alkaline solution.
How to dissolve DPA-100
In order to dissolve DPA-100 you need a mild alkaline solution which is heated and stirred. At higher temperature DPA-100 will dissolve faster than at lower temperature. The temperature you choose depends on the temperature resistance of your build material. In general 20c below the temperature resistance of your build material is a safe settings. Thicker models would be less likely to deform and can handle temperatures closer to softening temperature. The minimum pH value for the alkaline solution is >10. We recommend using our DPA Detergent for making the alkaline solution.
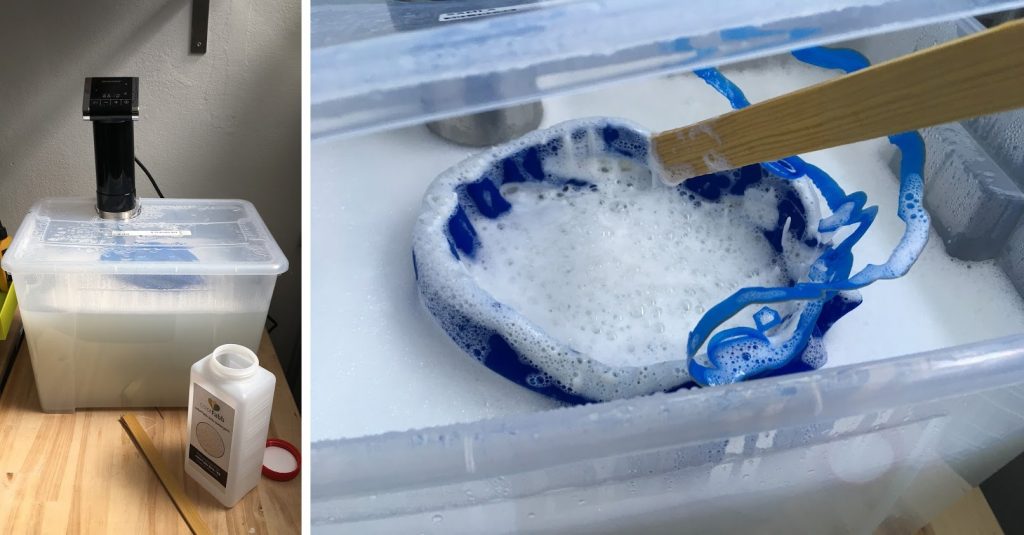 At colorFabb we experimented with a low cost set-up for dissolving DPA-100. We used a sous-vide stick and a plastic containter with lid. The sous-vide stick will heatup the water to desired temp and circulate water.
 The process step by step:
- Fill up your dissolving device with water, use 4 l of water to dissolve 100 g of DPA deterent.
- Heat the bath to the required temperature and start the recirculation process.
- You can add your models as soon as the bath has reached the correct temperature and DPA detergent has been dissolved in water.
- The dissolving process usually takes between an hour and 9 hours, depending on the amount of DPA-100 supportmaterial being dissolved, the geometry of the model and the temperature of the water. It’s a good idea to periodically check the process and if necessary change the position of the model in the device. Make sure the model is submerged for the duration of dissolving DPA-100 support material.
- When the support material is full dissolved, let the model dry for at least 15 minutes, rotating the model a couple of times to make sure the detergent can drain off.
- After initial drying, rinse the model thoroughly using warm, running water to remove the remaining detergent and then let dry completely.
- After completely drying white residue could appear, if so, put the model into a warm (30 – 50 °C) water bath for at least one hour. Add rinsing agent for dish washers to speed up the process.
- 1 kg of DPA-100 can dissolve at least 1 kg of support material. The more support material is dissolved, the slower the material will be able to dissolve. It’s a good idea to keep track of how many grams of support material has been dissolved so you know when to renew the alkaline solution.
- Before disposing the solution, it must be neutralized. For this, we recommend 5 – 10 g citric acid per litre of used up solution. When foam formation occurs, the solution has reached a neutral pH area.
- The detergent, dissolved in water, produces a mild alkaline which usually, together with the dissolved support material, can (in limited quantities) be disposed of via the wastewater. Please check your local regulations. You can acquire our waste profile datasheet by contacting support@colorfabb.com
For complete operating instruction on using DPA Detergent please click here.
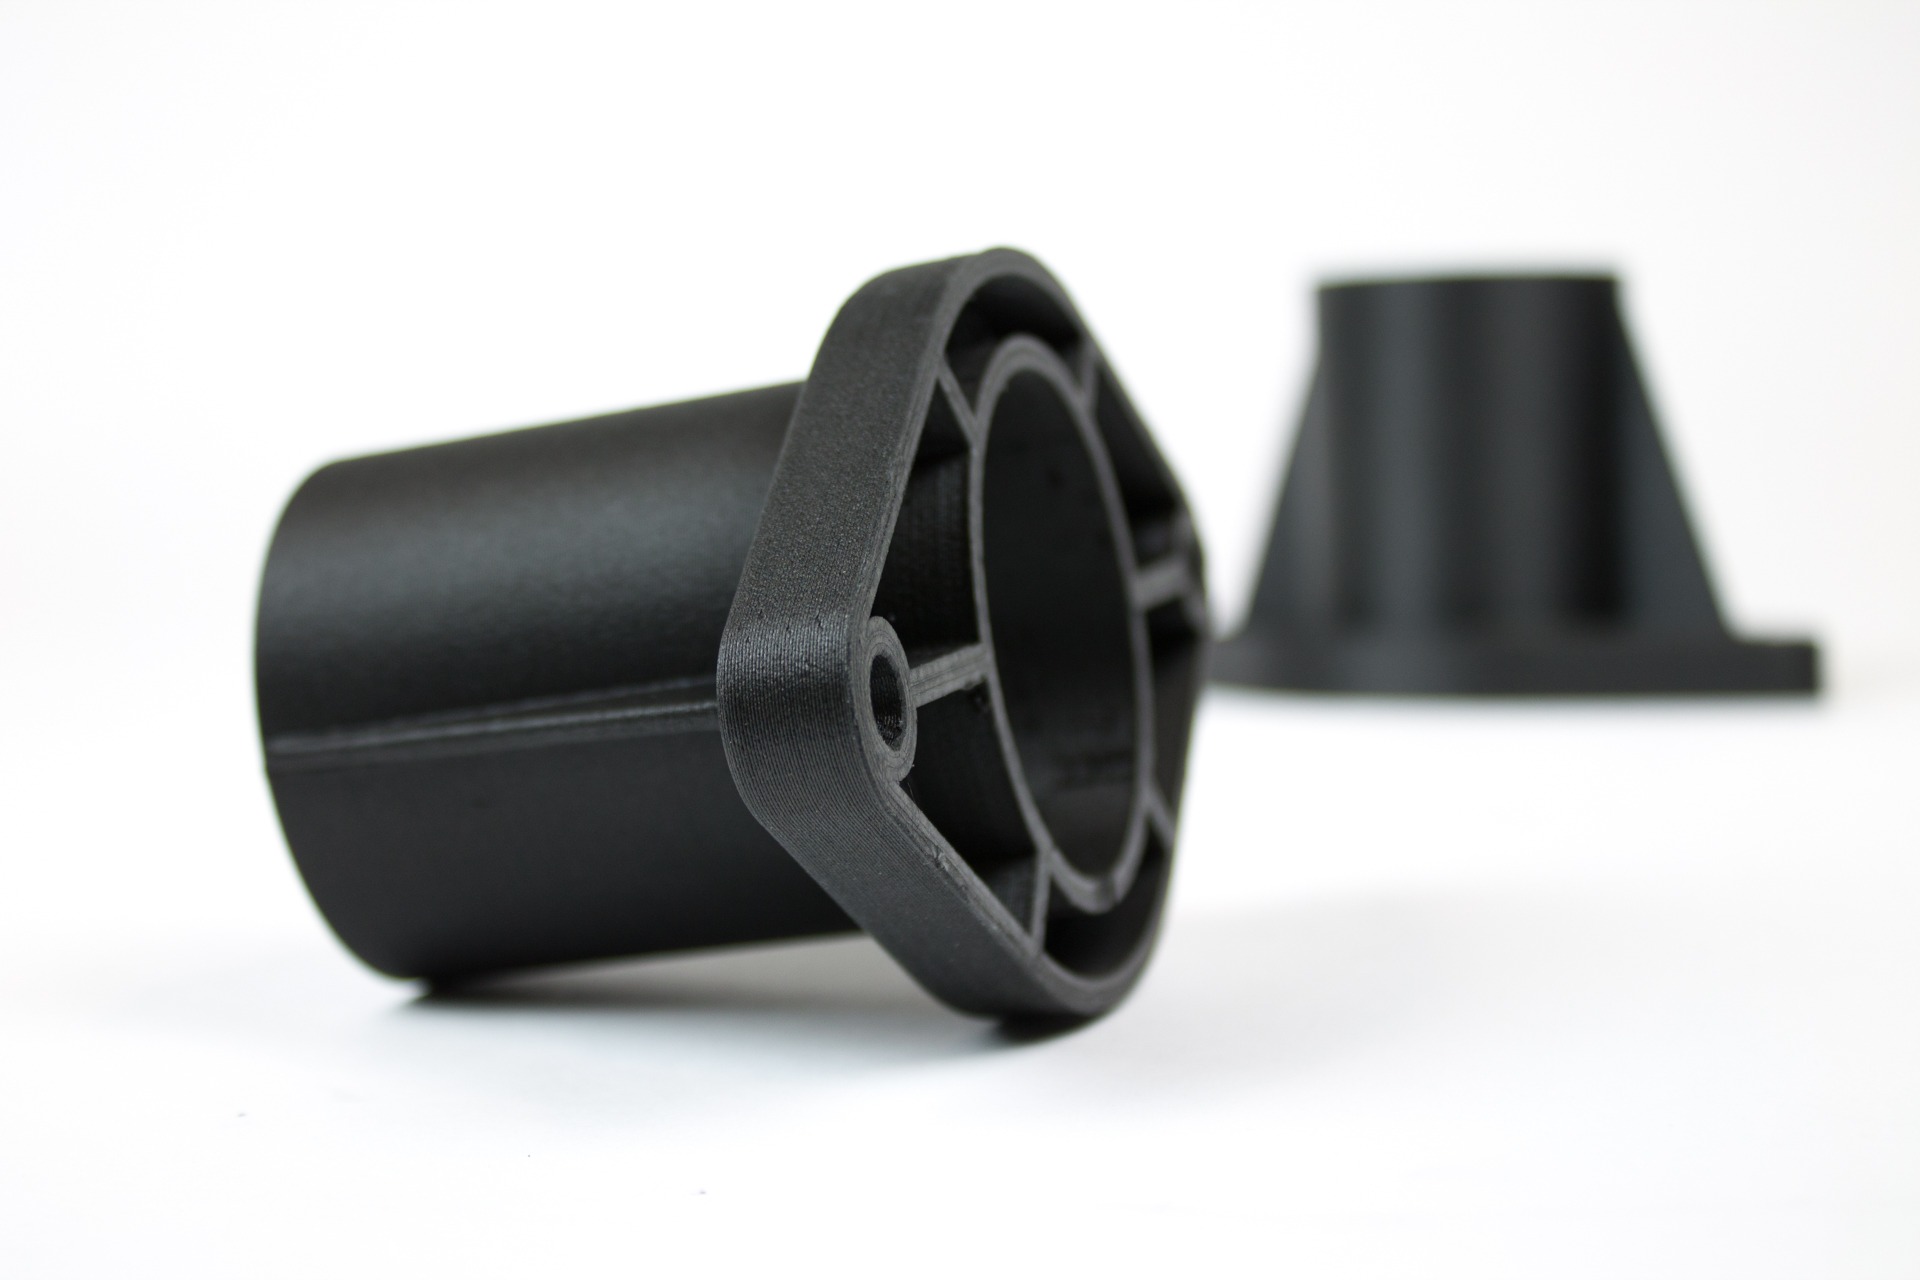
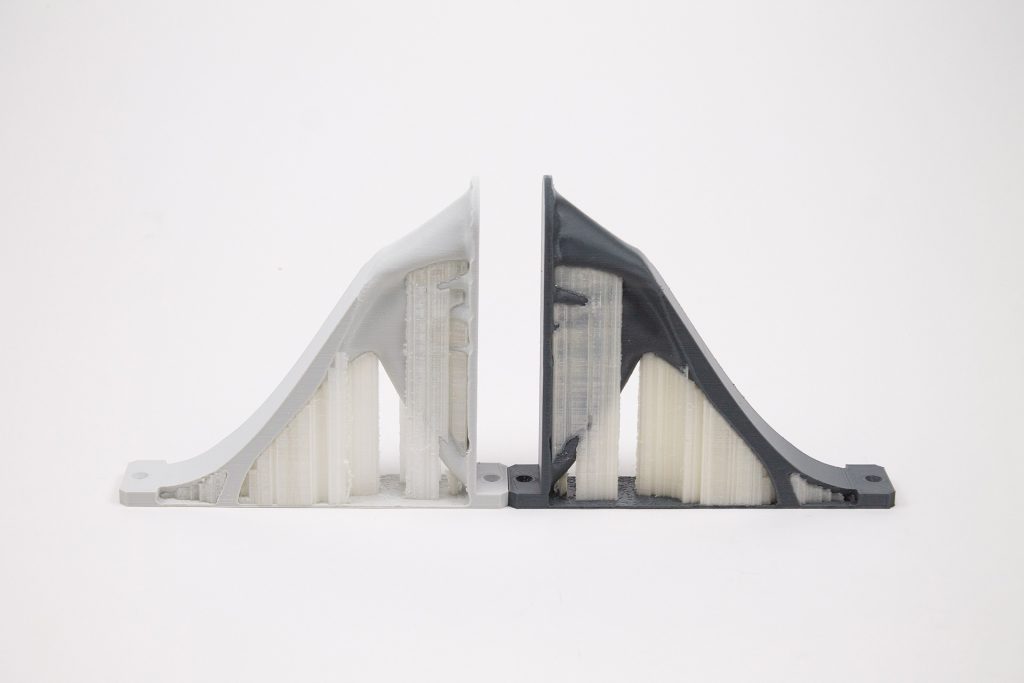
Design by ISIFC