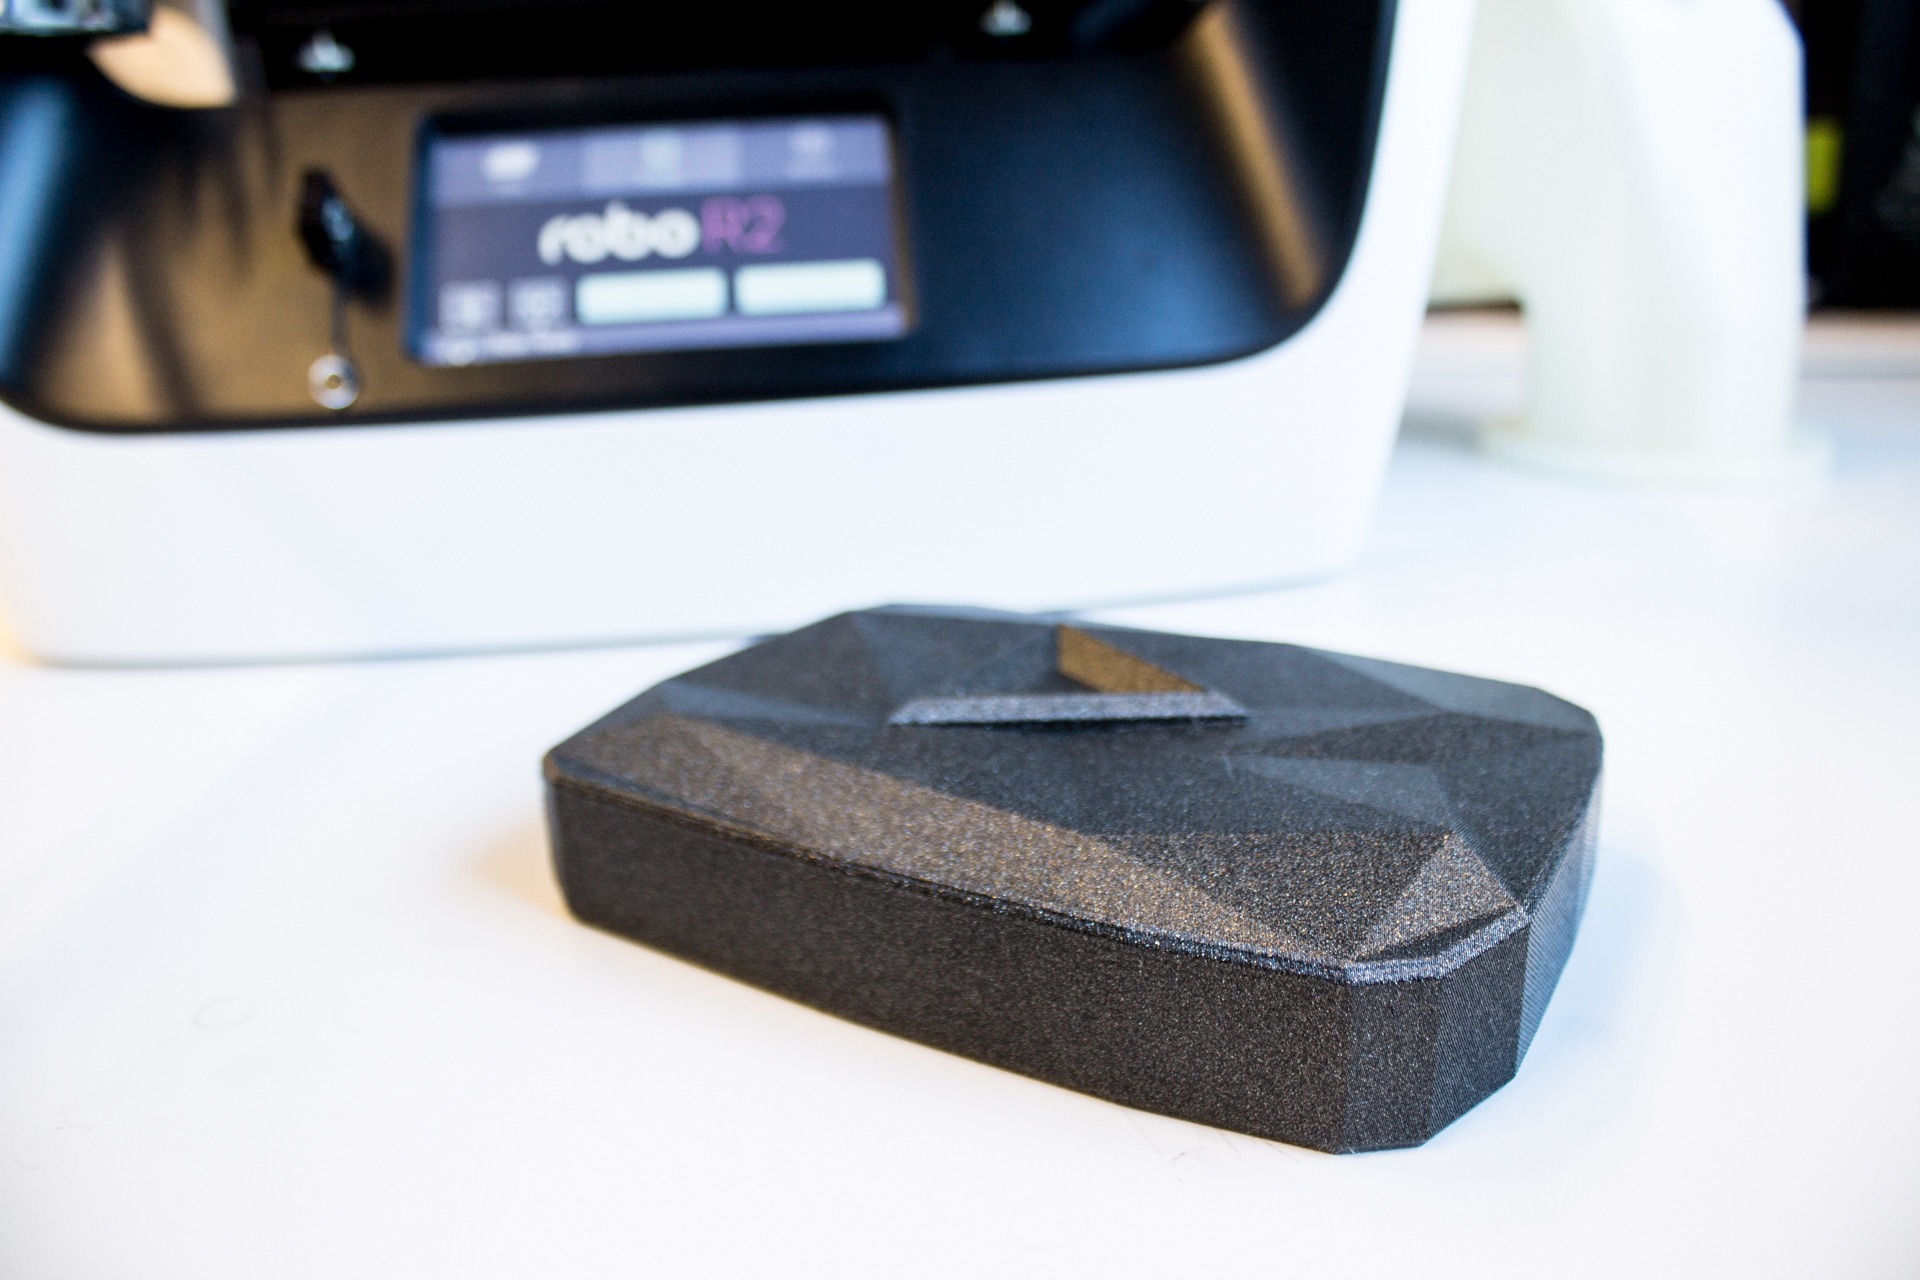
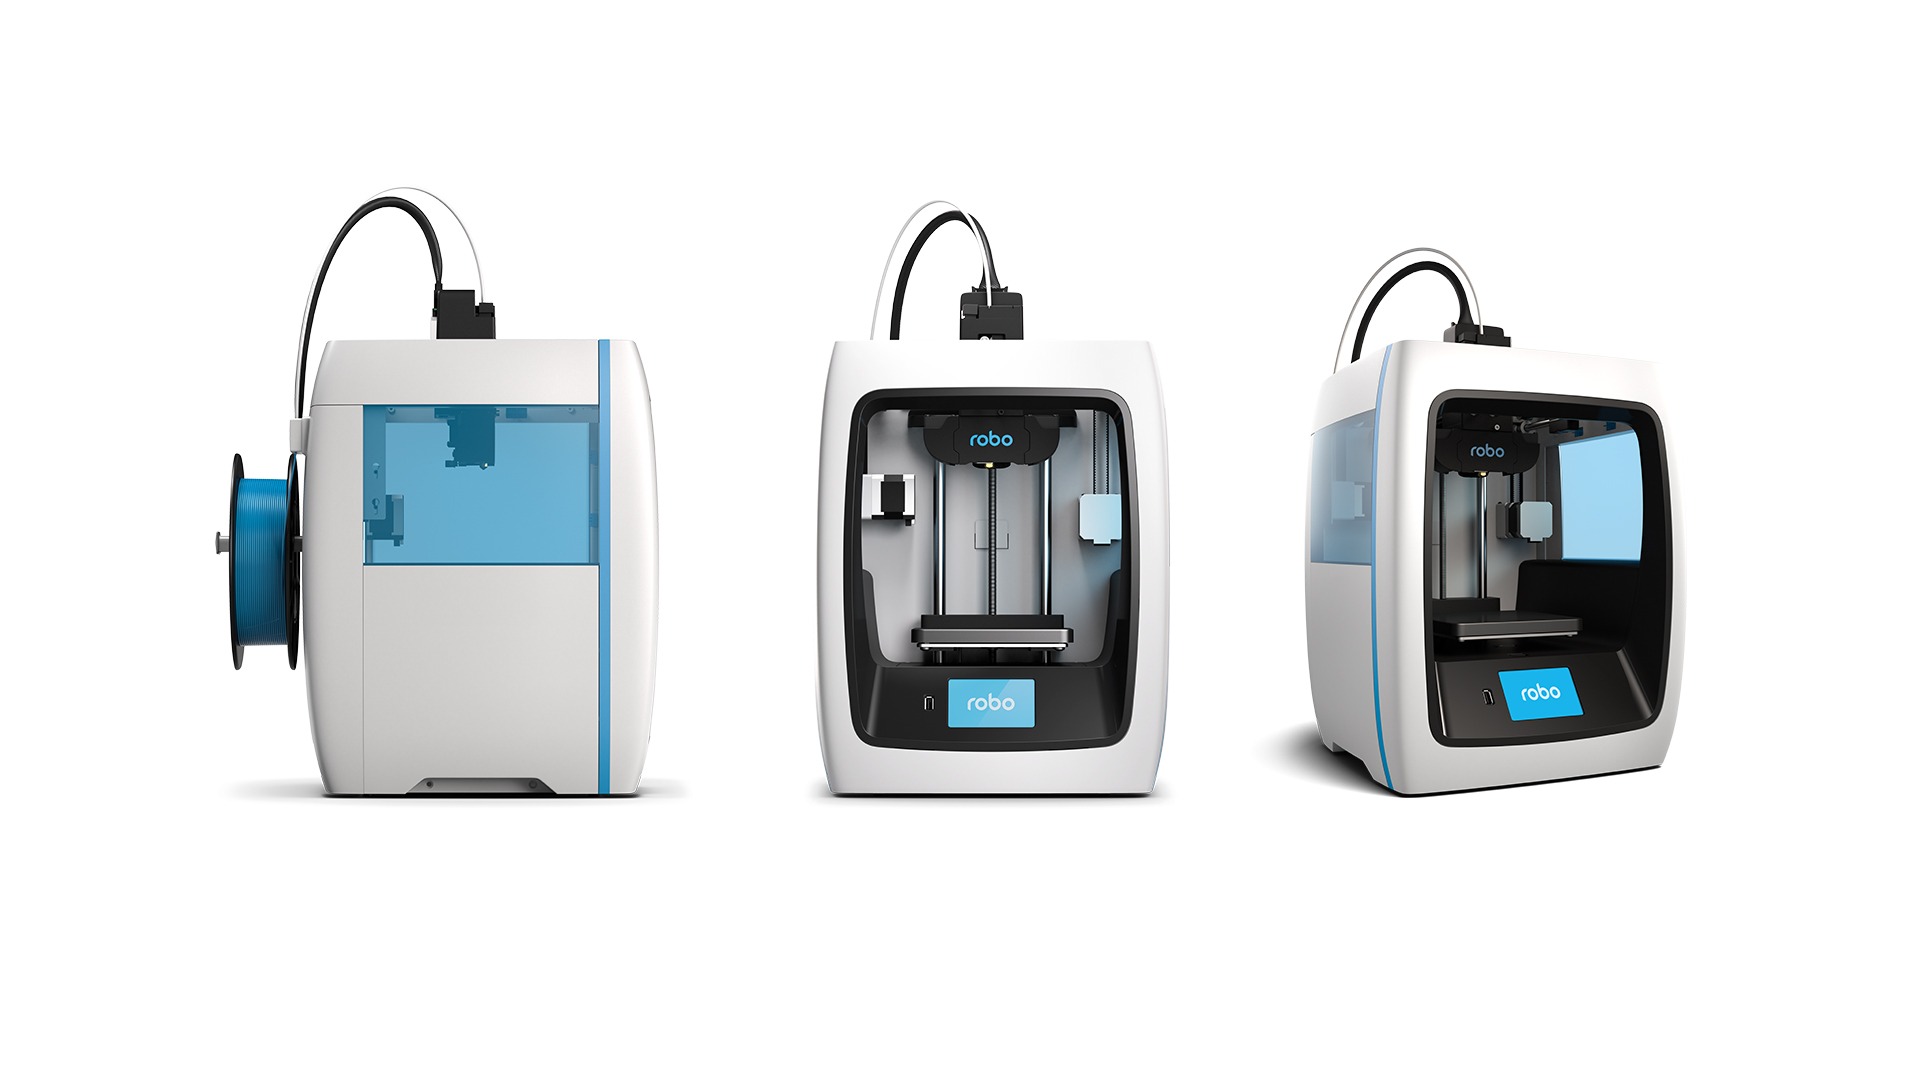
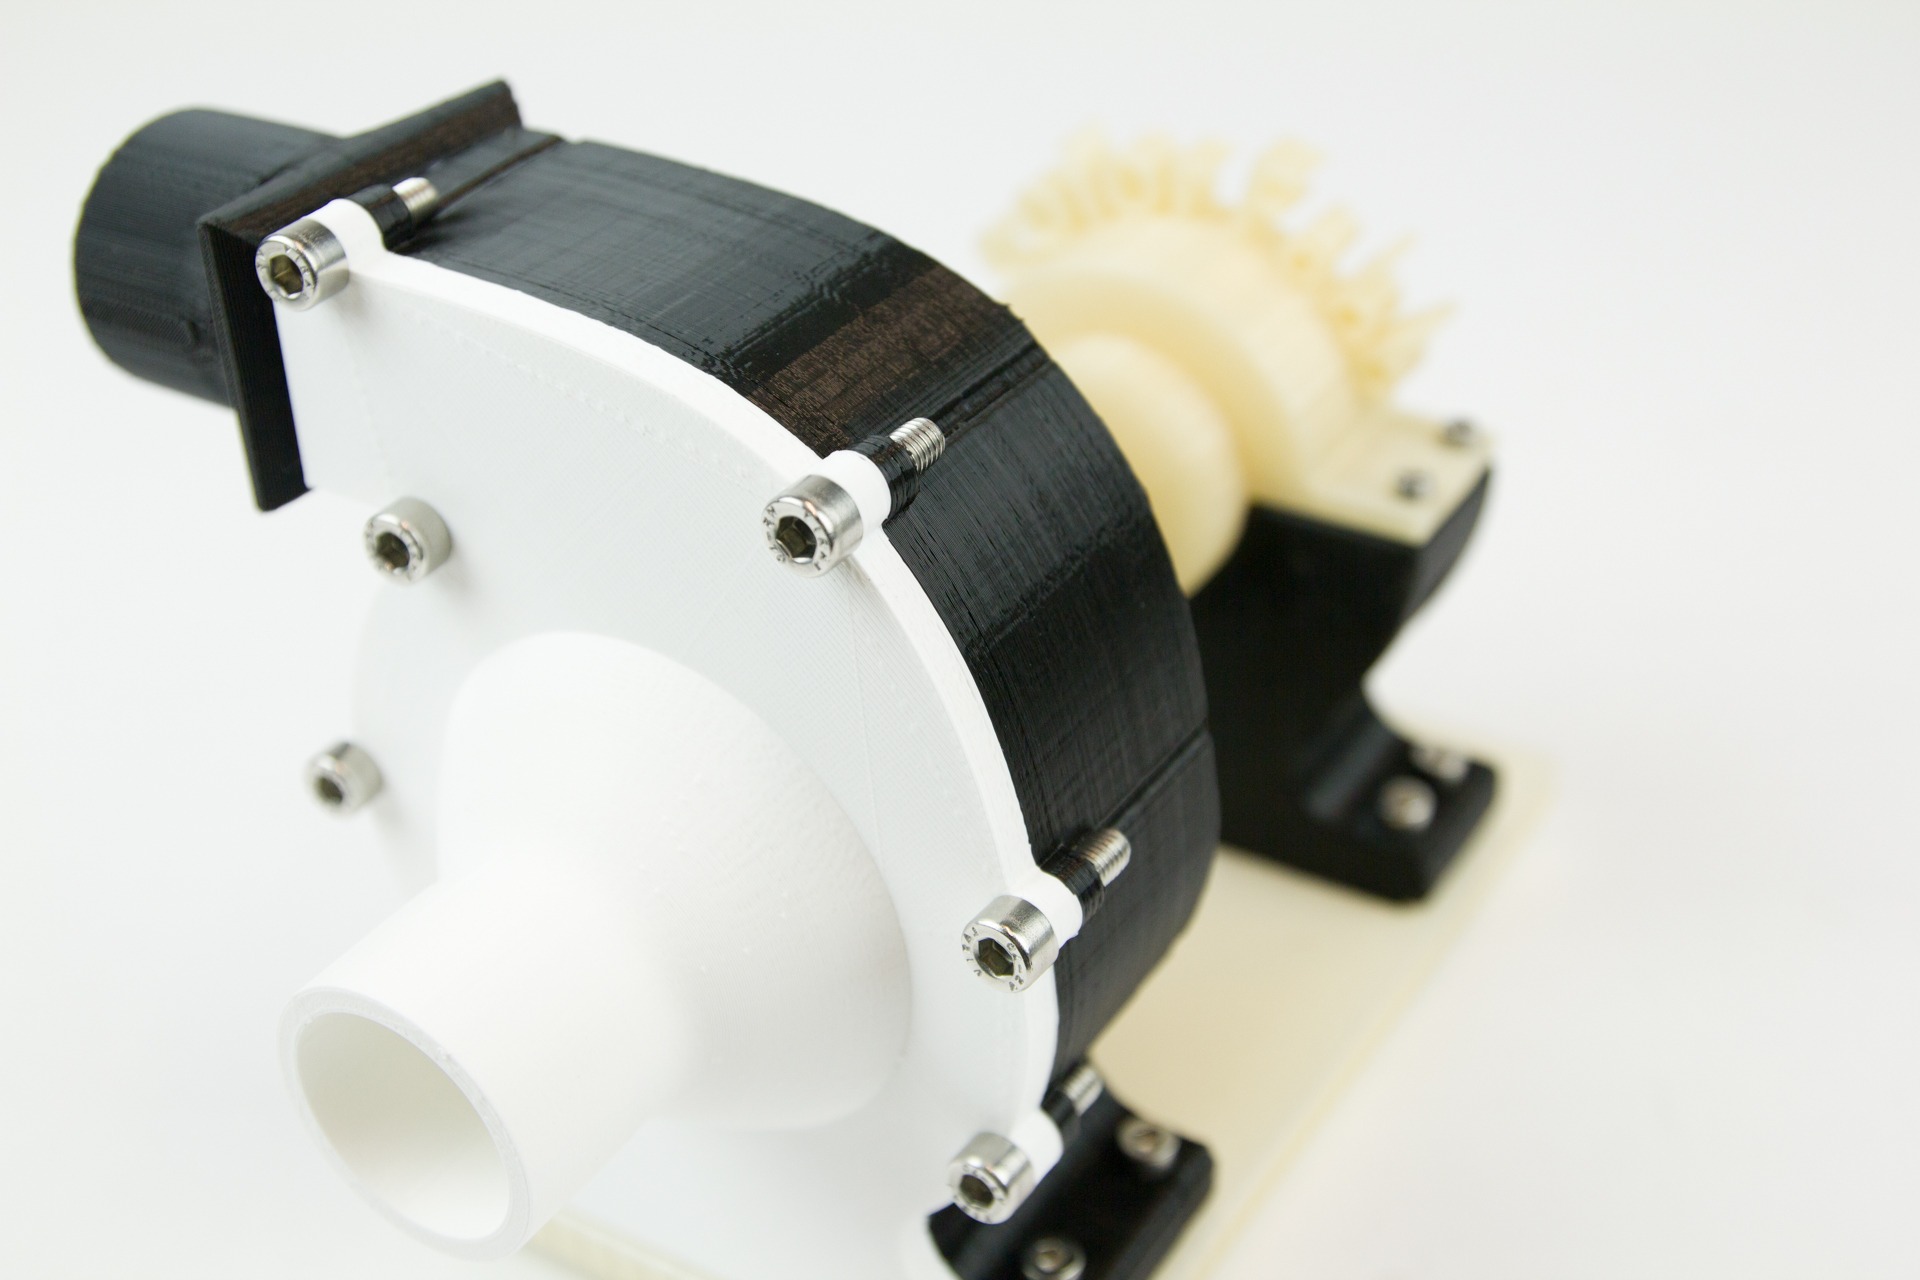
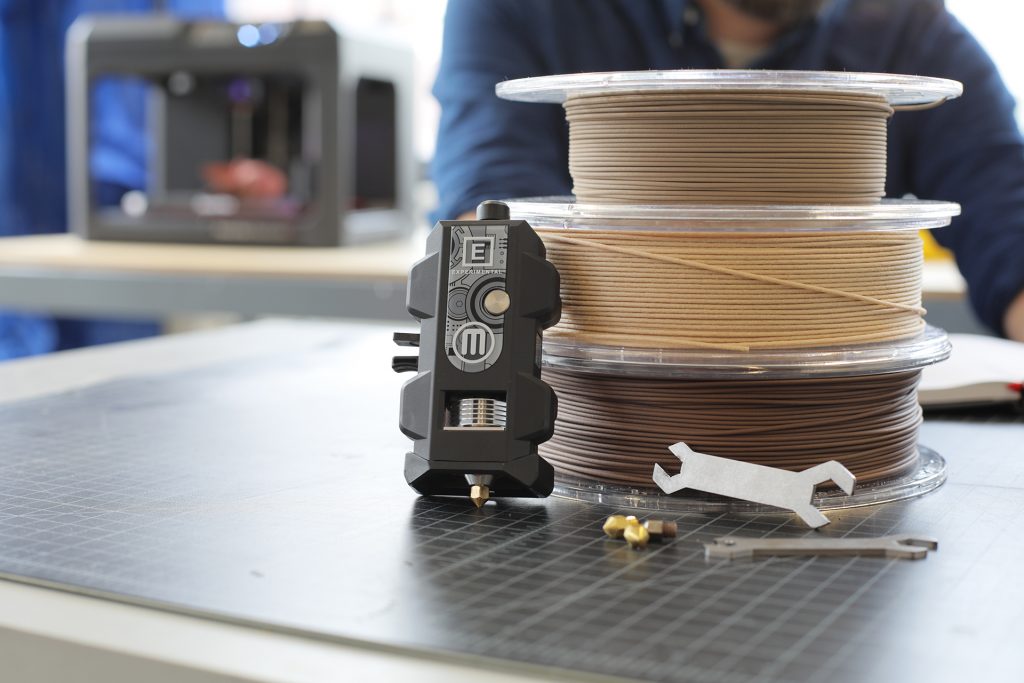
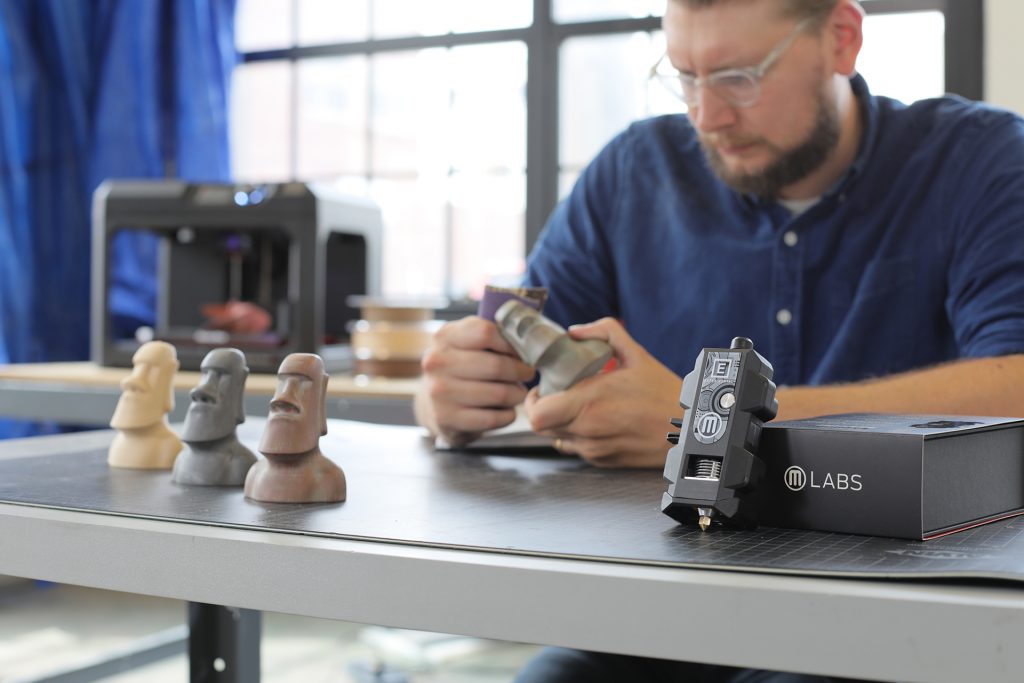
The MakerBot Labs Experimental Extruder.
The MakerBot Labs Experimental Extruder is an exciting new offering that brings MakerBot’s current selection of 3D printers into the world of experimentation and custom creation.
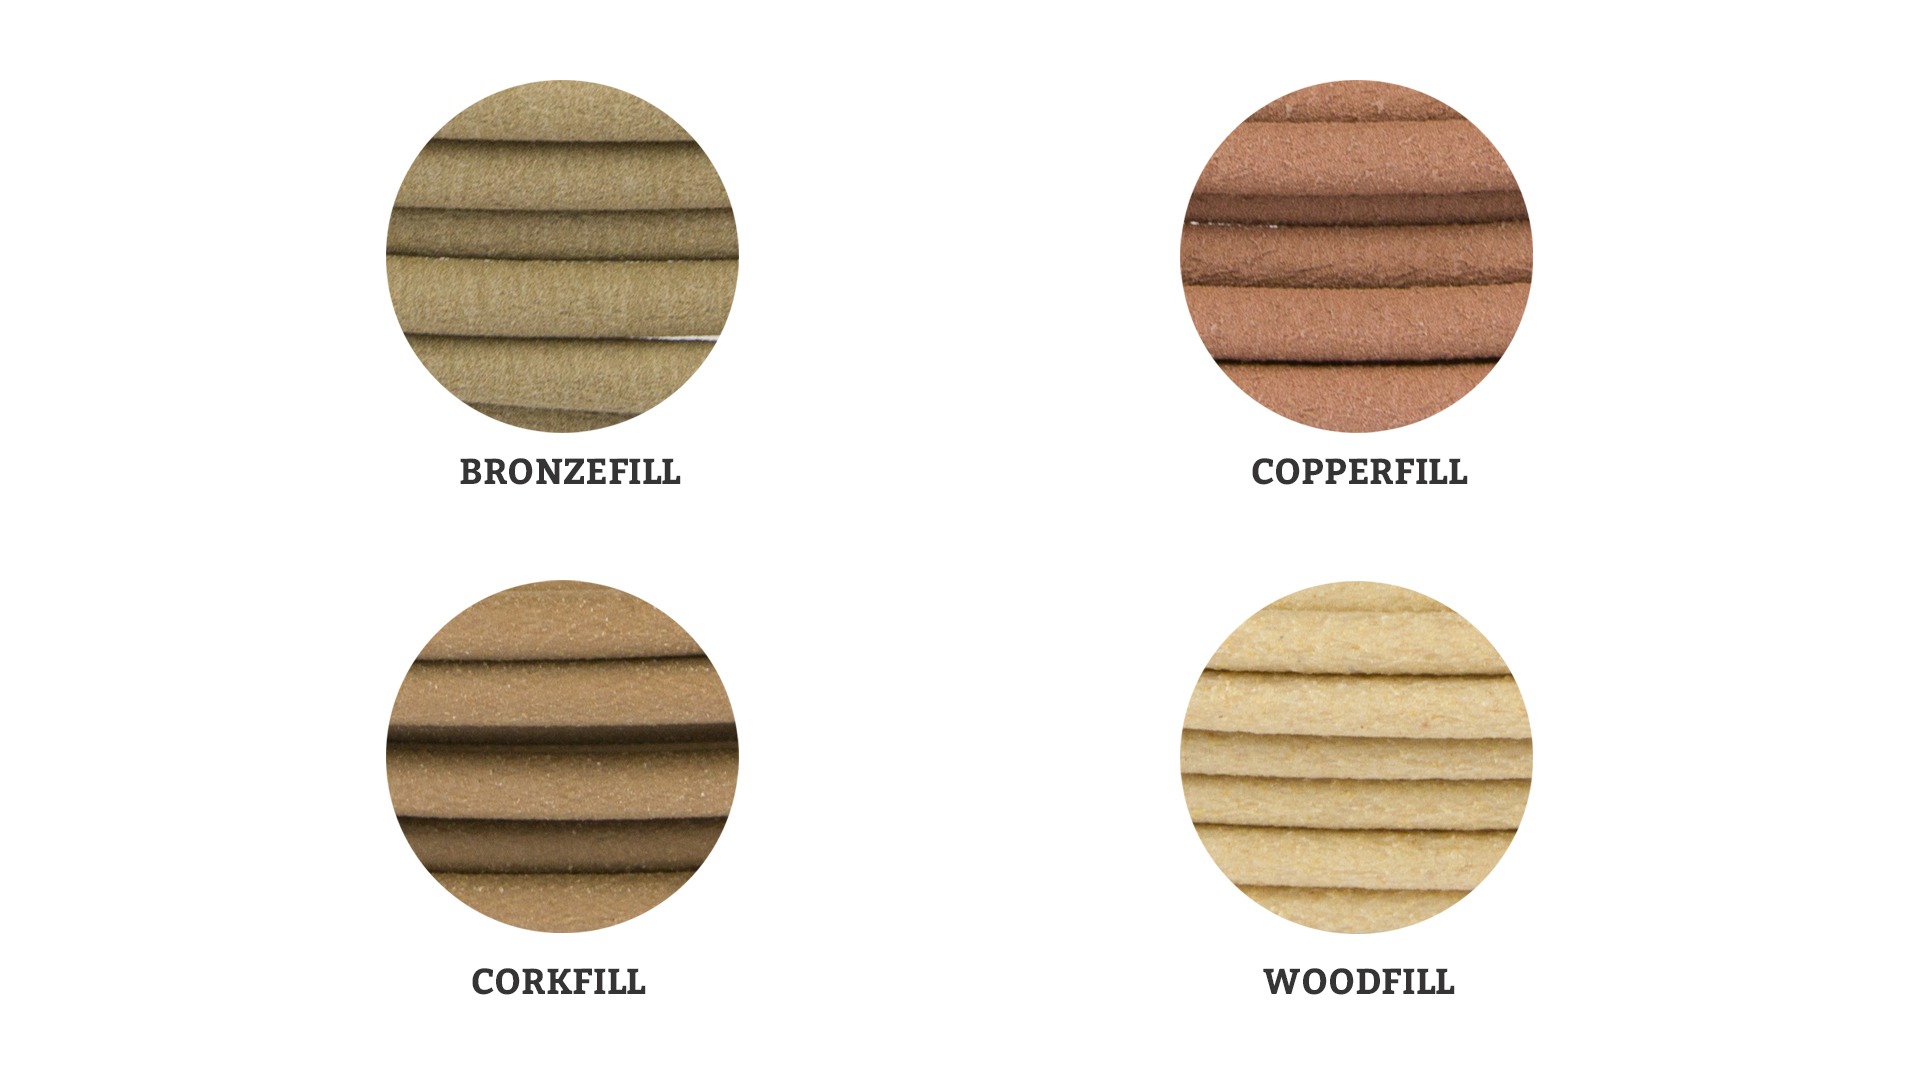
As a leader in the 3D printing materials space, we at colorFabb were excited to work with MakerBot on this endeavour. Over the course of several months, we participated in a beta-test program that included a select group of MakerBot’s Thingiverse power users. During this time the new Experimental Extruder was tested using a range of colorFabb specialty materials – including the corkFill, copperFill, bronzeFill, and woodFill.
The new MakerBot Labs Experimental Extruder like all MakerBot Labs products is community supported, and allows users to swap nozzles and comes complete with two nozzle wrenches and 4 nozzles:
- 0.4 MM Brass
- 0.6 MM Brass
- 0.6 MM Stainless Steel
- 0.8 MM Brass
These new nozzles are the key to printing in this new range of materials. We recommend that users use the 0.6 mm brass nozzle for woodFill and corkFill, and the 0.6mm steel nozzle for bronzeFill and copperFill.
The new MakerBot Labs Community will allow advanced users of MakerBot 3D Printers to share new Custom Print Modes – allowing users to now save and share their custom settings from MakerBot Print.
Our profiles.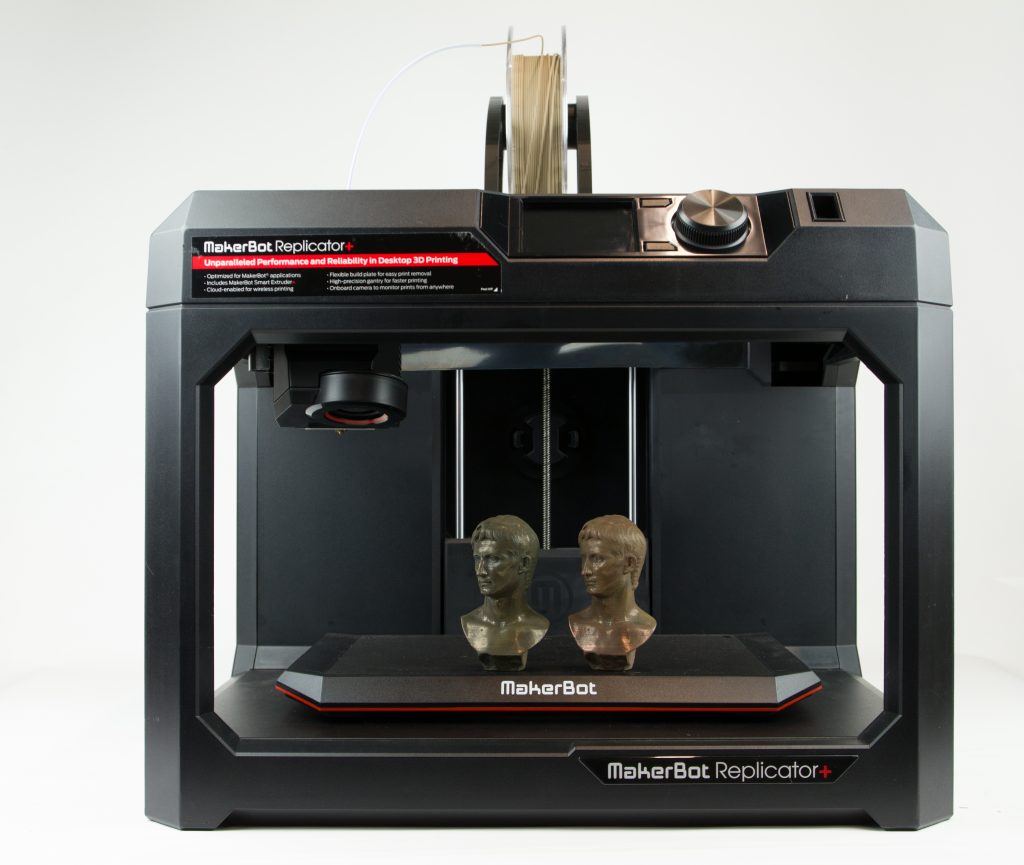
We’ve been testing various settings for our materials and will share the profiles we liked best on Makerbot Labs. You can share your own profiles for our materials at Makerbot labs with fellow users.

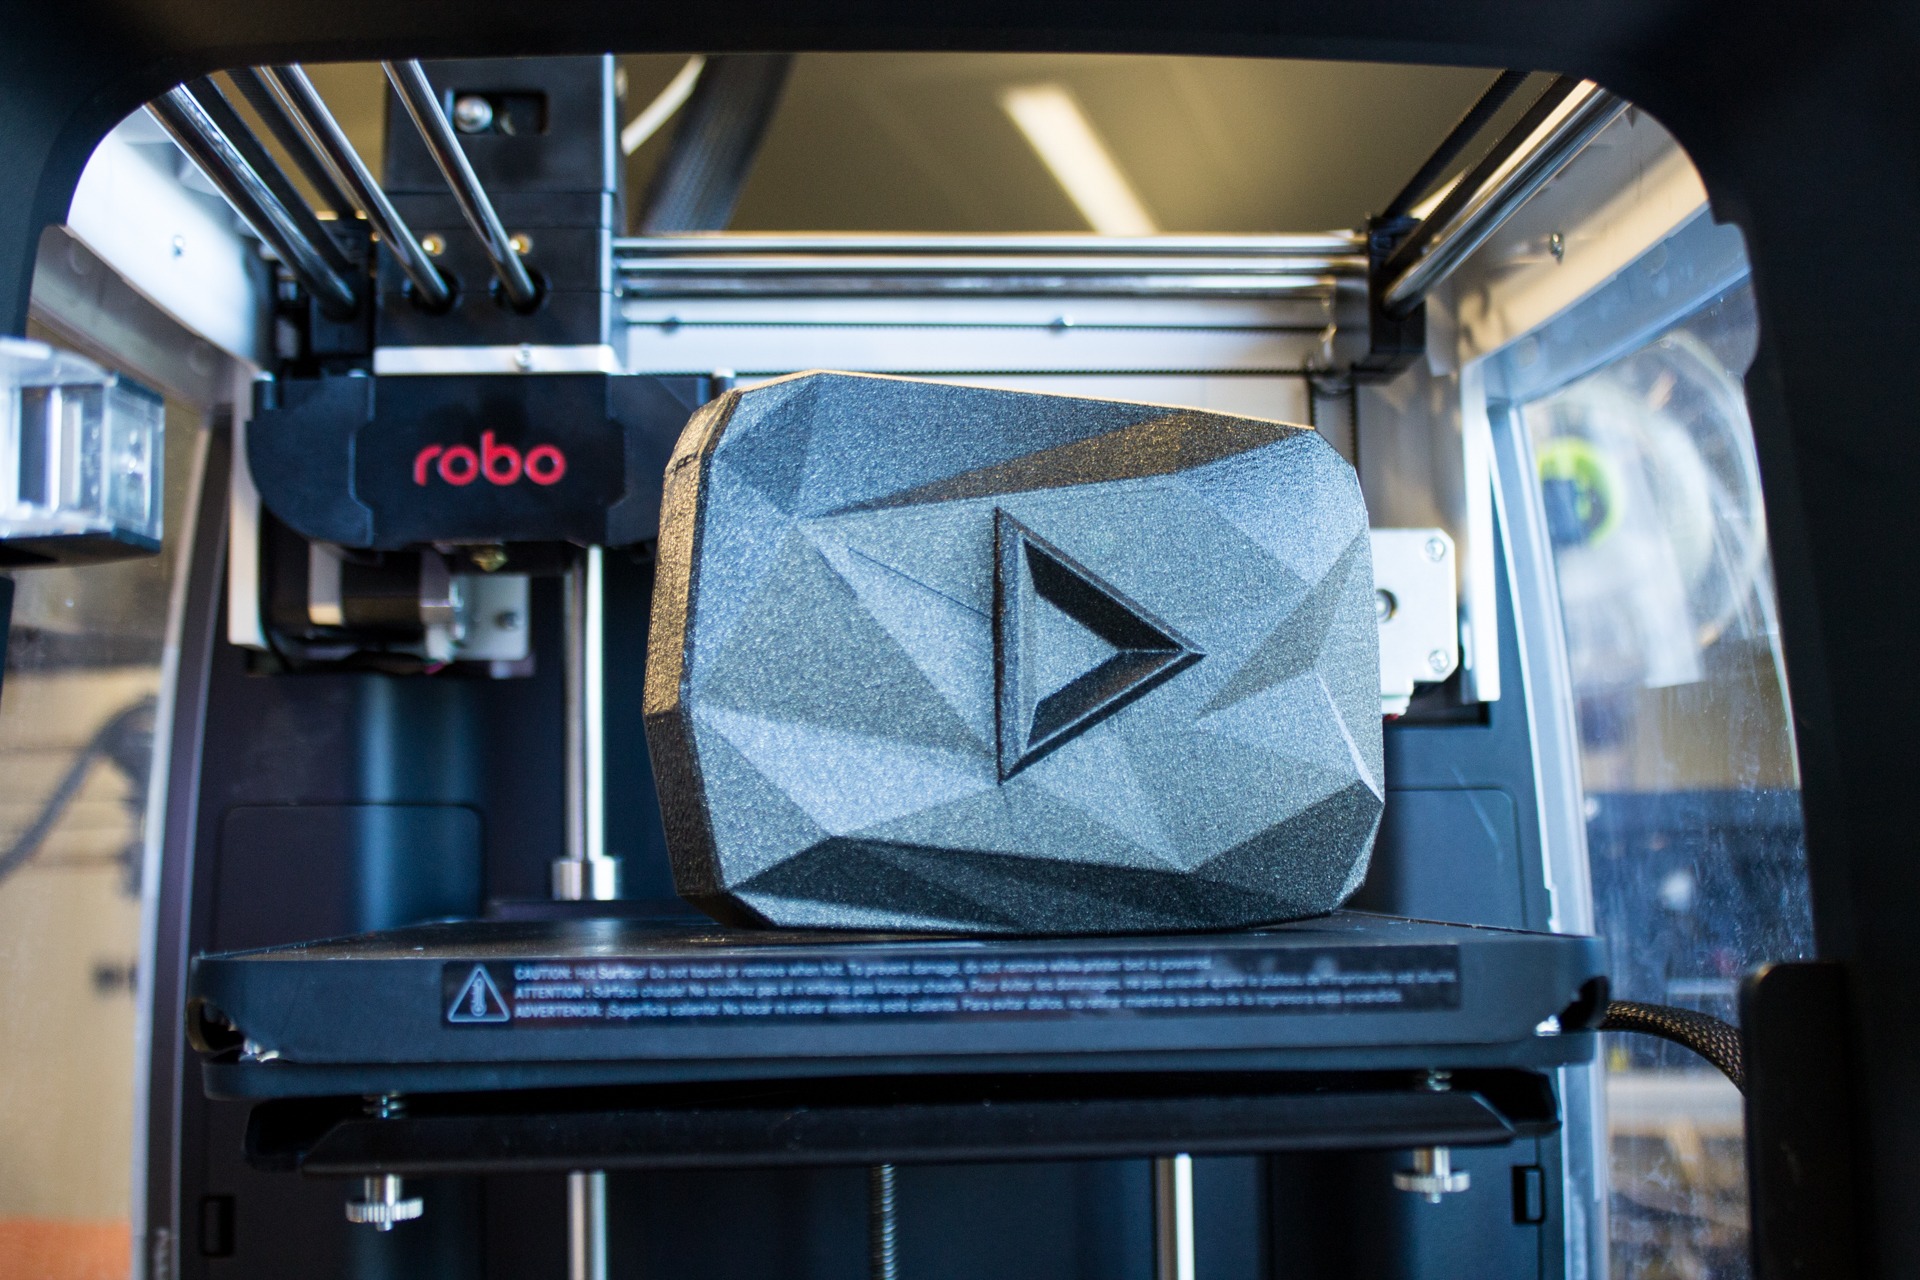
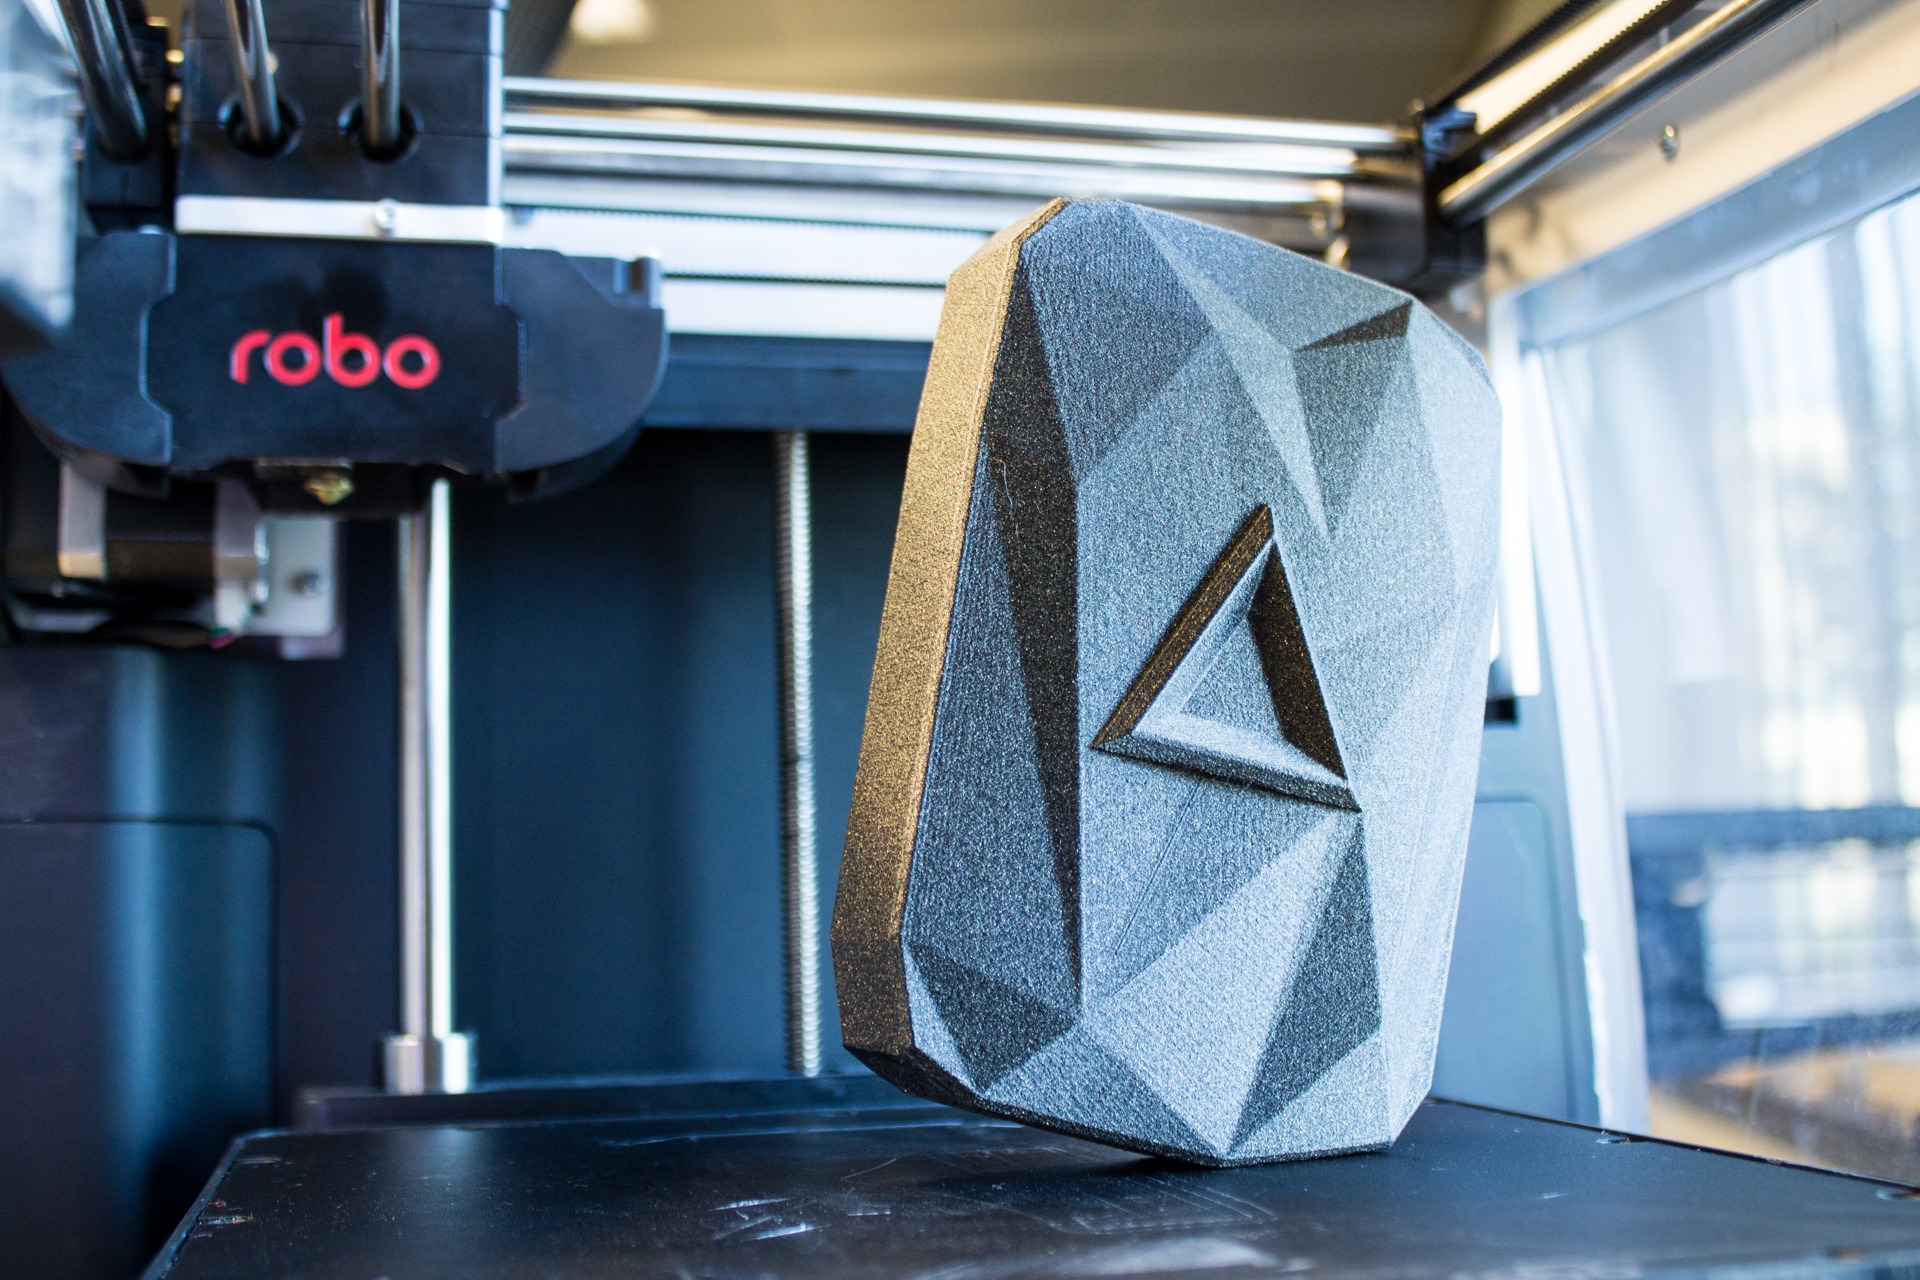
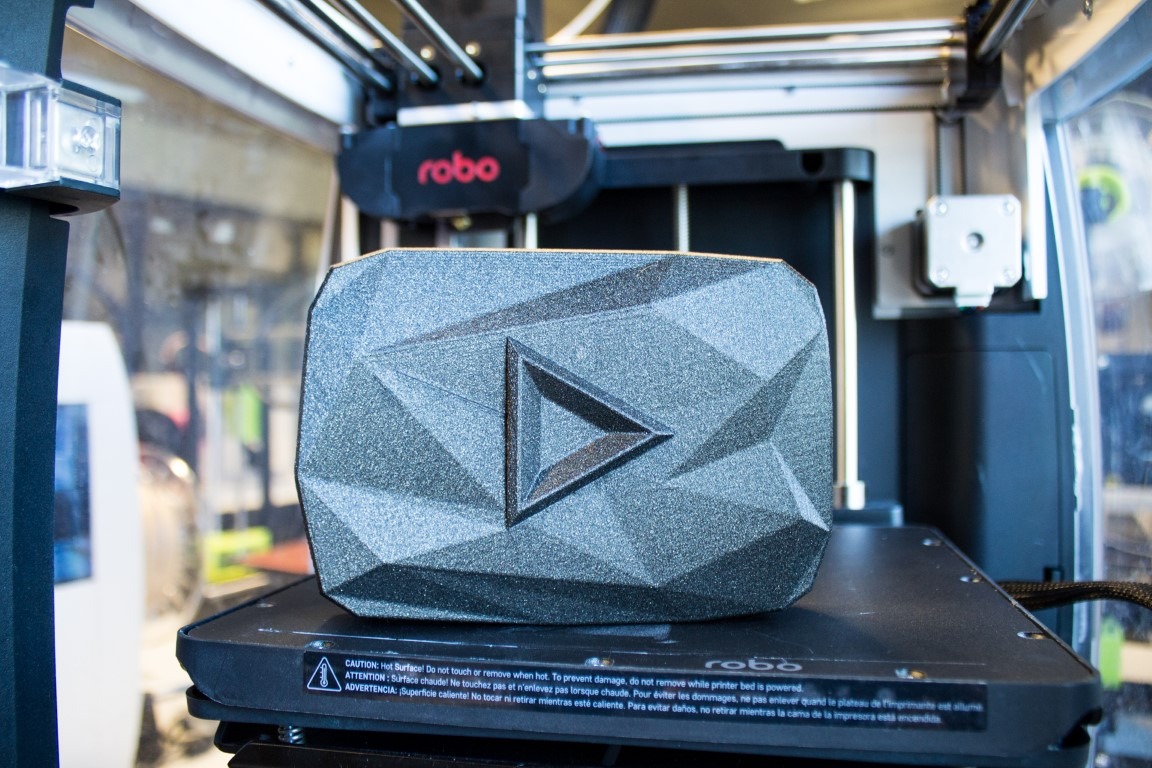
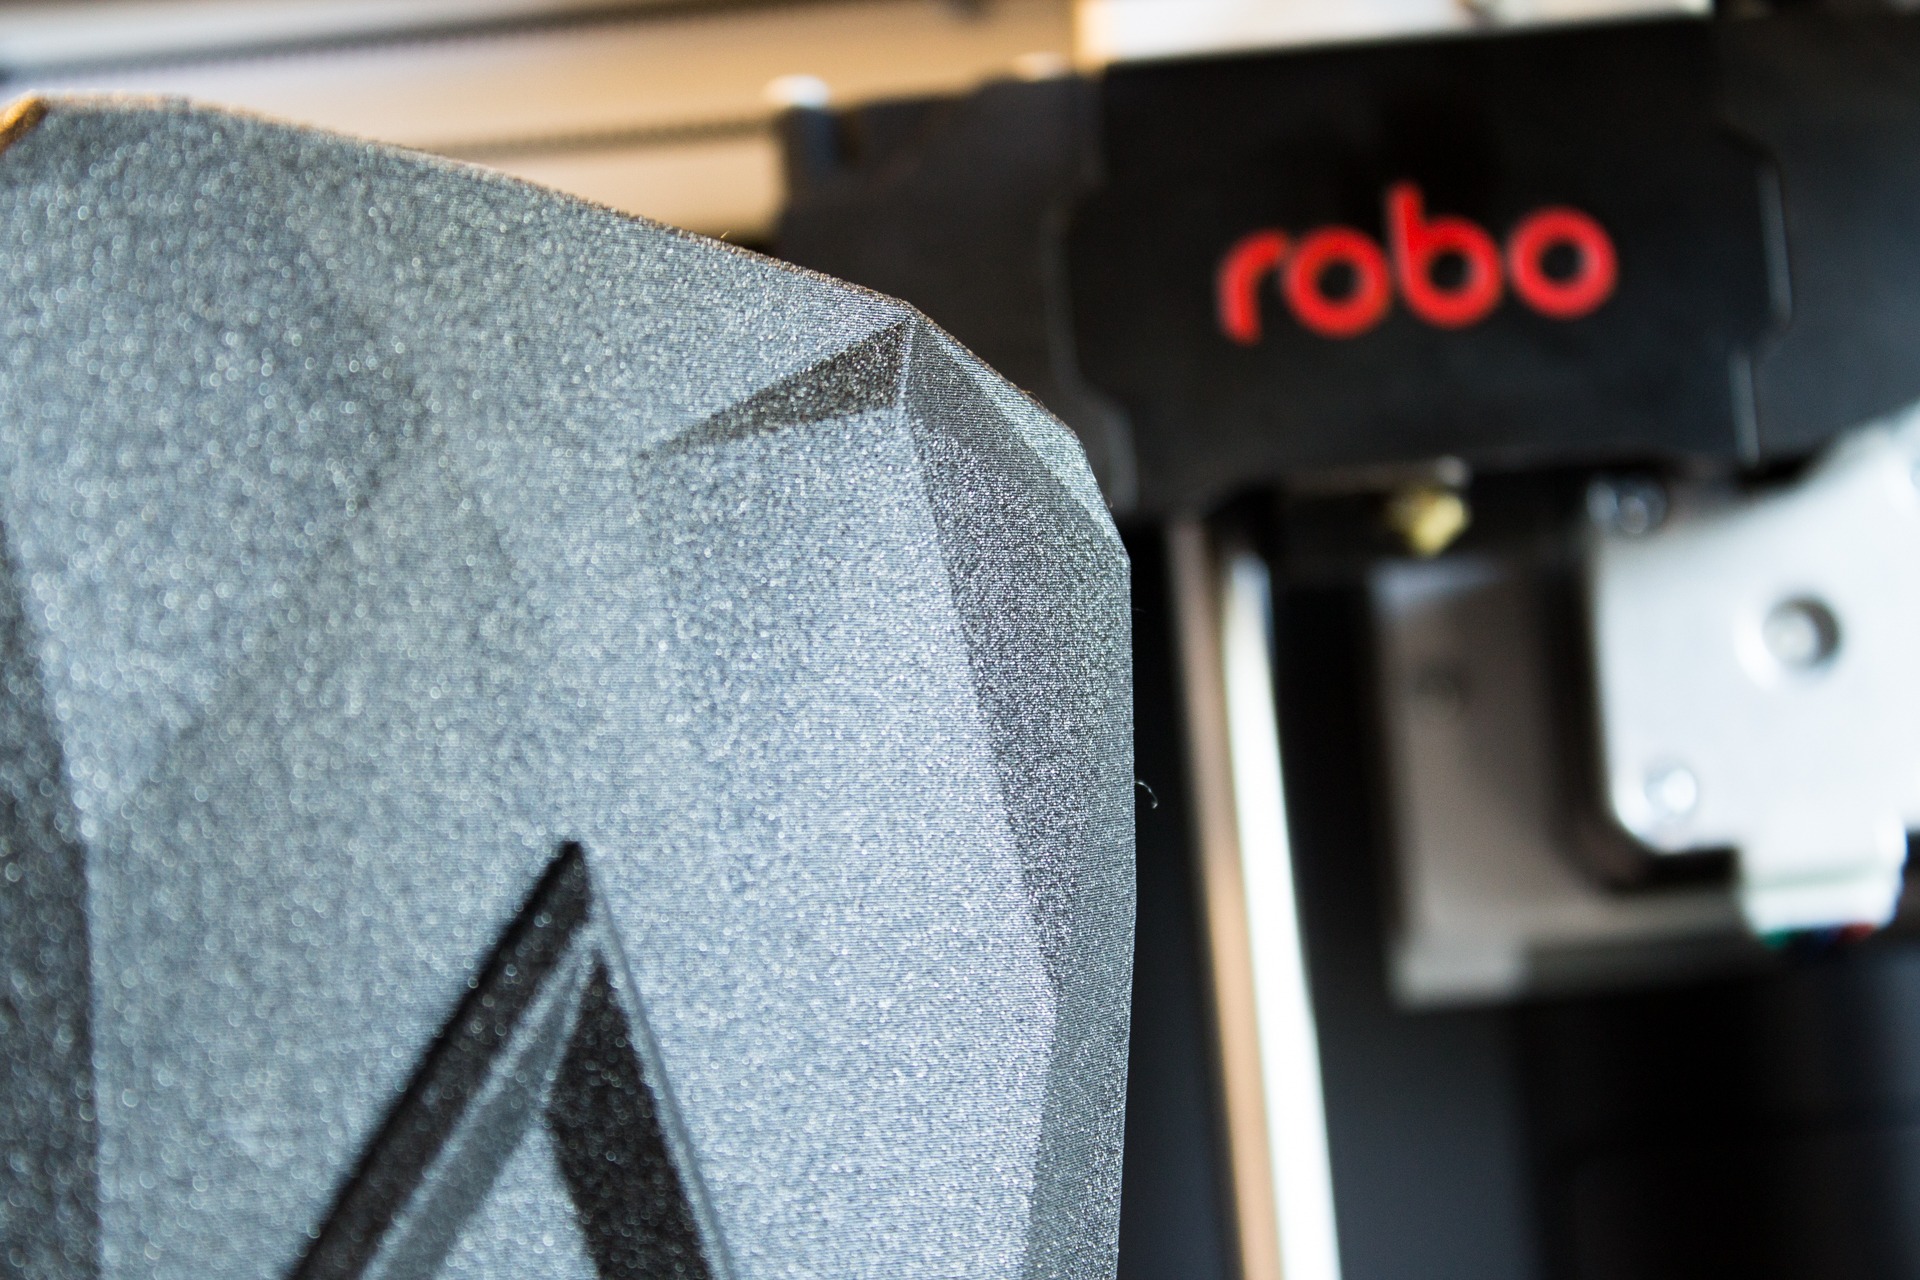
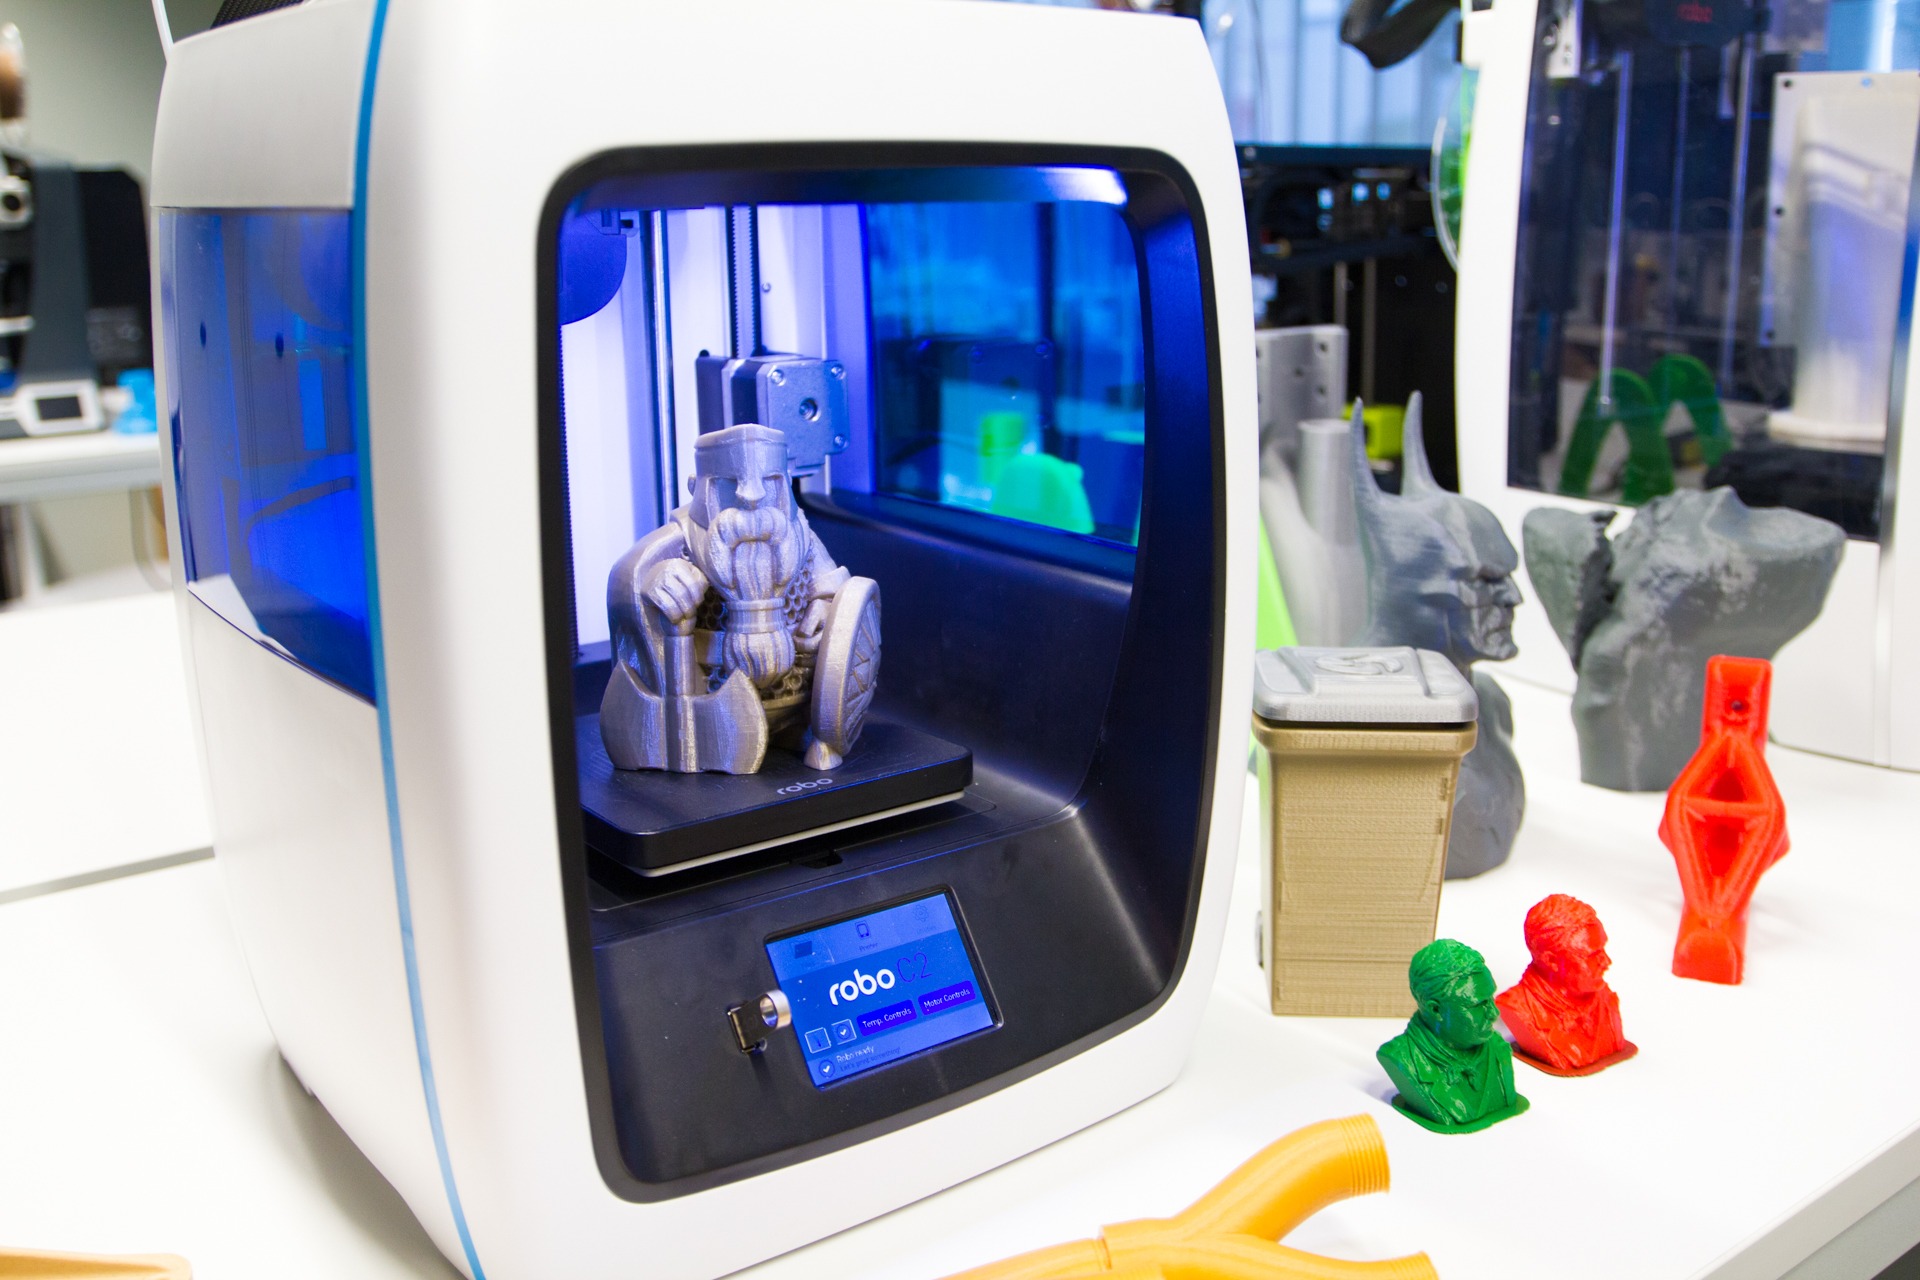
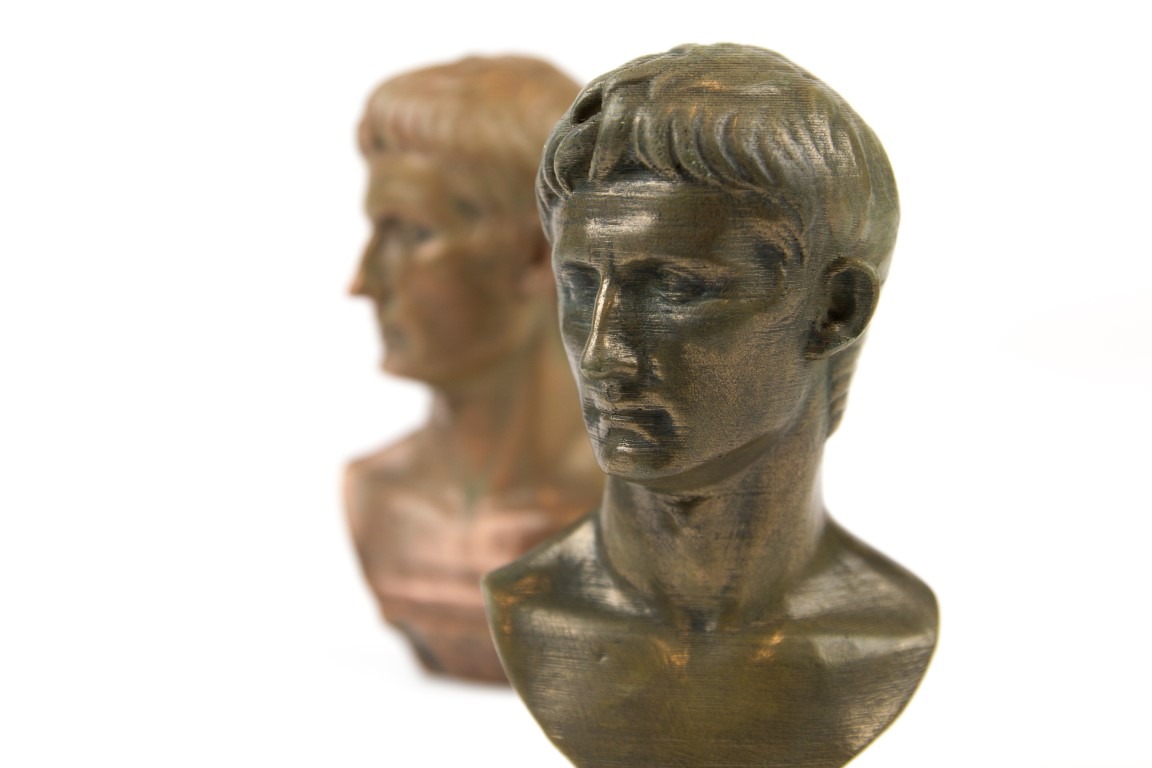
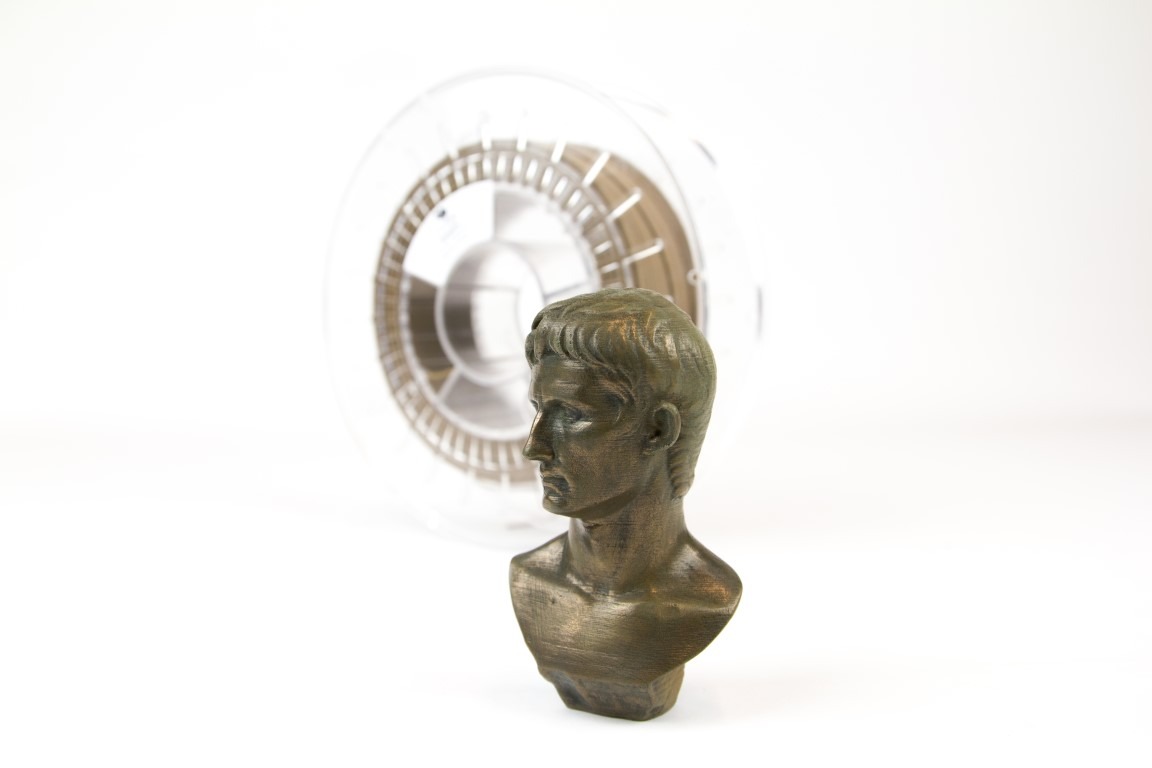
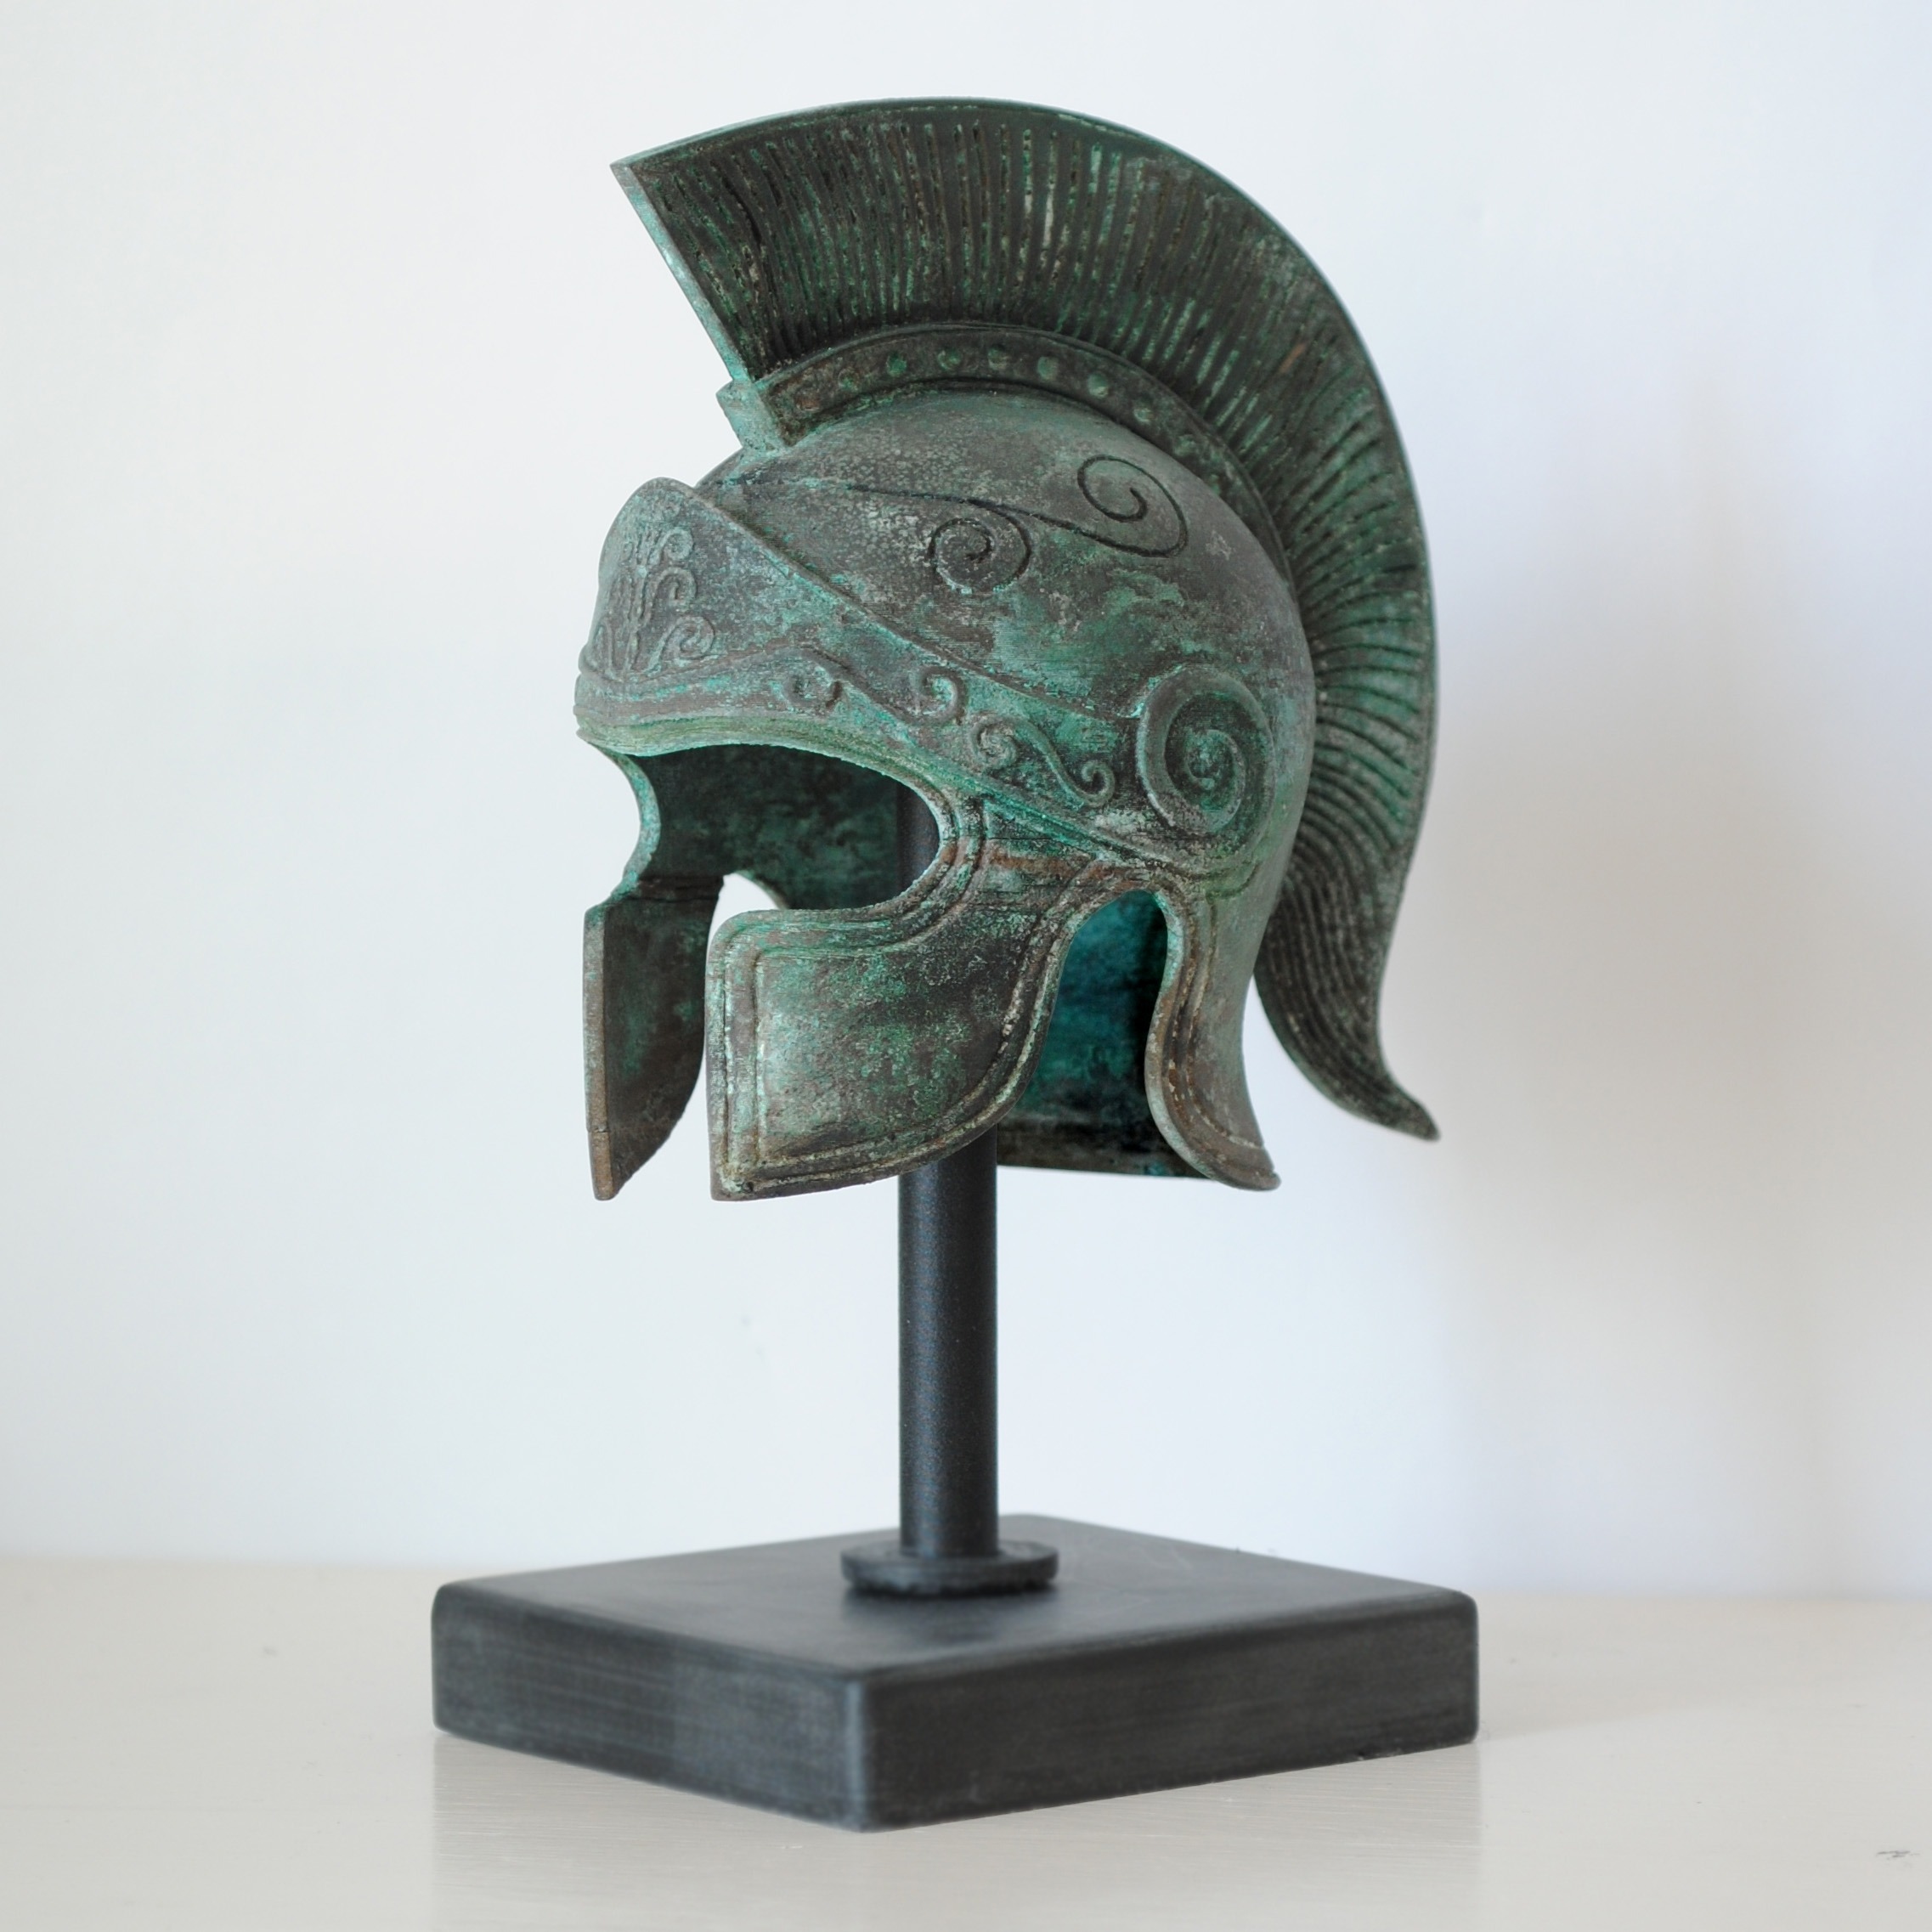
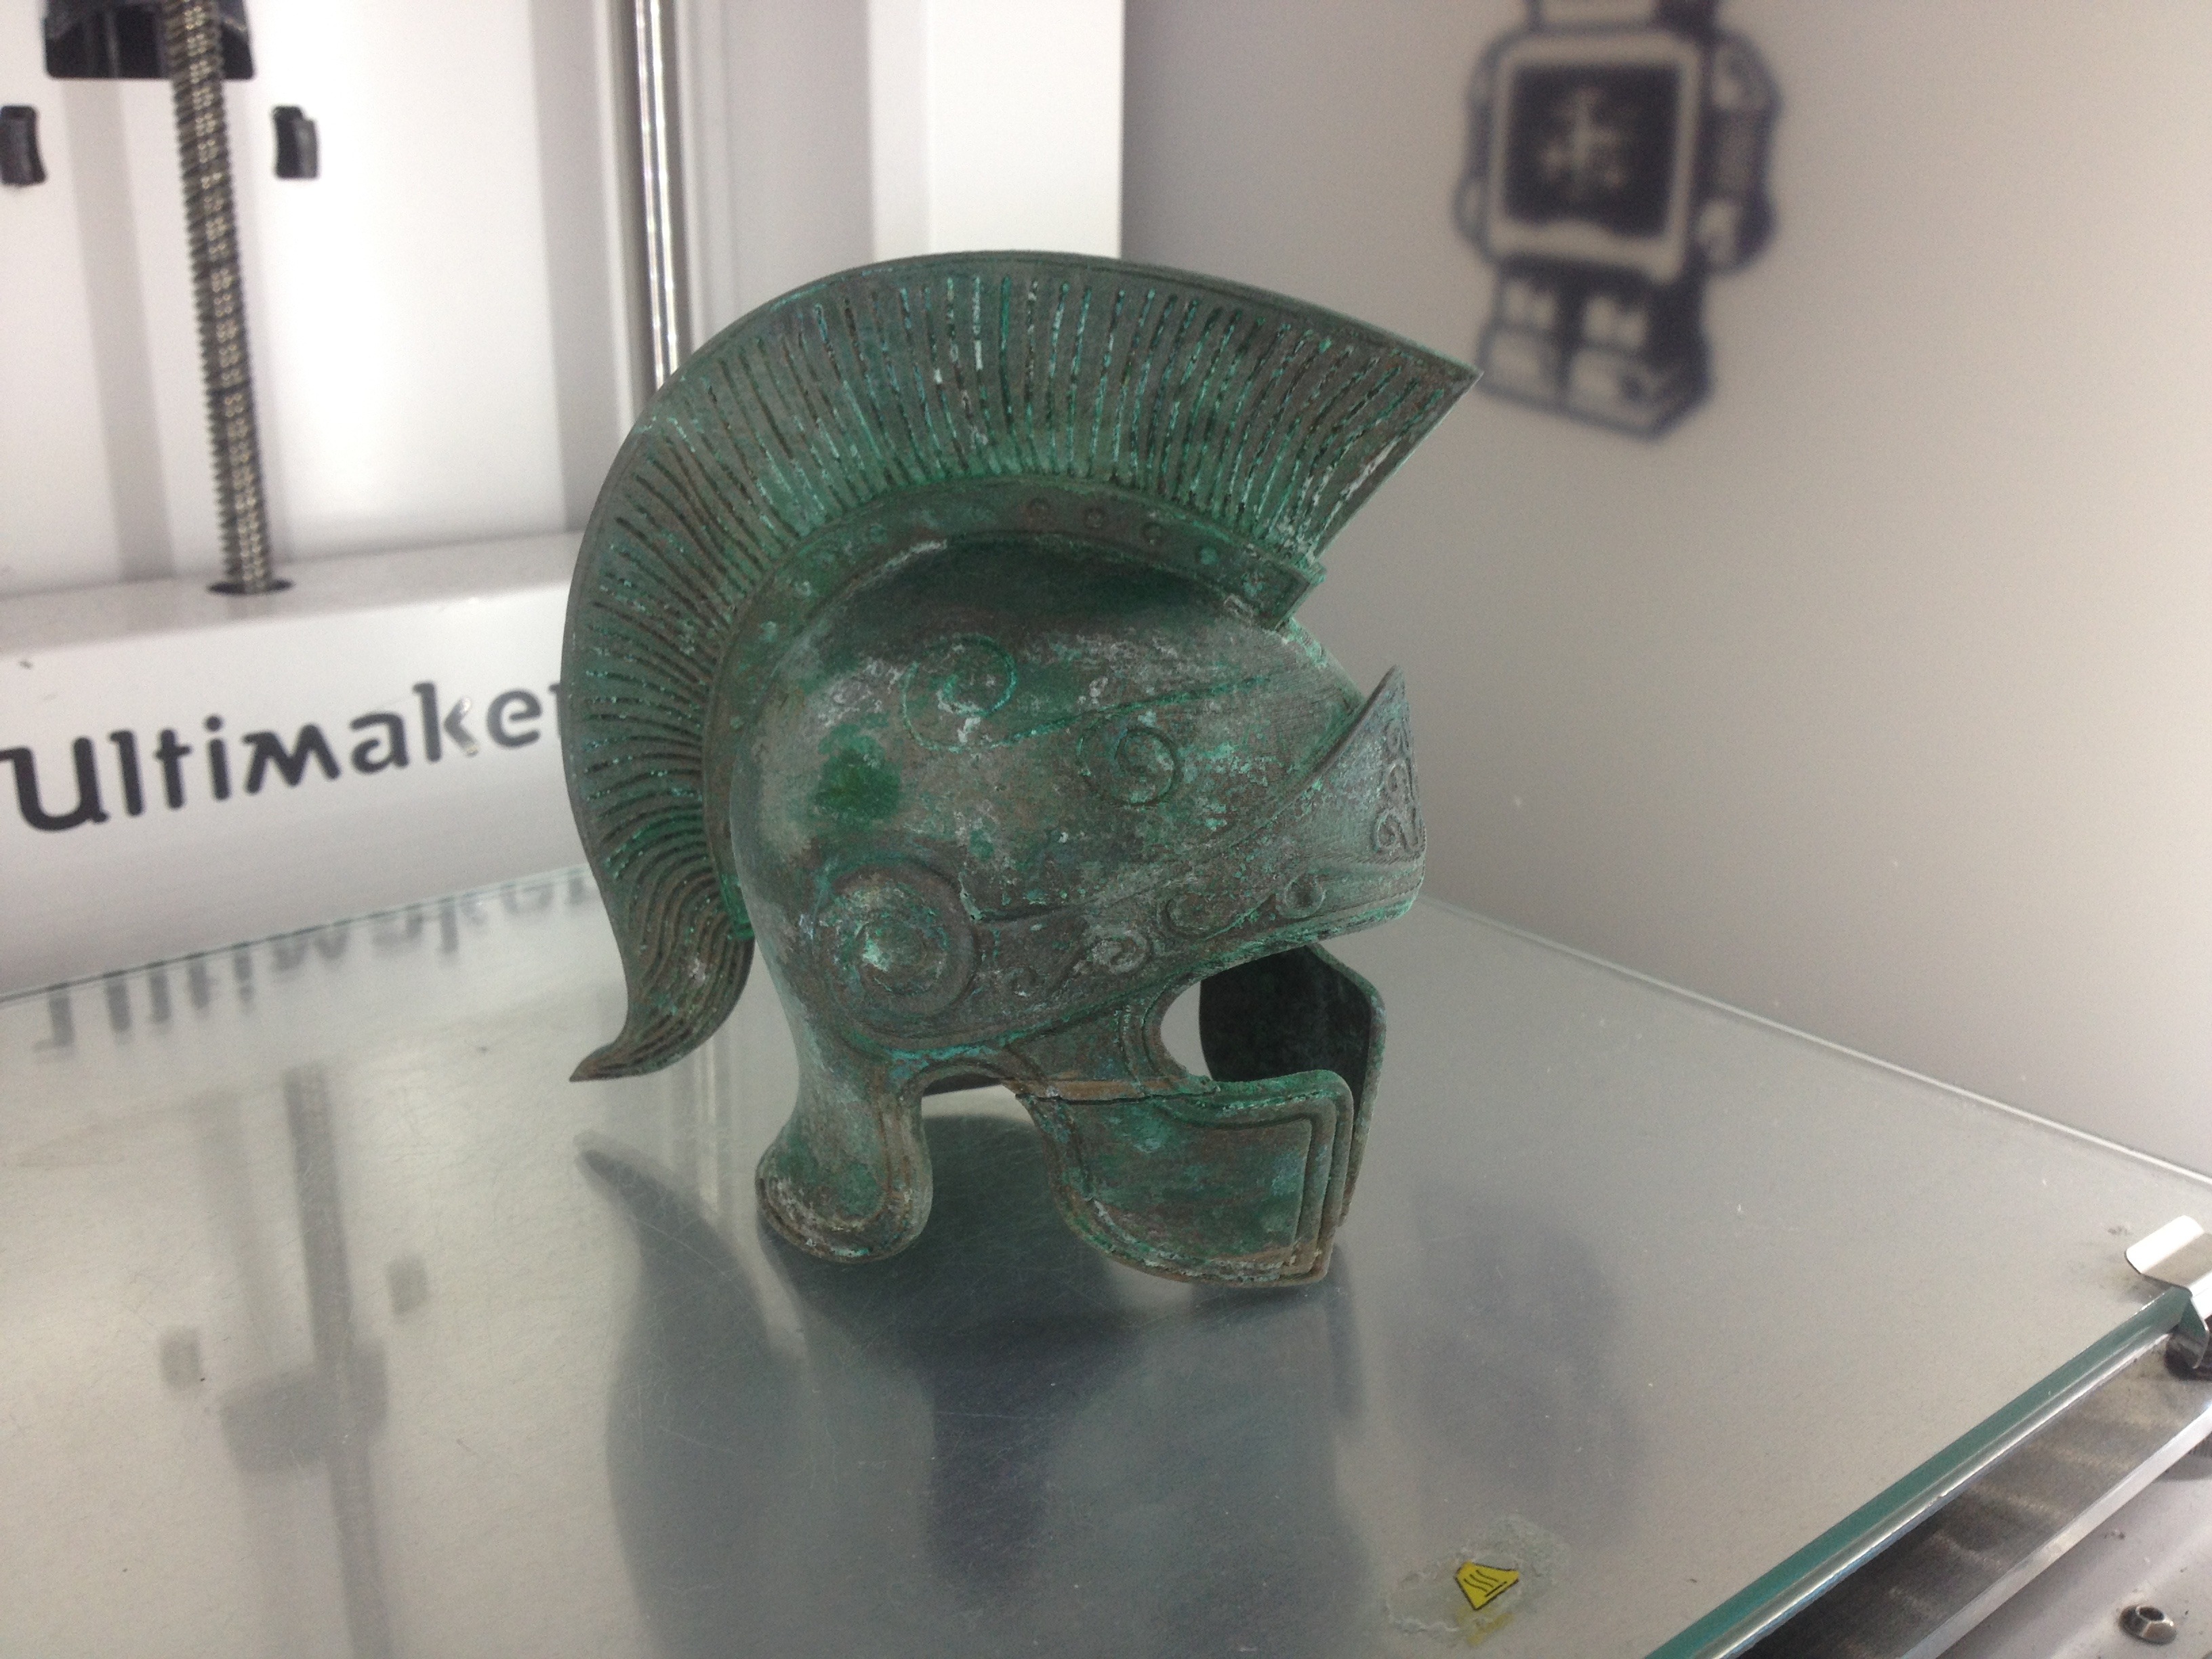
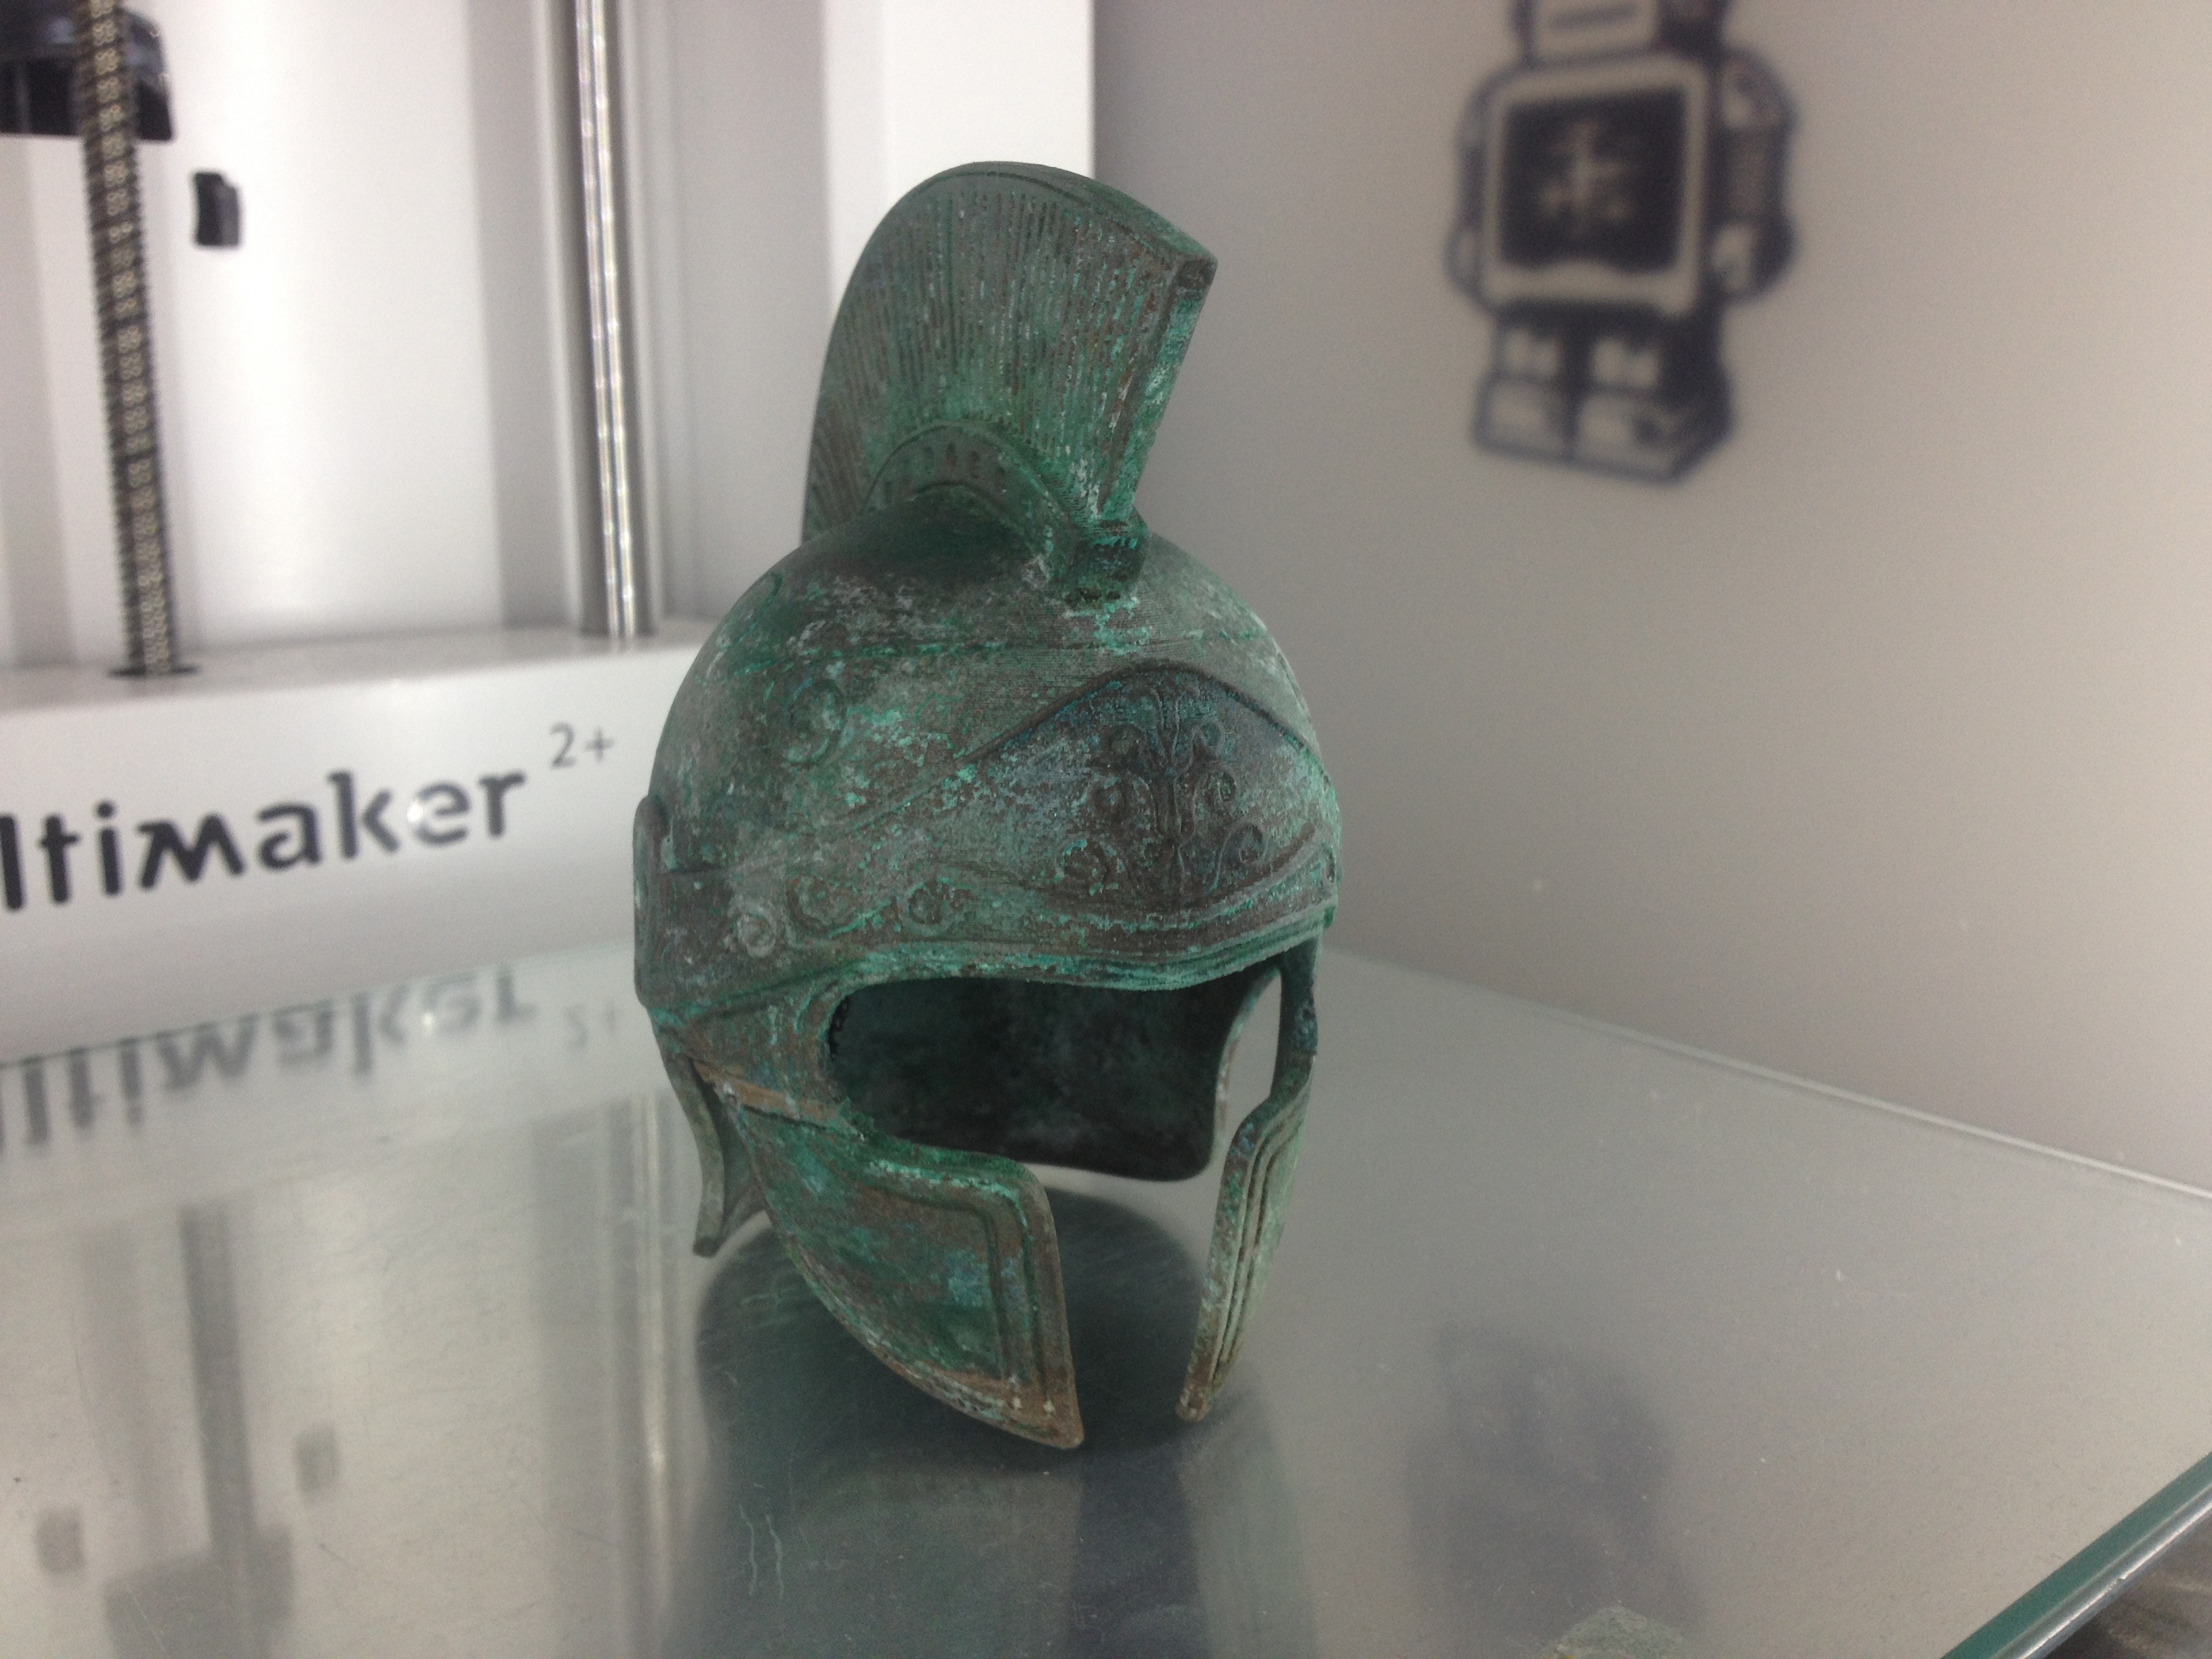
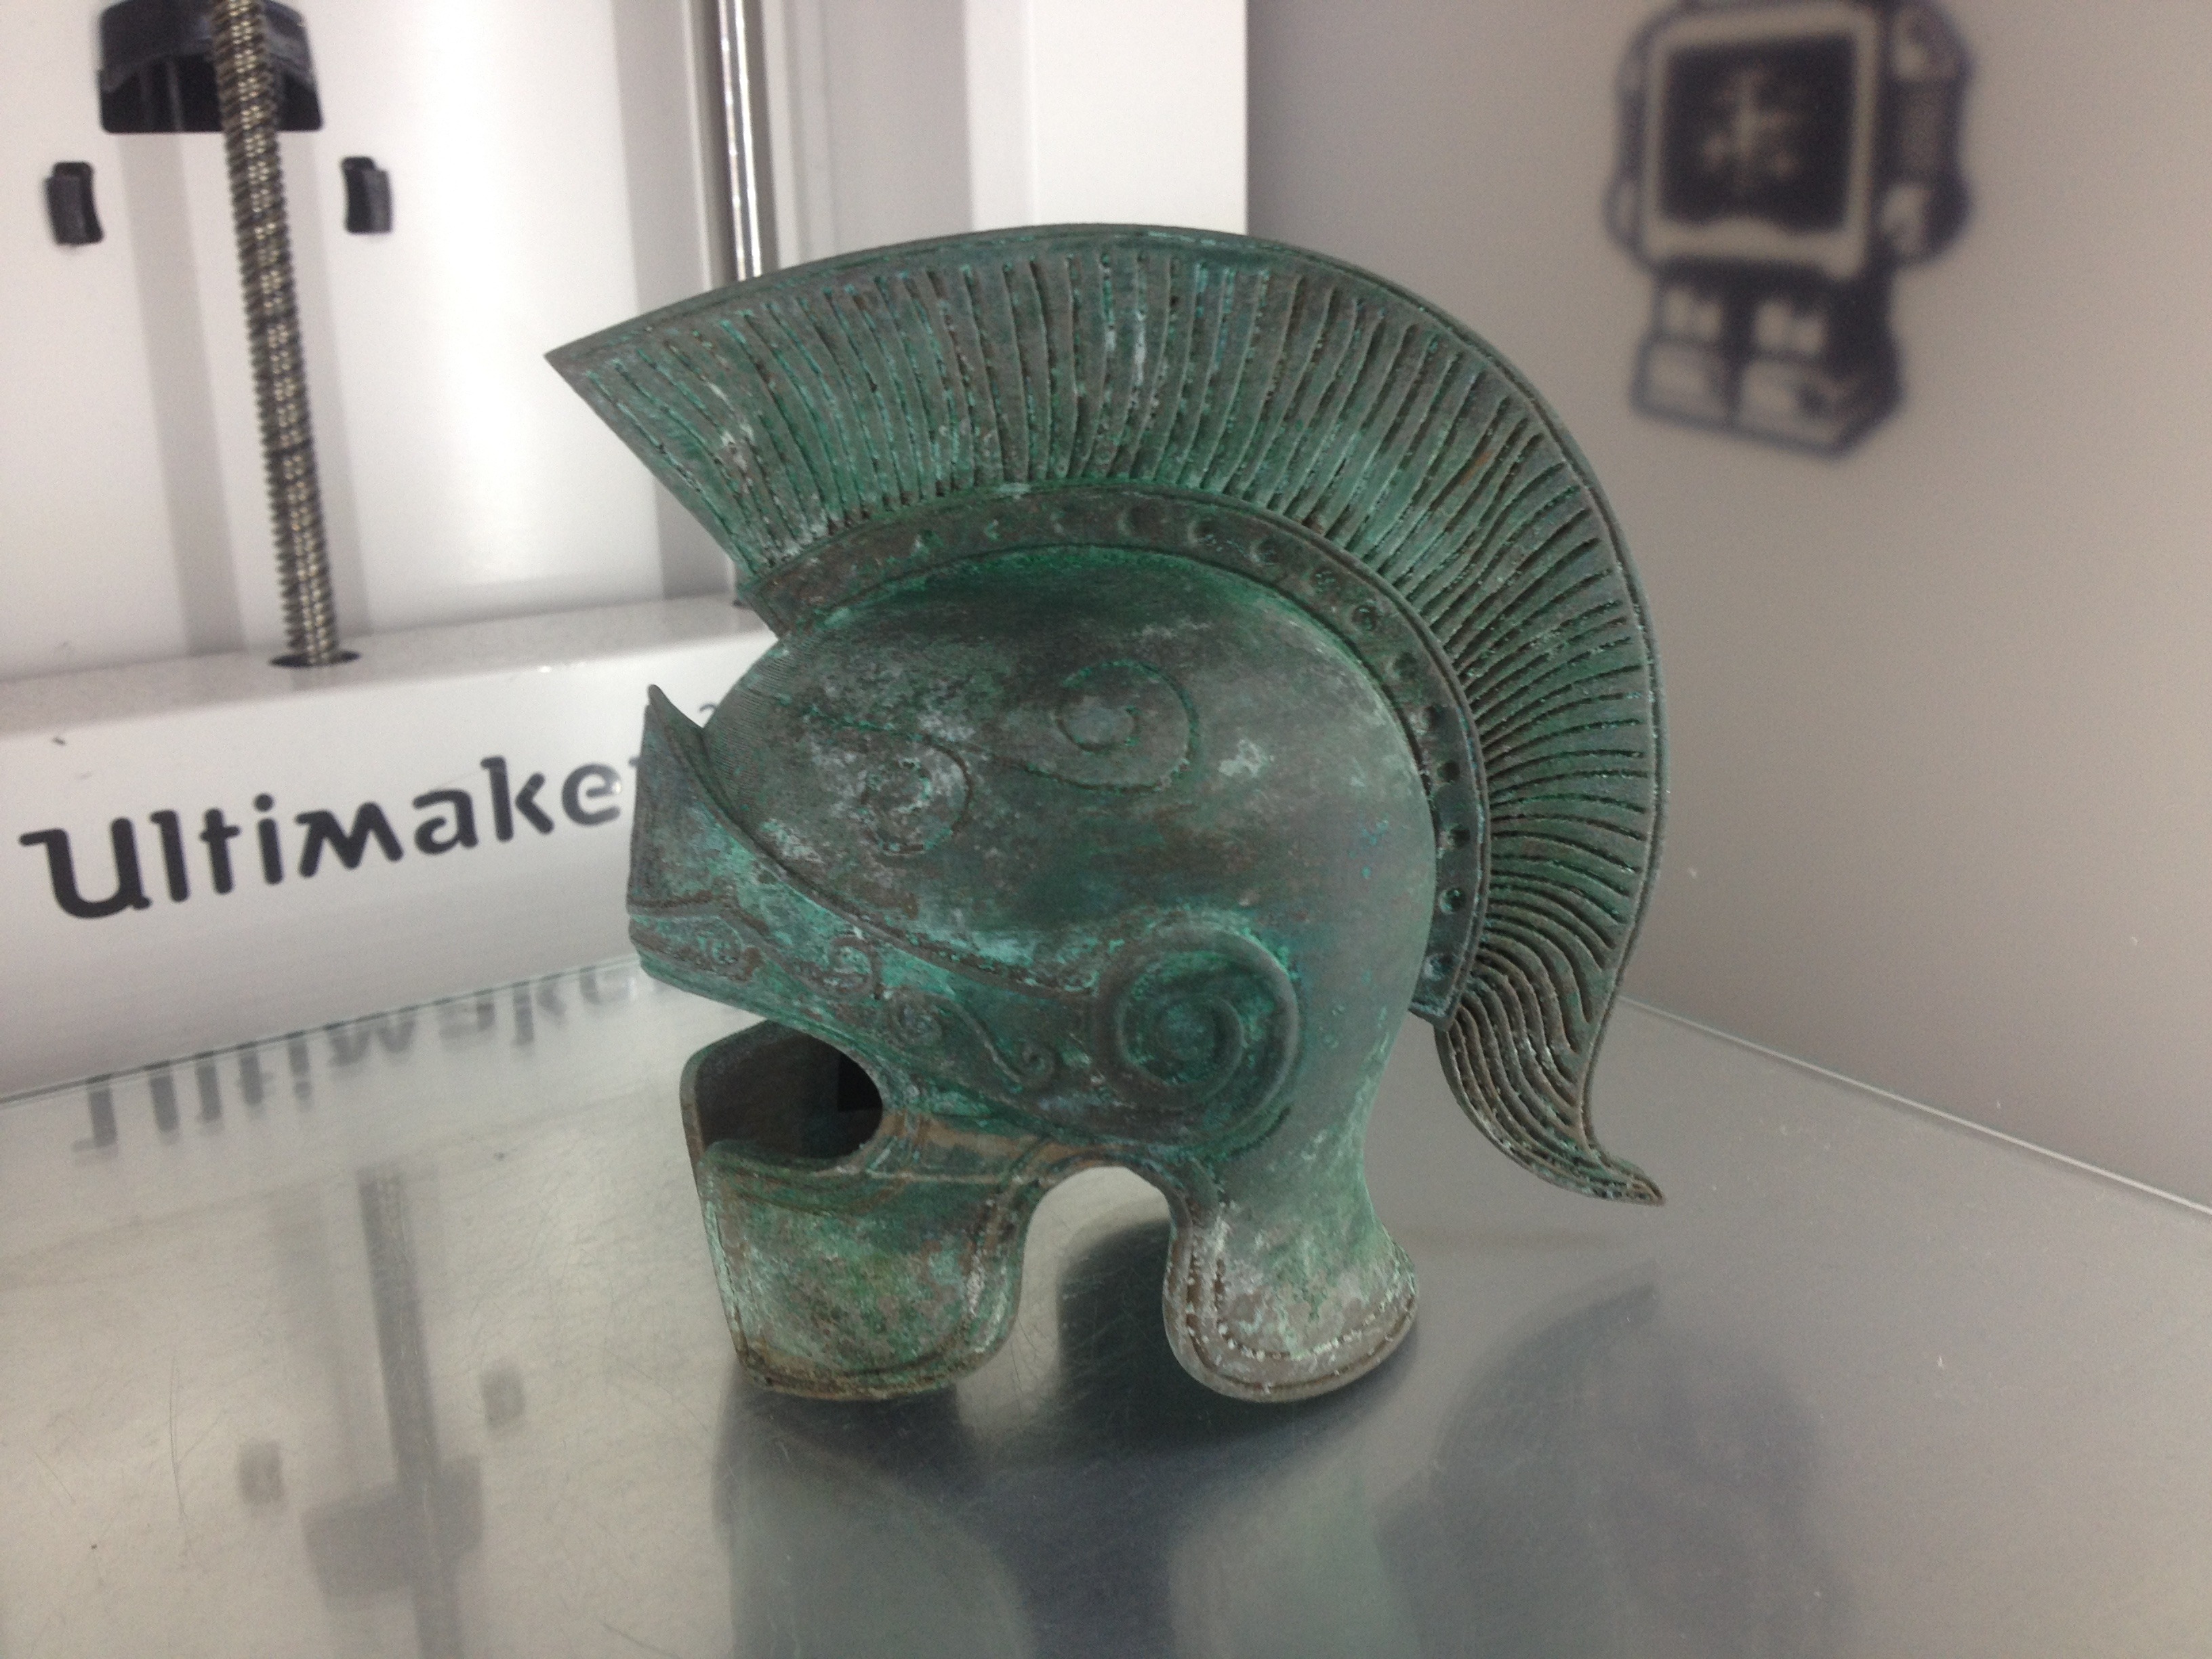
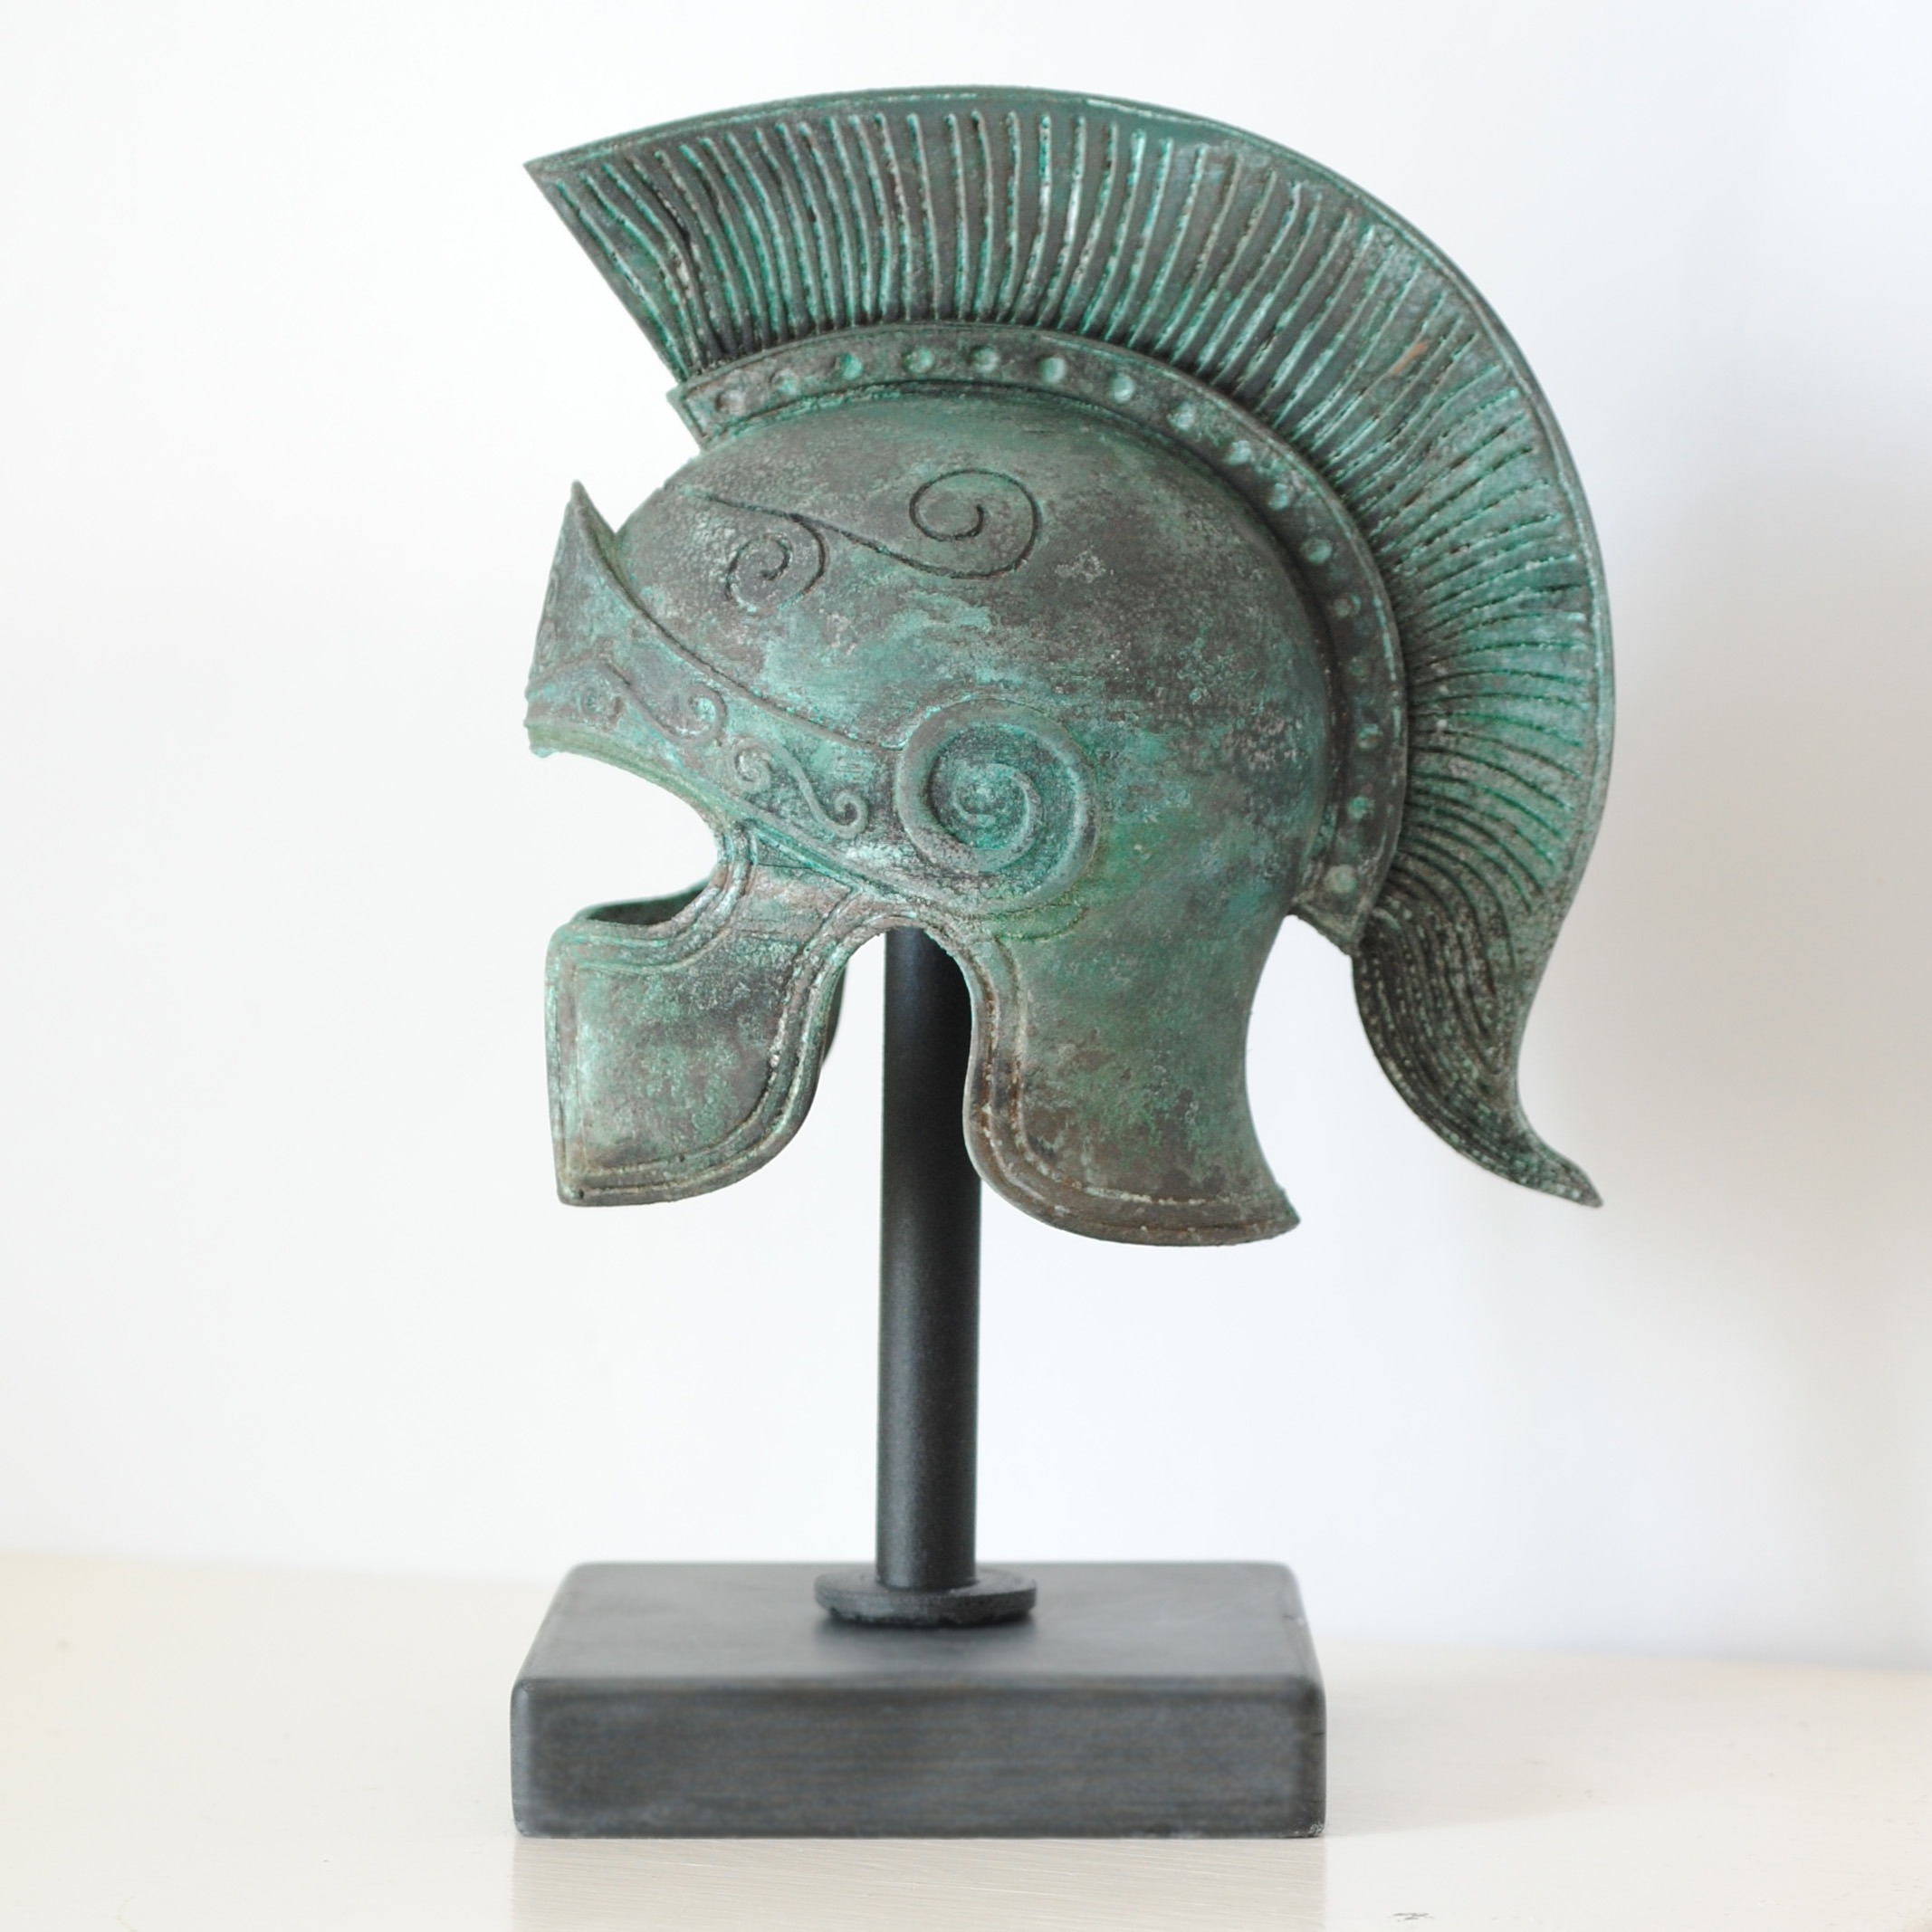
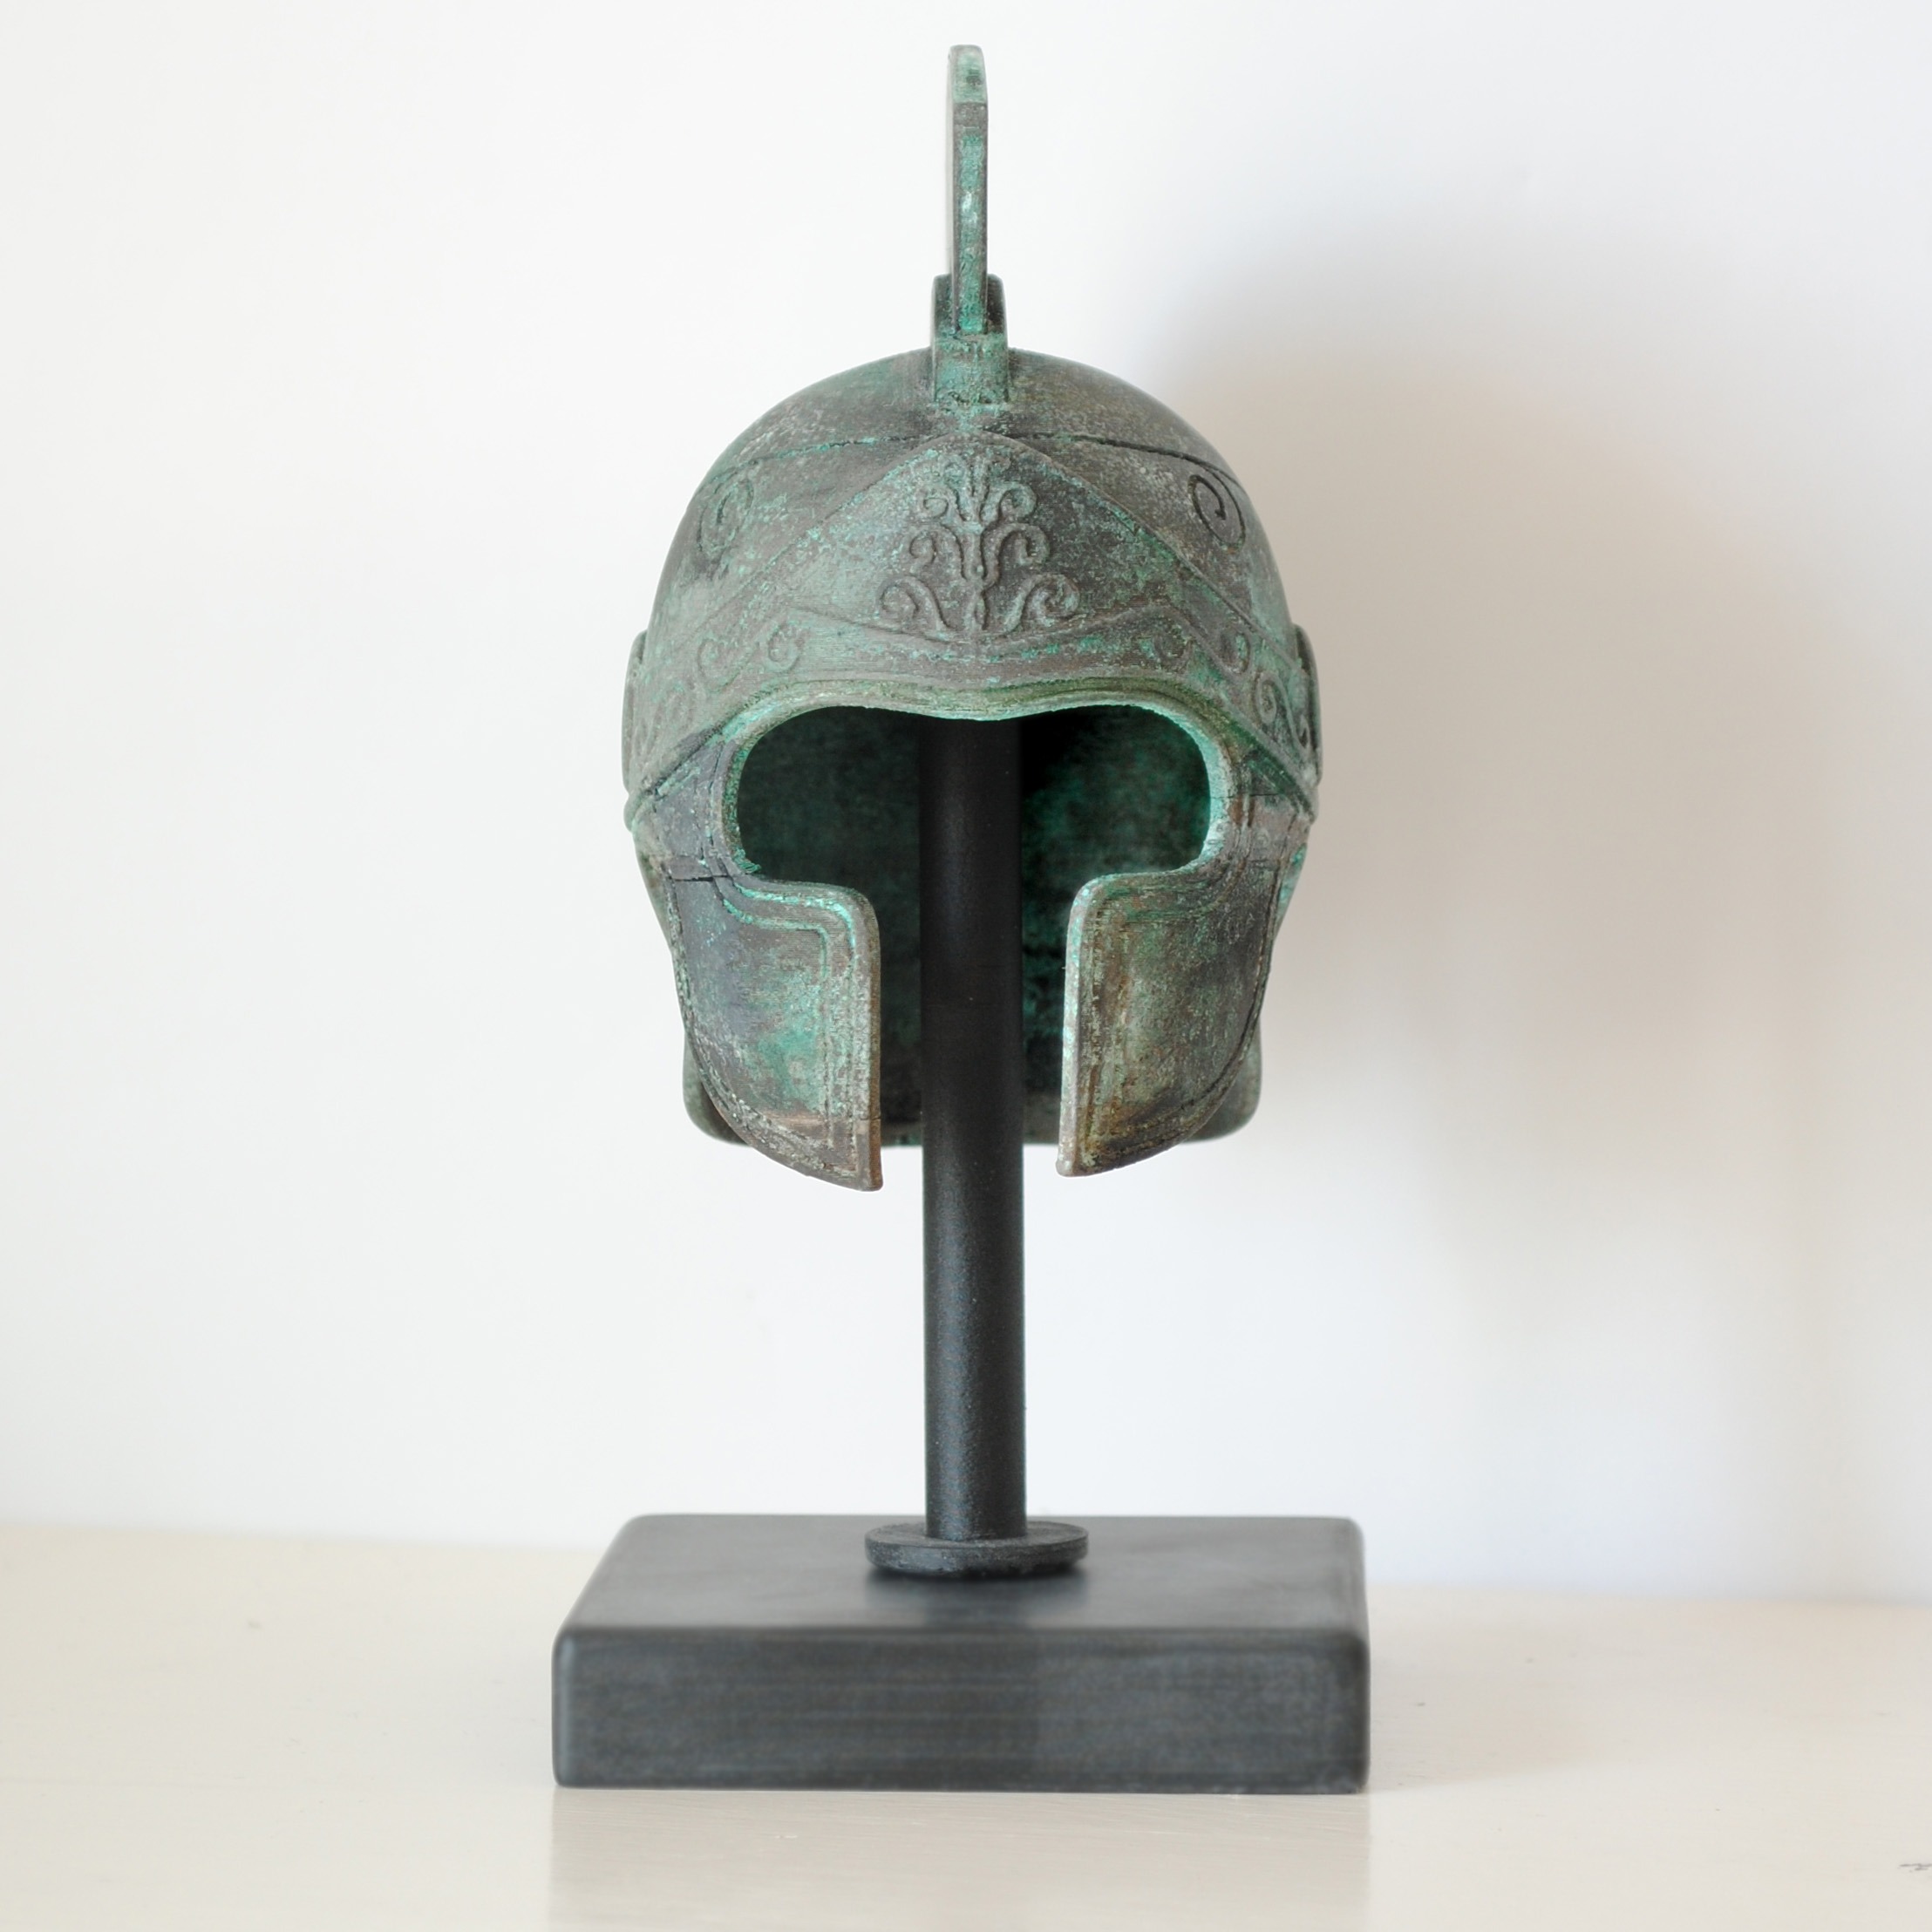
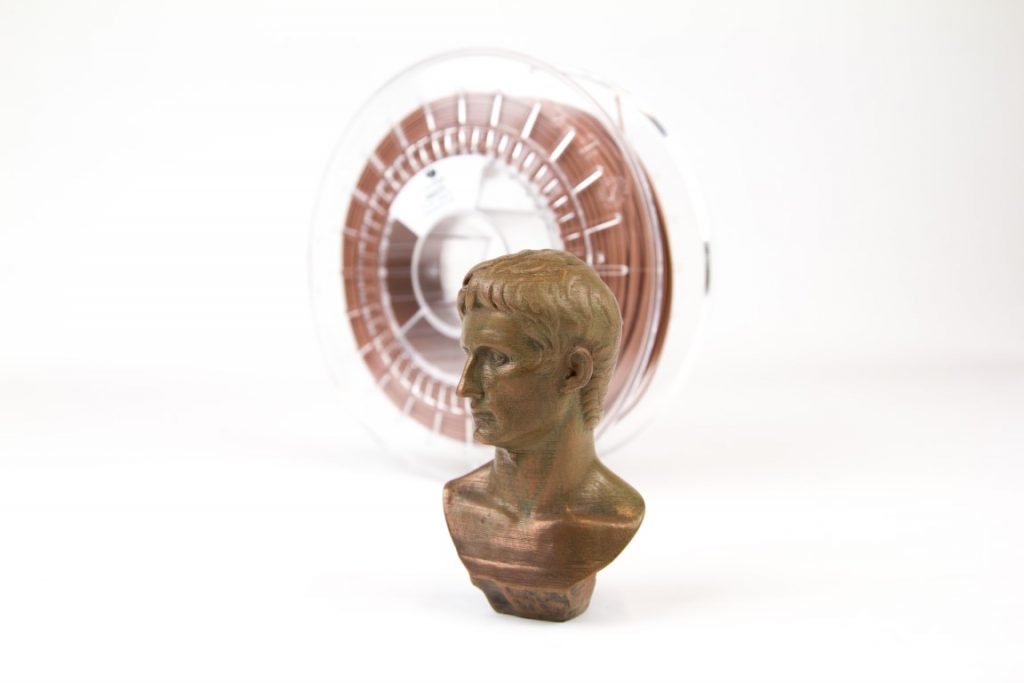
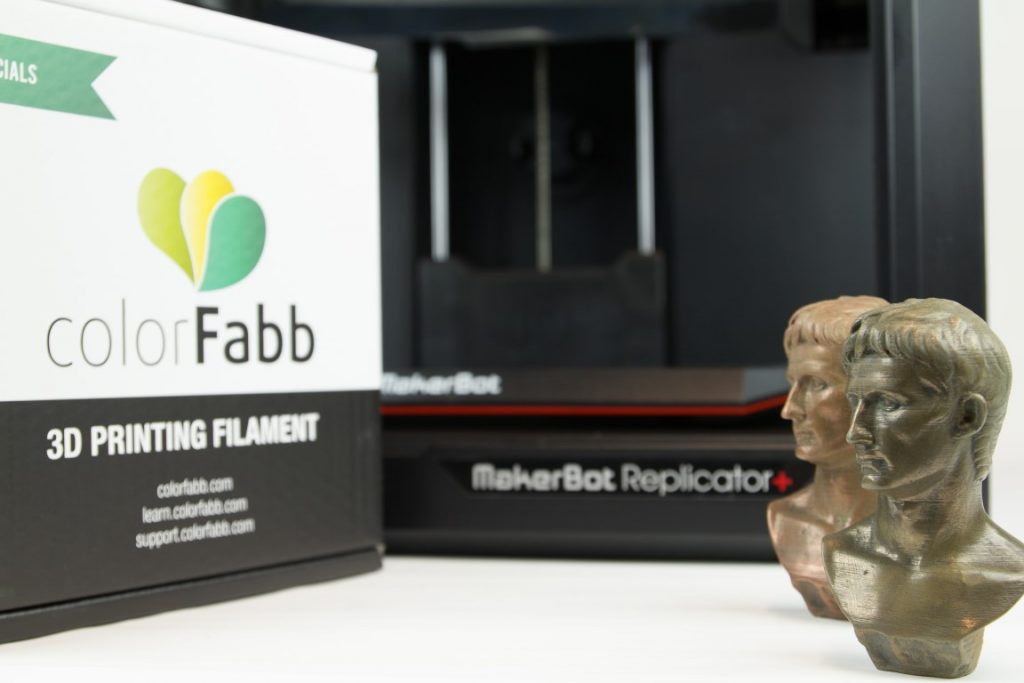
Augustus by CosmoWenman printed on the Replicator+ using the 0.6mm steel nozzle.
bronzeFill and copperFill
bronzeFill and copperFill are a special type of PLA filament which is infused with metal powder. It will print with settings very similar to normal PLA filament, so users will be able to get a first print quickly.
When the 3D printer is done printing the model, the surface will look matte and dull. With some post processing such as sanding and polishing the parts will start to look like real polished metal. For more information on post-processing our metal infused filaments have look at this article – post-processing-gcreates-rocket-ship.
Apart from the unique aesthetics of the material, it’s also three times heavier than a regular PLA material. The added weight makes every print feel much more real and valuable.
Apart from polishing these materials there’s also an aging technique which will make your prints look like true antiques with a beautiful patina. Have a look at this article to learn more about this method.

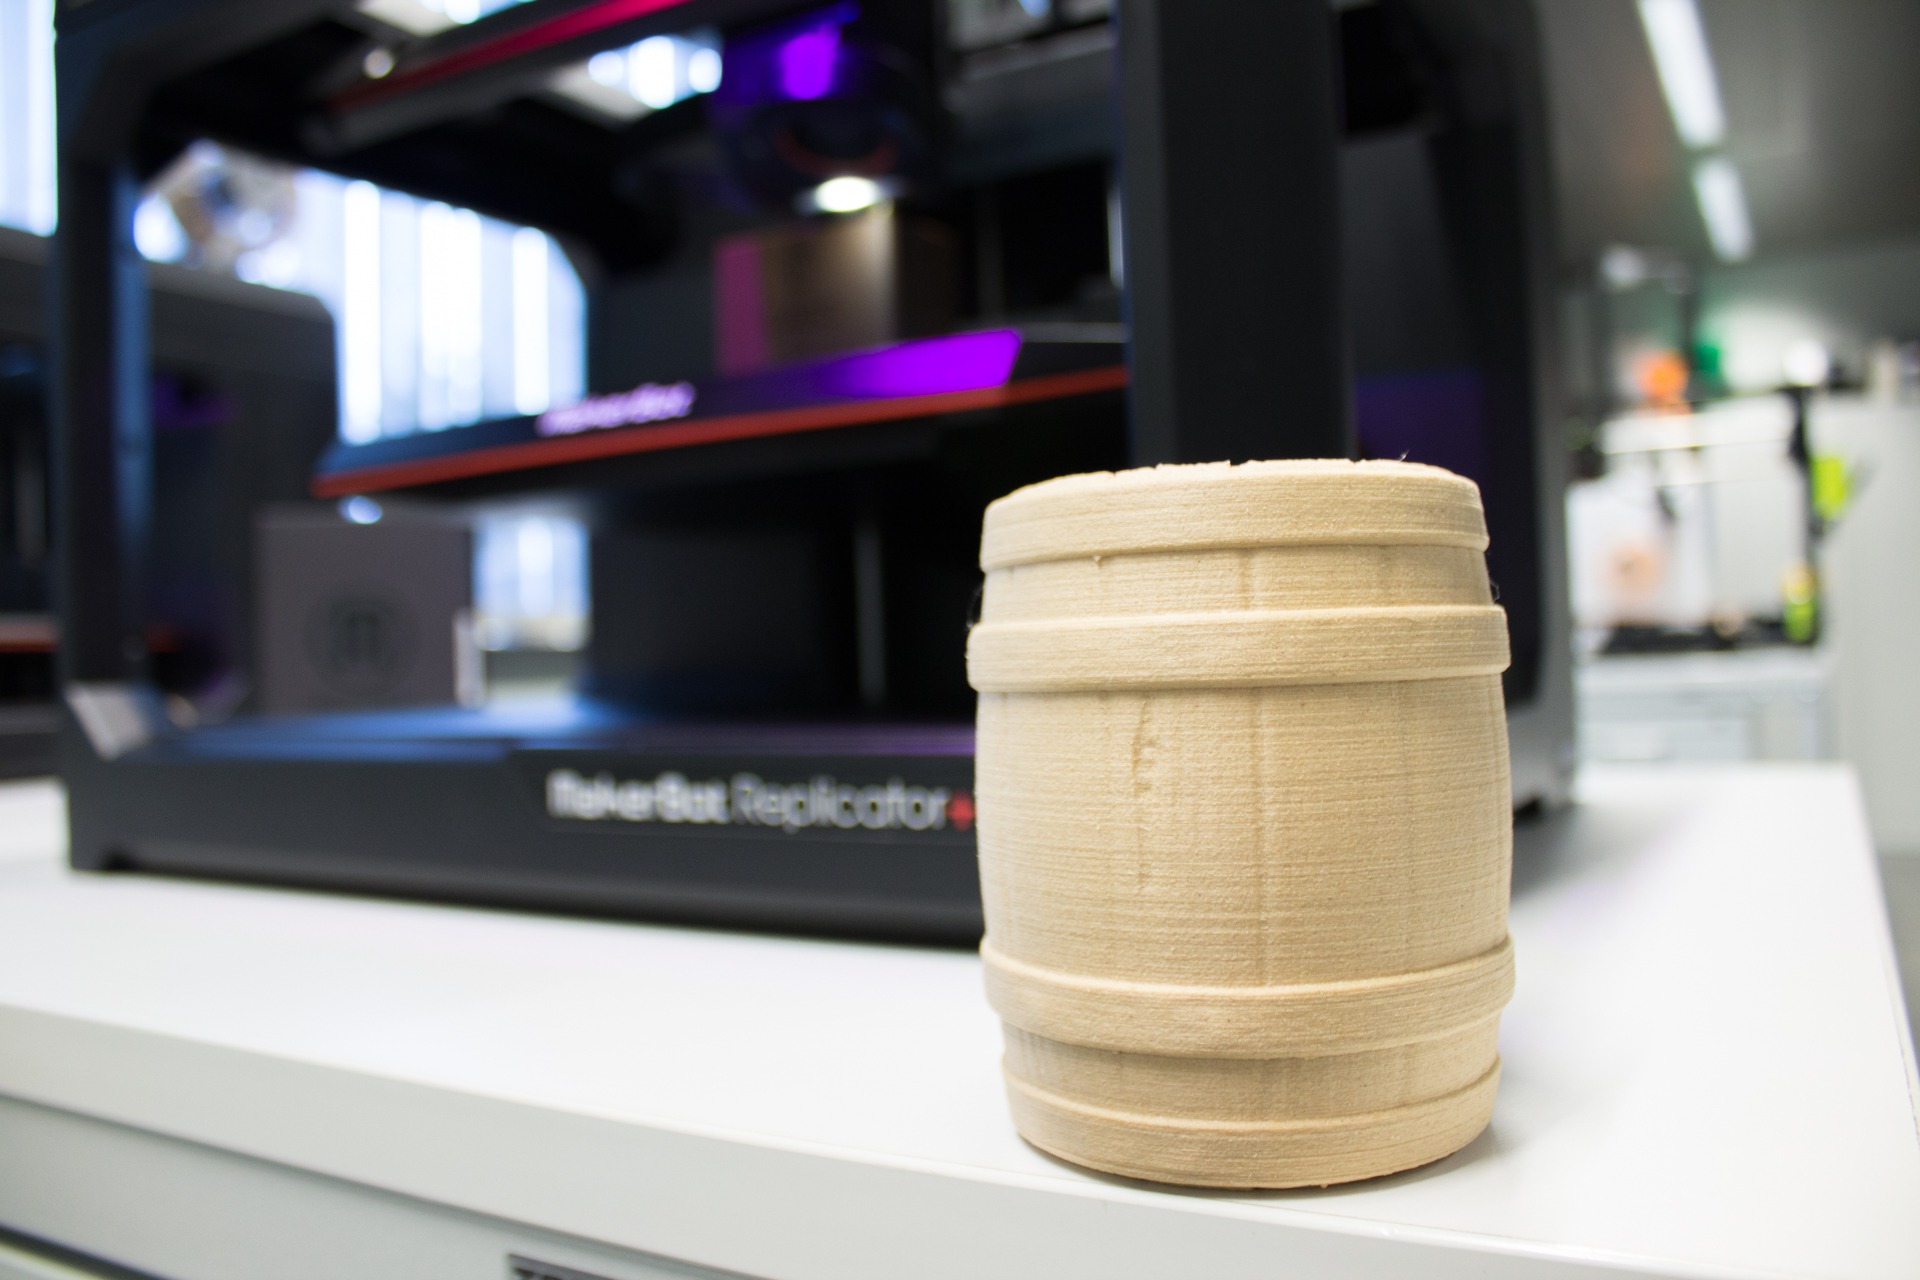
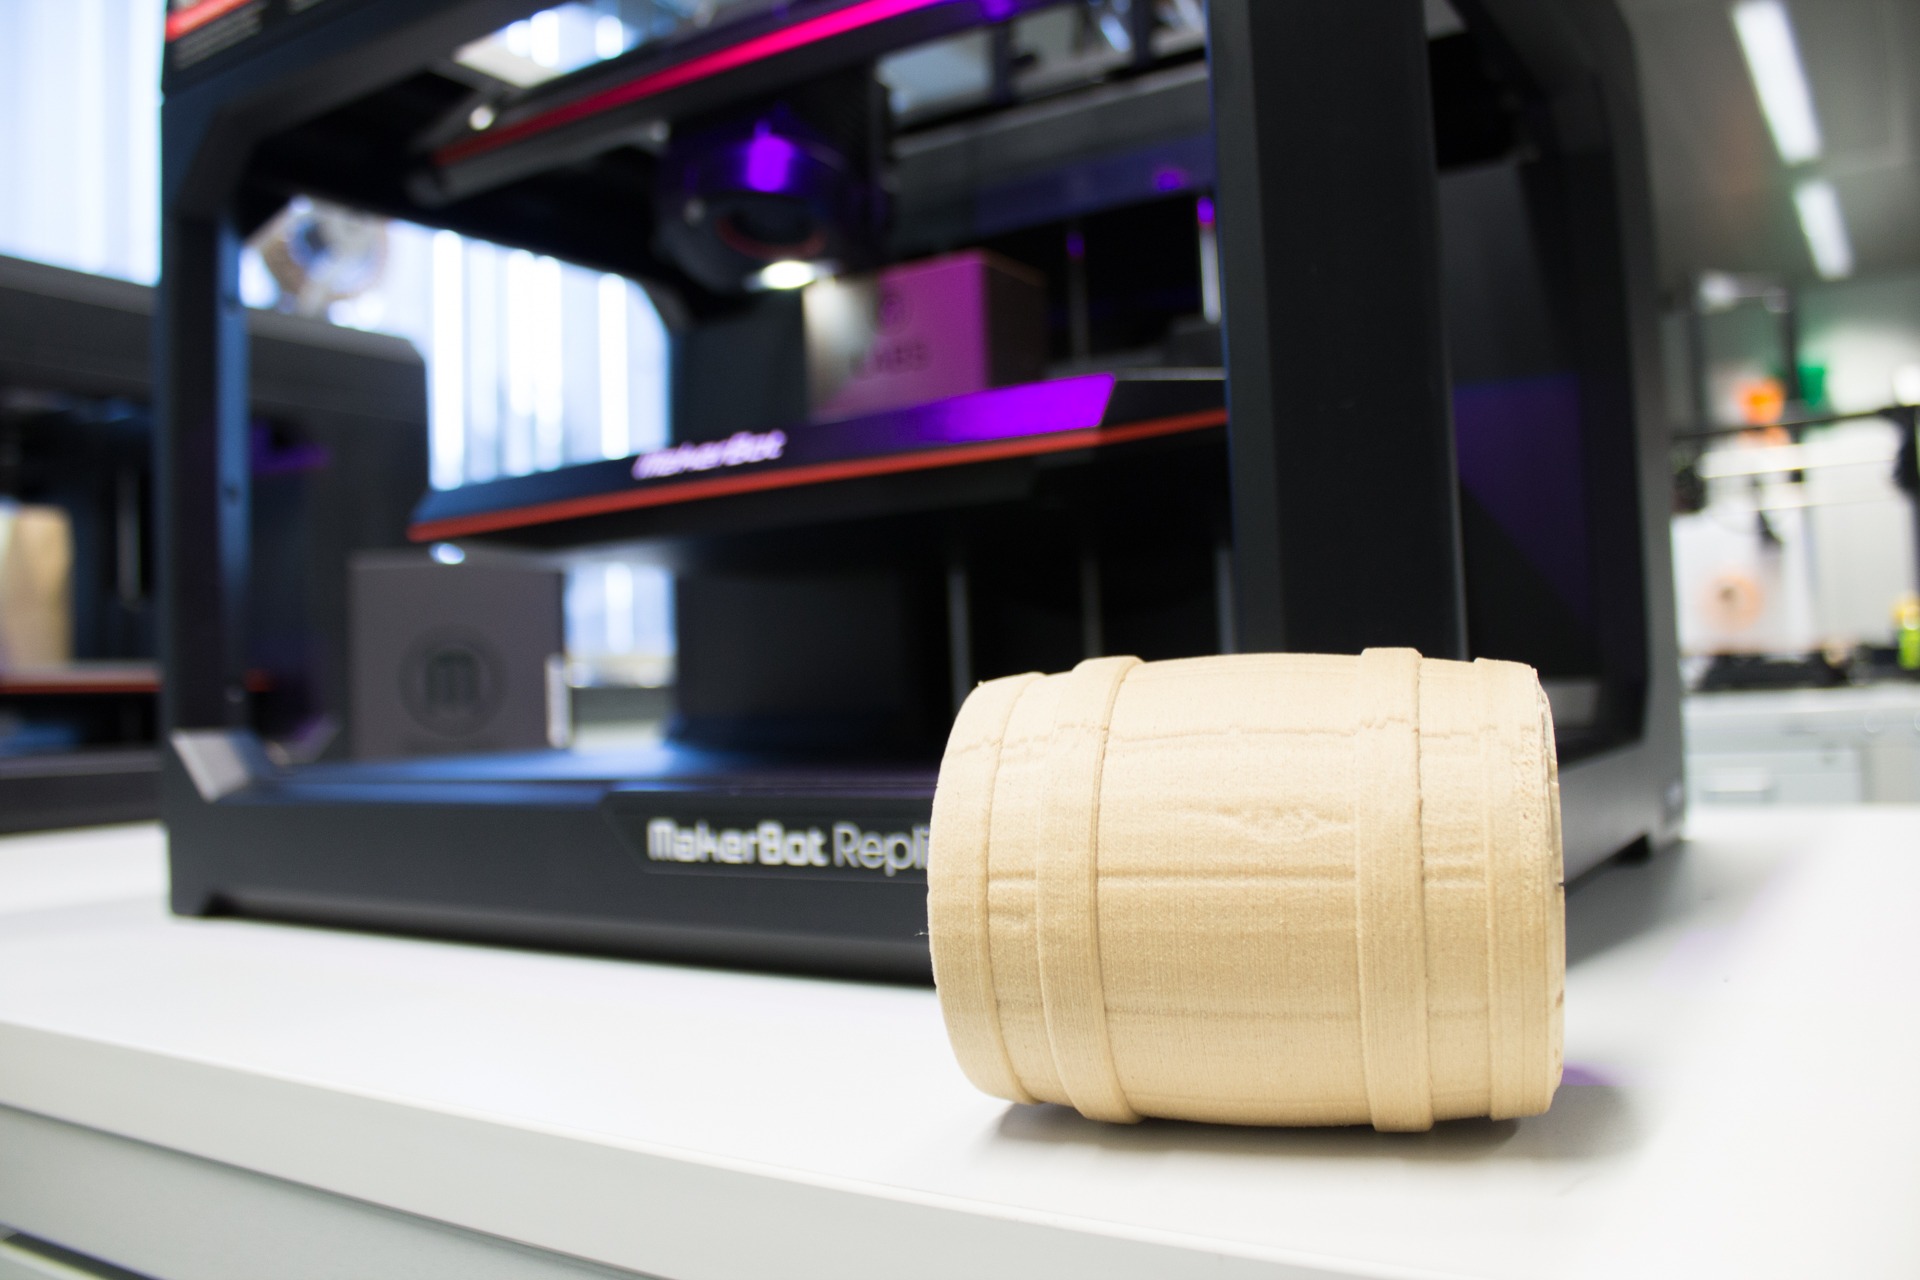
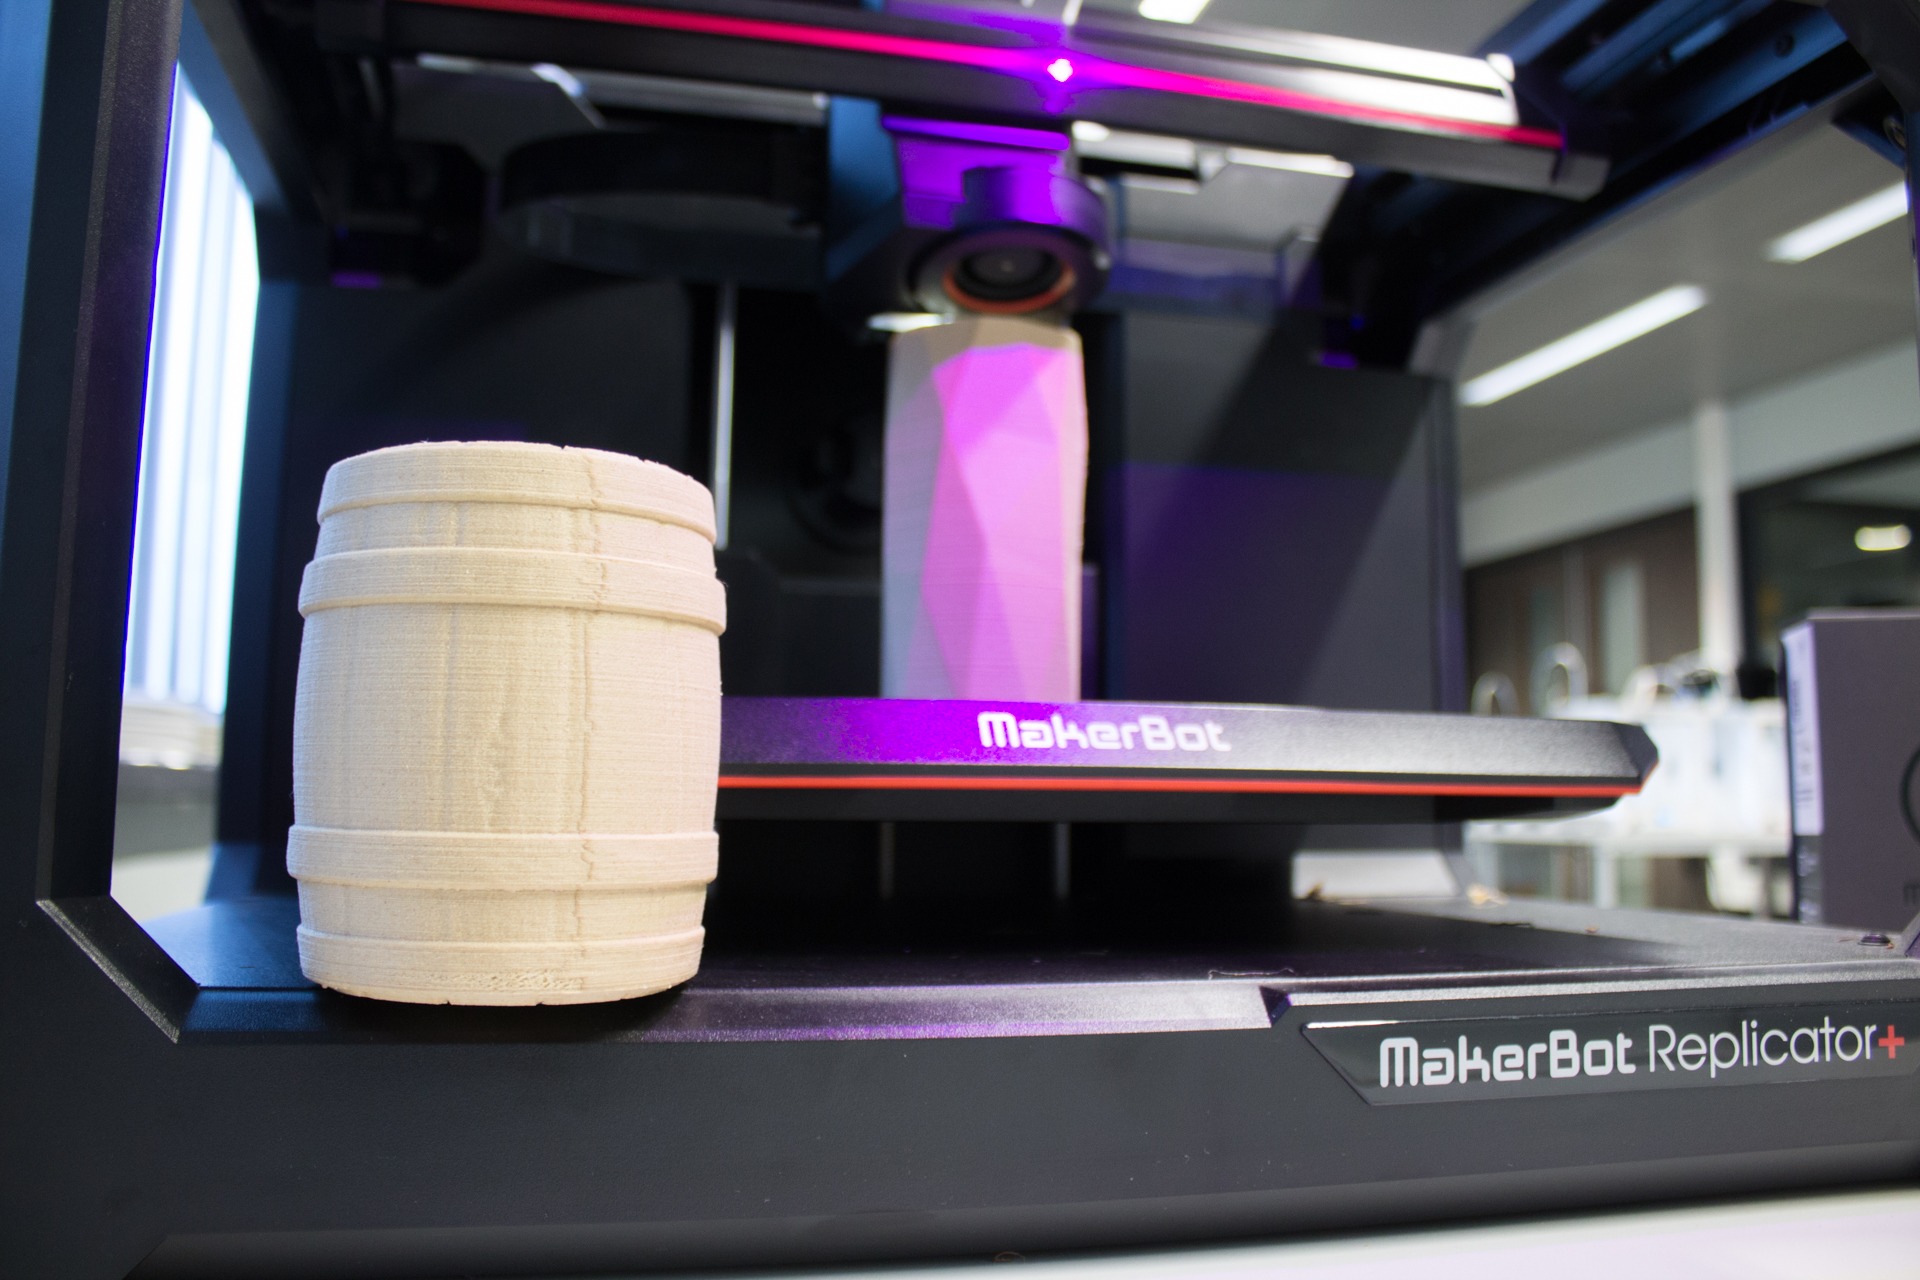
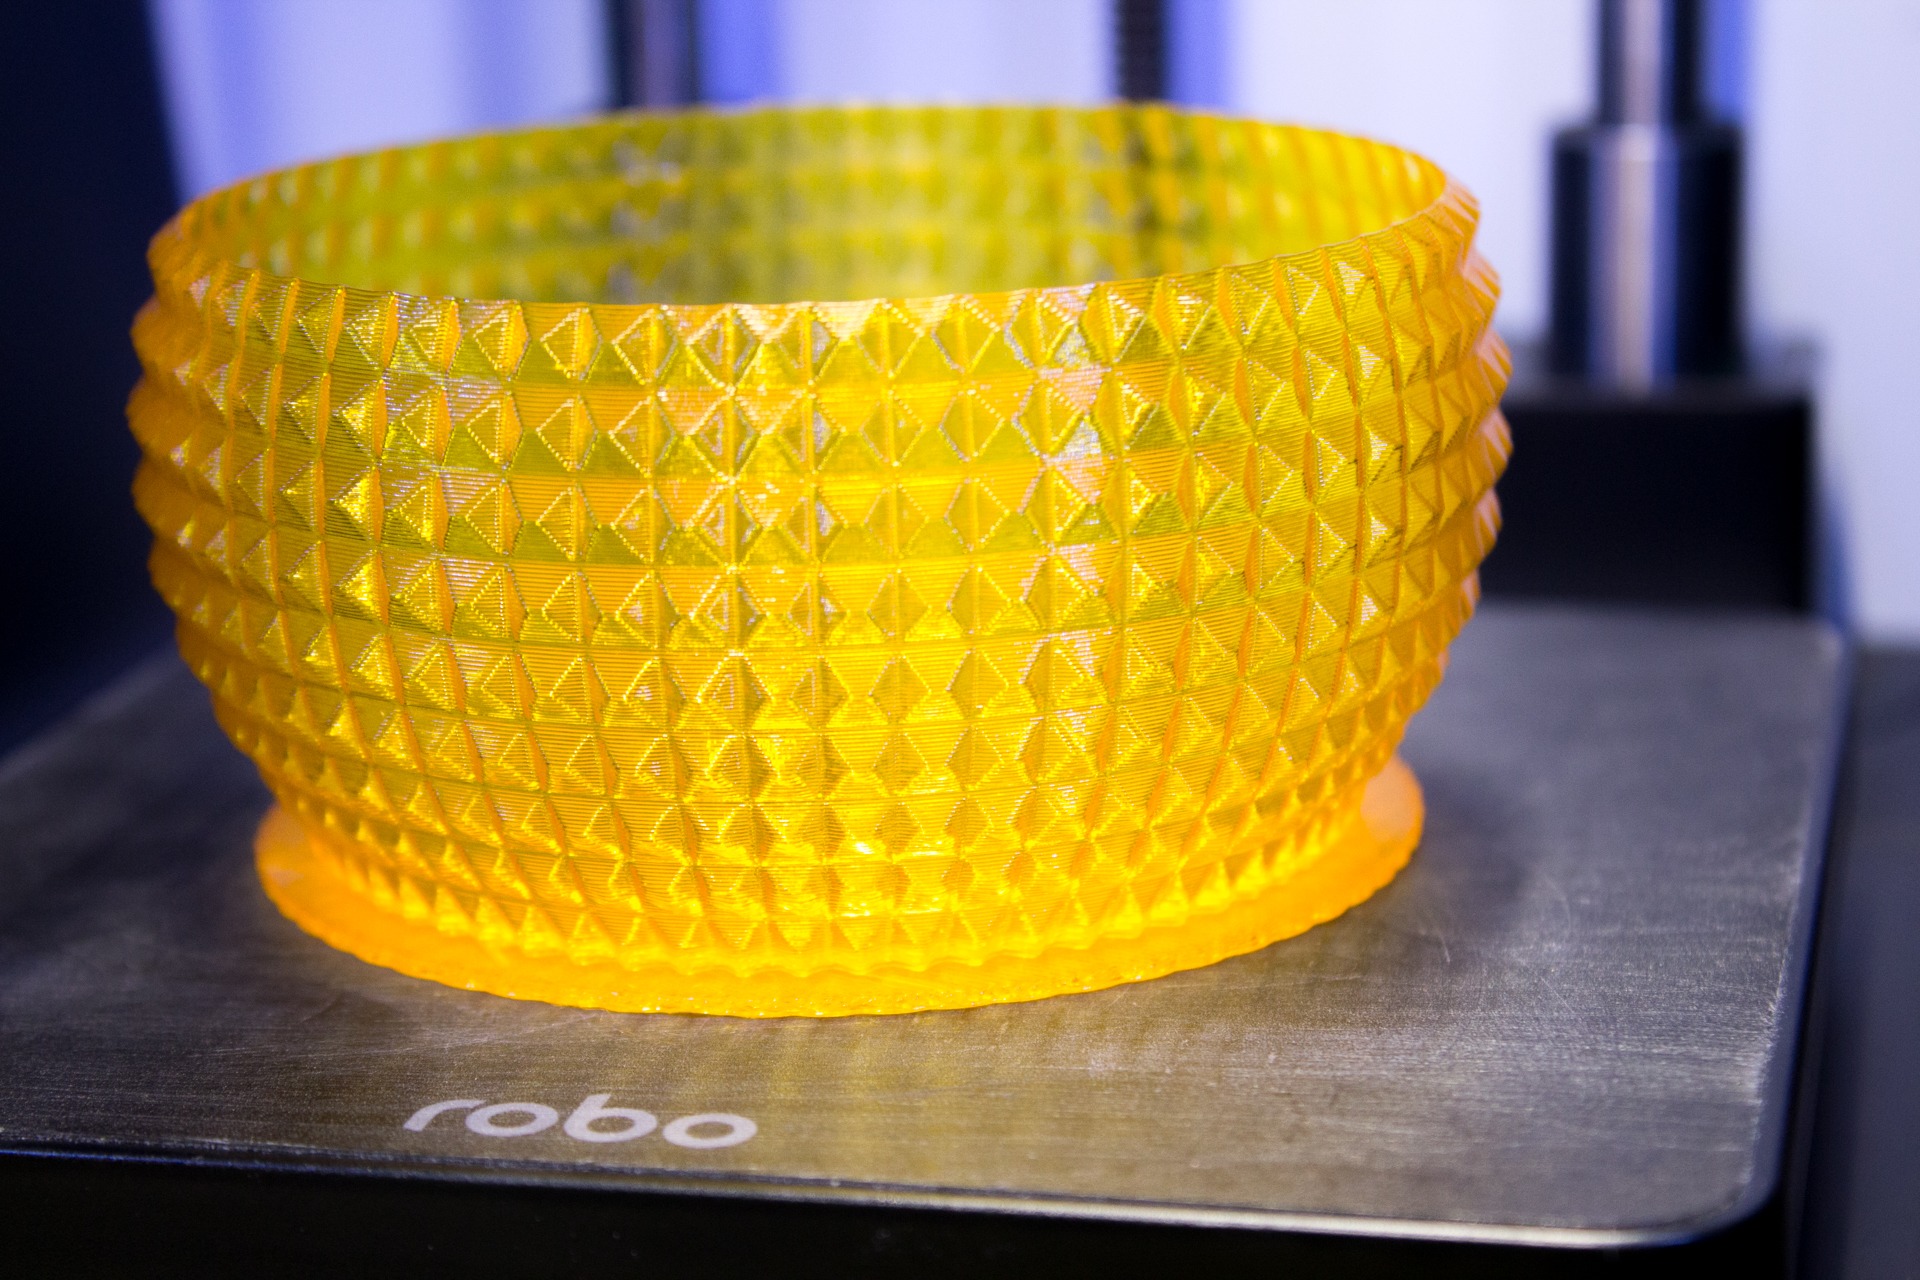
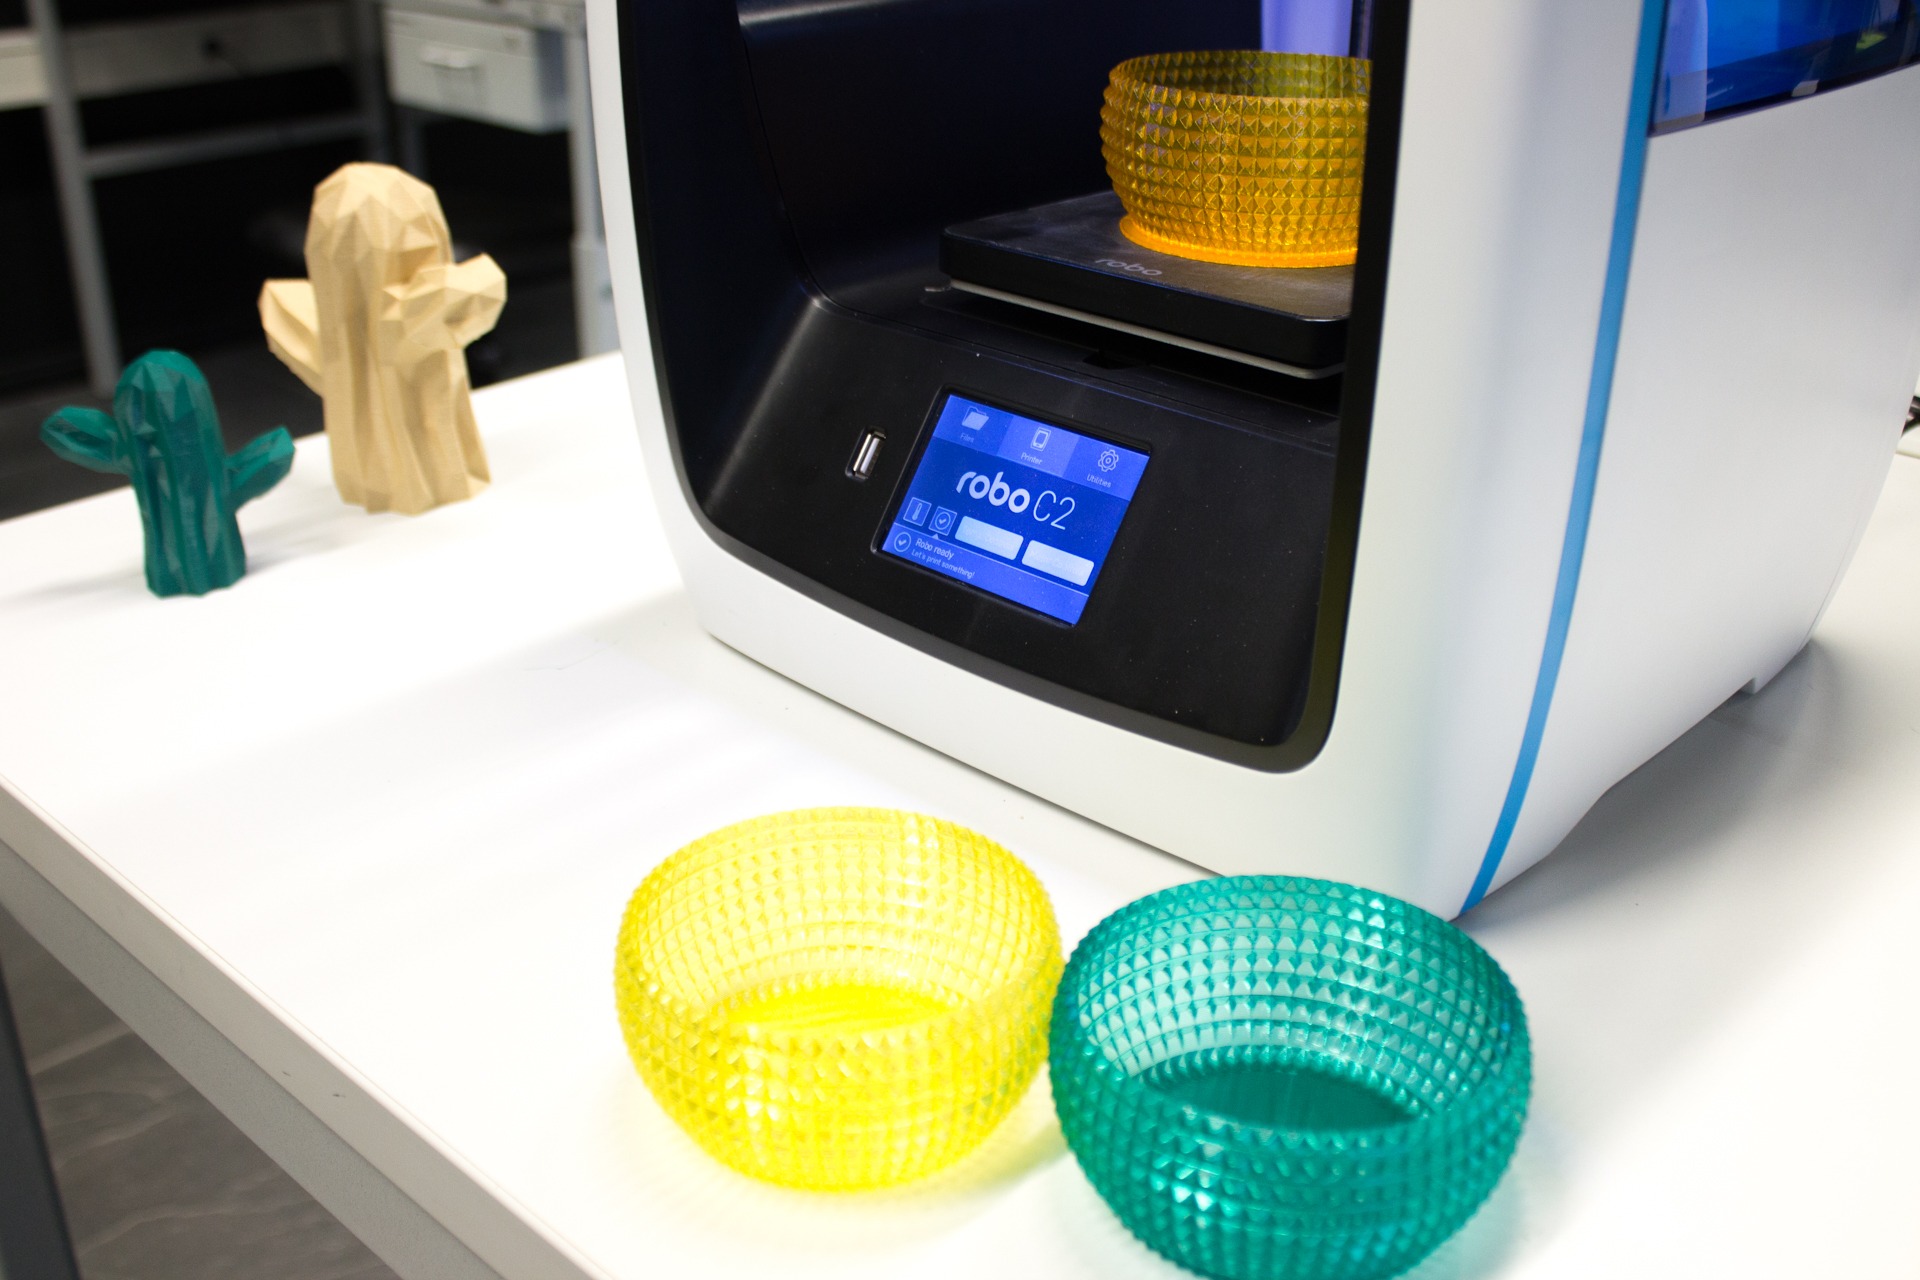
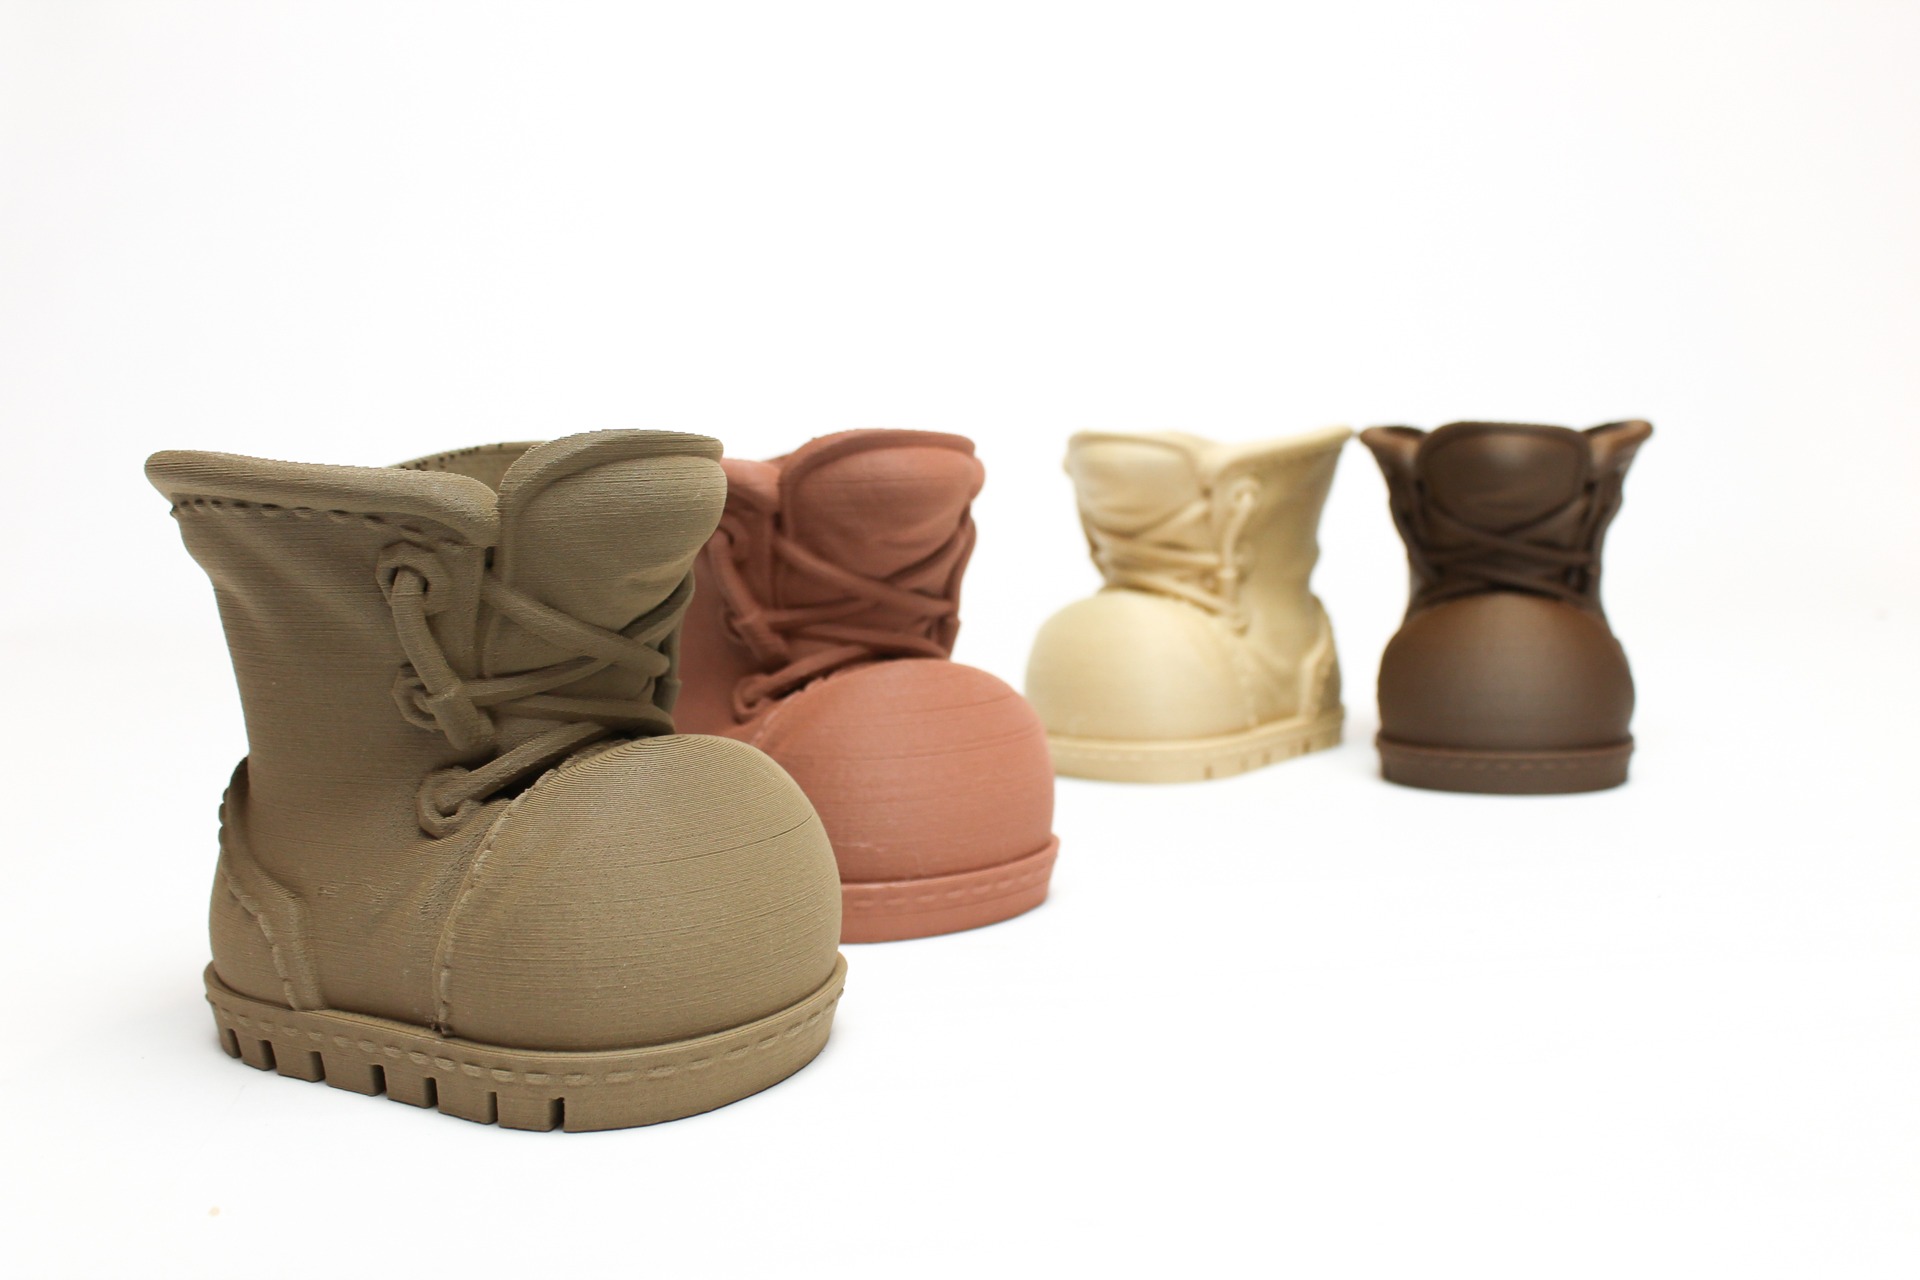
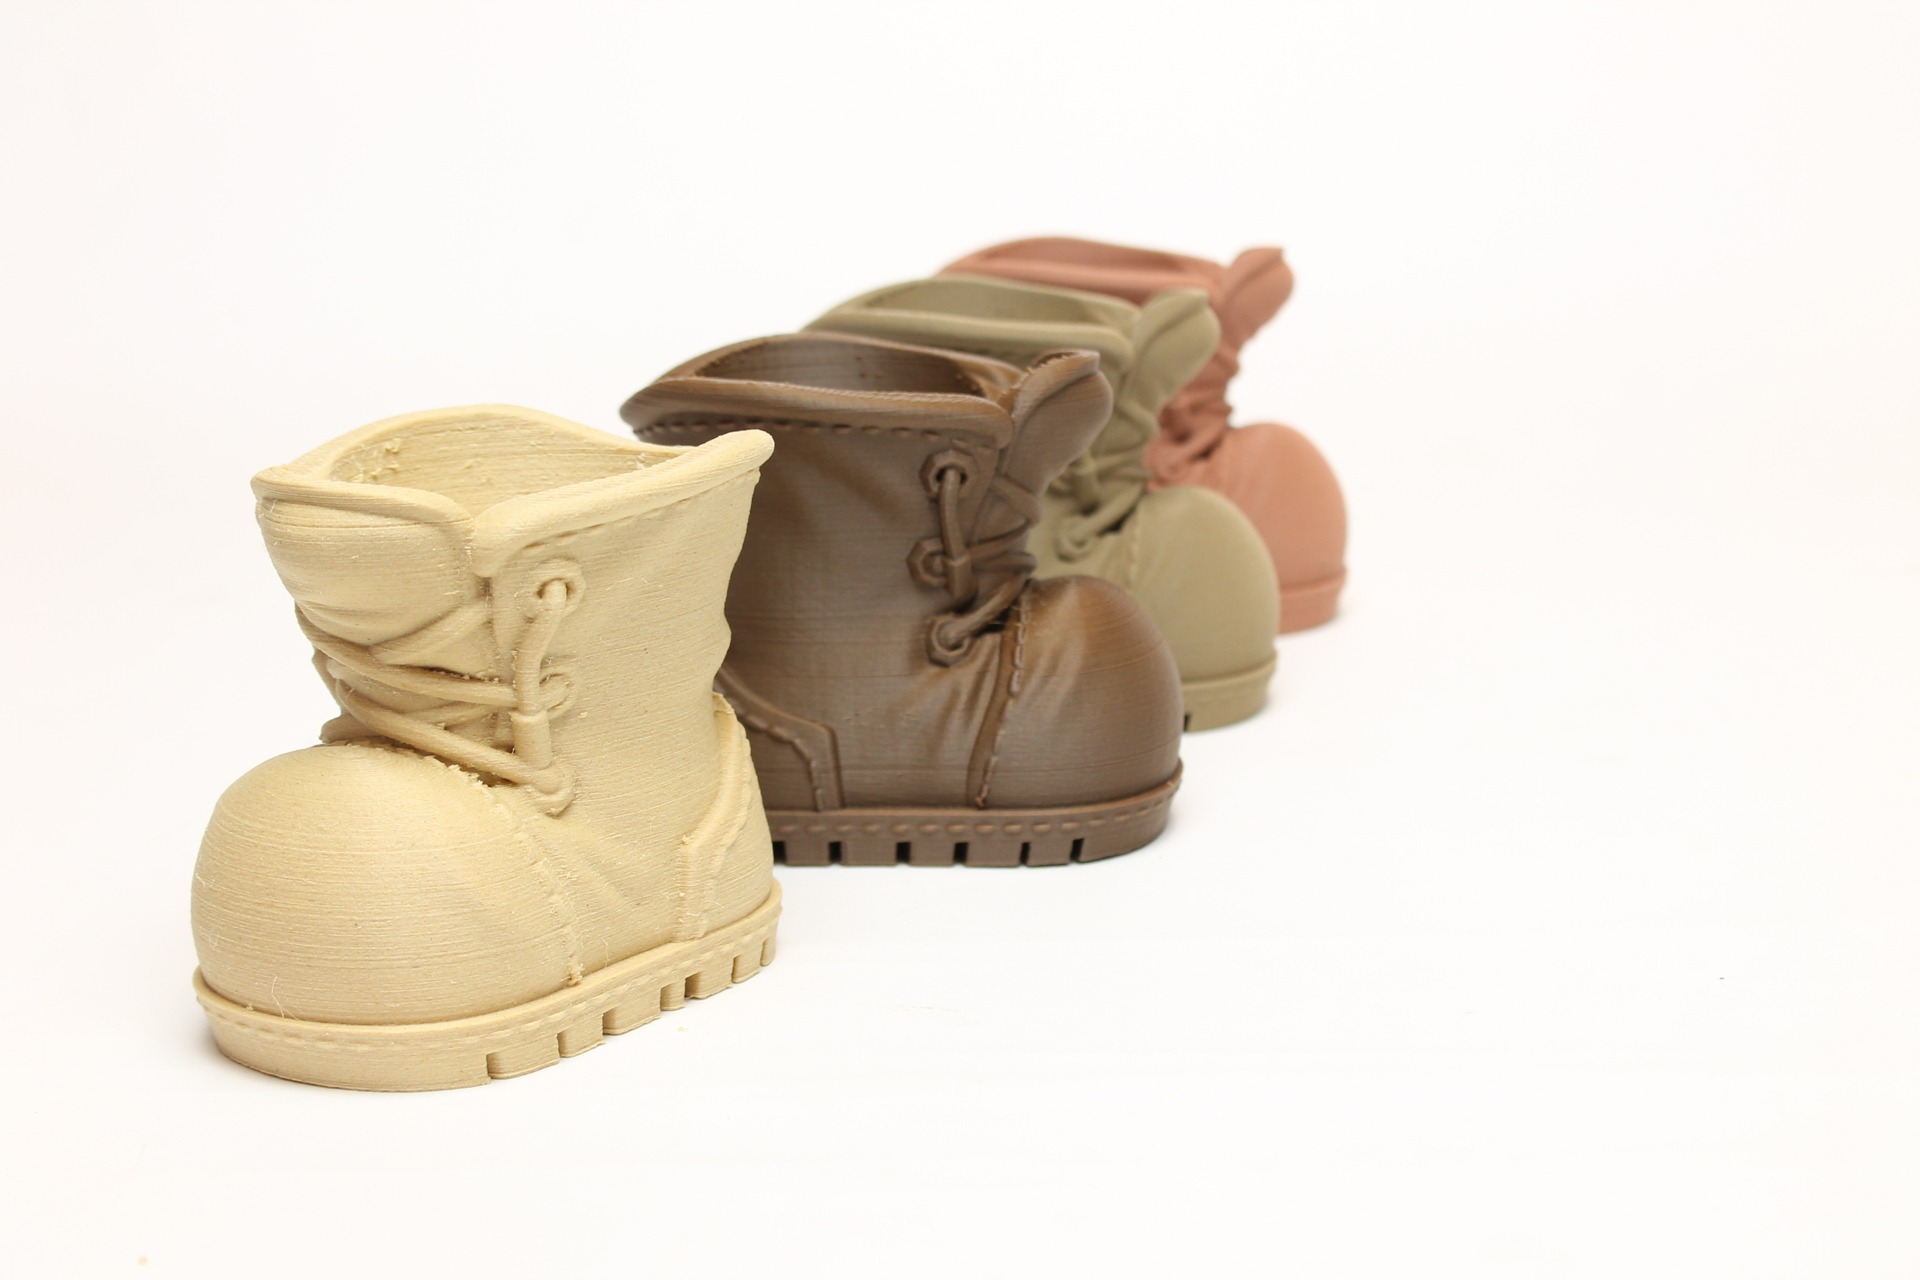
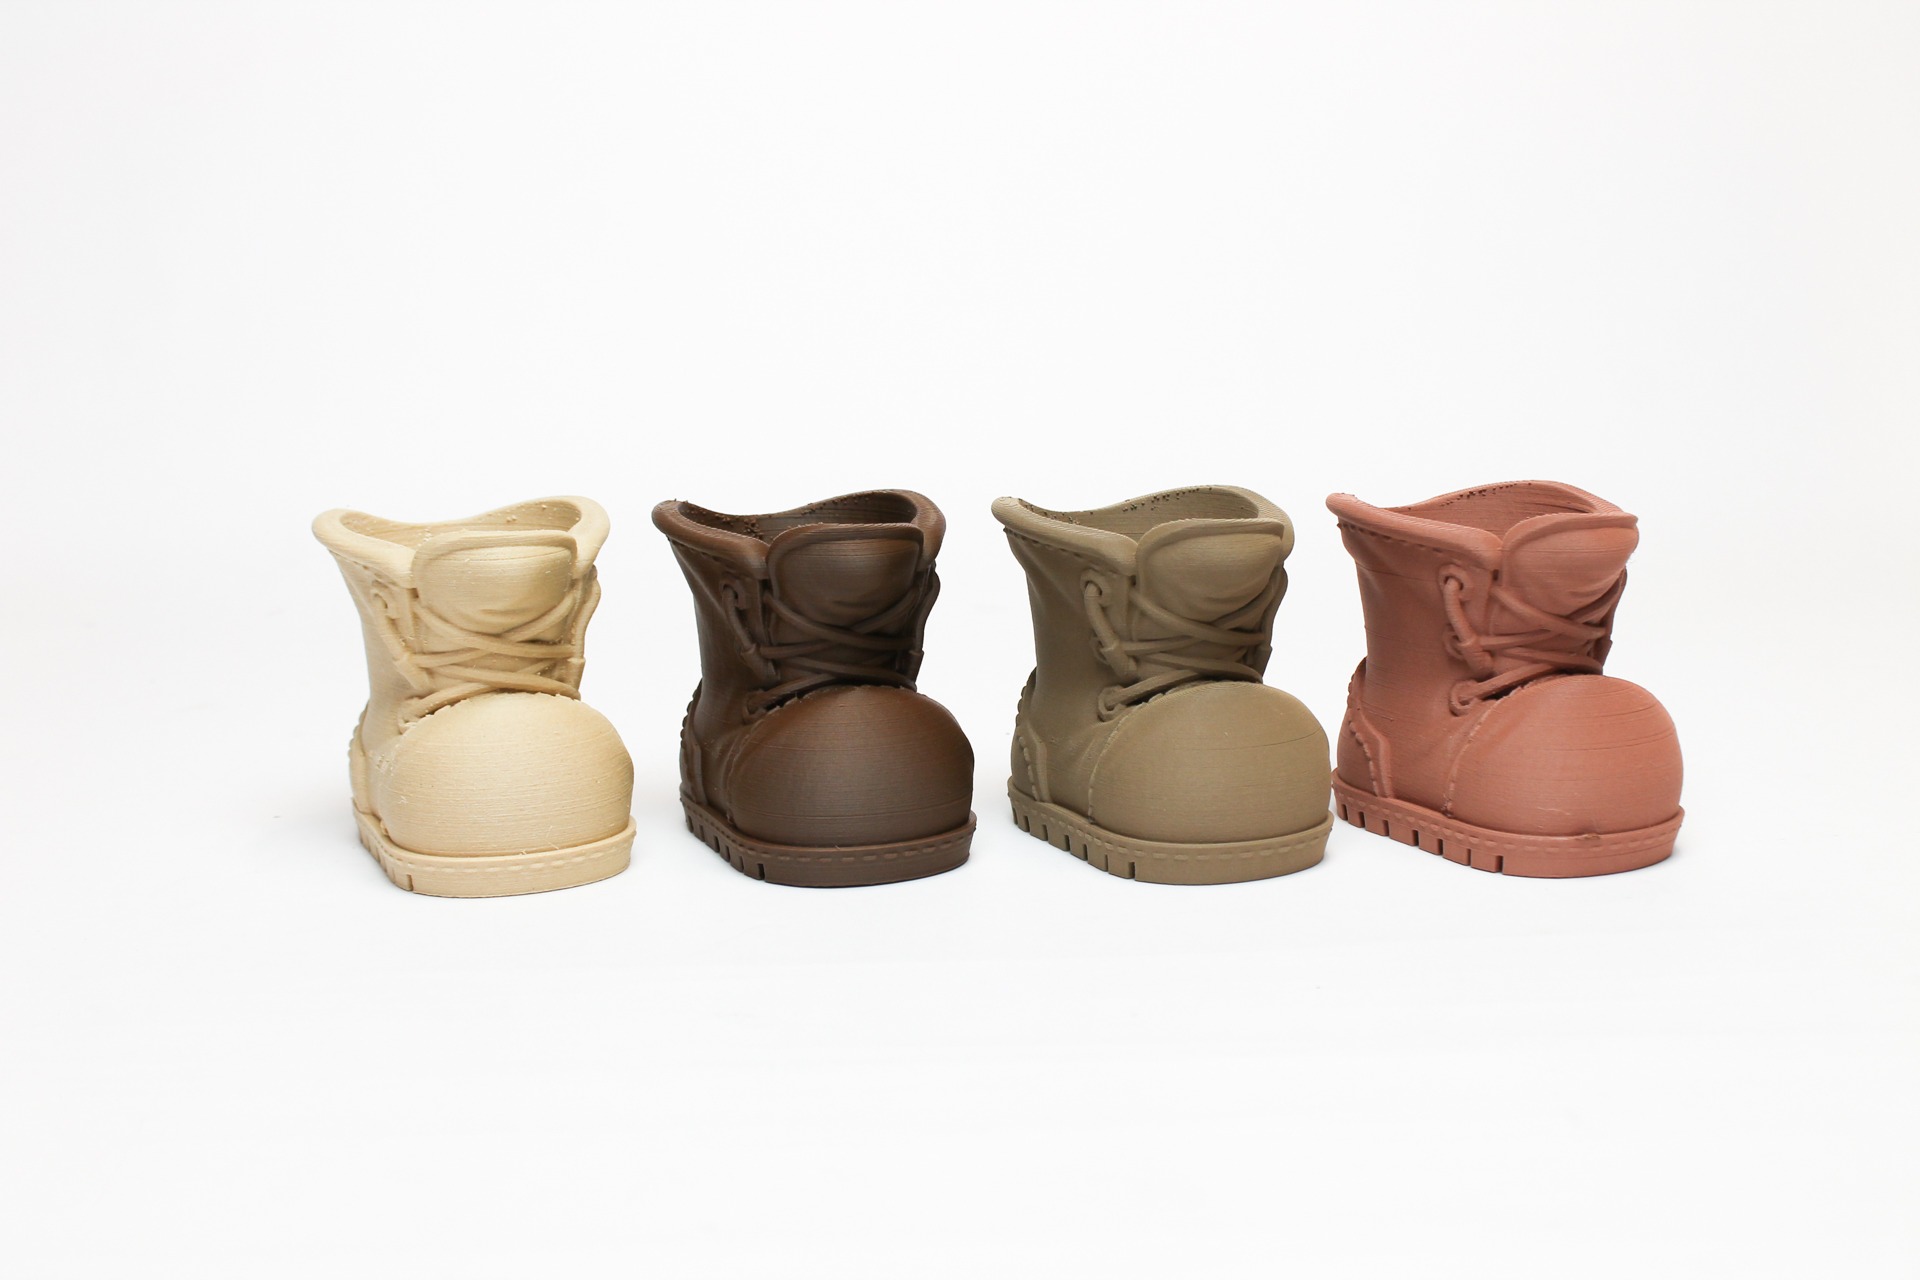
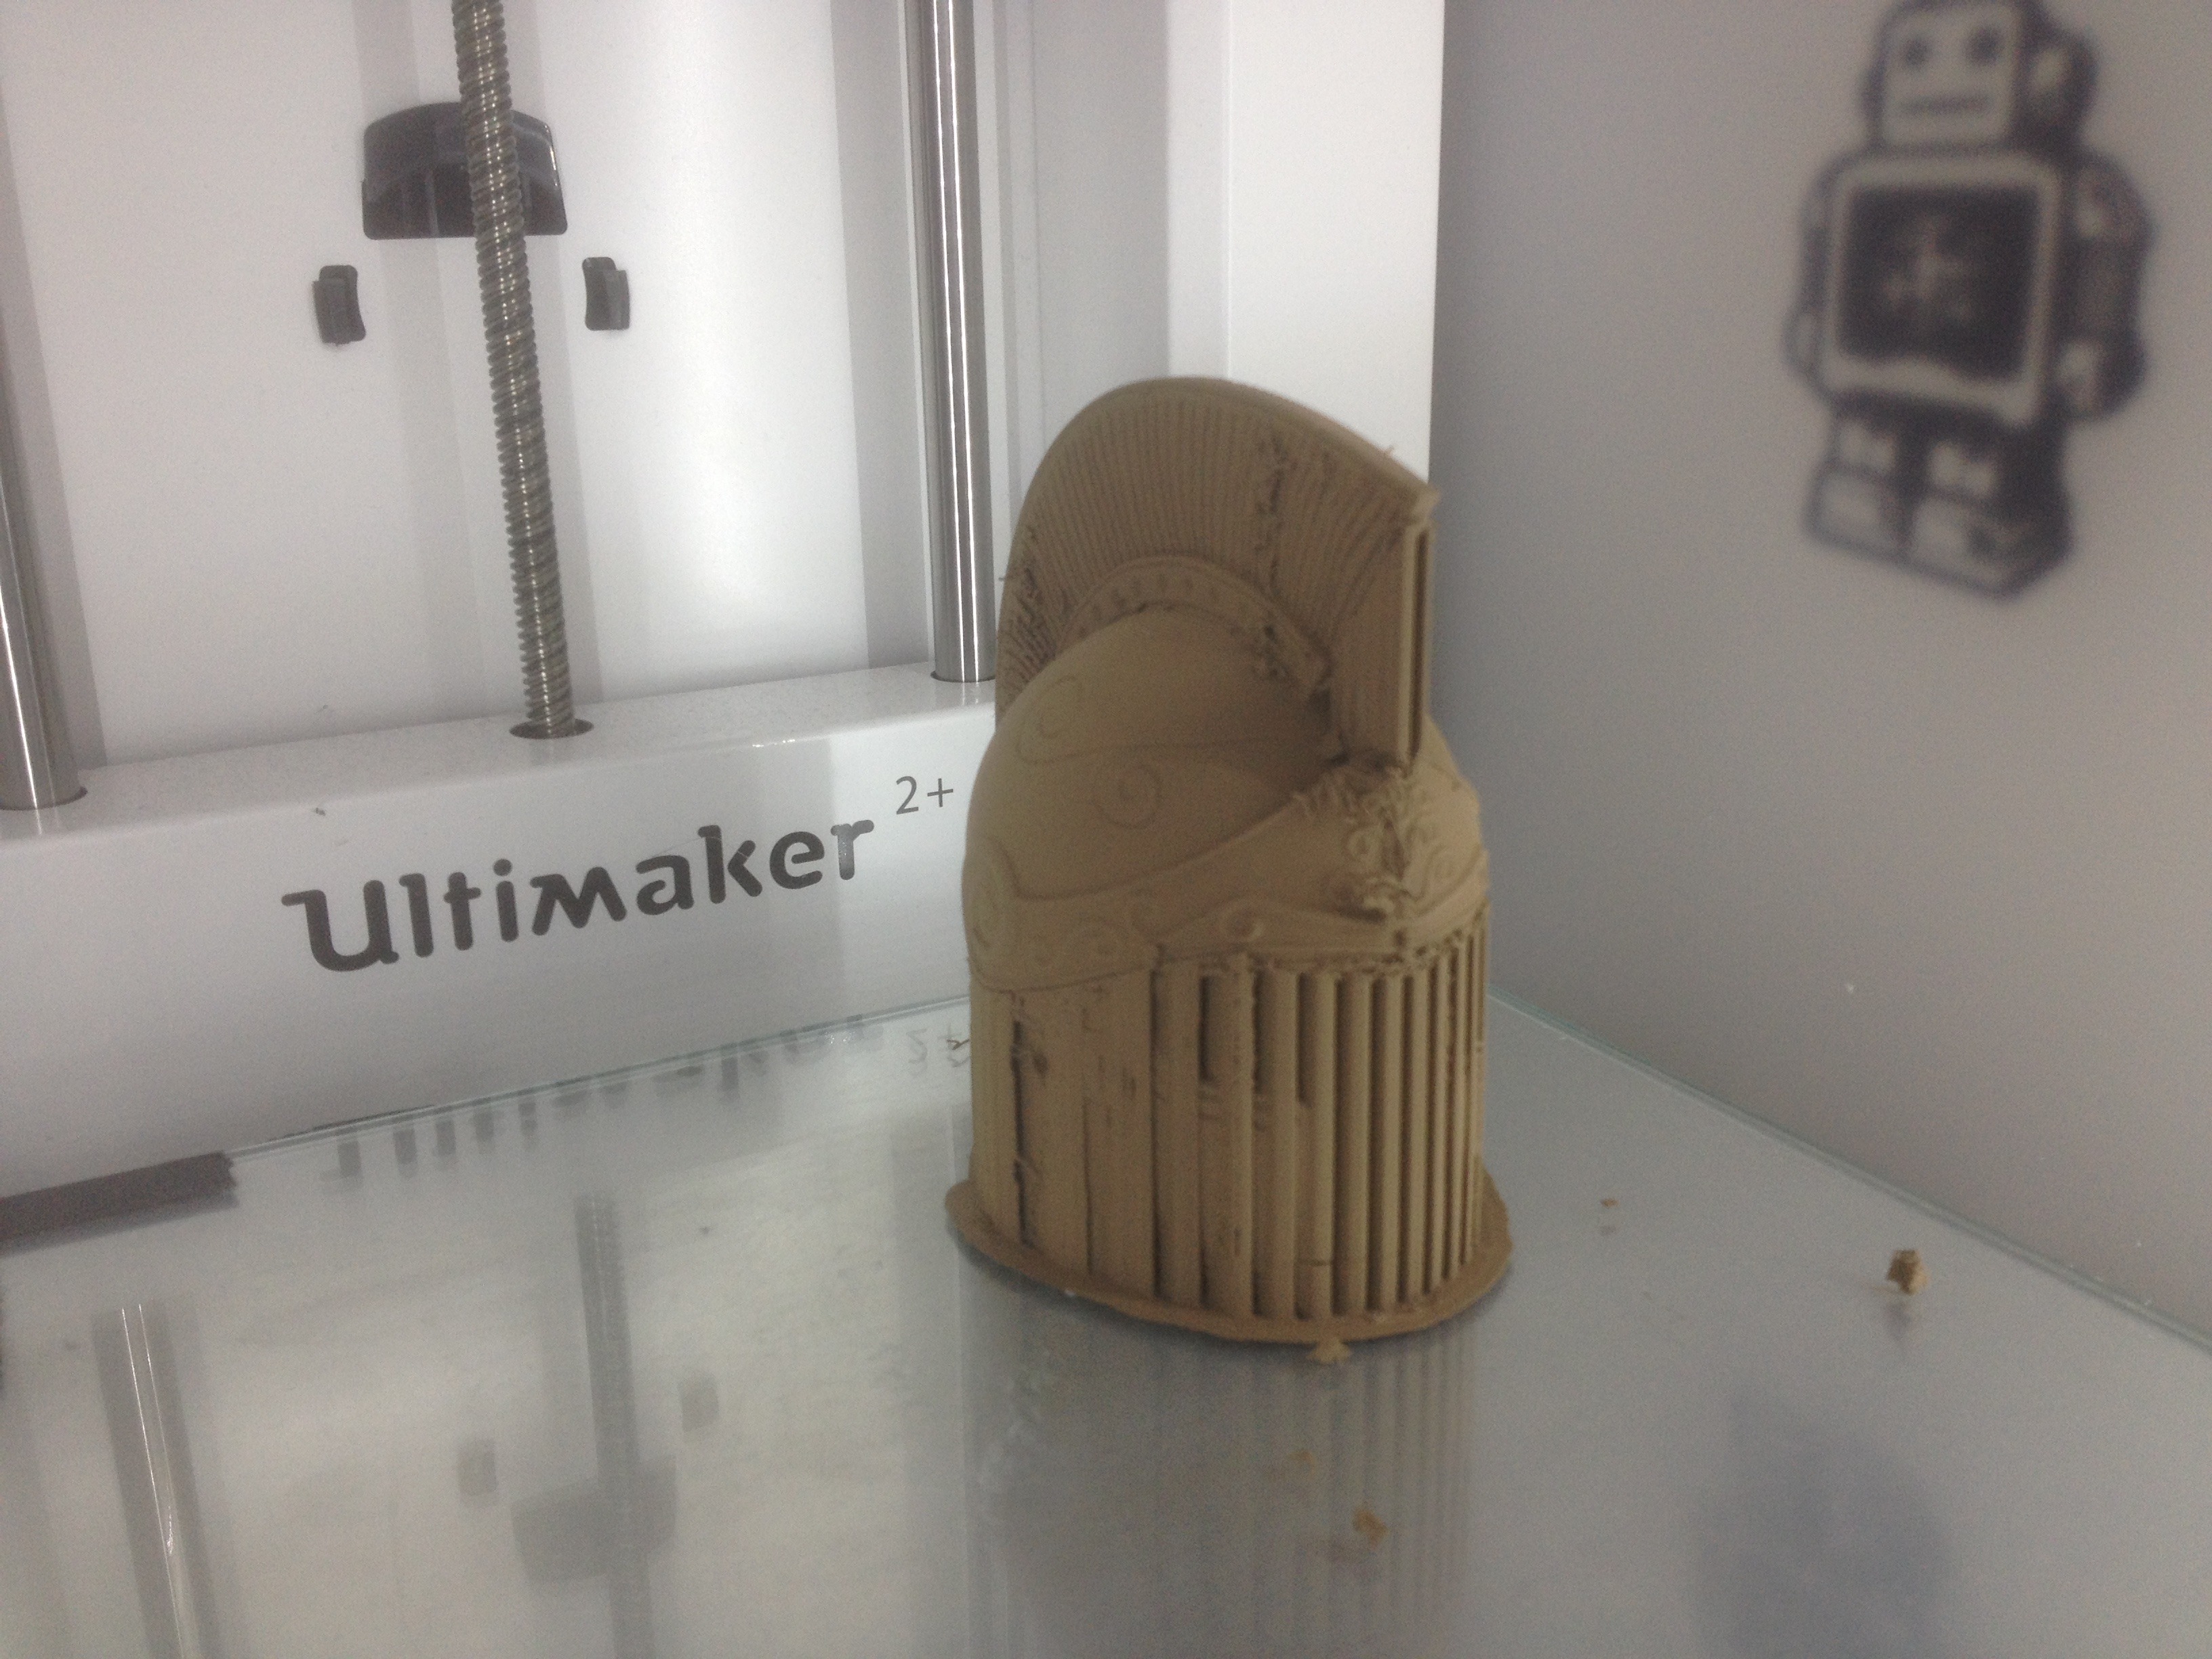
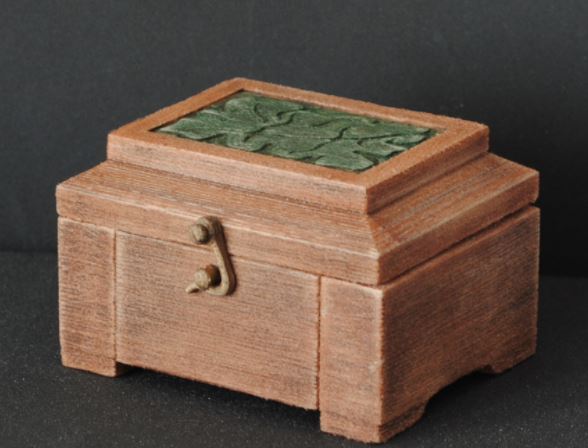
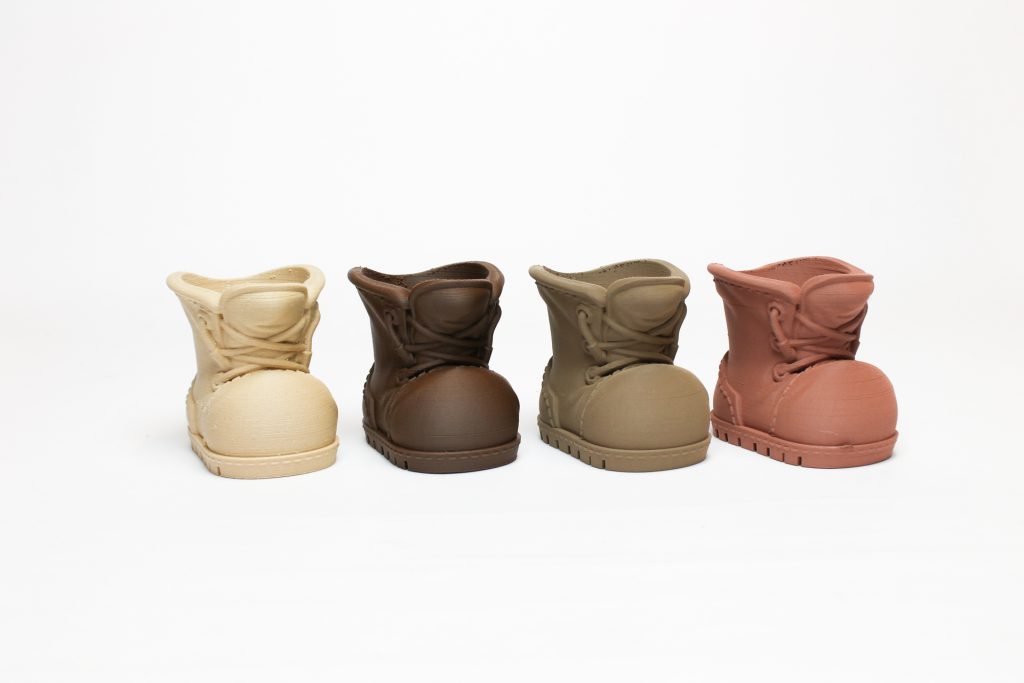
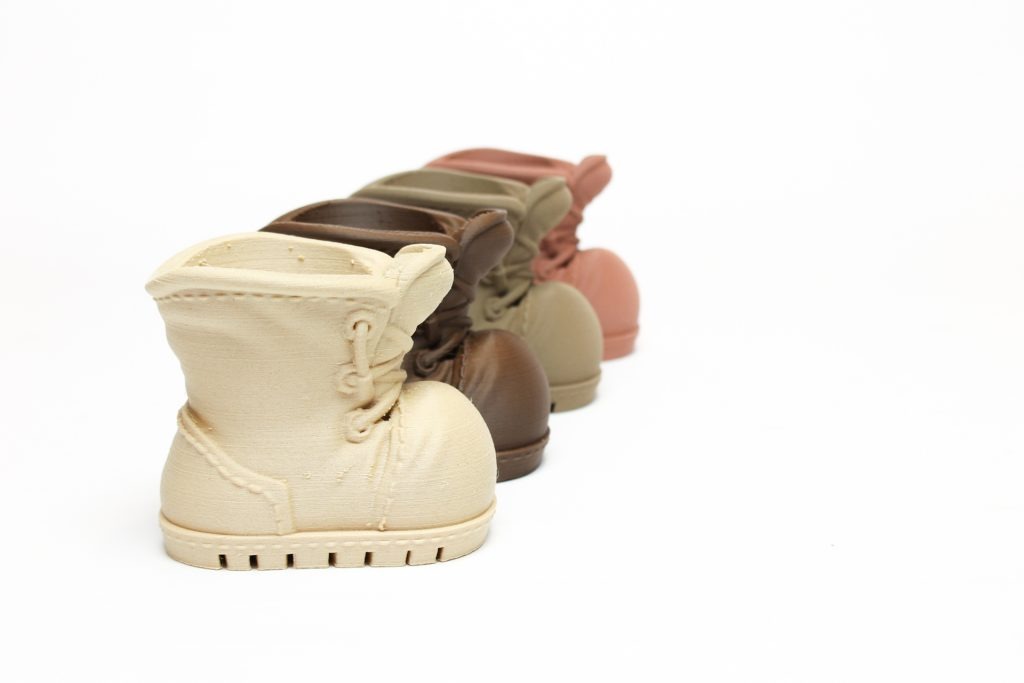
Boot Planter by MakerBot
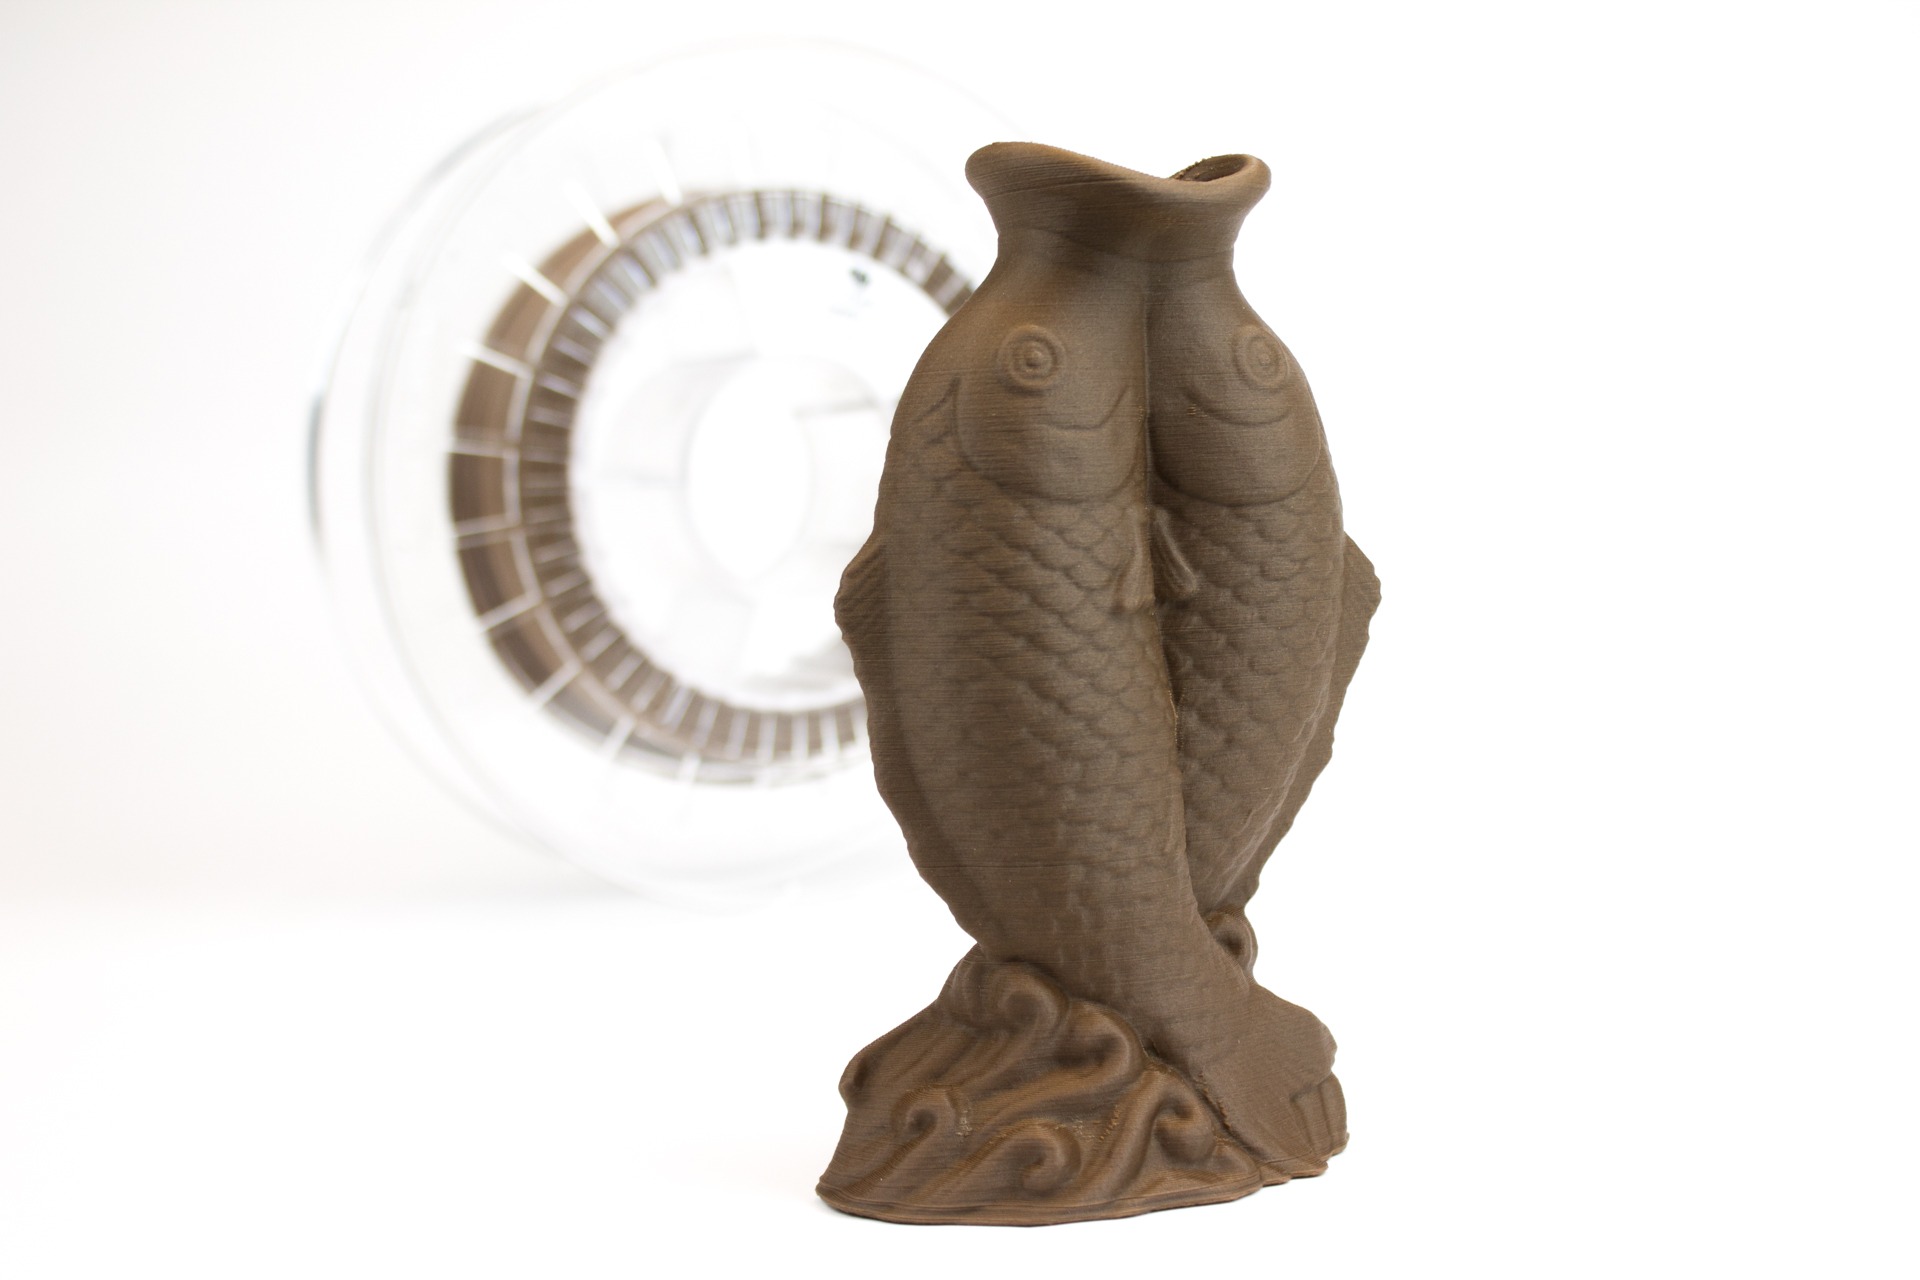
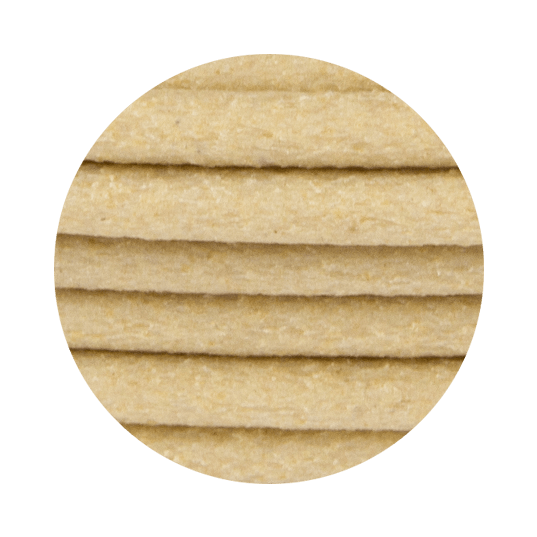
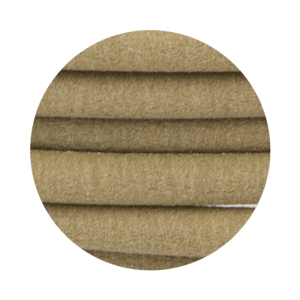
woodFill and corkFill
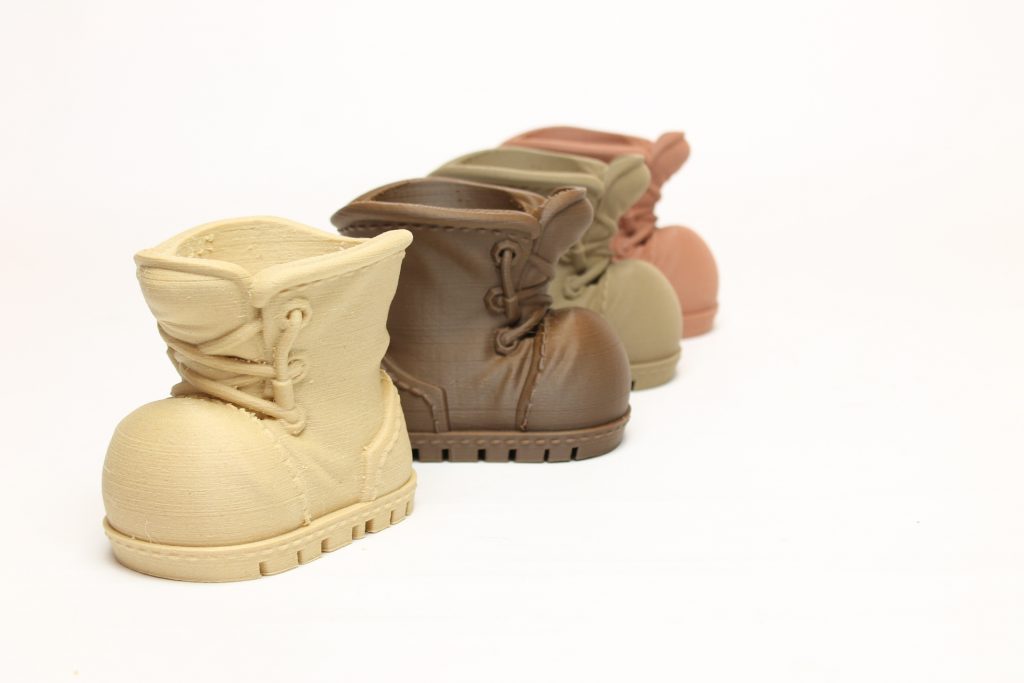 woodFill and corkFill are a special type PLA filament which is infused with very fine pinewood and cork fibers, which make up for about 30% of the content. It will print with similar settings to PLA.
The texture of printed parts are one of a kind, objects no longer look like shiny plastic, but have a great matte texture. During printing users can even notice the subtle smell of wood.
Users are recommended to keep good flow of material while printing, 0.2m – 0.27mm layer height at 50 mm/s – 65 mm/s will serve as a good starting point. Our profiles for the Replicator+ have been developed with this in mind.
Boot Planters printed with 0.6mm nozzle using the Replicator +.
Good to know.
The standard colorFabb spools will not fit the Makerbot Replicator+ machines. This means users will need to top mount our spools for easy and efficient unloading of filament. There is many variations on thingiverse to topmount filament spools on your Replicator+ and these can be found in the Hardware Mods section of MakerBot Labs on Thingiverse.
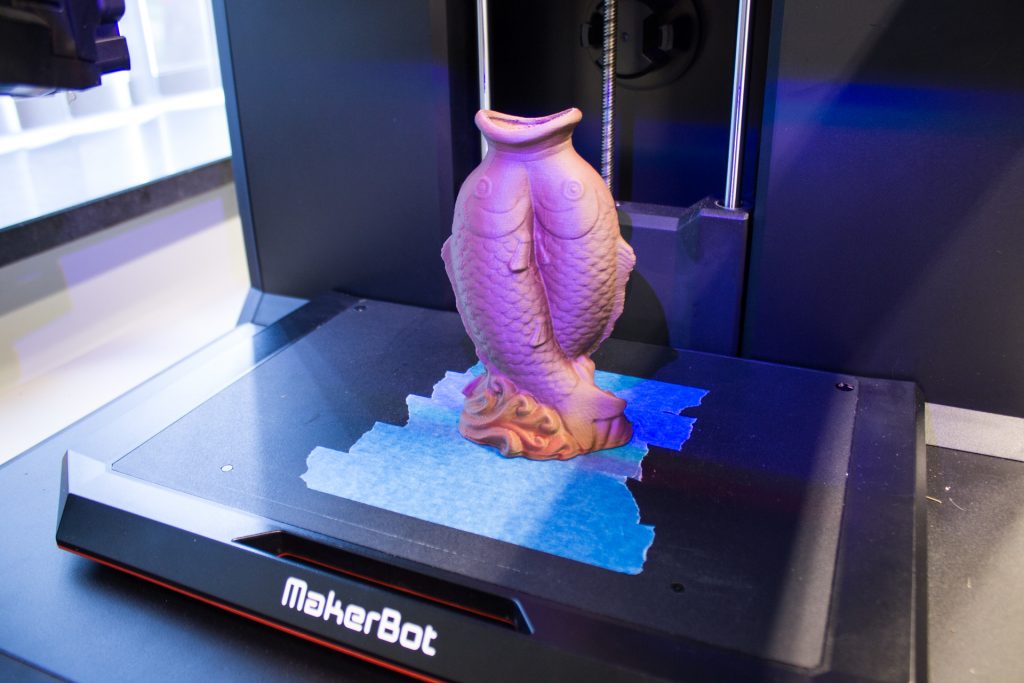
When printing woodFill and corkFill, we’ve found that applying blue painters tape to the surface of the Replicator+ platform can improve adhesion, resulting in less warping.
With bronzeFill and copperFill we’ve seen good adhesion on the grip surface that is standard on the Makerbot Replicator+.
For more information on Makerbot Labs visit: https://makerbot.com/labs/

ATTRIBUTIONS
Moai by ET-Huang
https://www.thingiverse.com/thing:144668
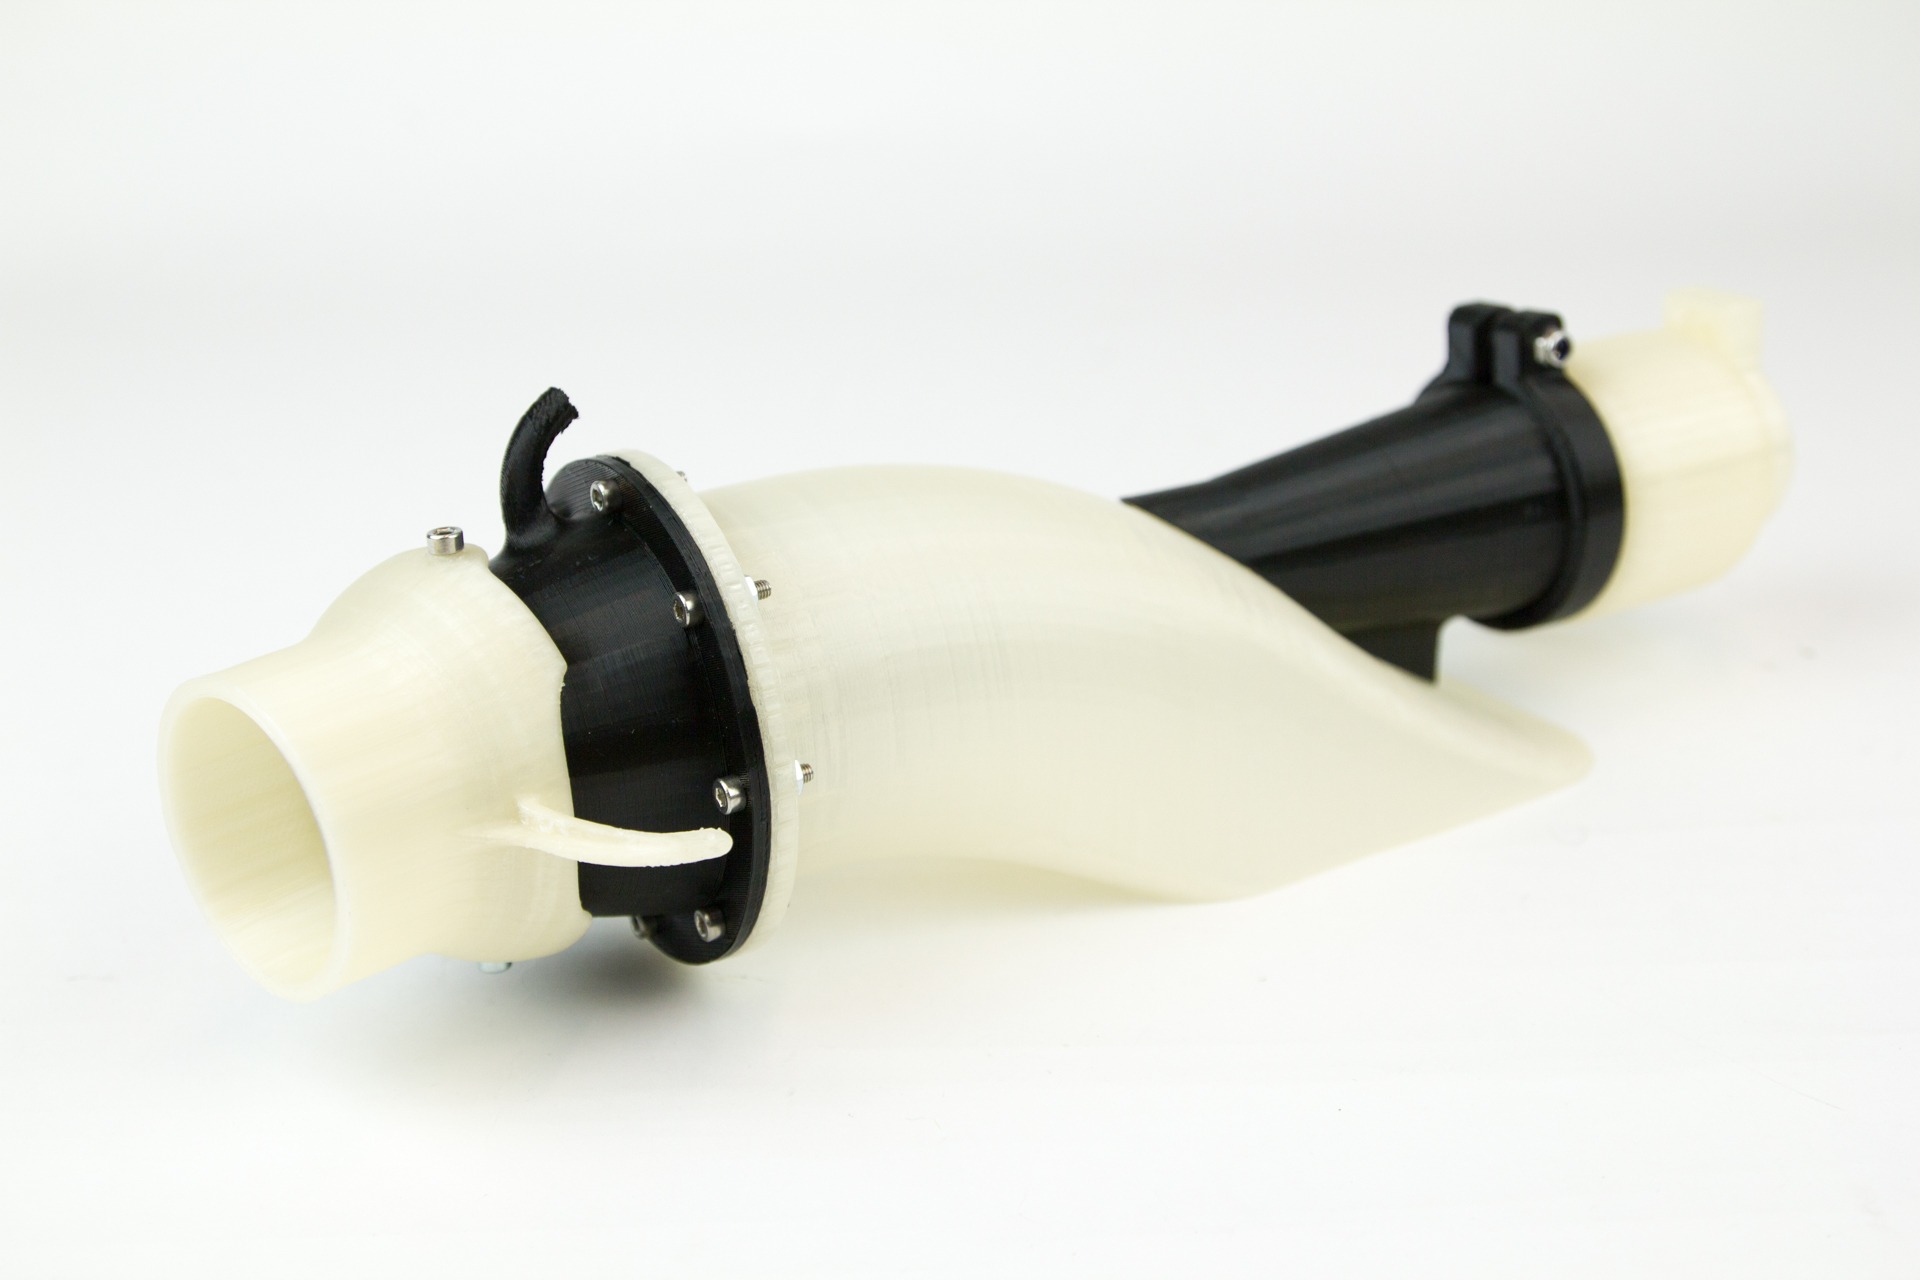
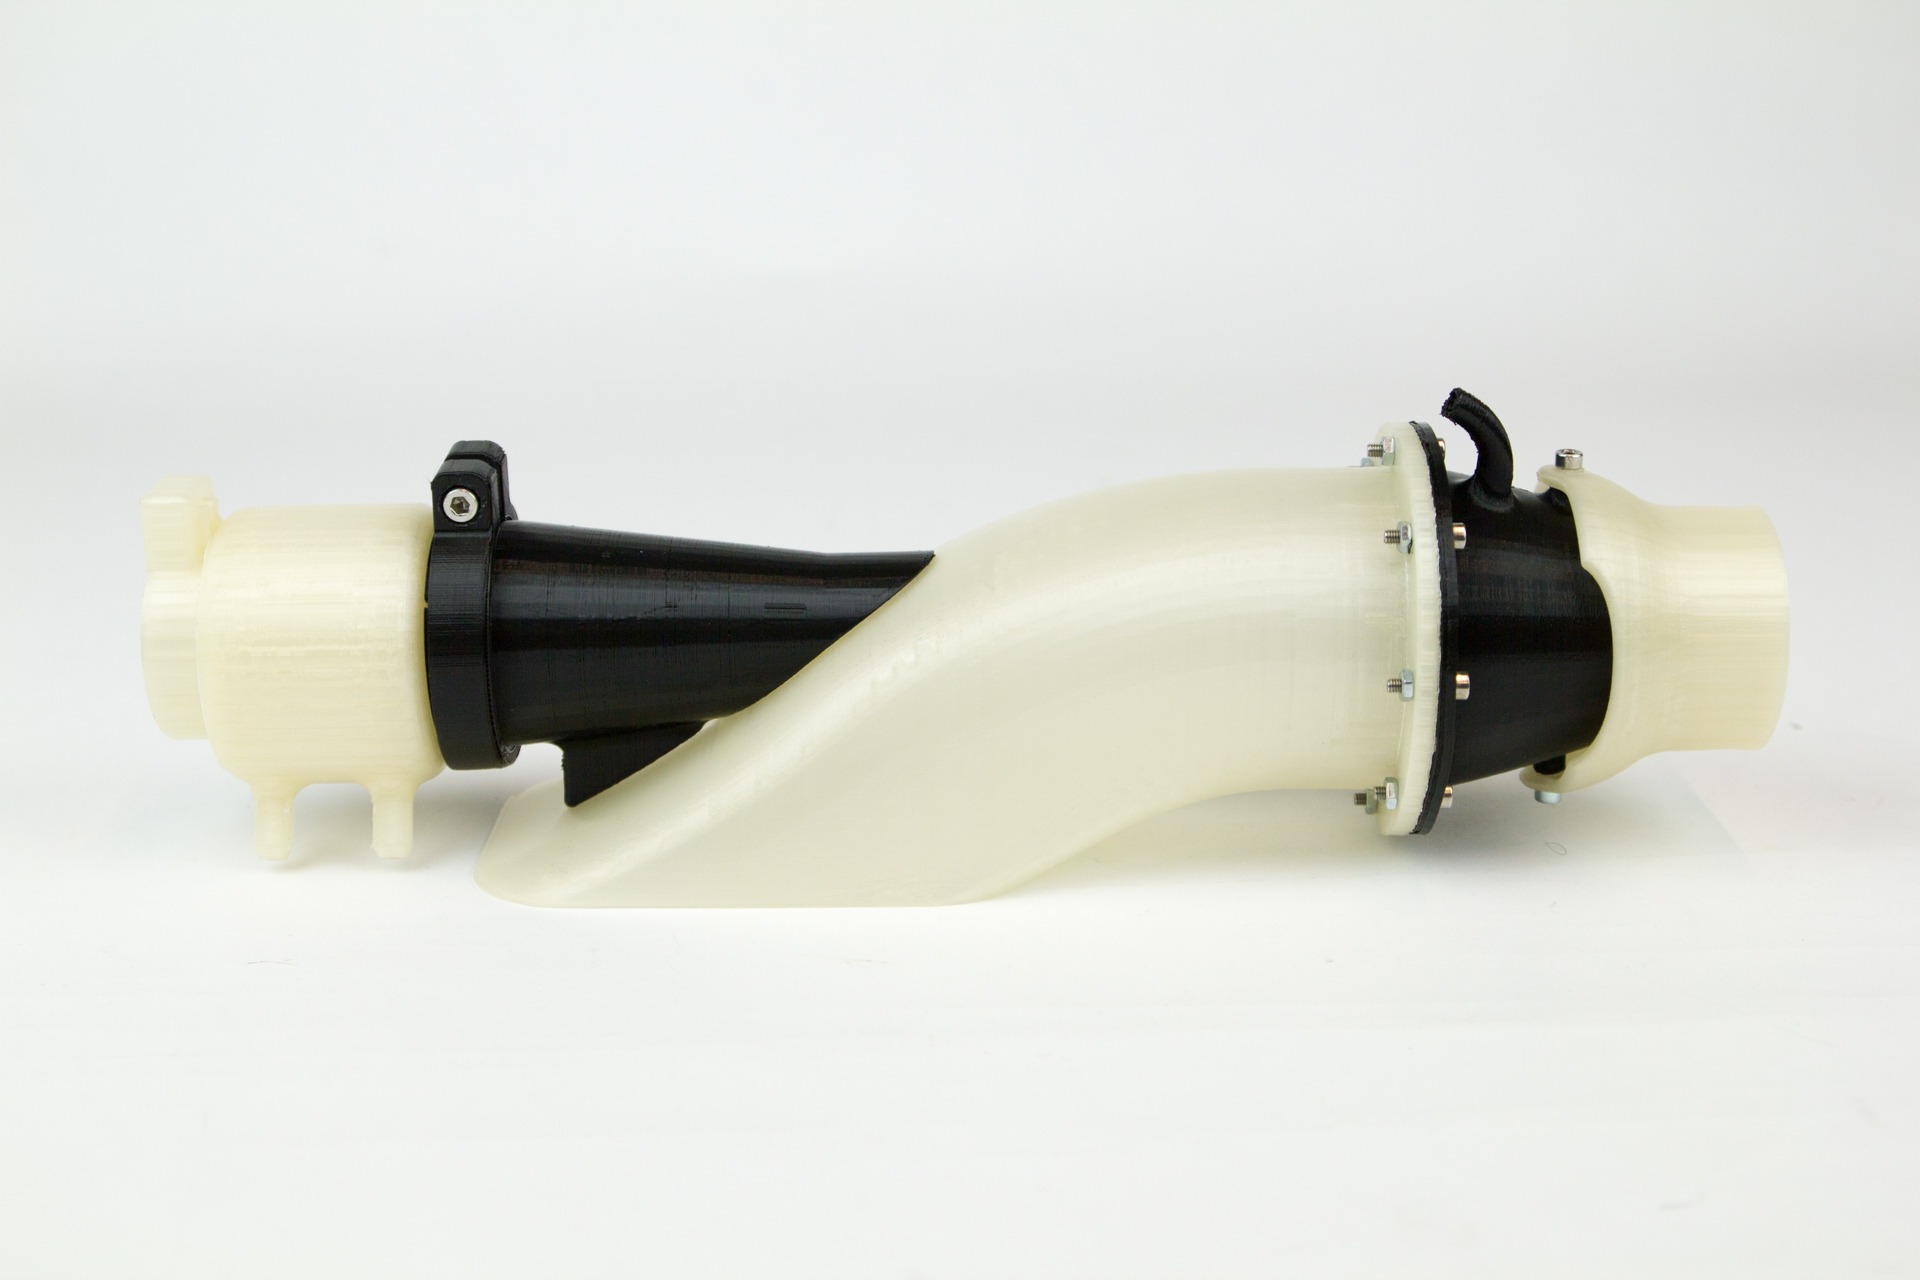
Propeller by dreyfusduke
https://www.thingiverse.com/thing:986079
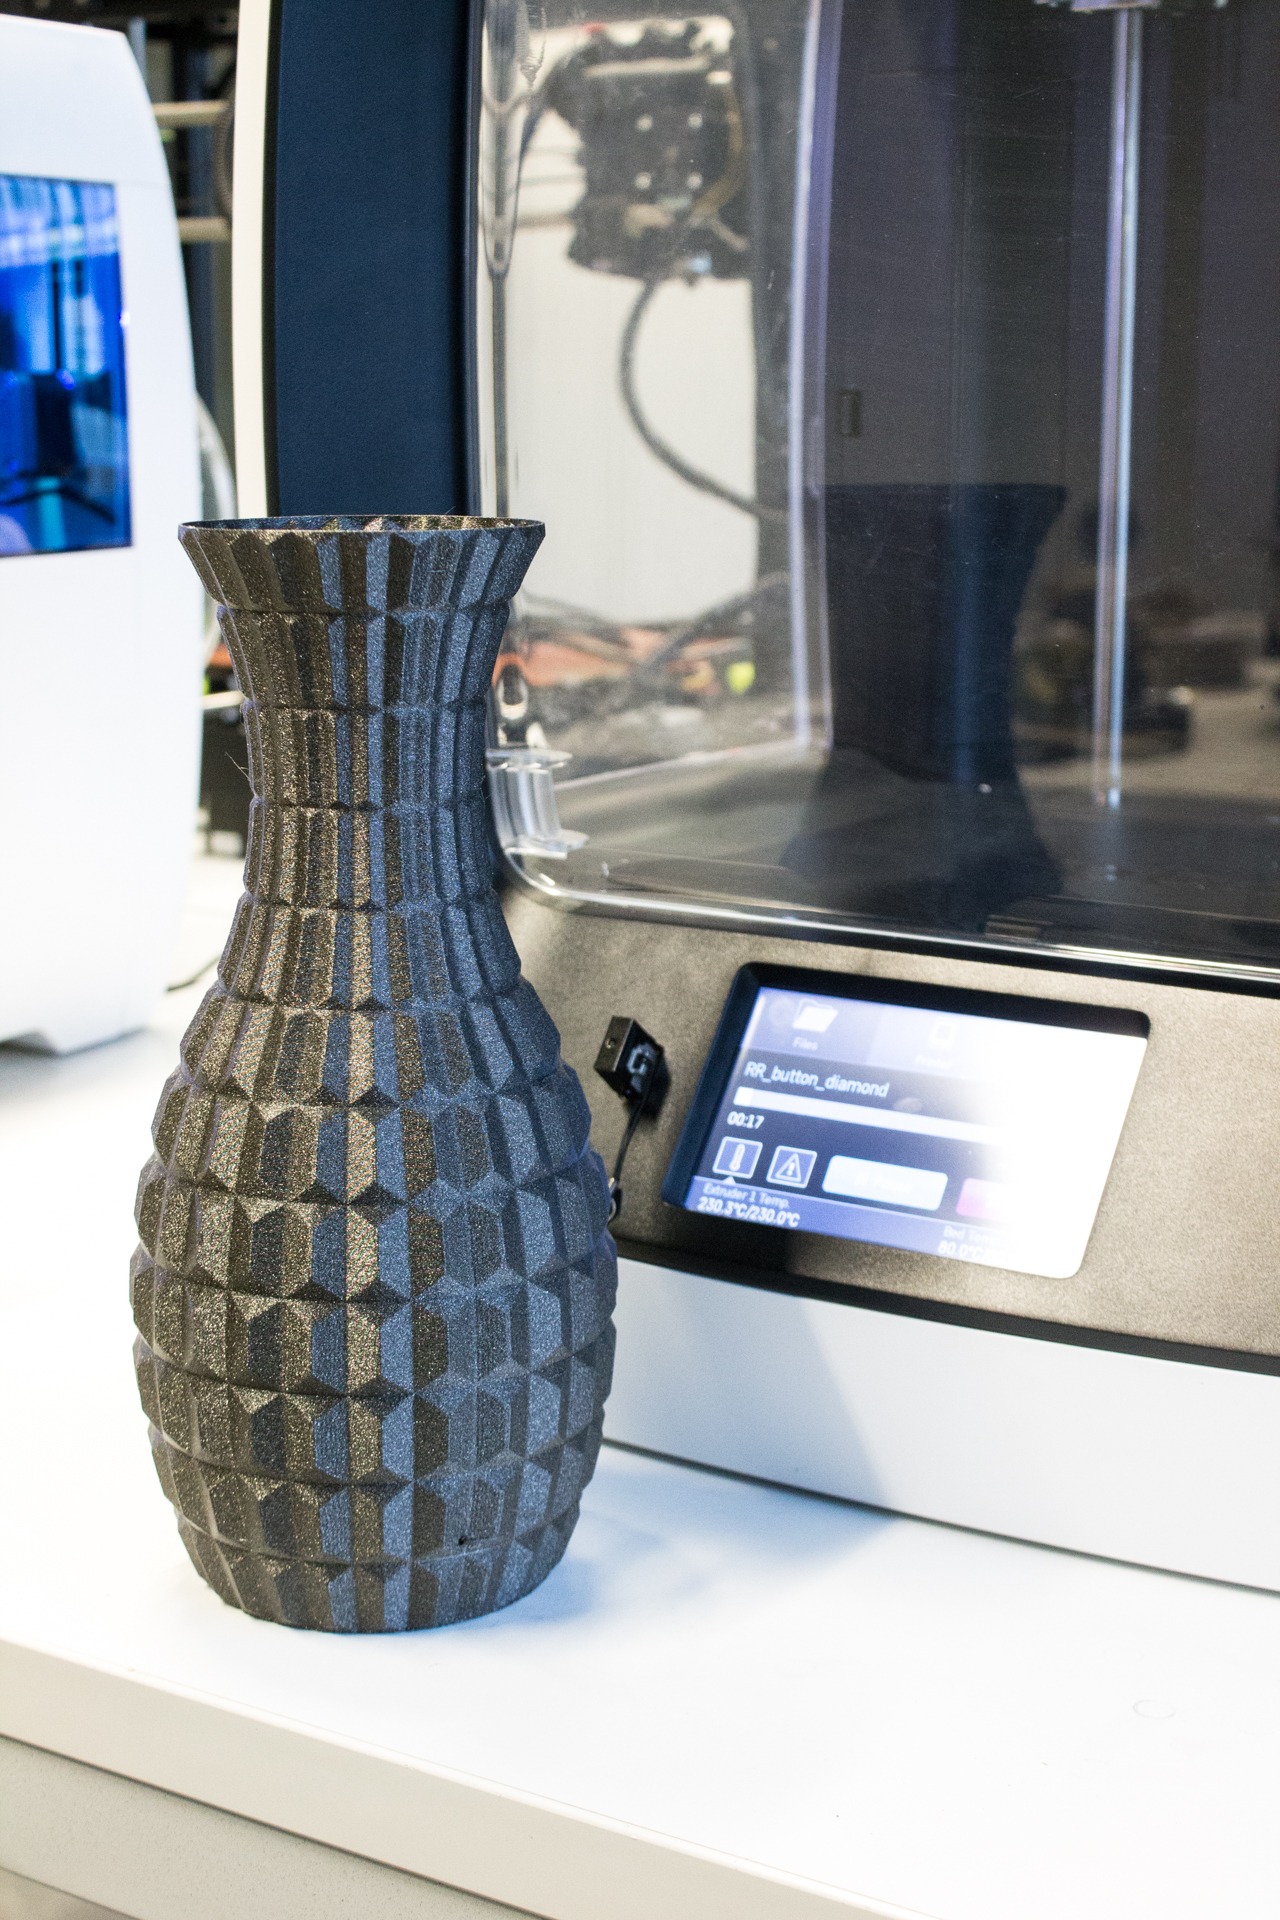
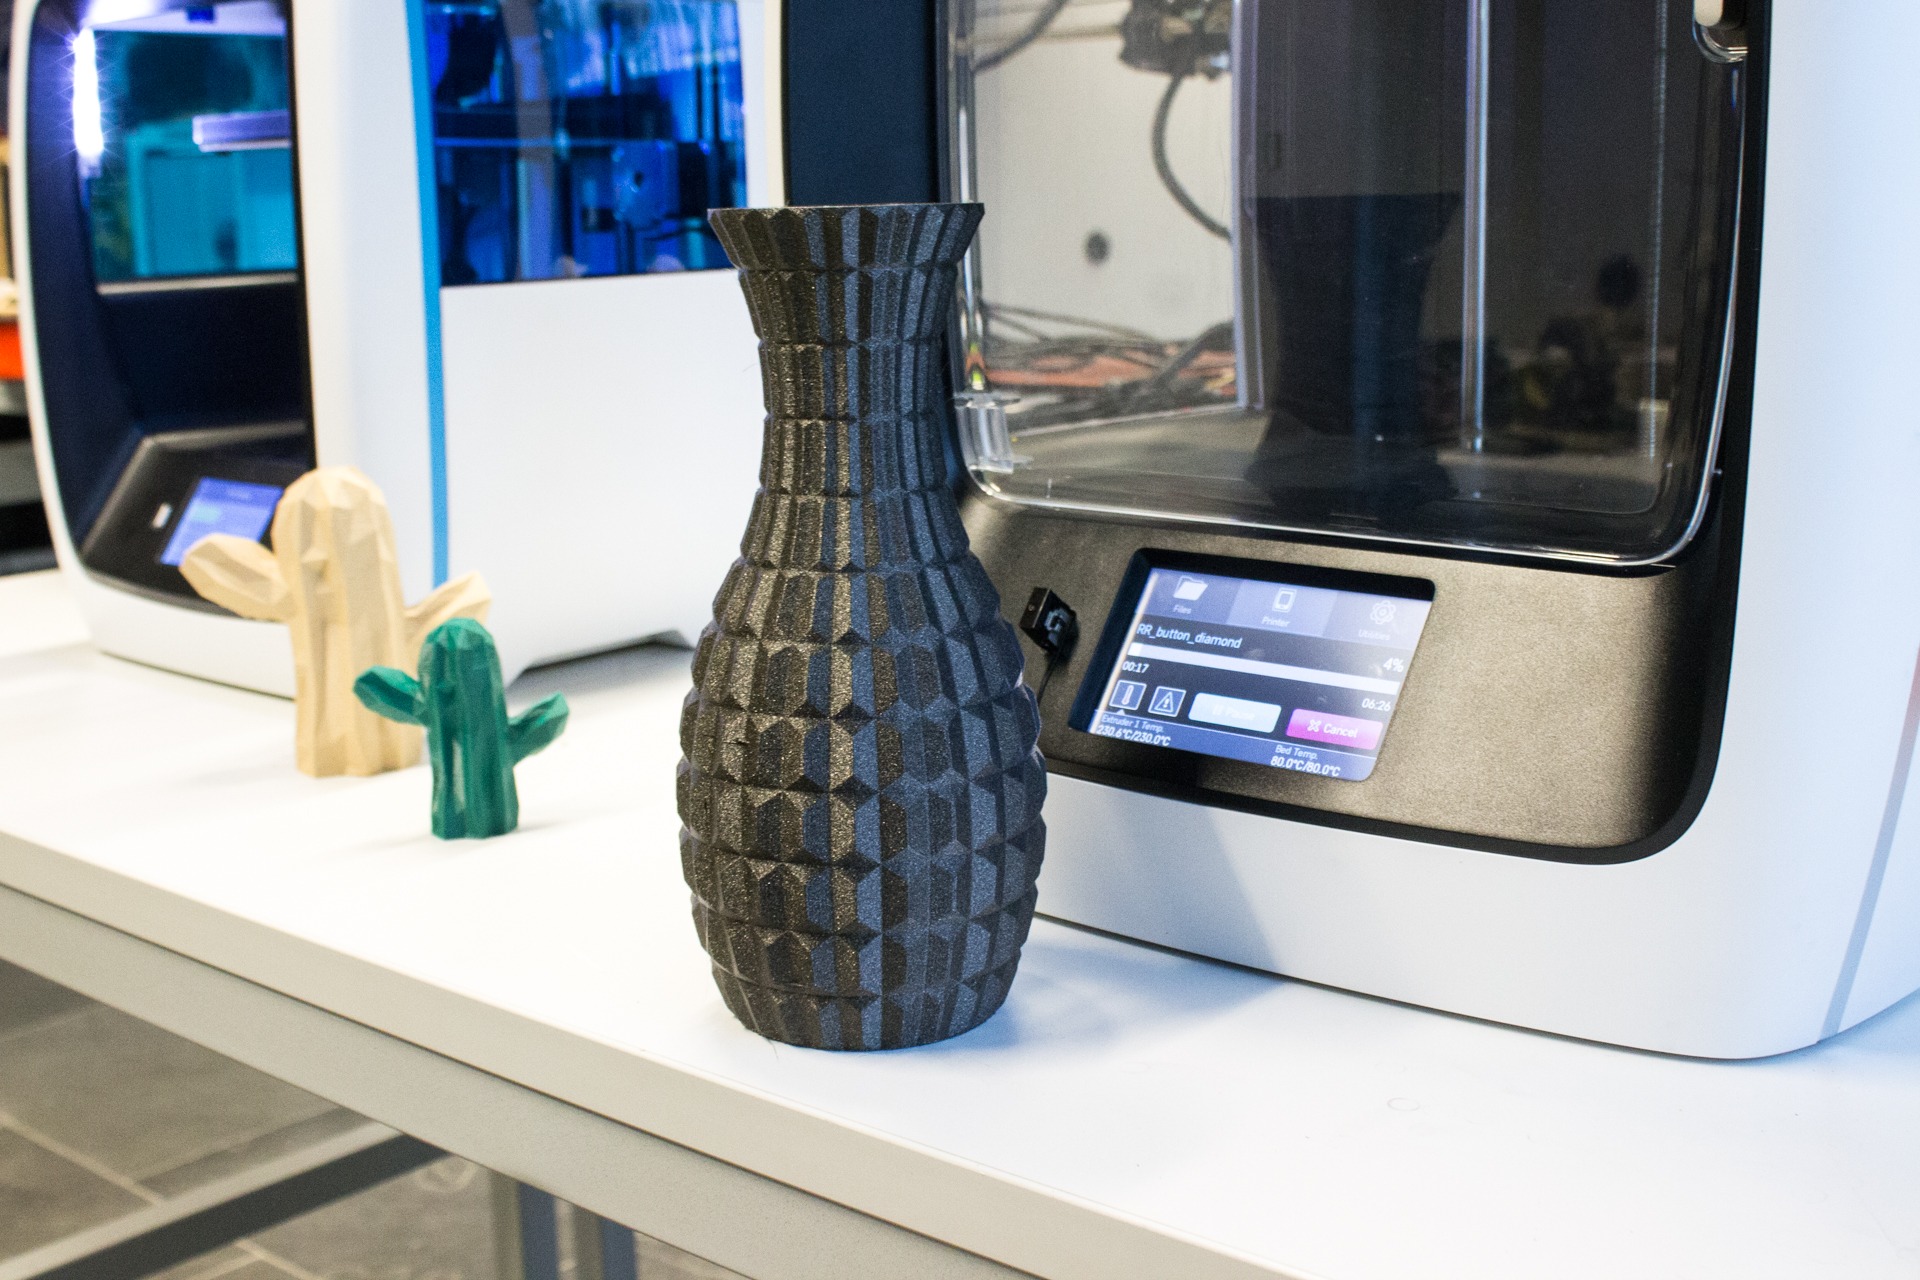
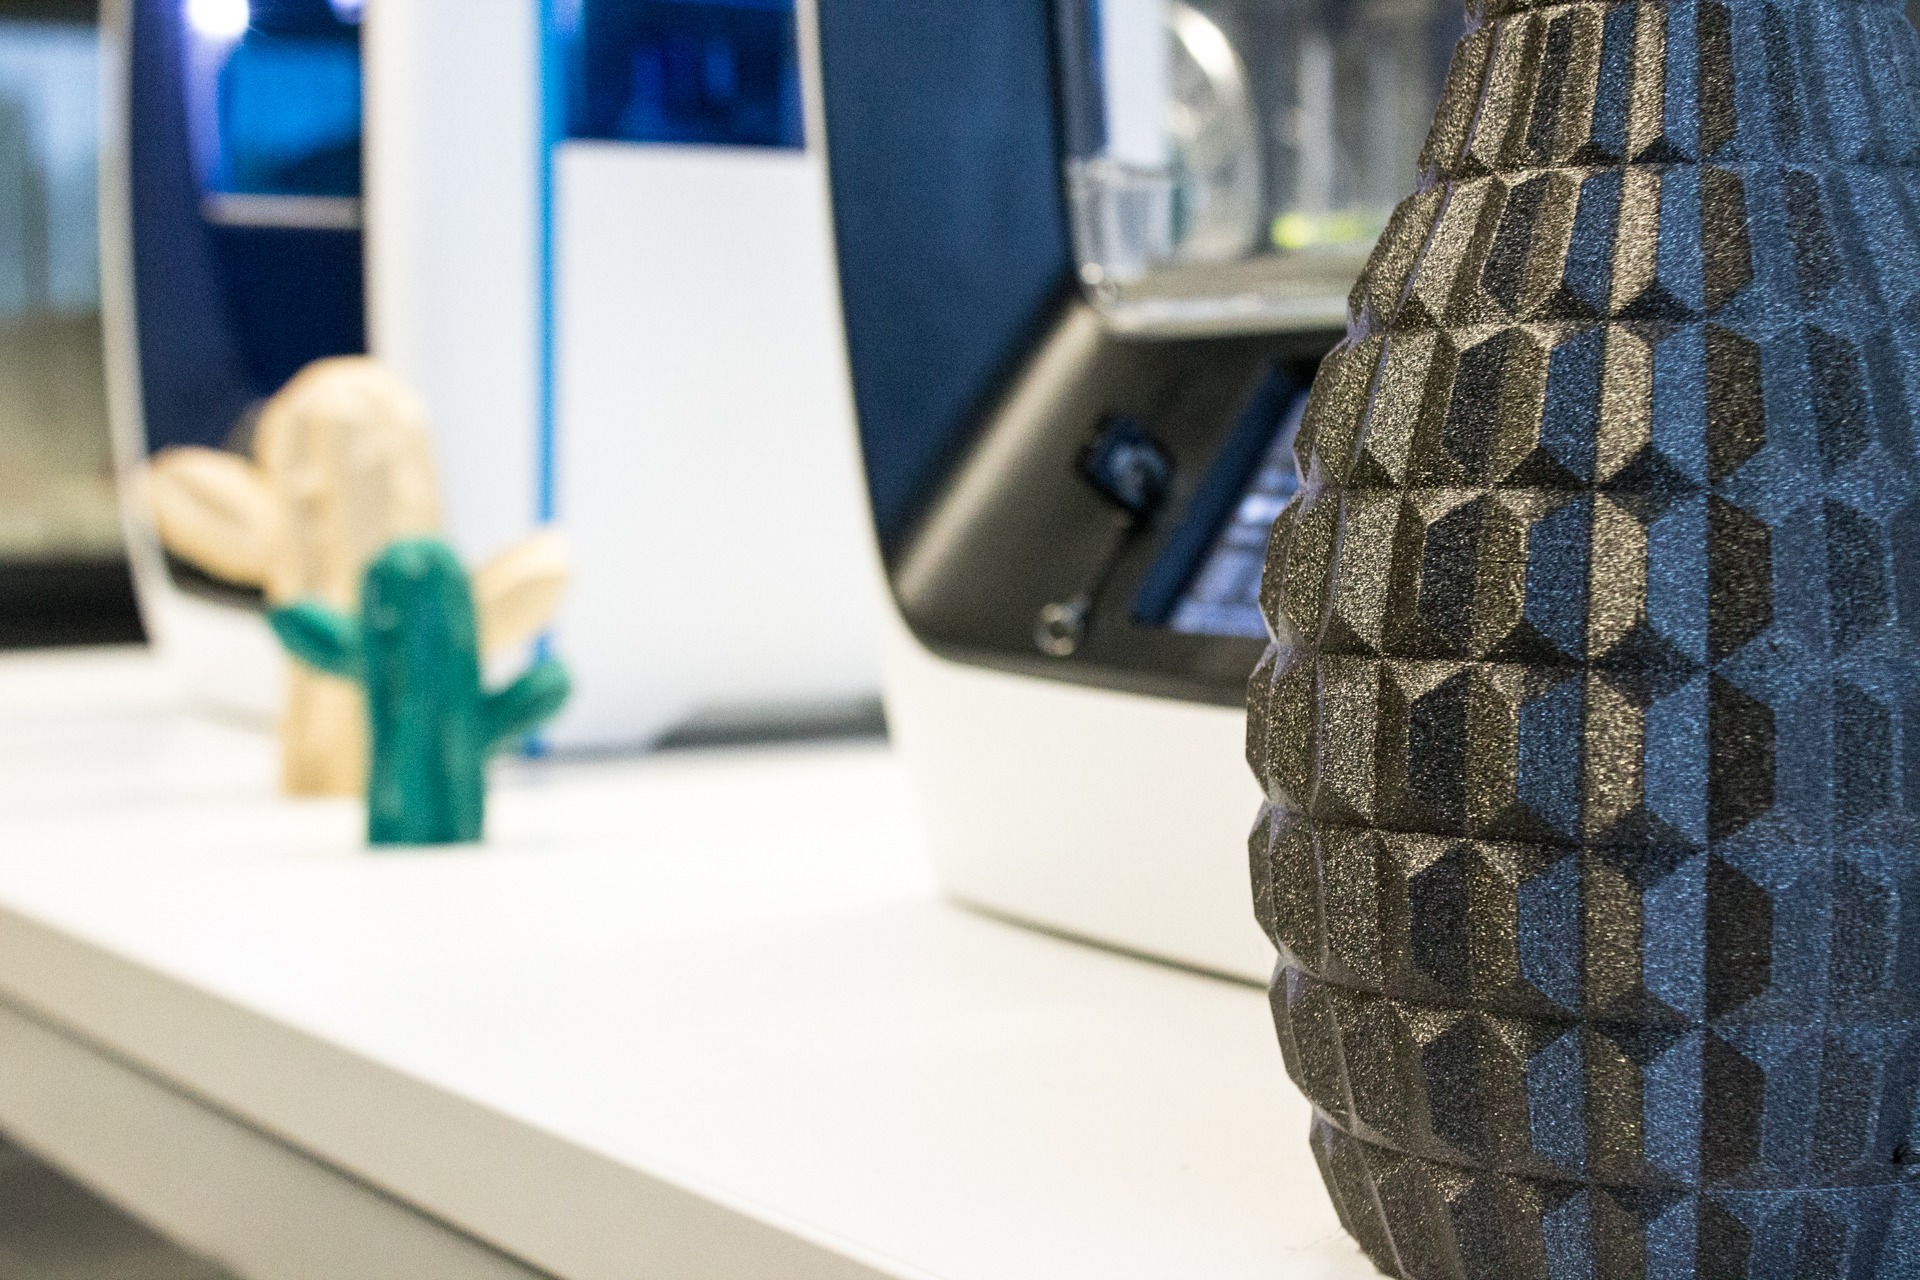
Fibonacci Vase by mnemo80
https://www.thingiverse.com/thing:1054598
Boot Planter by MakerBot
https://www.thingiverse.com/thing:293223
Augustus by CosmoWenman
https://www.thingiverse.com/thing:196044