
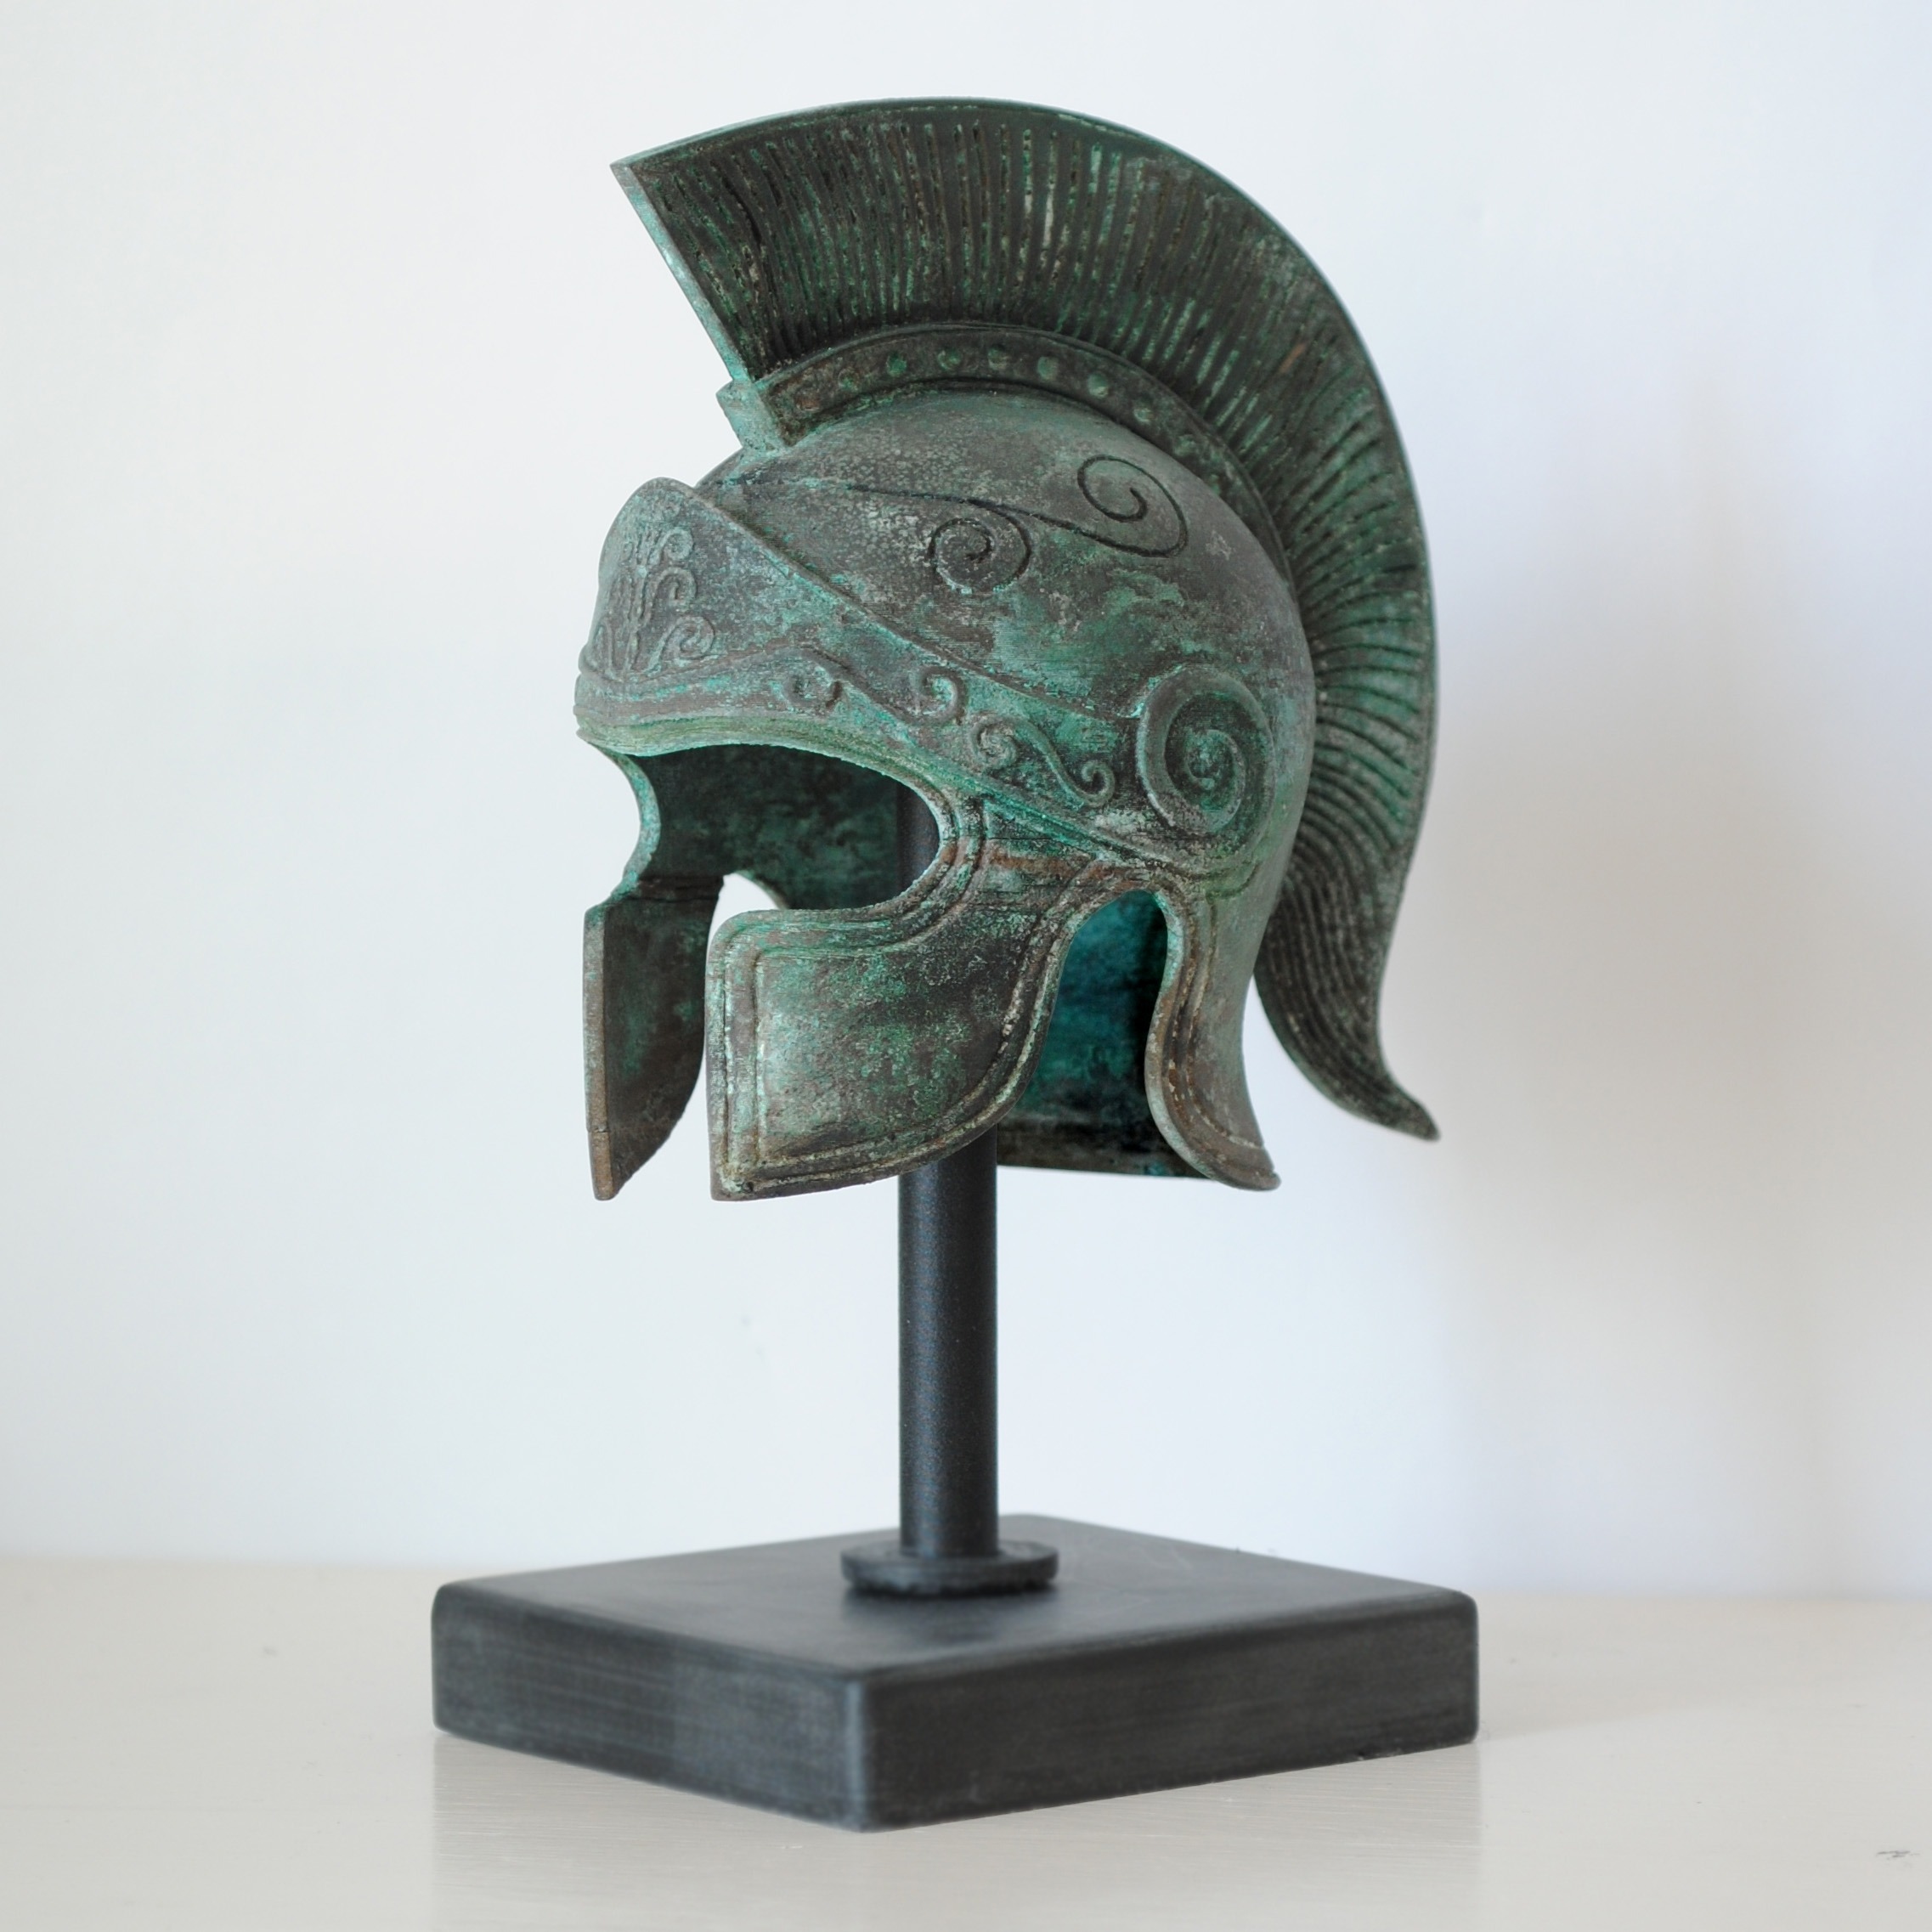
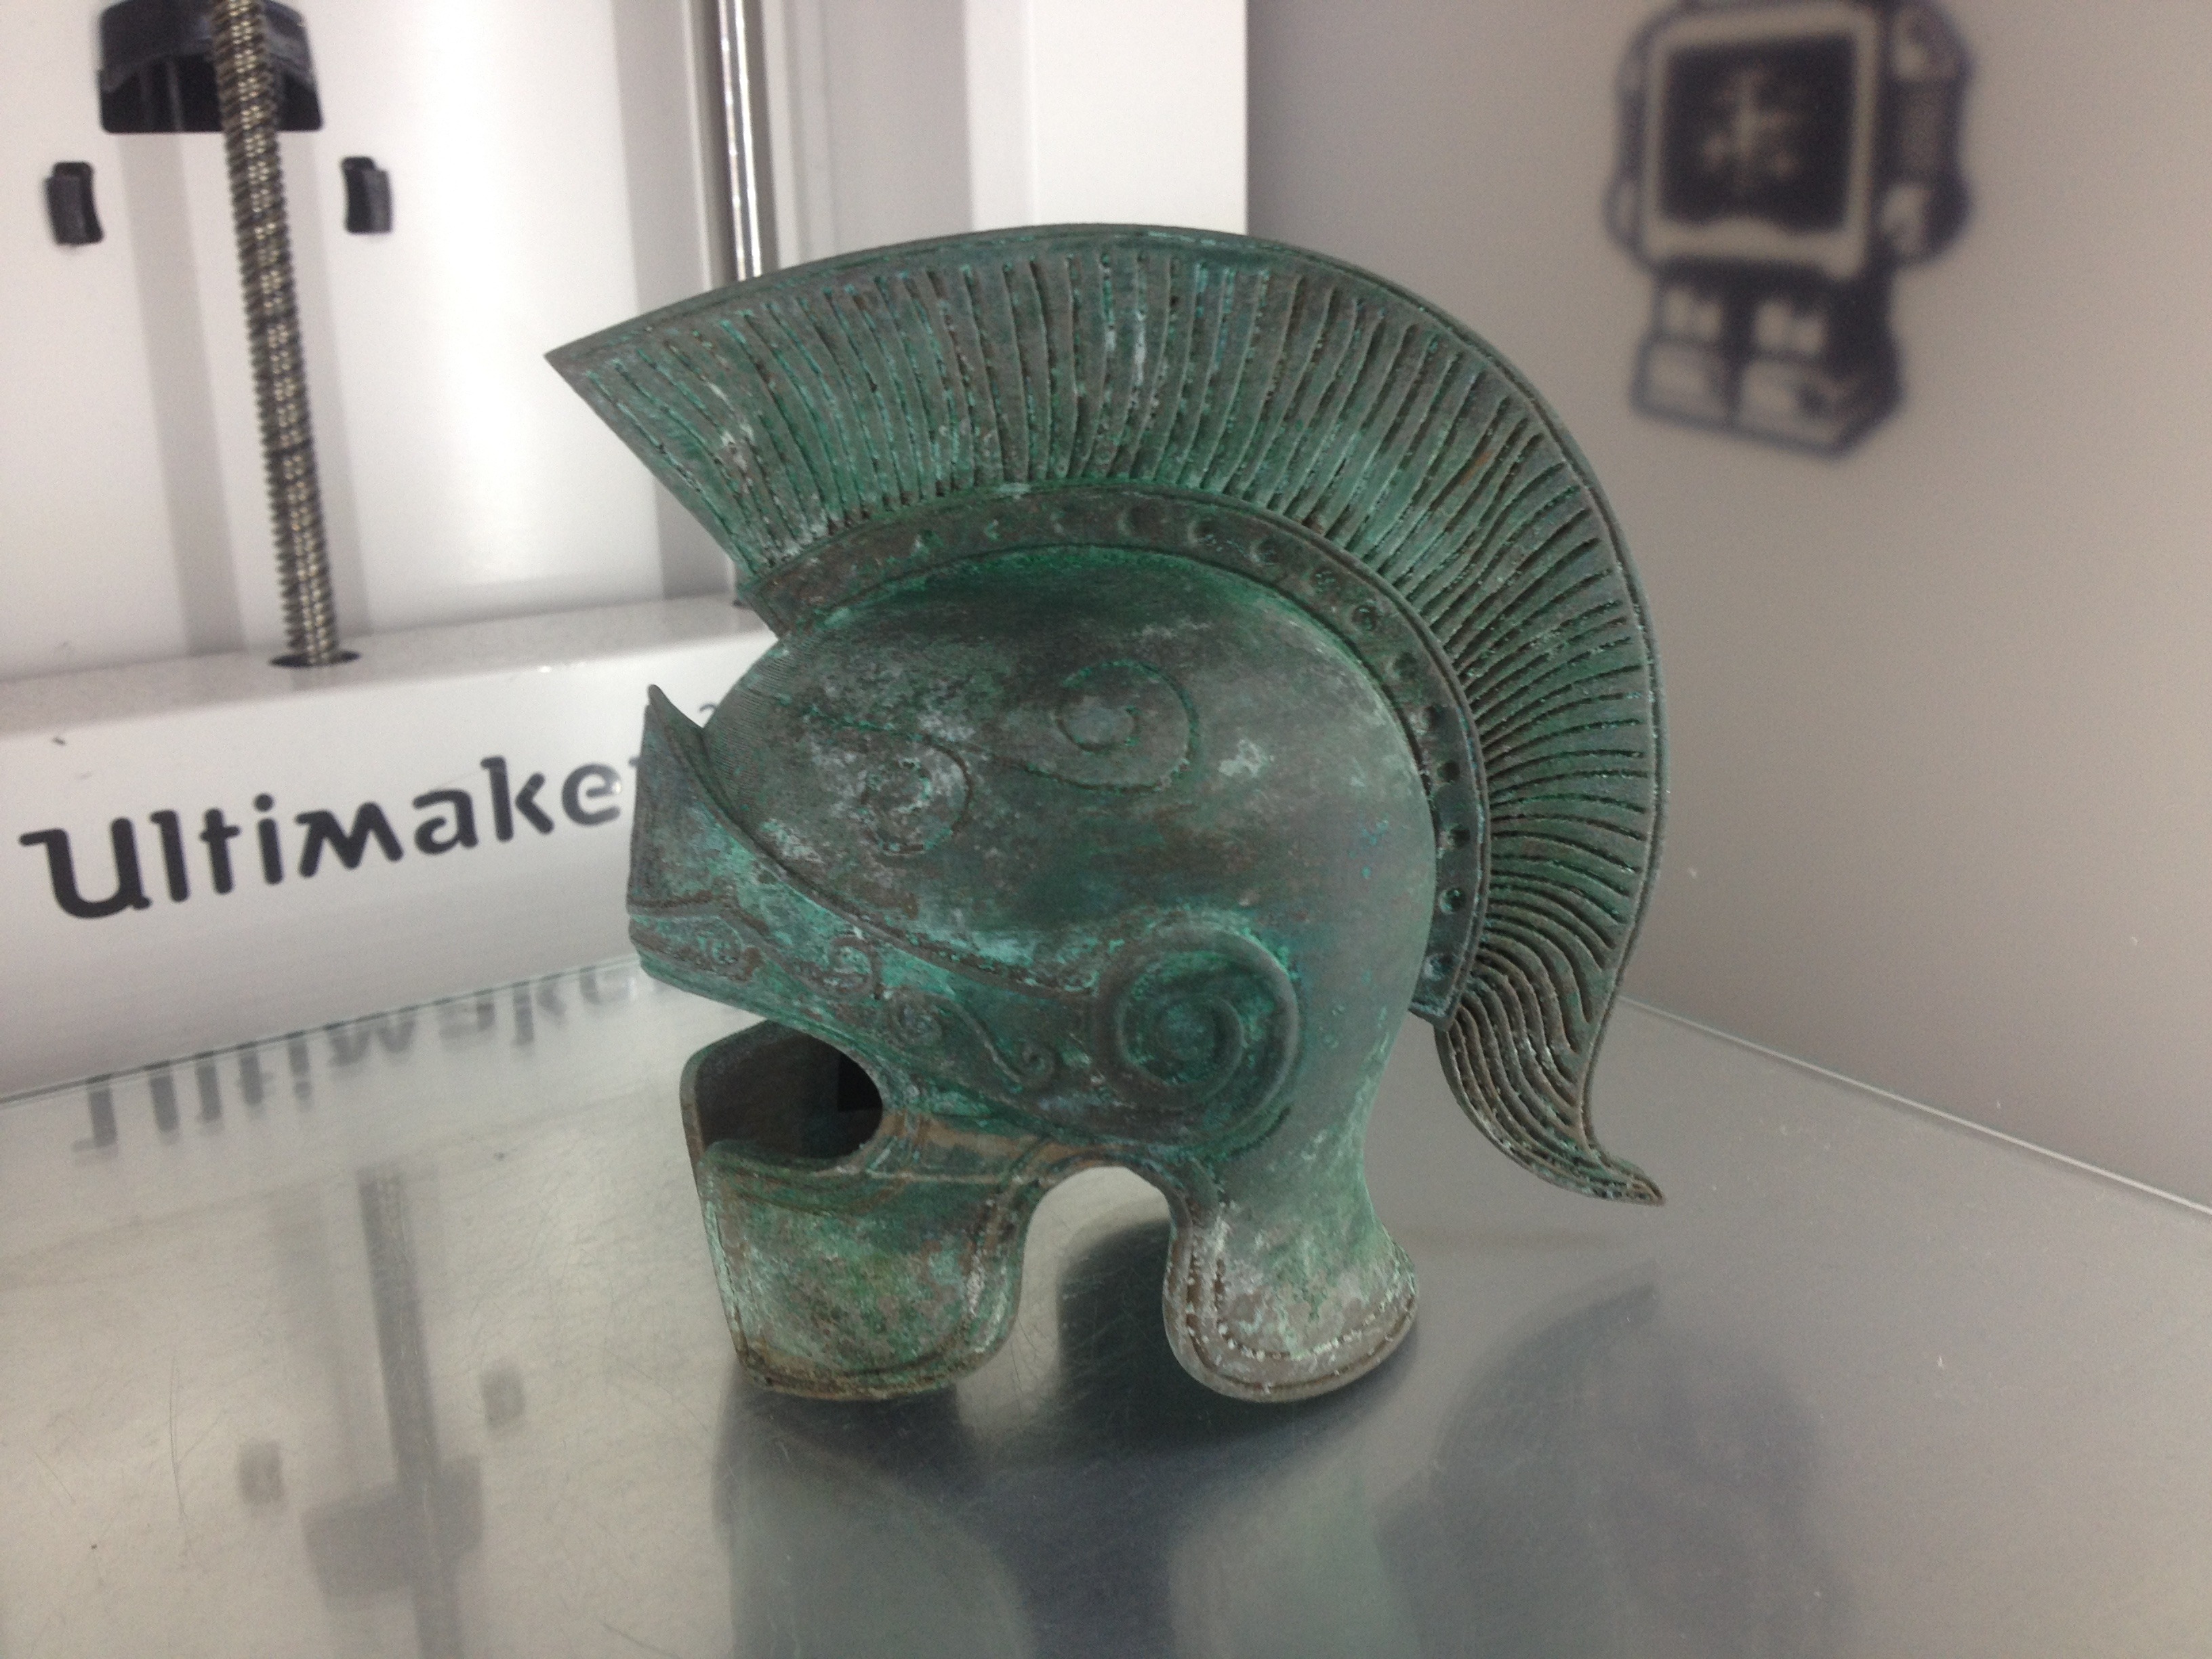
Back in August we came across the Instagram account of Andreas Mielonen and were immediately blown away by the work he had posted there: An ancient Greek helmet, printed with bronzeFill on his Ultimaker 2+:
All images in this blog post by Andreas Mielonen
We contacted Andreas to share a bit more about this fantastic print and he was very gracious in sharing his pictures and the process of printing. Andreas (31) lives in Stockholm, Sweden, and has been interested in 3D graphics since watching the Lord of the Rings trilogy. Andreas: “I was 3D-modeling as a hobby until five years ago when it became my job. Since then I’ve been involved in making commercials, illustrations for science articles and infomercials. A couple of years ago I started getting interested in 3D-printing and started to go to 3D-printing meetups in Stockholm which spurred my interest even more.”
After attending some workshops he decided to buy an Ultimaker 2+.

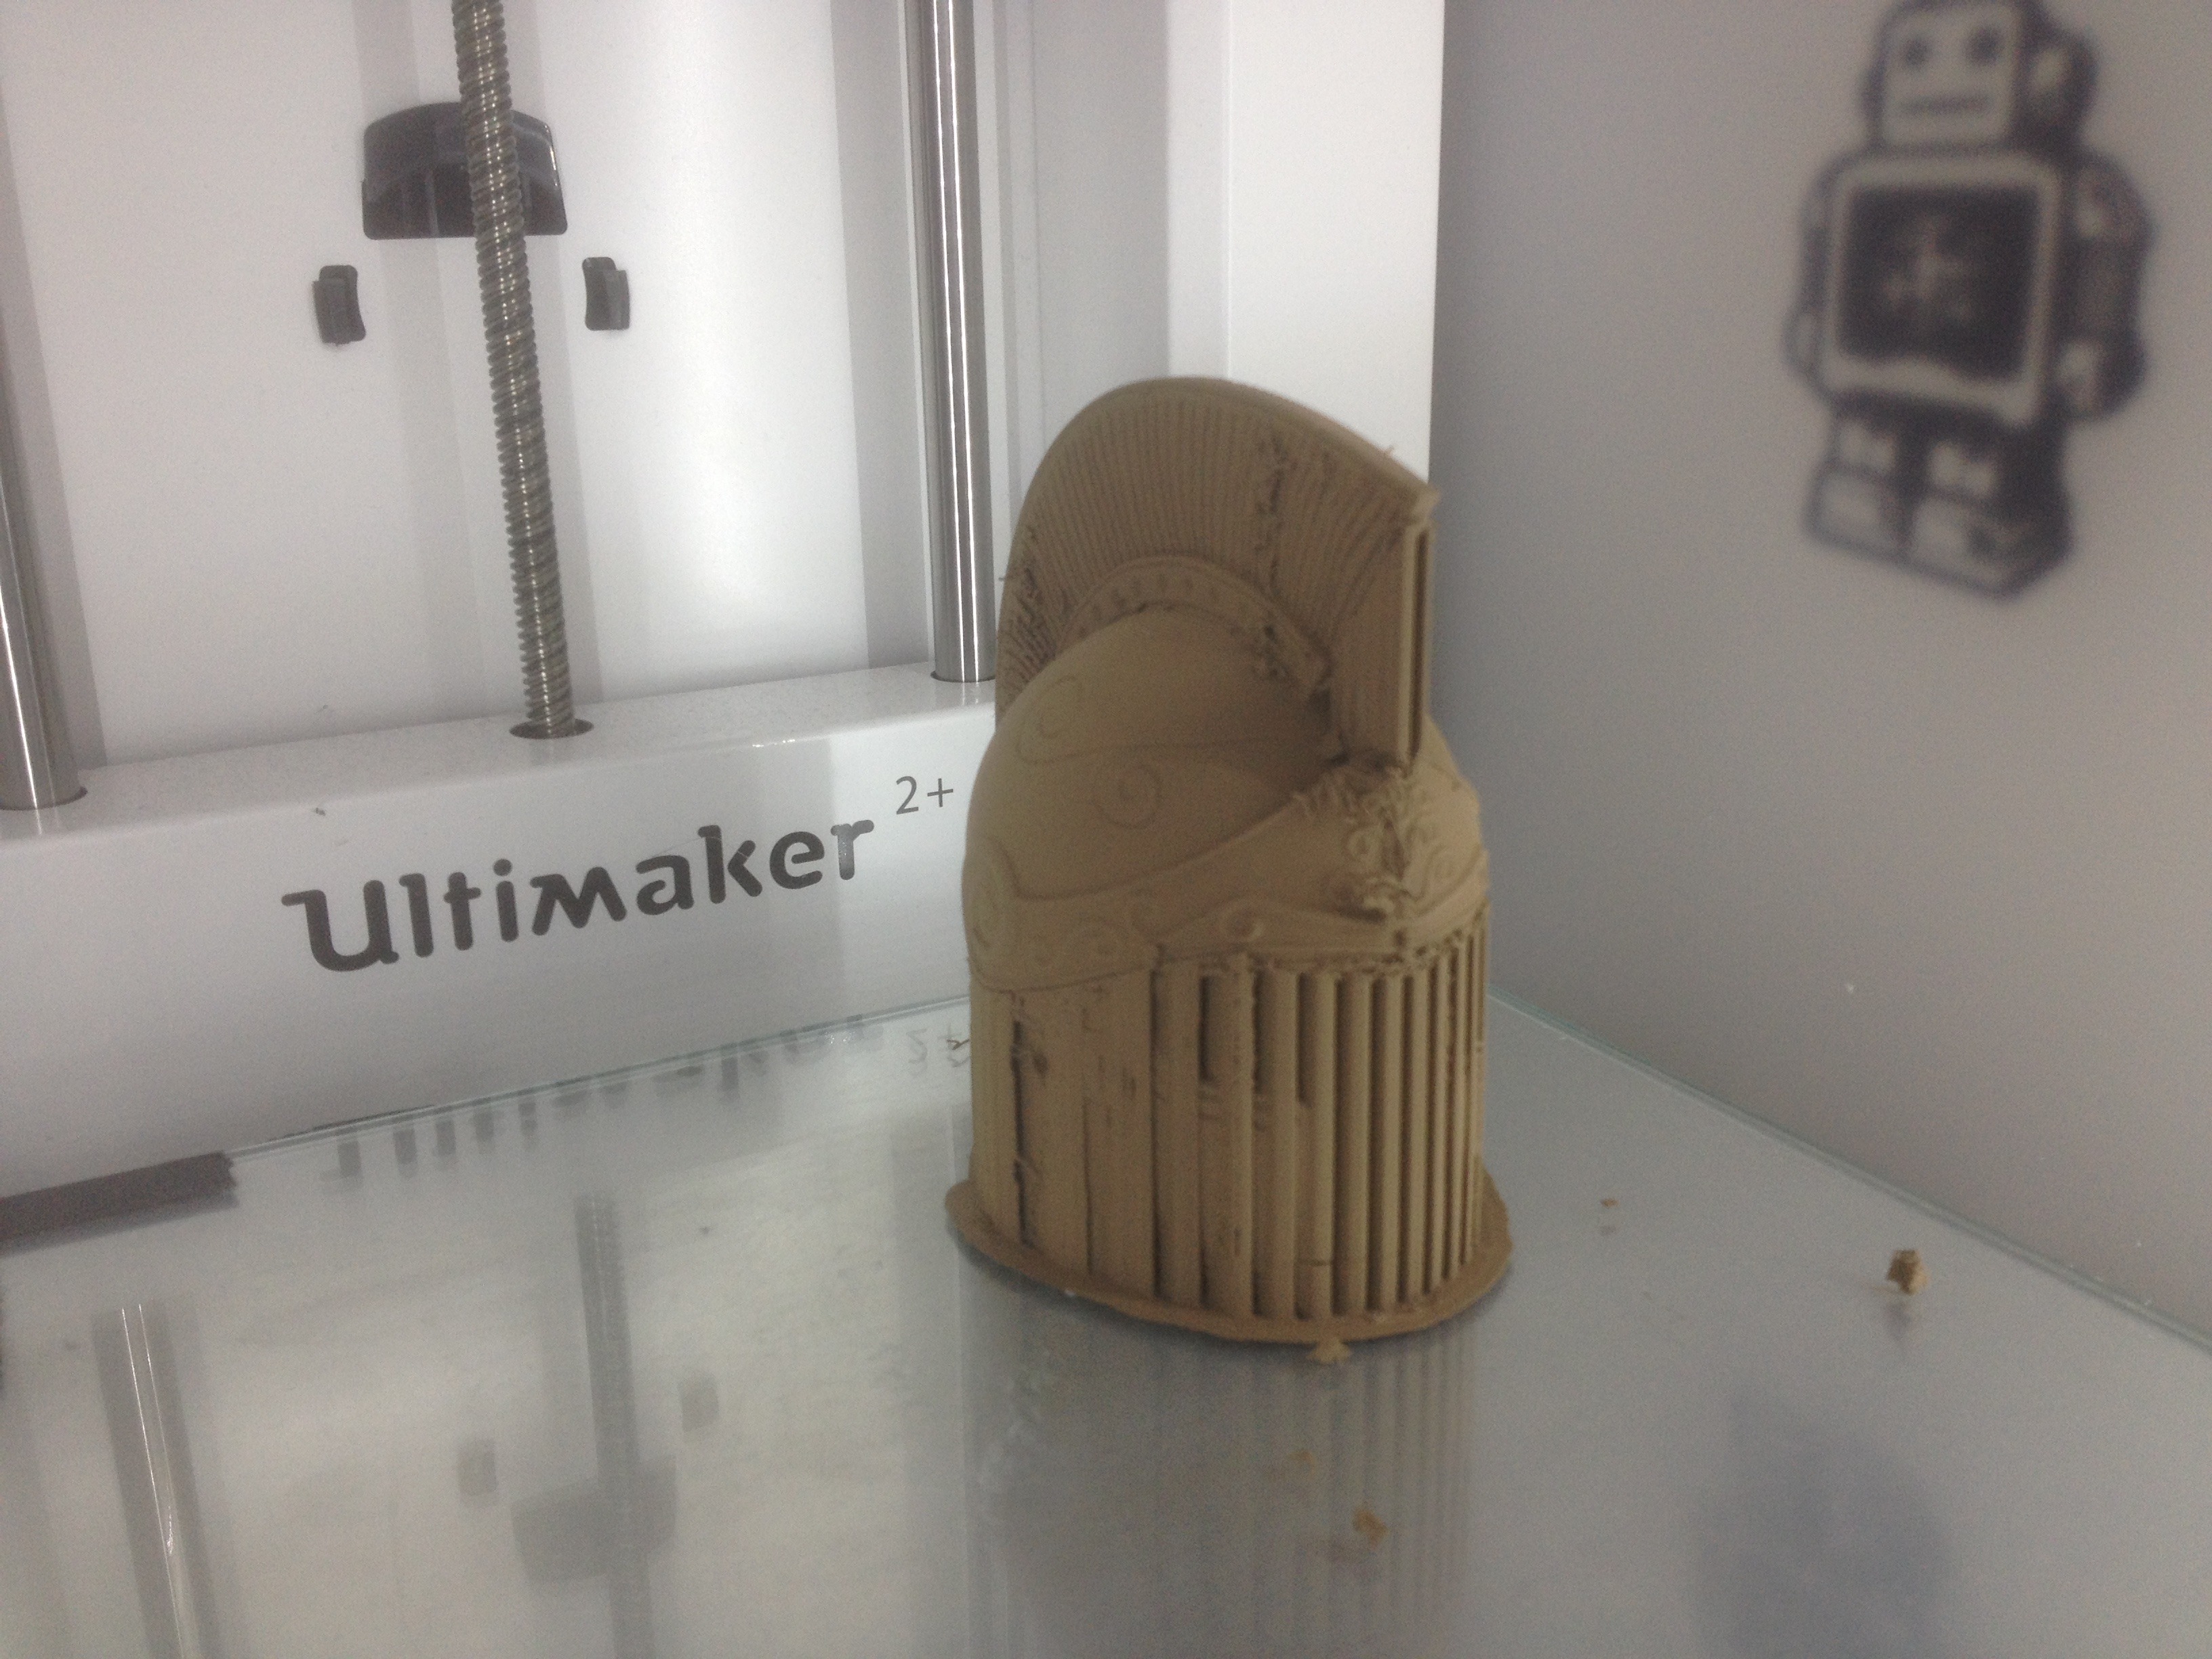
About the fantastic print of the Greek helmet he says: “I got the idea for the helmet when I got a roll of colorFabb’s bronzeFill and checked out what other people had done with it and saw how good it looked with the blue/greenish patina. So, instantly I thought of the amazing greek bronze helmets. I designed the helmet in Maya and sculpted in the details in Mudbox. Before I started to print the helmet in bronzefill I made a test print in standard PLA in 1:4 scale, the scale I wanted for the bronzefill version was 1:3 but knew that if the helmet prints well in 1:4 scale the larger version won’t be a problem.”

The settings Andreas found working best on the Ultimaker 2+ were:
Layer Height: 0.2mm
Speed: 30mm/s
Temperature: 215C
Material Flow: 108%
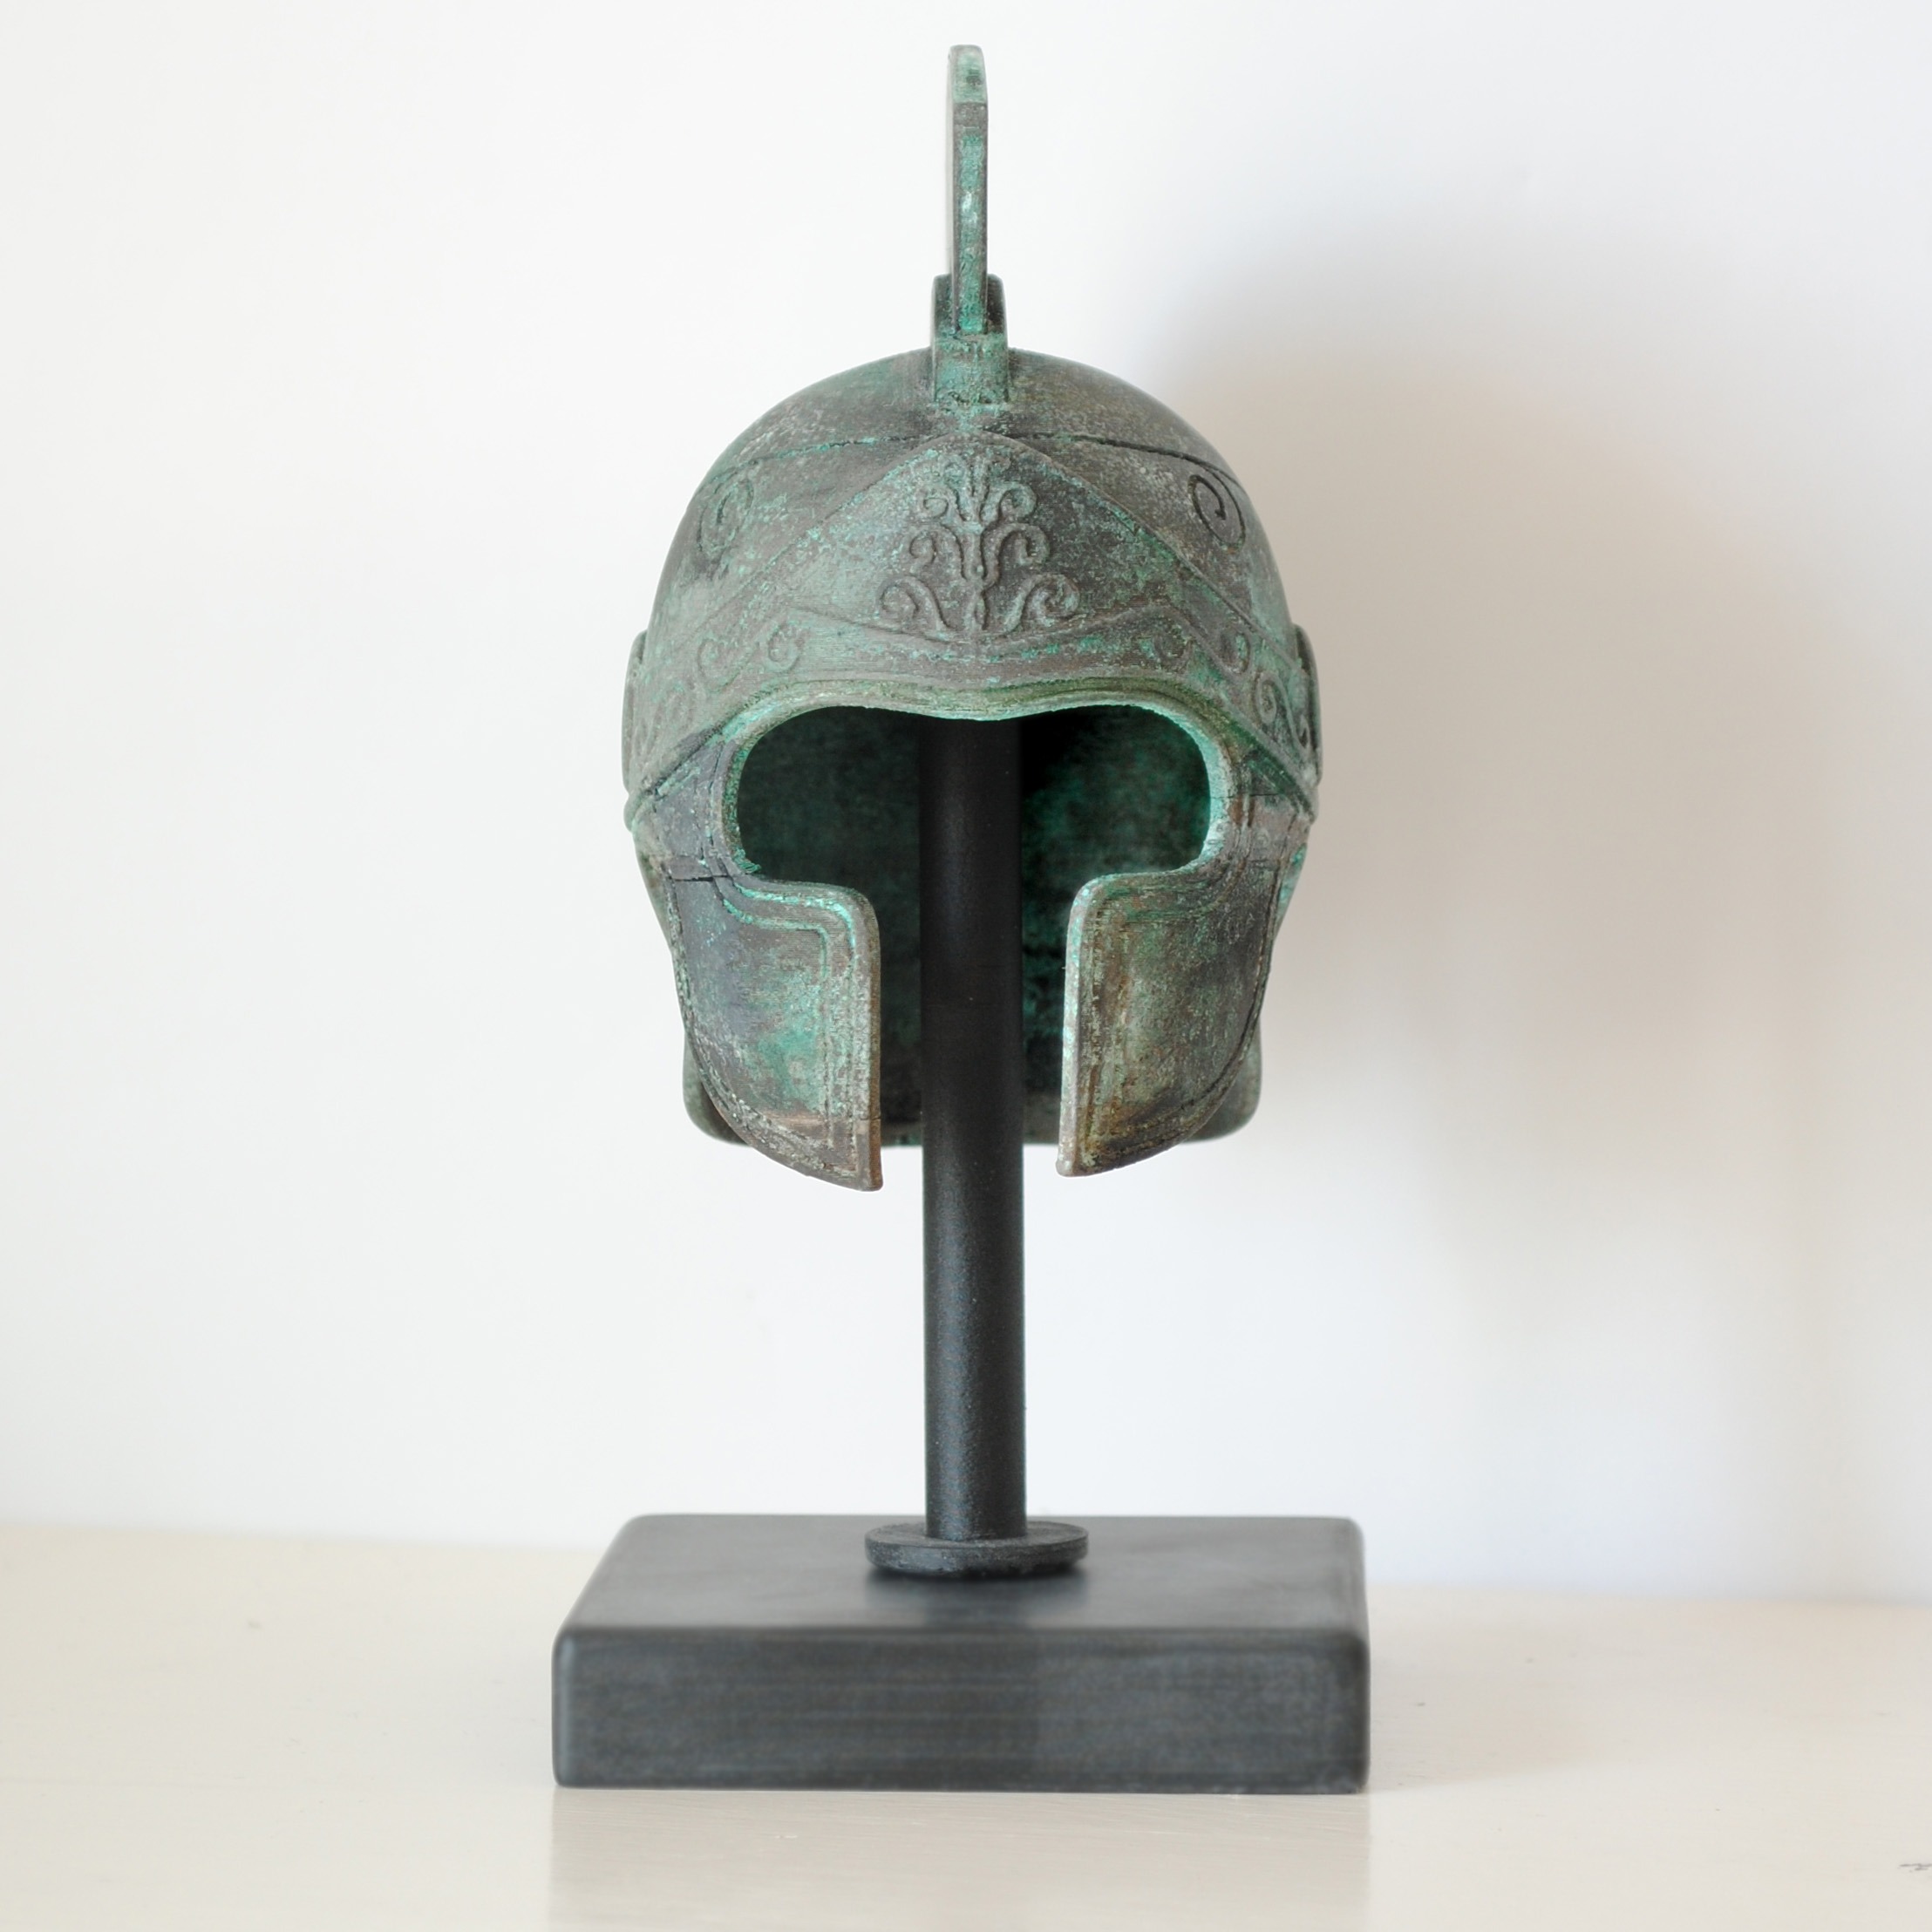
Andreas used the Olsson Ruby Nozzle. Although not necessary for bronzeFill, he used it nonetheless. Also because the stand was printed with our carbon filled XT-CF20 which requires nozzles that can withstand extra wear due to its abrassive nature. (We wrote about our experiences with the Olsson Ruby Nozzle before).
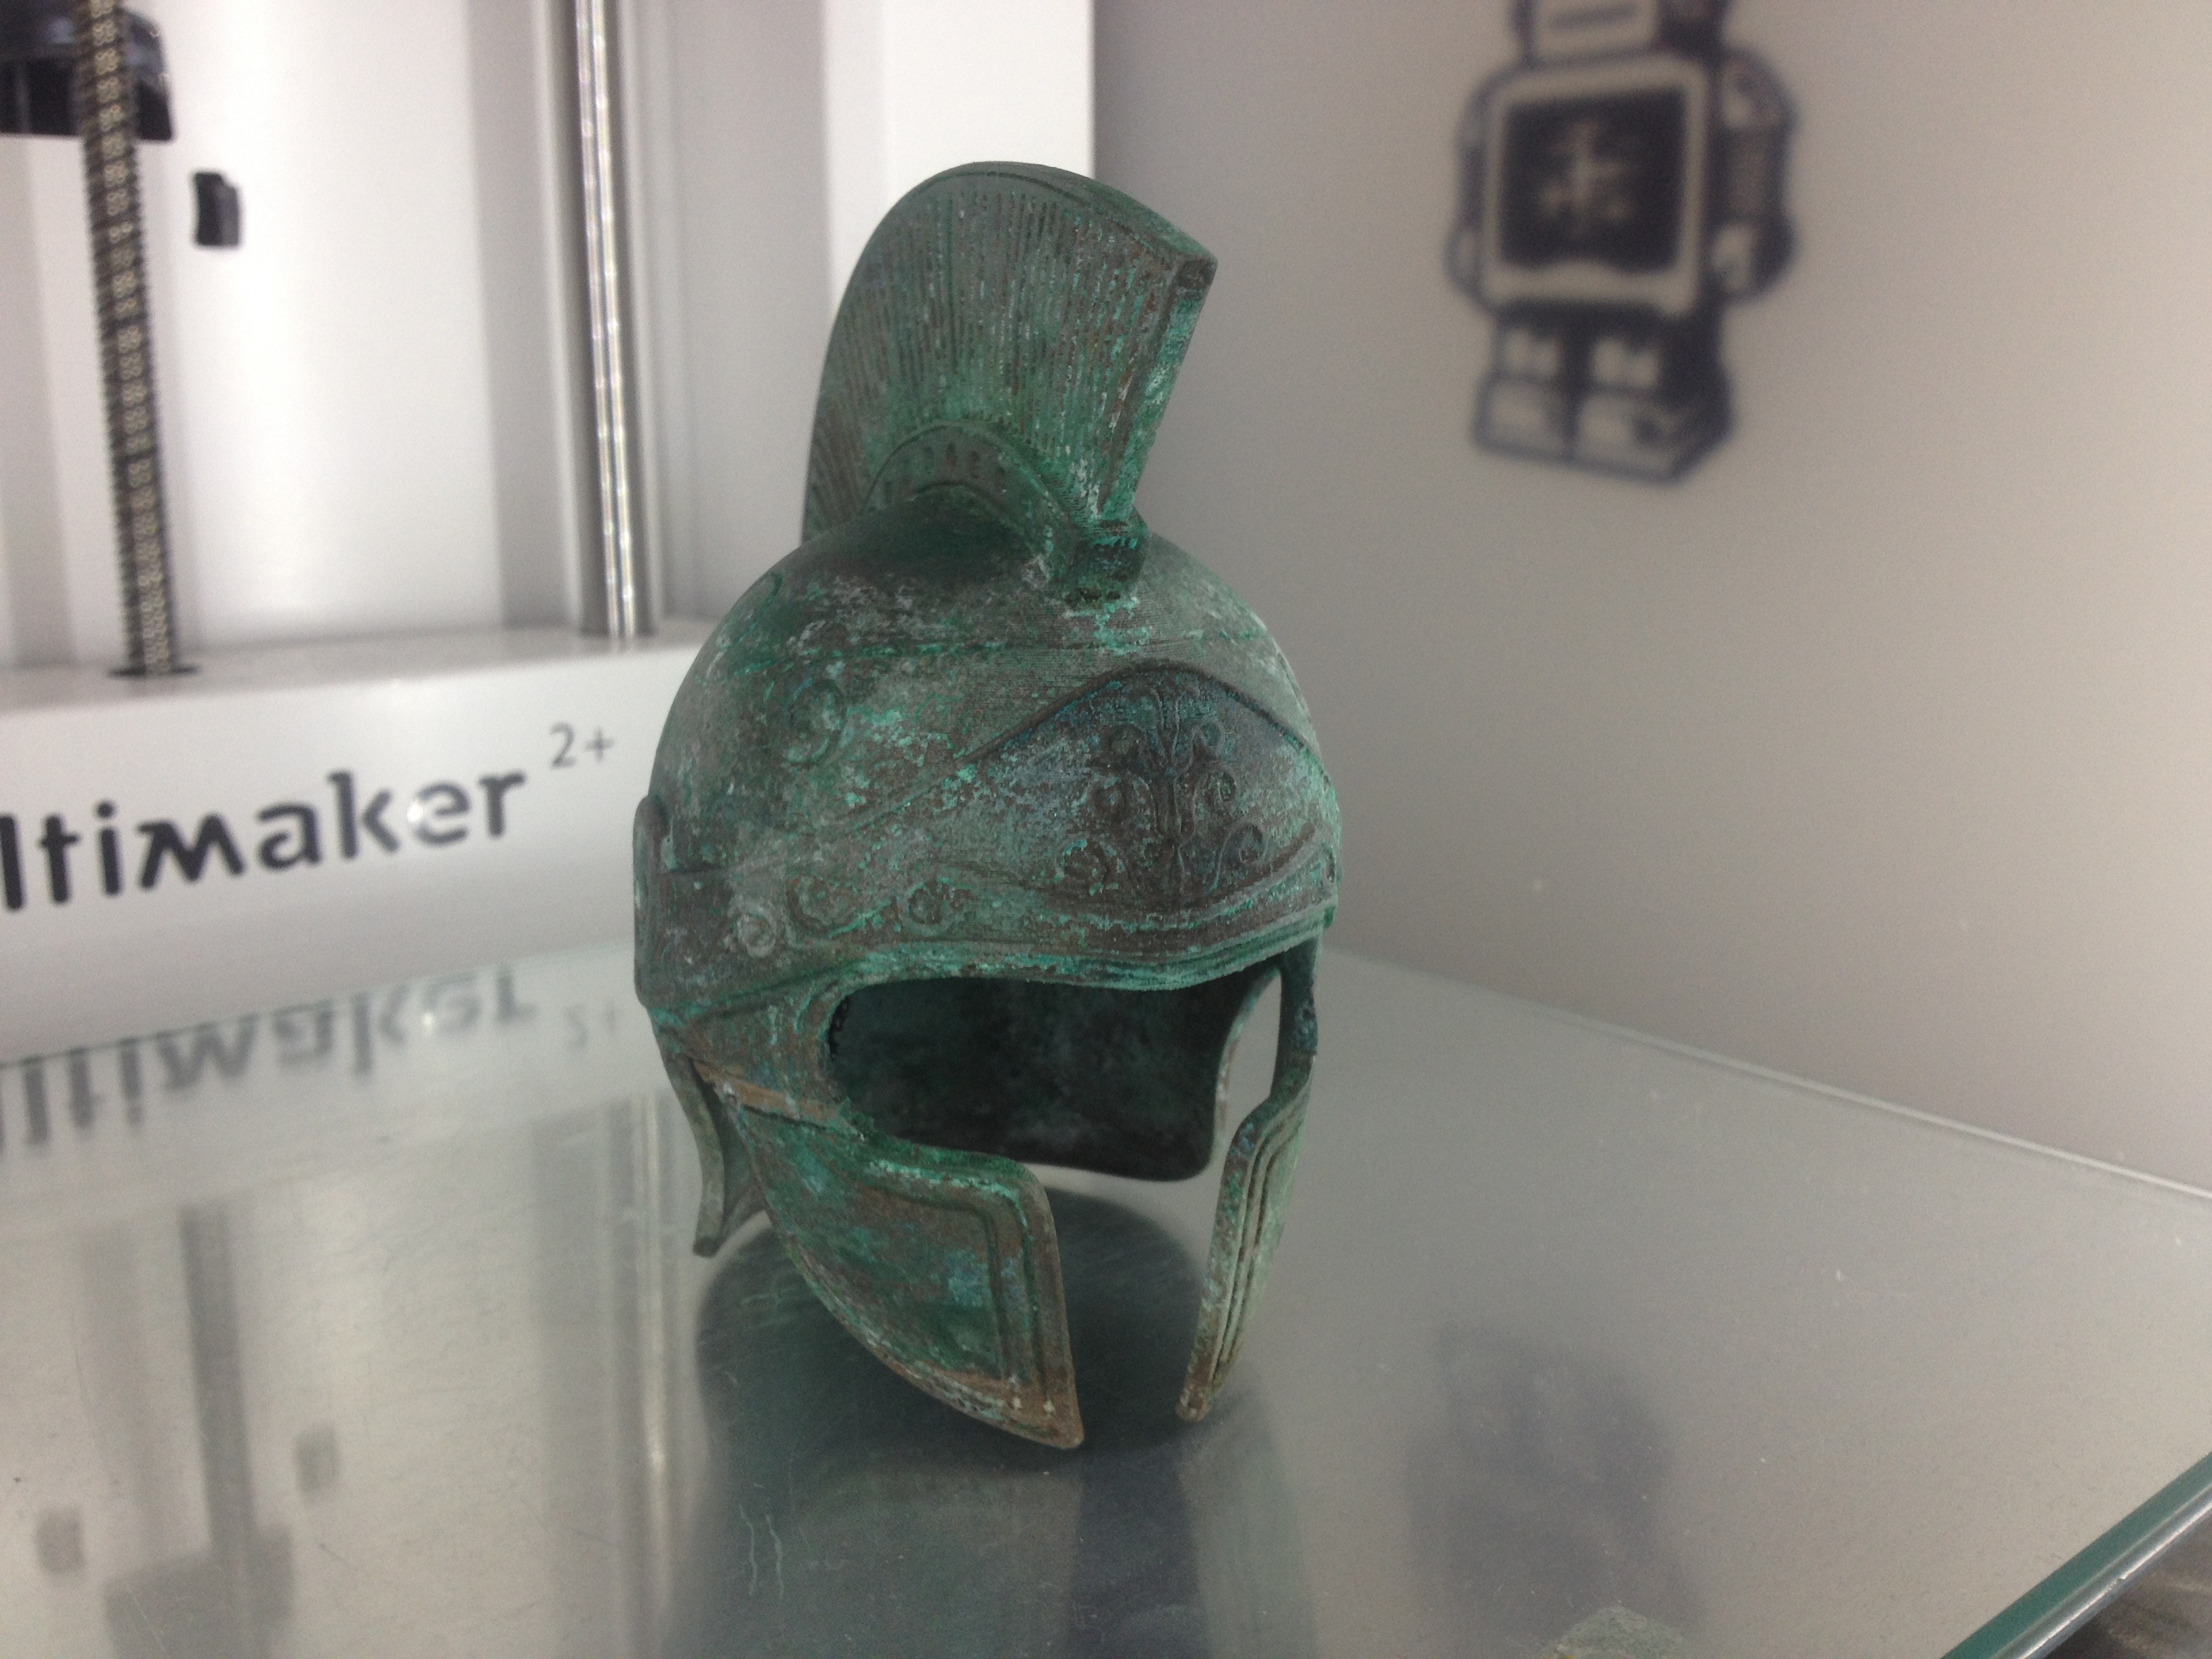
Post-processing
Of course where bronzeFill, and our other metal filled filaments truly shine, is in the post processing of the prints.
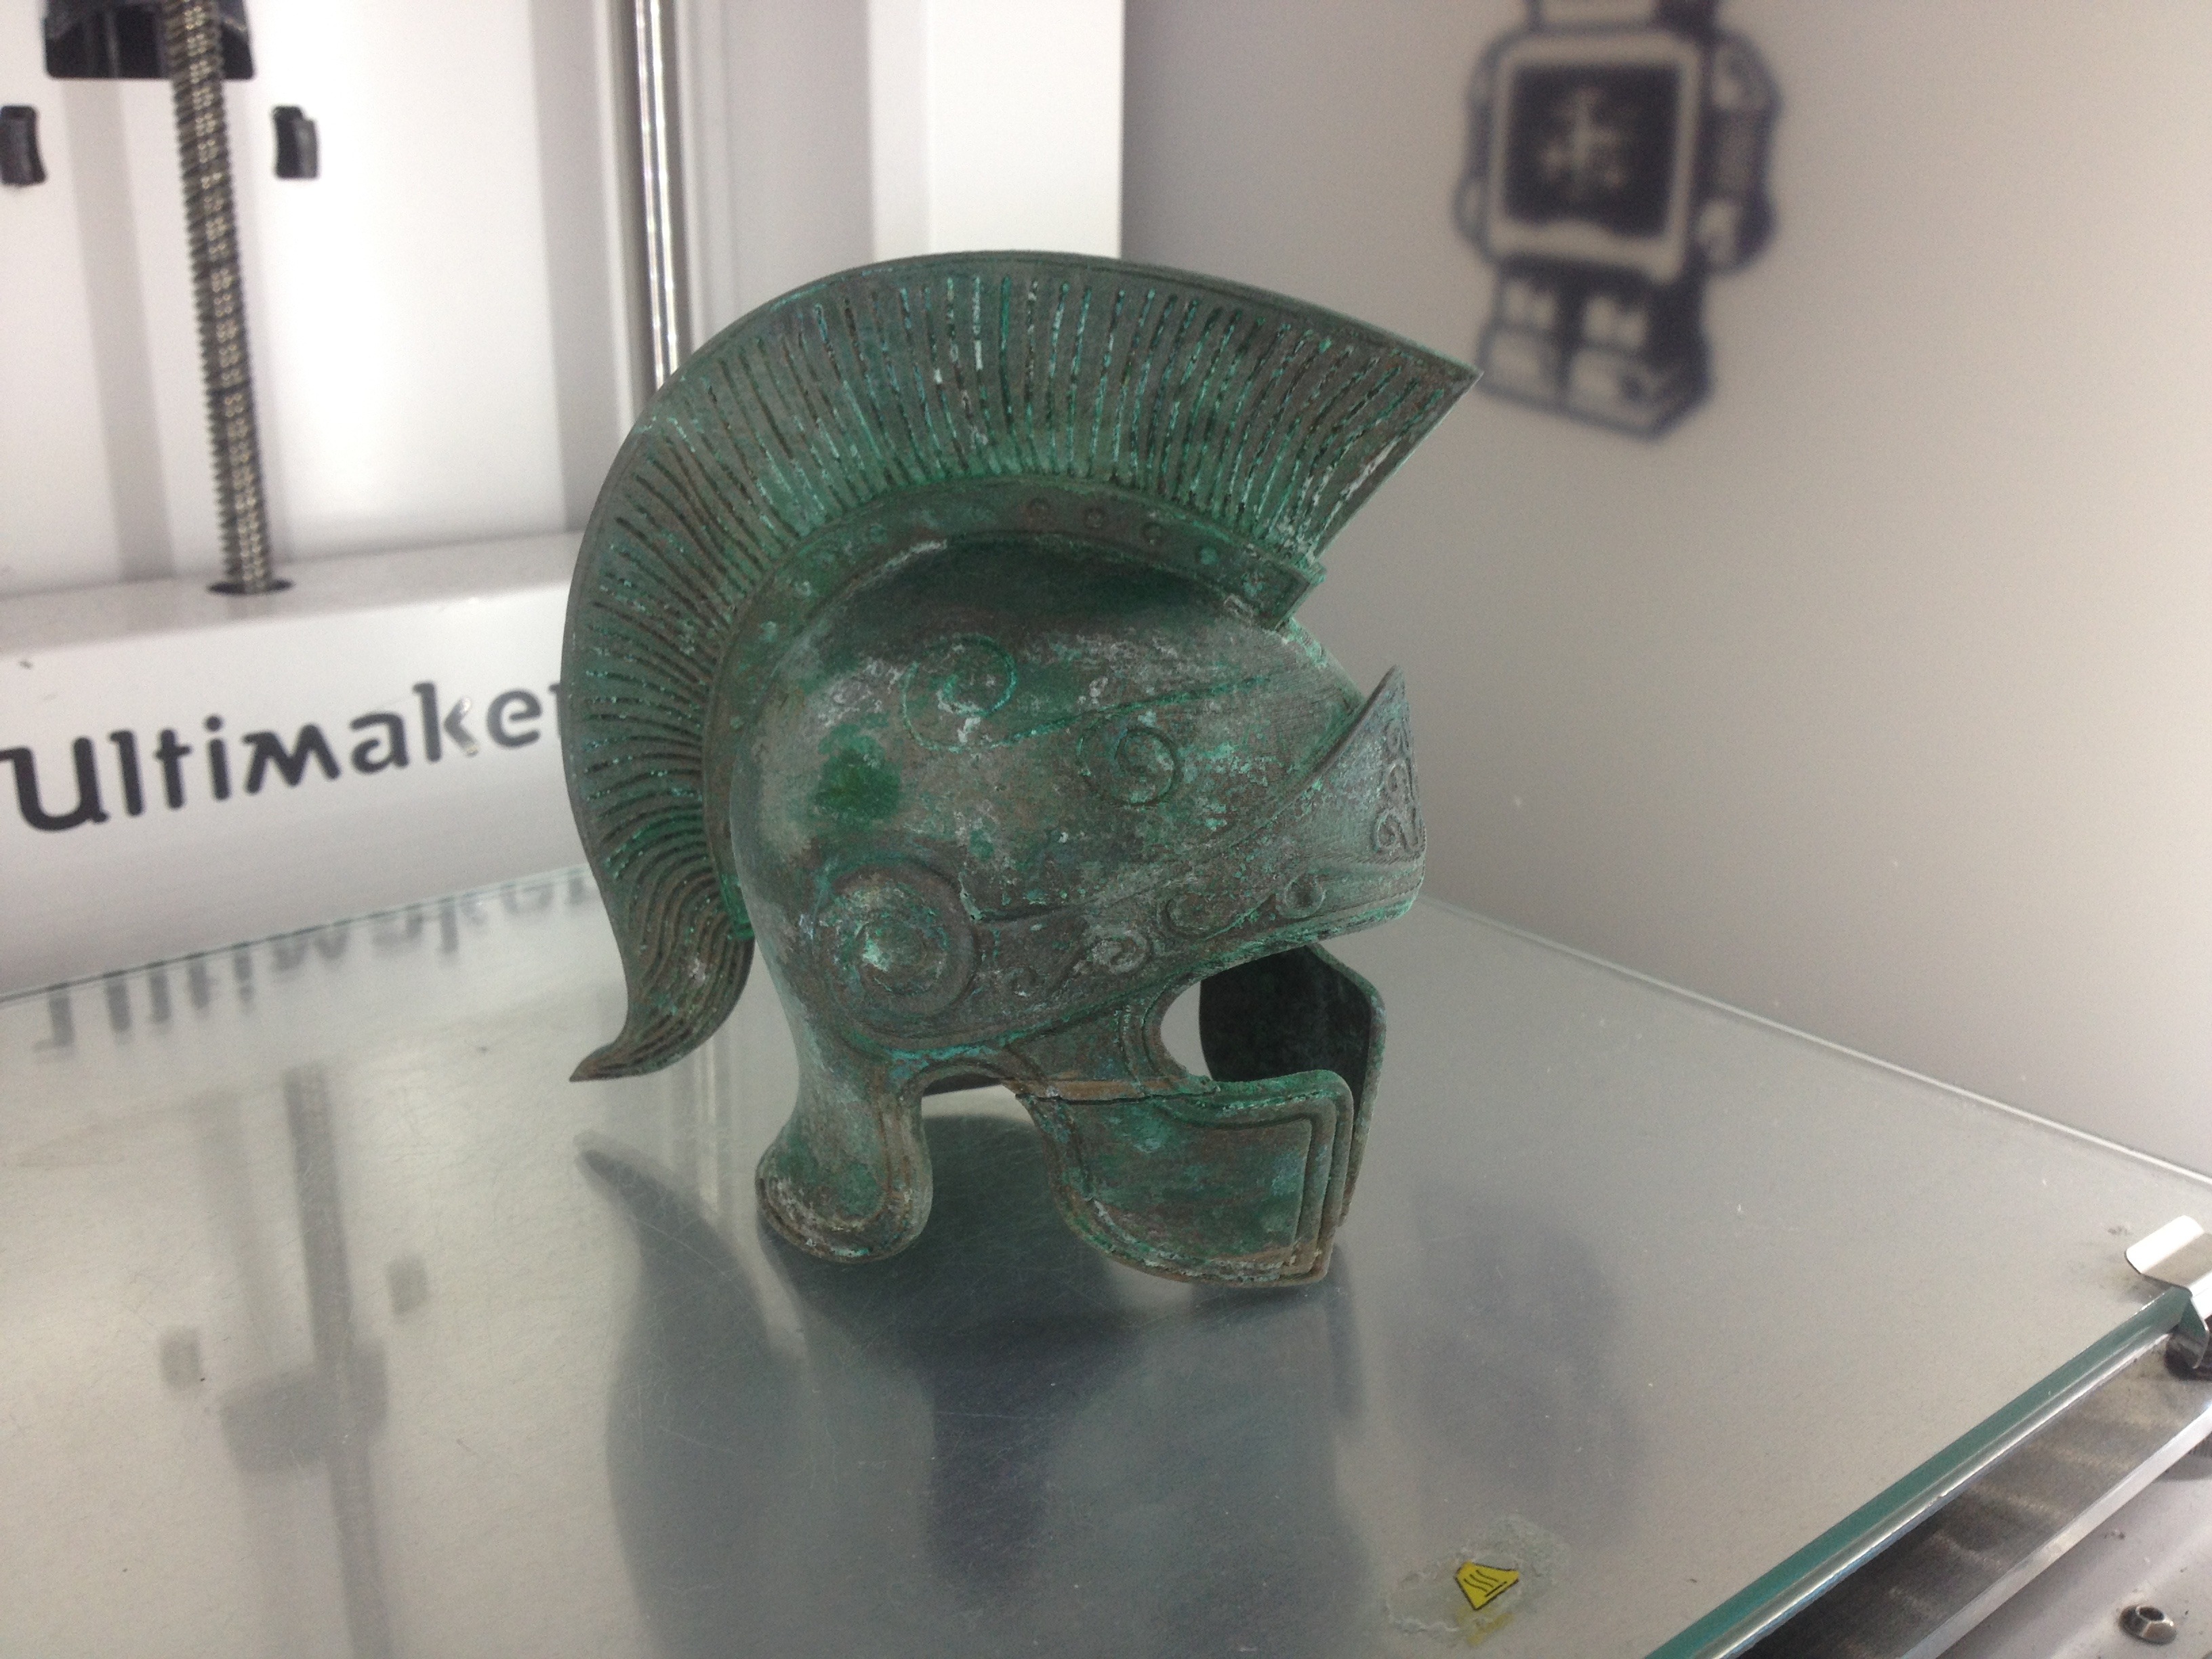
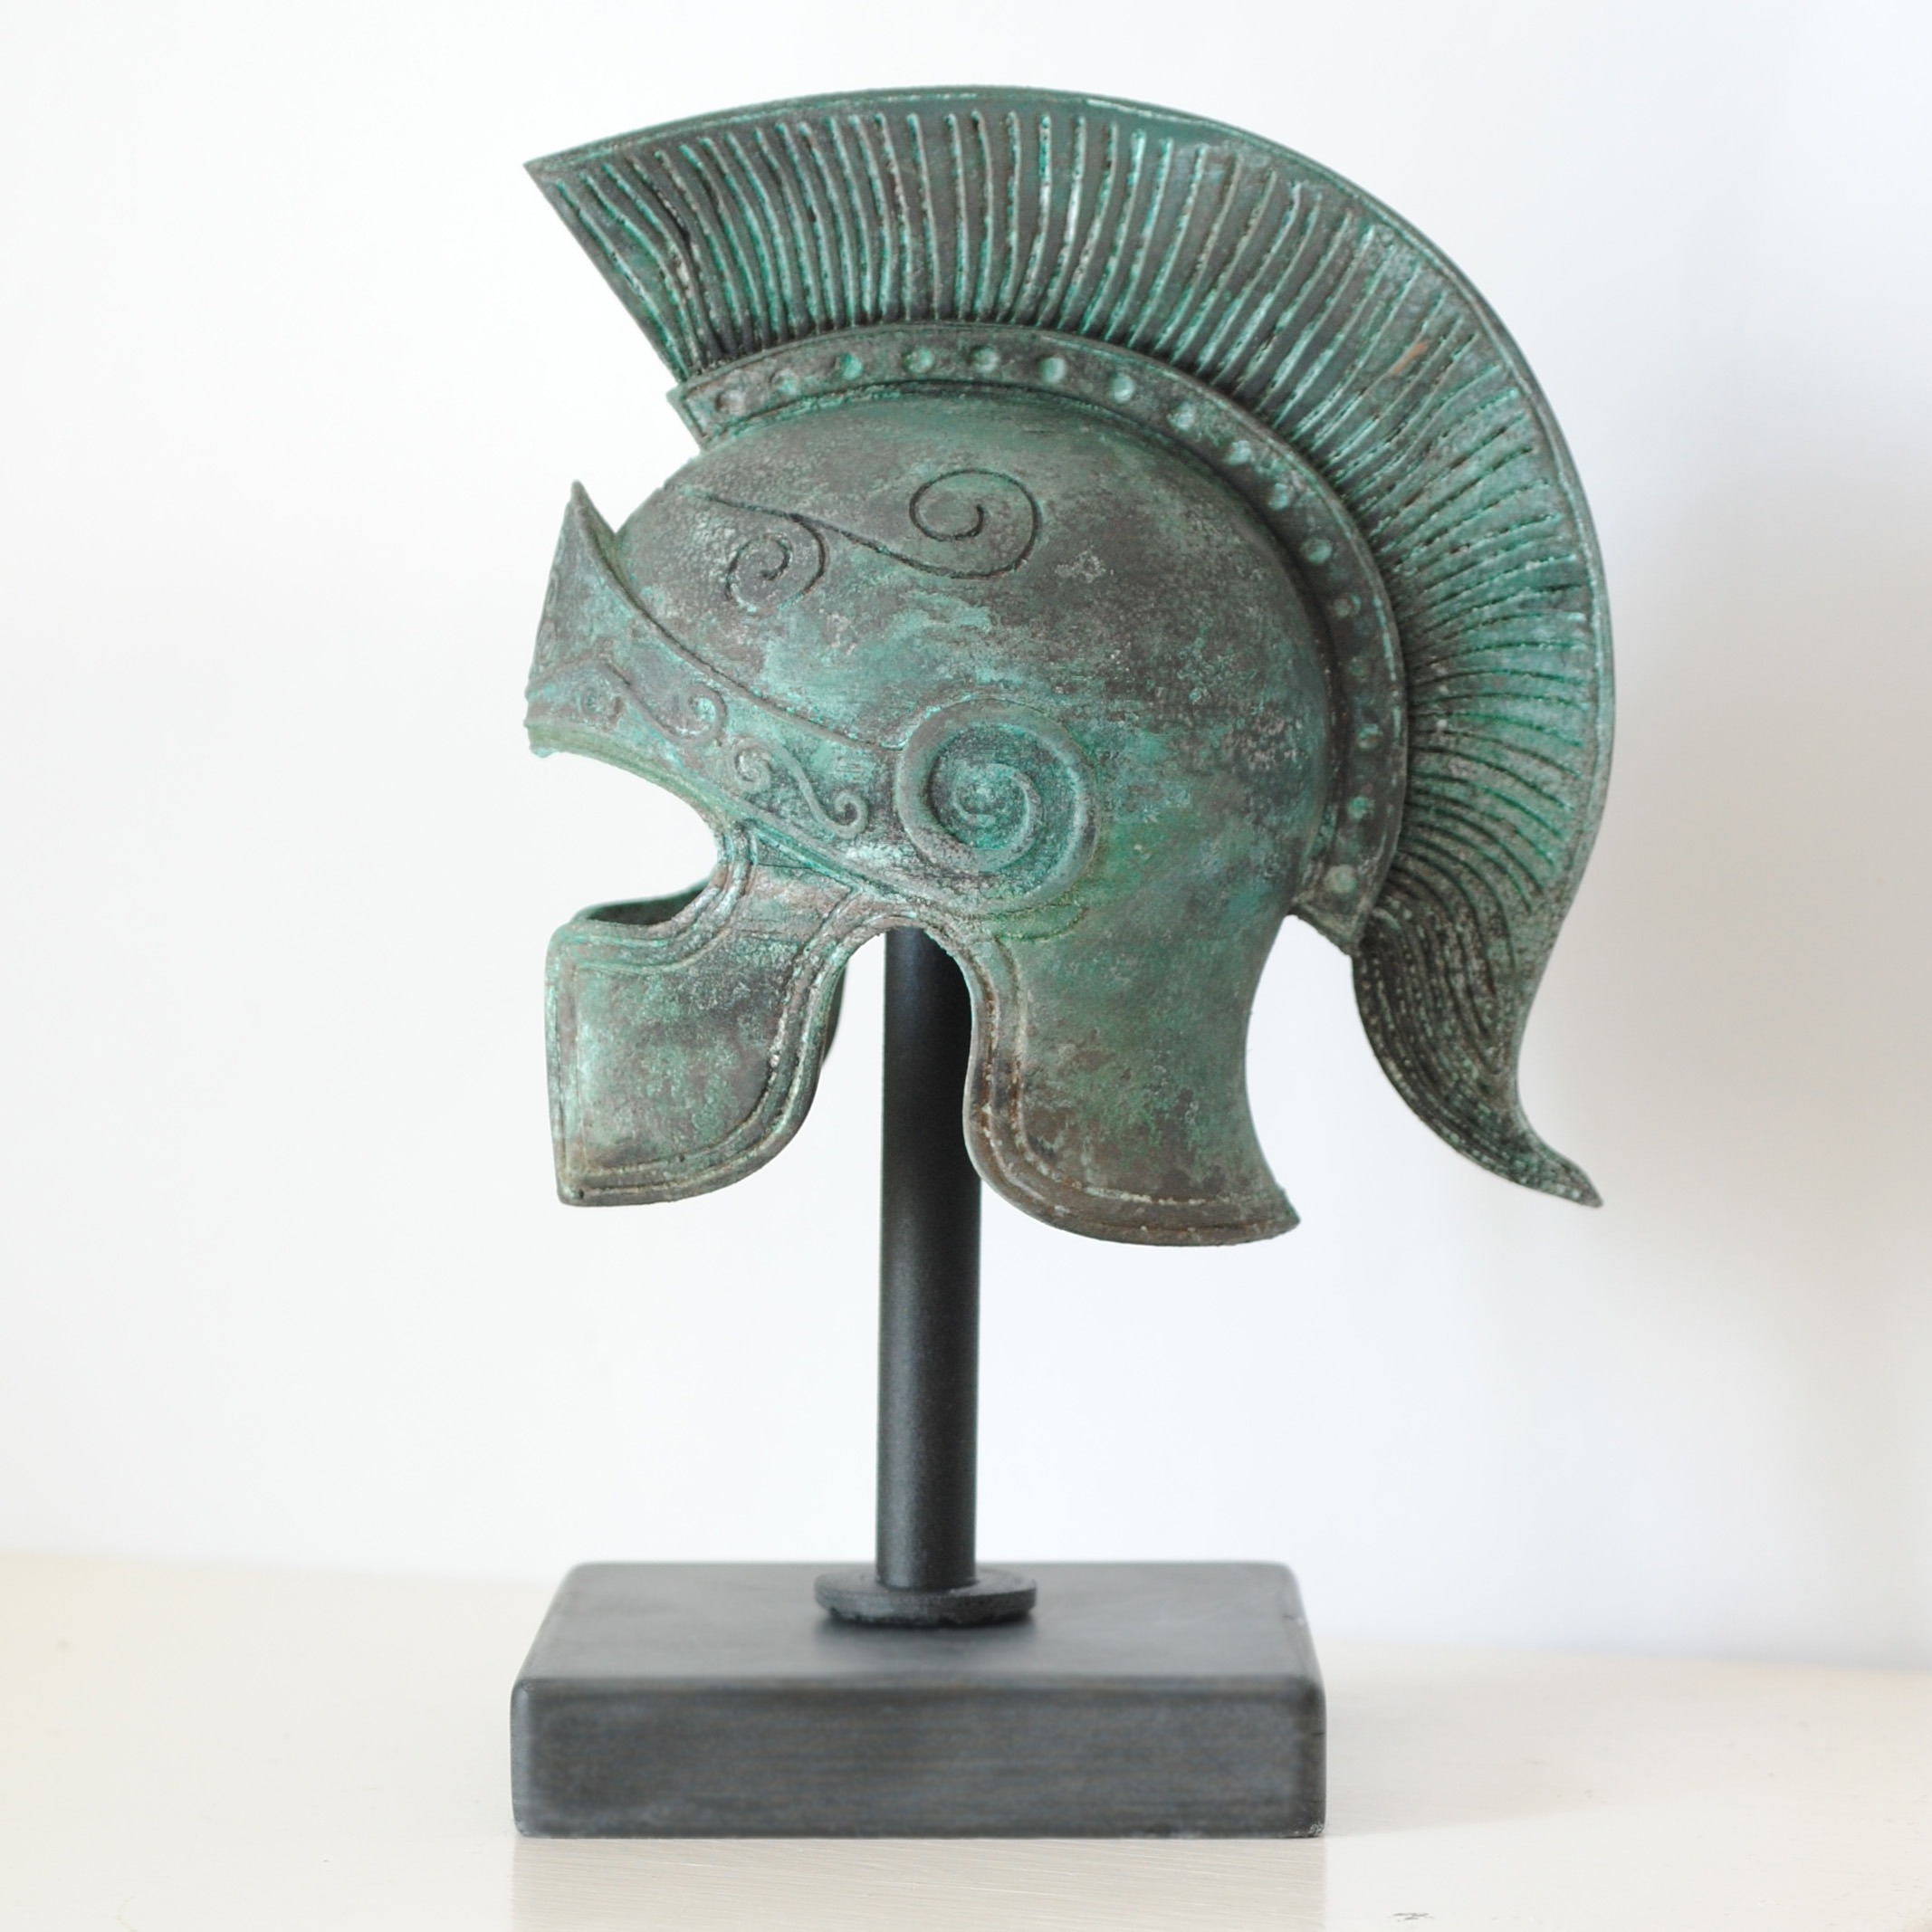
Andreas explains the way he worked: “I started the post processing with sanding under water to prevent heat buildup using grit 240 sandpaper and finishing off with grit 600. When I was happy with the sanding I made a mixture of salt and vinegar sprayed the helmet two times a day for a week with the mixture, and kept it in a bucket with a lid to contain the smell and enhance the effect of the salt-vinegar mixture. After one week it had a nice patina and I used black oil paint to make the finishing touches.”
“I like the look of the ColorFabb XT CF20 both when it comes straight off the print bed and when it’s been sanded, so I choose that to print the stand for the helmet.”
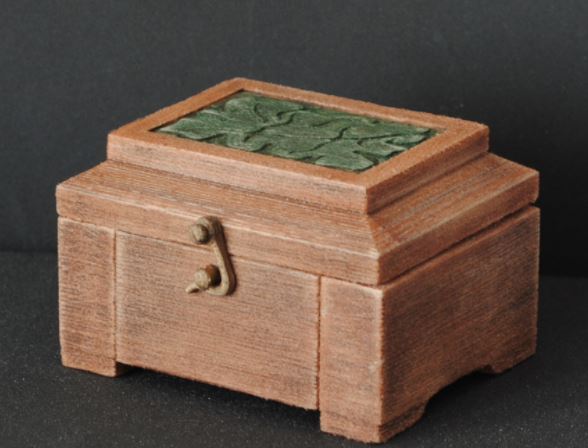
We thank Andreas for all his input and the images he so kindly provided to us! Please follow Andreas on Instagram (link here) to see his latest creations. As you can see his love for Lord of the Rings has also translated into a terrific print of a small salt box from the Two Towers, made with woodFill. We will write another post about this soon!
bronzeFill was our first truly special filament, launched over 3 years ago and still one of our most popular filaments. The added weight and unique aesthetic properties have made this an extremely popular material. Before this fantastic ancient Greek helmet we have seen other great projects come to life in this year alone made with bronzeFill like the enormous Octolamp and the stellar fountain pen.
If you want to have more information on how to print with bronzeFill, visit our handy tutorial: How to print with bronzeFill
If you are looking for more tips and advice regarding post-processing bronzeFill and our other metal filled filaments, we have a nice collection of articles collected on our site.
Interested in bronzeFill? It is readily available in our webshop as 750 grams and 1500 grams spools.