
At colorFabb we know a lot of cool things are made with our filaments. We see a lot of them on social media and what our users share with us via email. We love seeing how the materials we make are being used to make useful, functional and beautiful prints. But every now and again we come across a project that is just plain awesome, like a huge, entirely printed bronzeFill octopus – now known as the Octolamp!
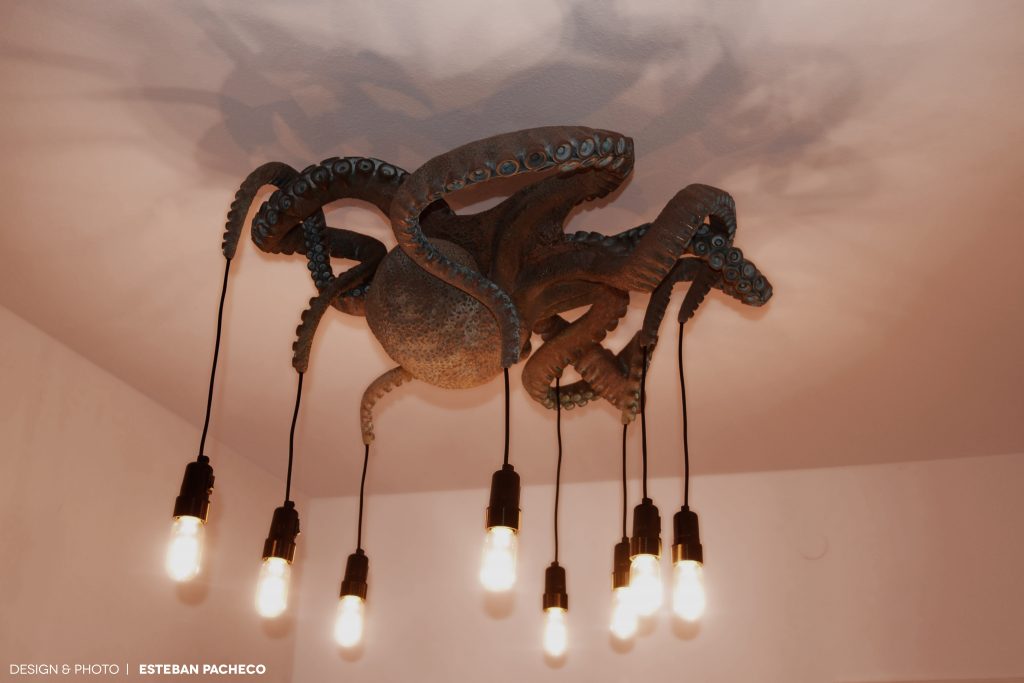
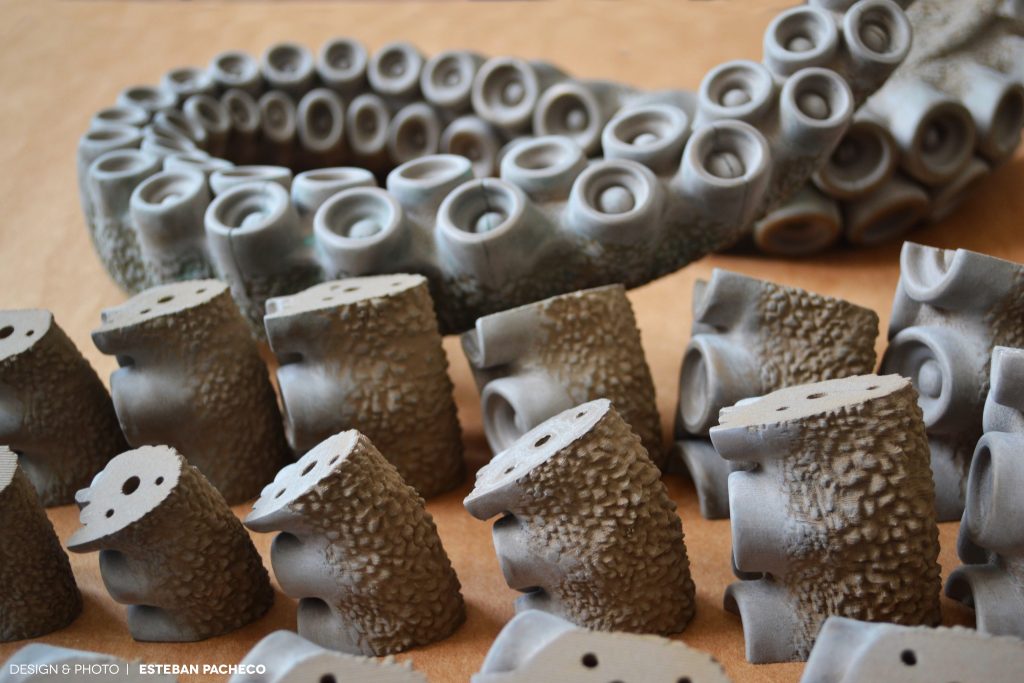
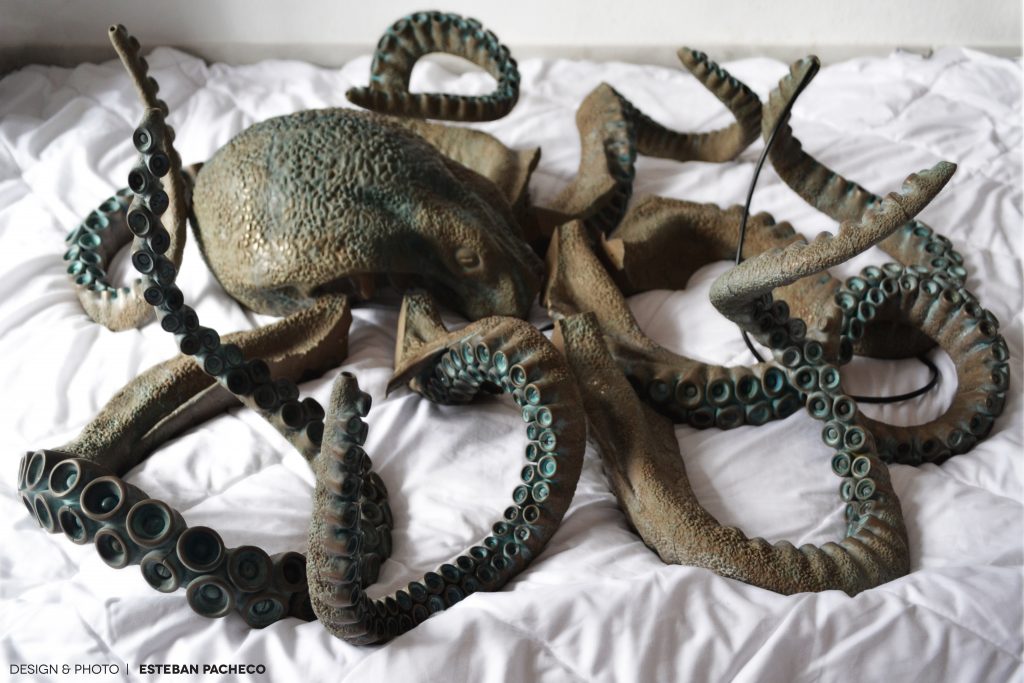
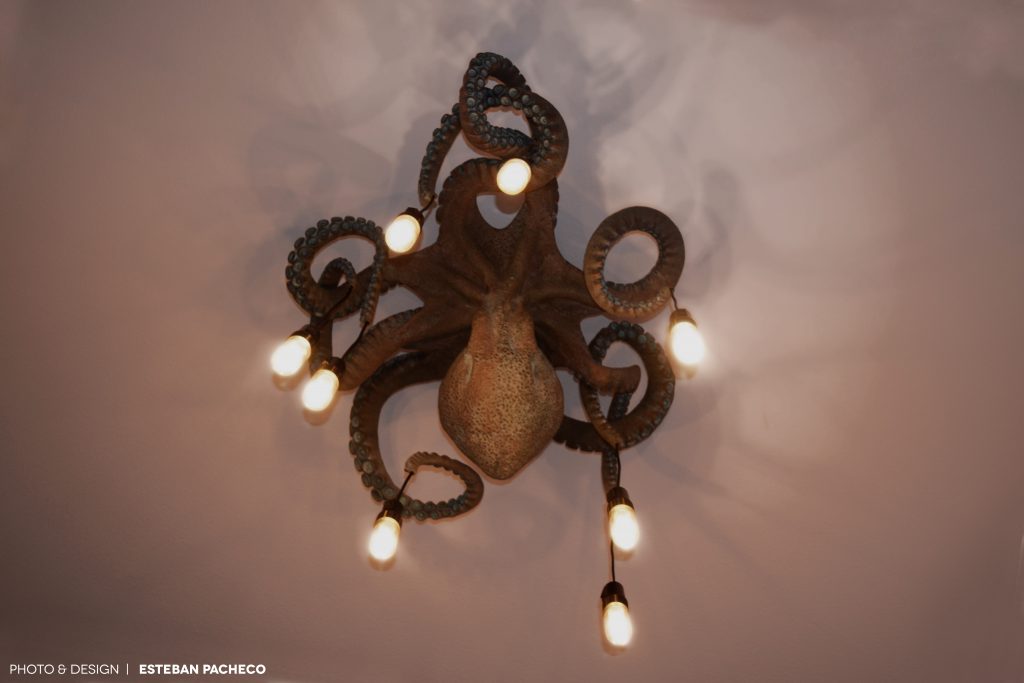
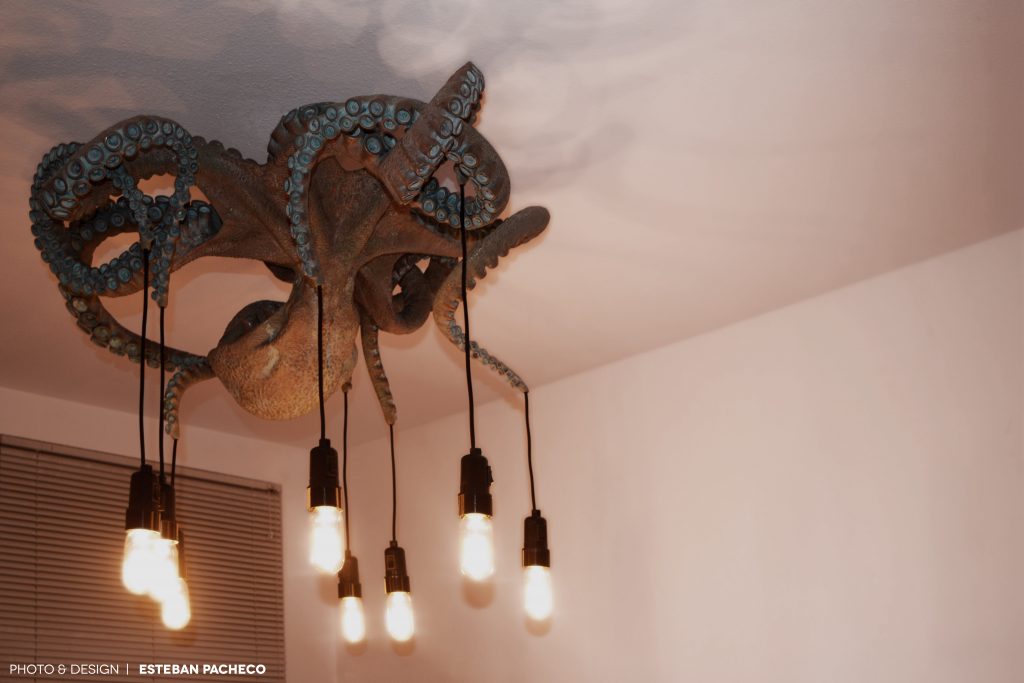
Esteban Pacheco contacted us last winter and told us about the project he was working on. In his initial email he wrote: “It’s a huge figure of an octopus (around 1m x 1m x 0.4 m) that I’m producing to work as a Roof lamp – the head is pointing down, so it looks like the octopus is attached to the ceiling by the tentacles. There’s a total of 156 pieces. I’m finishig to print all the pieces, and im polishing them.”
By the description alone we knew it was a huge project and undertaking. Last week we received the pictures made by Esteban and we were blown away. We asked Esteban to tell us more about himself and the Octolamp project:
“My name is Esteban Pacheco born in Panamá. I am an Architect working and living in Germany since 2008. I got my Master’s Degree in Architecture in Germany. I’m fascinated about digital technologies and fabrication processes in Architecture, 3D parametric form finding methods, and non-conventional geometries.”
About his motivation he says: “The reason for this project was to test my modelling and printing skills. Since a new ceiling lamp for my studio was needed and I personally consider the class “cephalopoda“ really astonishing due to its characteristics, I decided to mix both ideas to create something called “Octolamp”.”
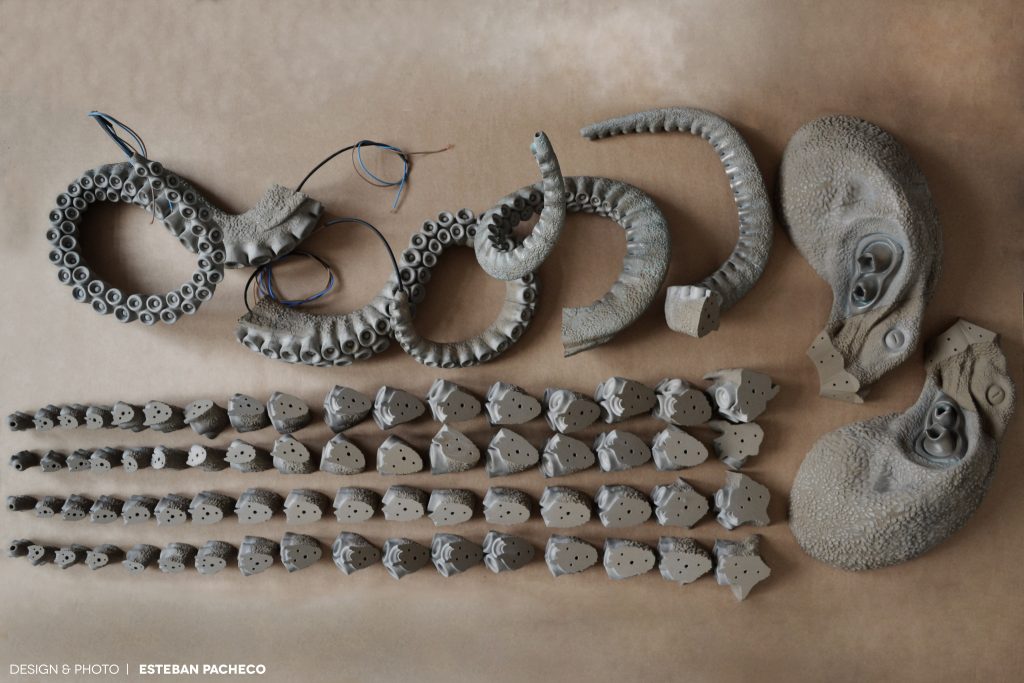
The Octolamp 3D model took around 13 months to complete. Because of its geometric complexity, the 4 million polygons and around 4 GB File was sliced in 156 unique parts to make it printable. Each one of the parts was checked to find errors like: invalid mesh faces, non-manifold mesh faces and naked edges among others. This task took one month to complete.
Of course he needed a reliable printer and through his 3D Hub he already had extensive experience with the Ultimaker 2+. Esteban explains: “An Ultimaker 2+ was used due to its reliability and nozzle diameter flexibility. This allowed me to print with several different layer heights and outline thickness, depending in the grade of detail needed.”
The software used for generate the toolpaths was Cura 2.4, but for a few specific parts Simplify 3d was used. Esteban used the following printing parameters:
Print speed: 40 mm/s
Temperature: 230 C°
Material Flow: 108%
Support: 25 % [Grid pattern]
Infill: 30 % for arms / 20 % for head
Retraction length: 4.5 mm
Retraction speed: 45 mm/s
Esteban is a fan of colorFabb filaments and bronzeFill in particular, especially since this special filament fits this project perfectly.
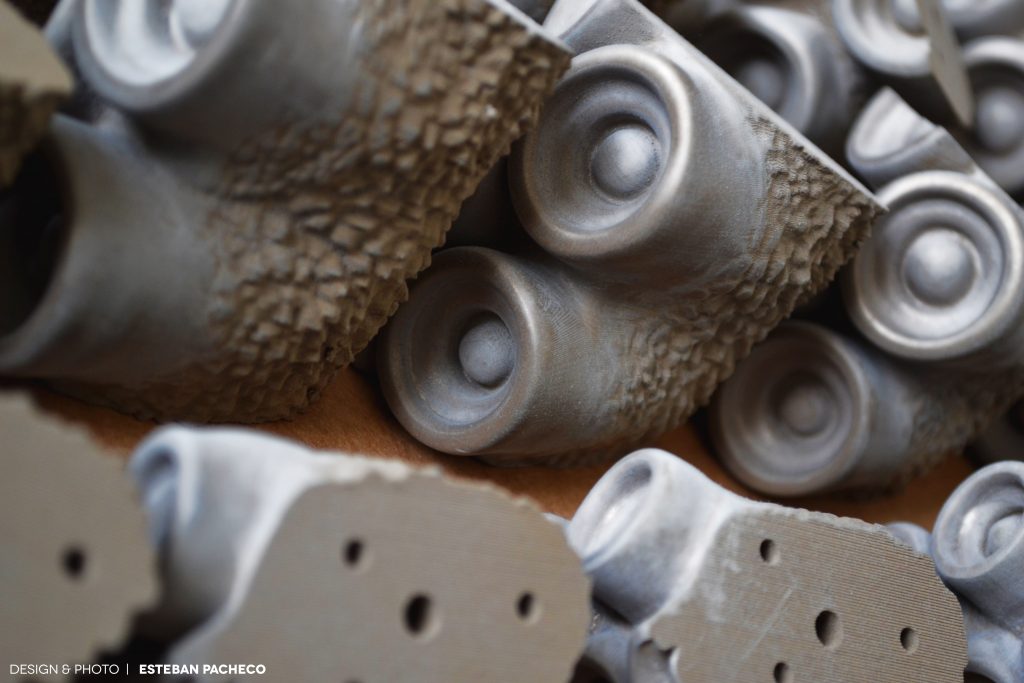
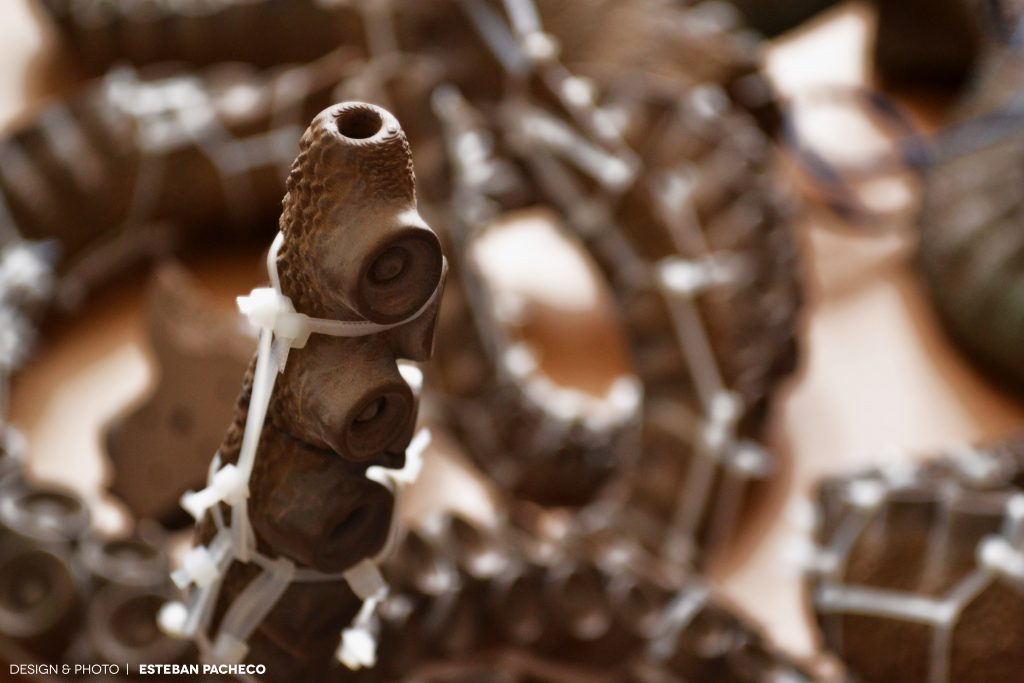
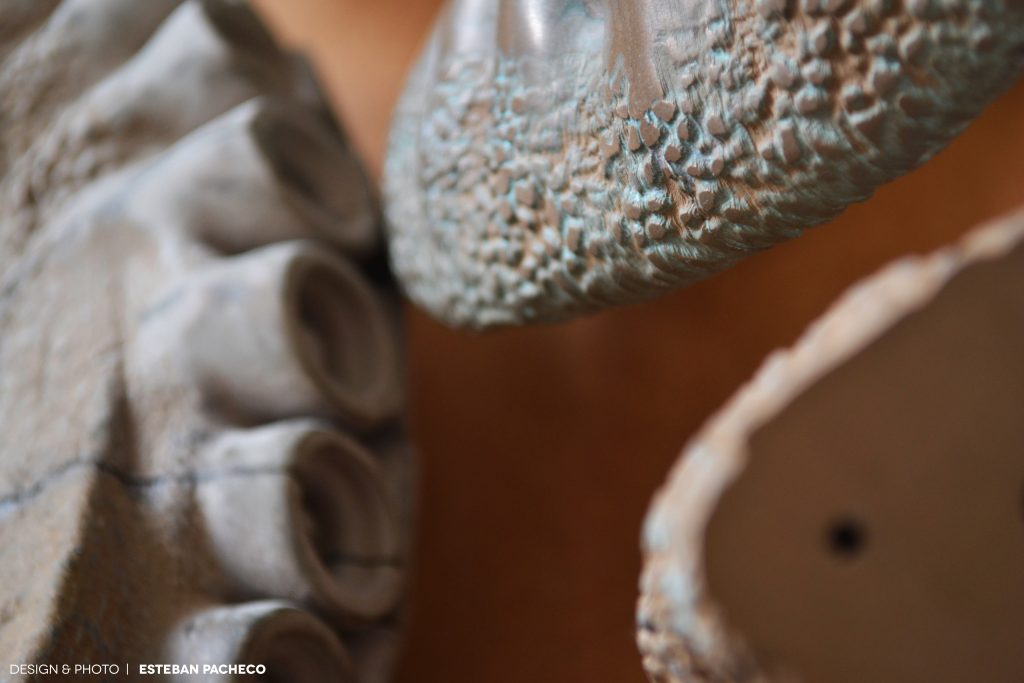
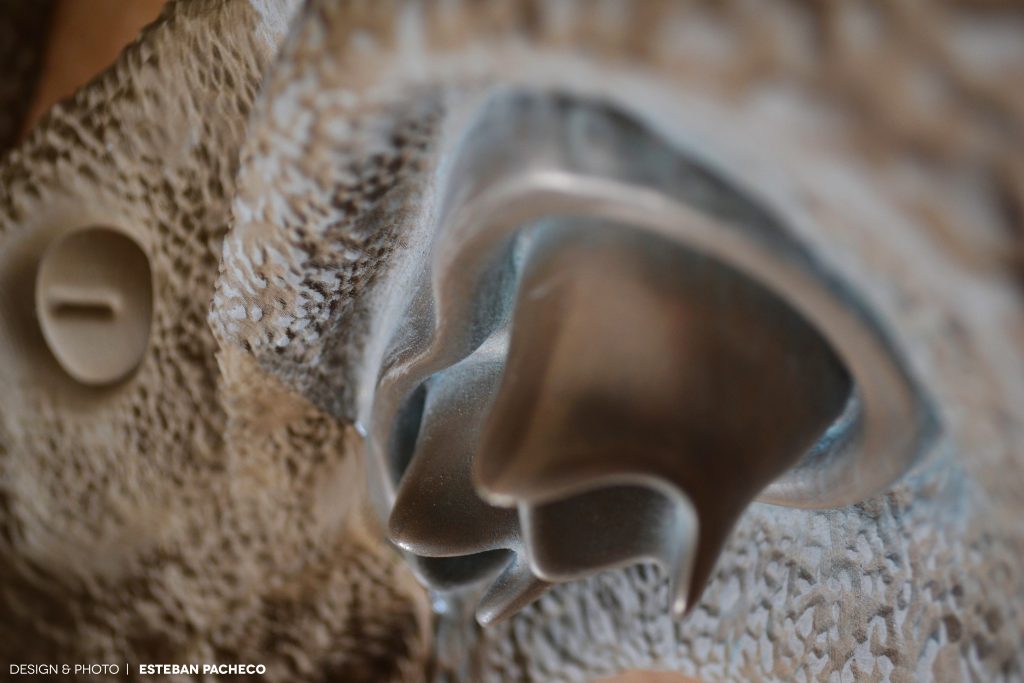
“ColorFabb’s bronzeFill was selected because it can be post – processed to achieve a noble finish, in contrast with normal PLA. This material can be polish to a high glossy level and also is able to oxidize to acquire an antique – eerie greenish – looking overlay. This feature fits totally with the concept of an octopus. It just adds “Character” to the end result, like a piece recovered from an old sunken ship. For this specific project a total of 18 spools of material were needed, in other words, around 27 Kg of filament. That amount includes support material and print failures. And the end the lamp total weight is 23 kg.”
bronzeFill was our first truly special filament, launched 3 years ago and still one of our most popular filaments. The added weight and unique aesthetic properties have made this an extremely popular material. Seeing a project like the Octolamp materialize with this filament is fantastic!
If you want to have more information on how to print with bronzeFill, visit our handy tutorial: How to print with bronzeFill
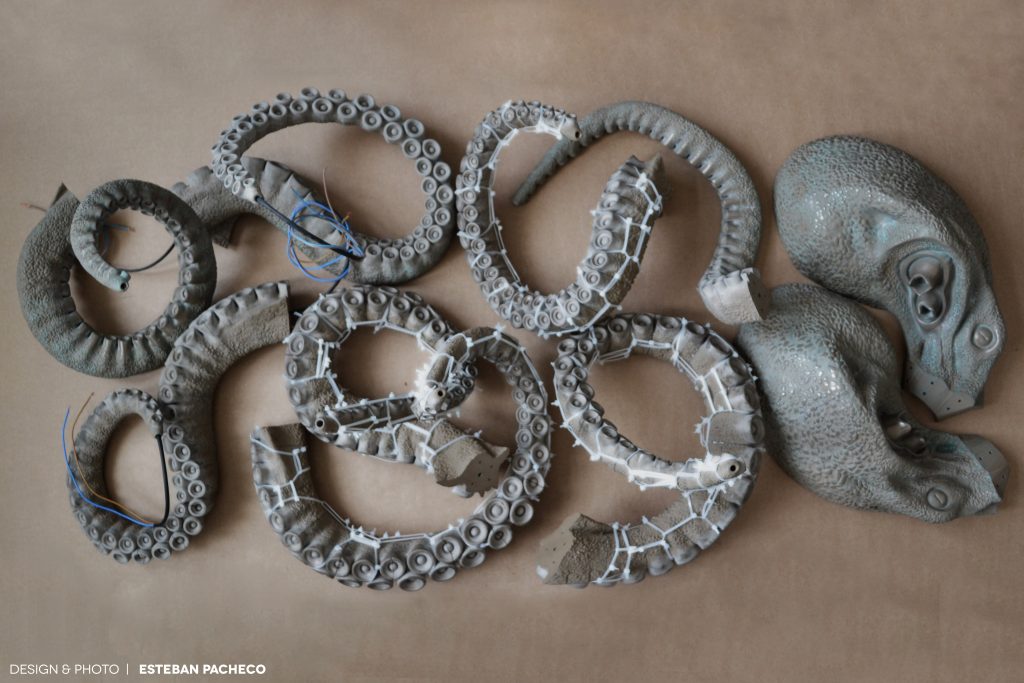
Of course the trick with our metal filled filaments is the post-processing, which was a huge undertaking on its own. It took 4 months and included 3 different stages:
- Sanding stage: using 240, 400 and 1000 grit metal sandpaper.
- Polishing stage: several polishing creams were tested.
- Oxidation stage: for this a mixture of Vinegar and Salt applied directly to the model using a tiny brush was used to accelerate the oxidation process, in some areas.
The results are downright stunning and please keep in mind post-processing was done on all 156 pieces that were printed!! This is a dedication to the project that is rarely seen at this scale.
If you are looking for more tips and advice regarding post-processing bronzeFill and our other metal filled filaments, we have a nice collection of articles collected on our site.
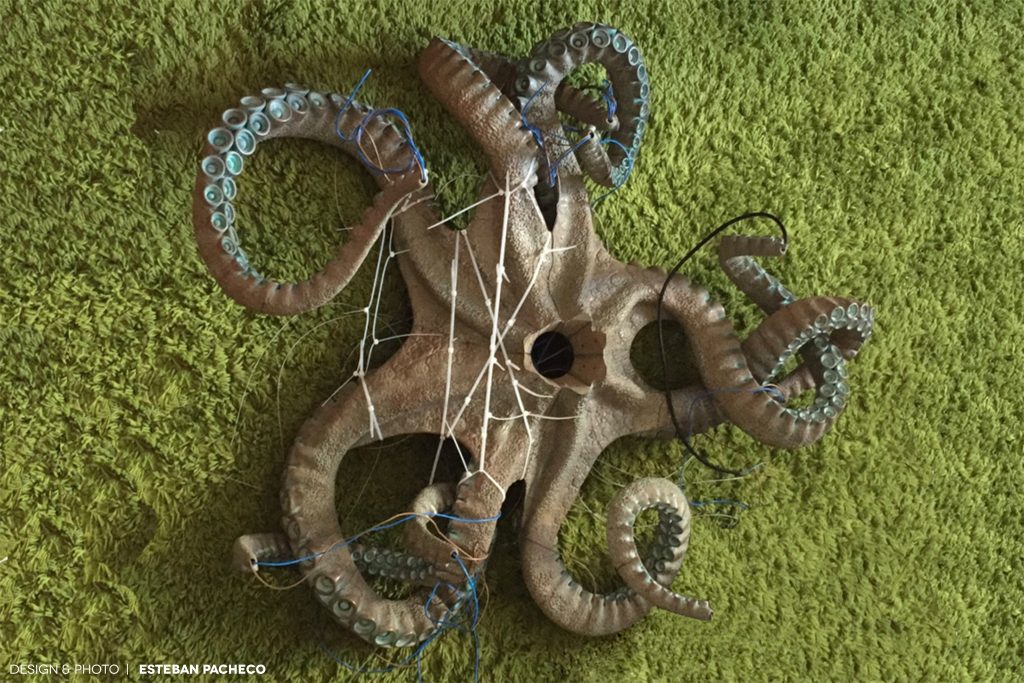
For the assembly, no screws were needed for the Octolamp itself. All pieces were glued together using very strong epoxy adhesives.
We thank Esteban for sharing this project with us. Again, we were extremely surprised to see bronzeFill being used for such a big and long term project. As said, Esteban has his own 3D Hub. He started in January of this year and he has only received five star reviews. The work and dedication he put into the Octolamp makes this easy to understand. Of course, not all projects take 18 months to complete, but Esteban knows what he’s doing and aims for the best quality in his prints. We cannot wait to see more work from him!
Alternatively, you can also follow him on Facebook.
Interested in bronzeFill? It is readily available in our webshop as 750 grams and 1500 grams spools. We also have samples available.
If you have an awesome project to share, made with our materials, do no hesitate to contact us at sales@colorfabb.com
Design of the Octolamp by Esteban Pacheco (email)
All images made by Esteban Pacheco and used with permission

7 Comments
Hey, can you tell us more about how the parts were joined together and what you did when the accuracy wasn’t good and they didin’t align properly? Thanks and amazing work.
Hola Pacheco .
Great Work ! , as soon I see the lamp I know it was your work .
Amazing details and very realistic.
Thanks for your words! it makes me happy that many people likes it as much as i do. i really wanted to test what FDM can do!
Wow this is amazing! I want one! Is there any way I could buy this?
Thanks for your interest!
you can write me an email.
What an inspiring object and what a brilliant application of fdm! Hope it triggers designers and artists all over the planet to start their scanning or free modelling projects. It must have taken some effort and time though. Respect! And also important, perfect choice for material. I definitely love to see more of these applications.
Thanks for your words! it makes me happy that many people likes it as much as i do. i really wanted to test what FDM can do!