Camera housing

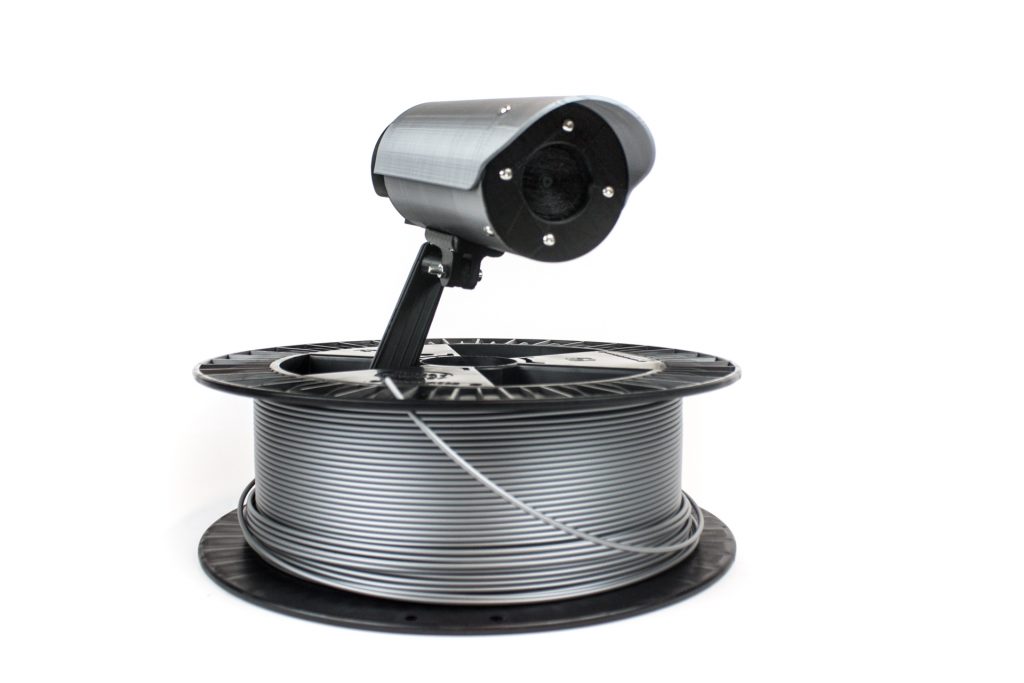
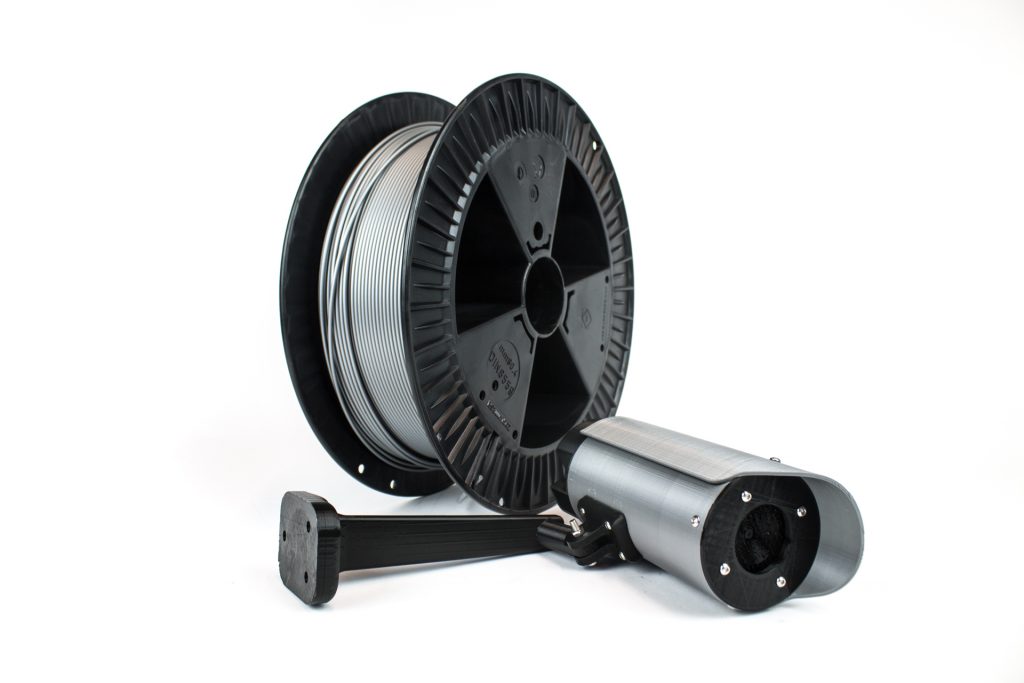
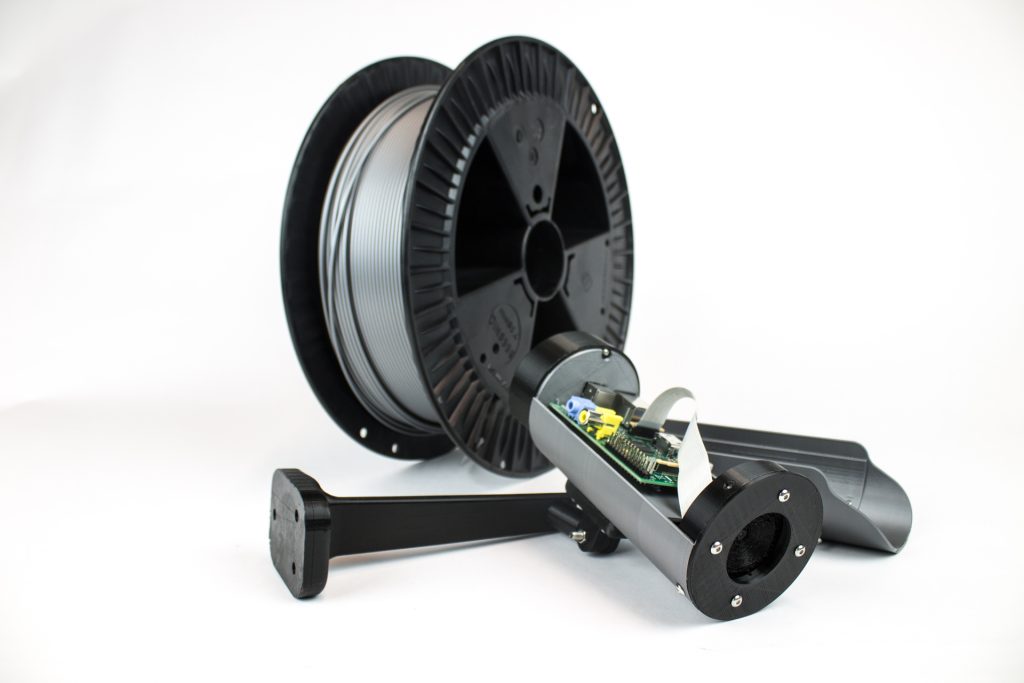
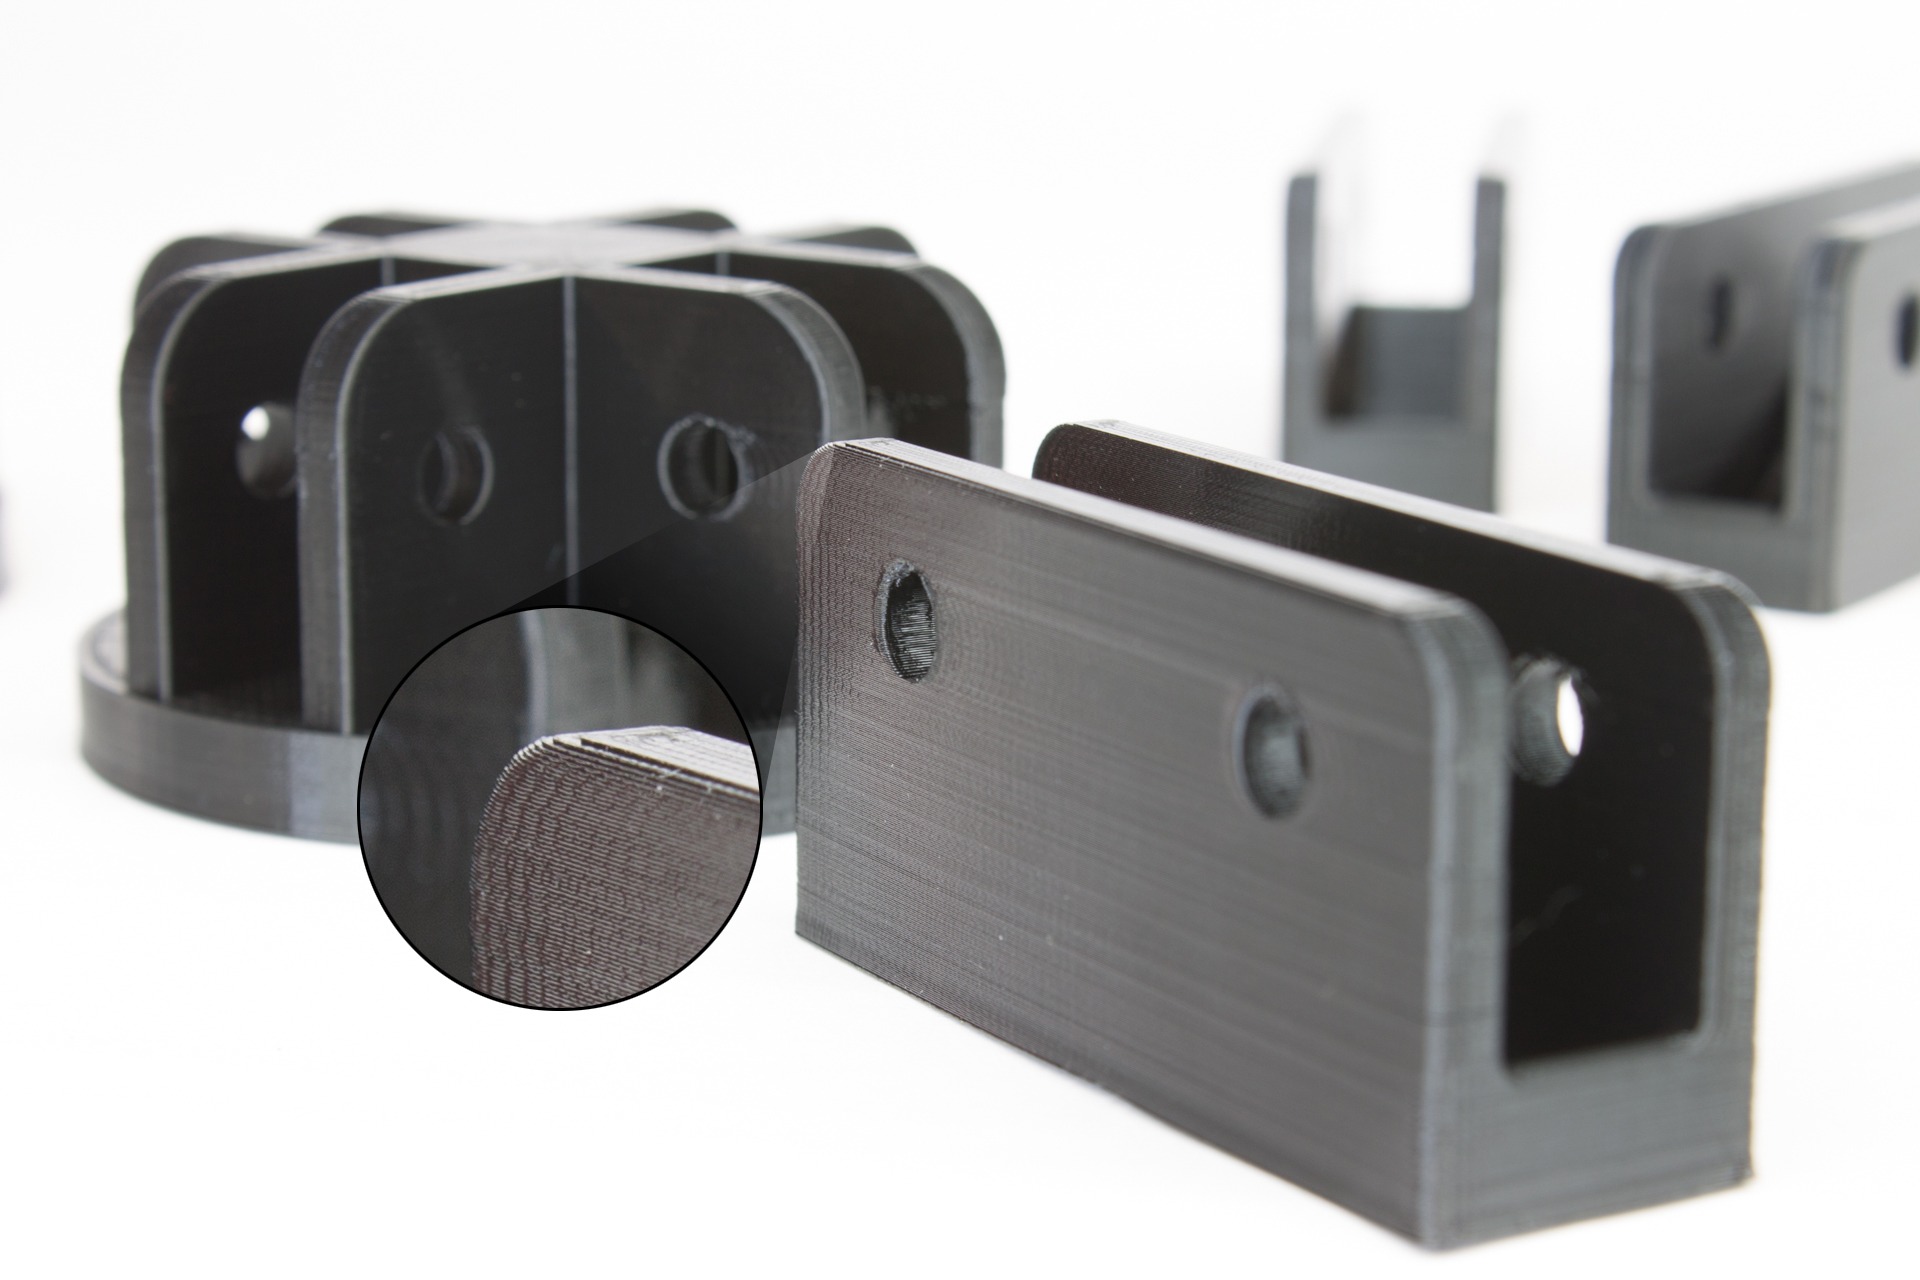
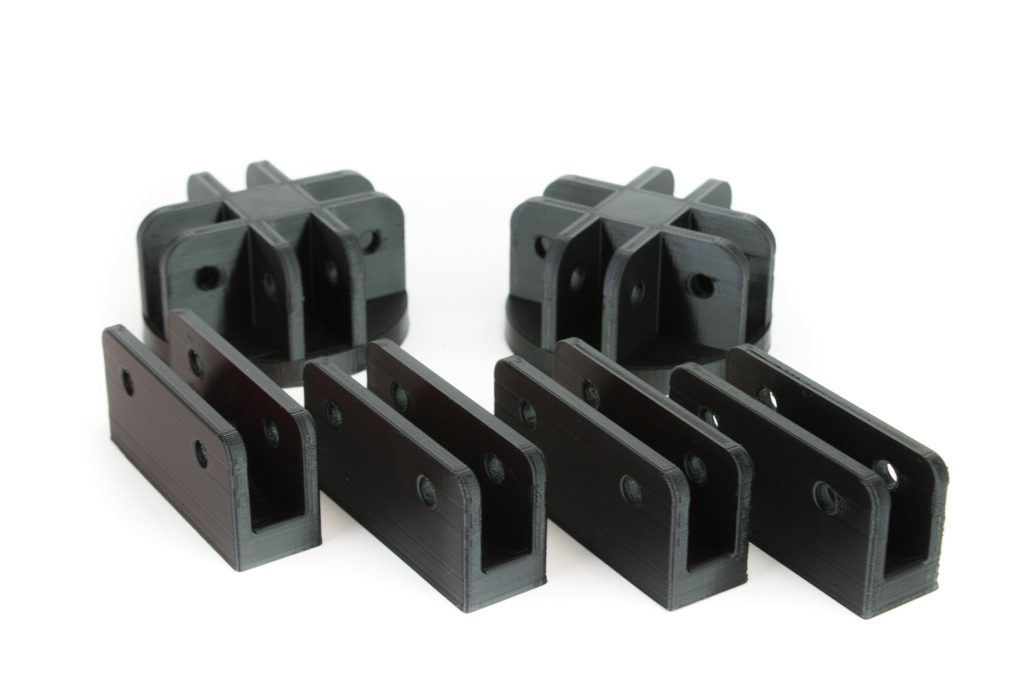
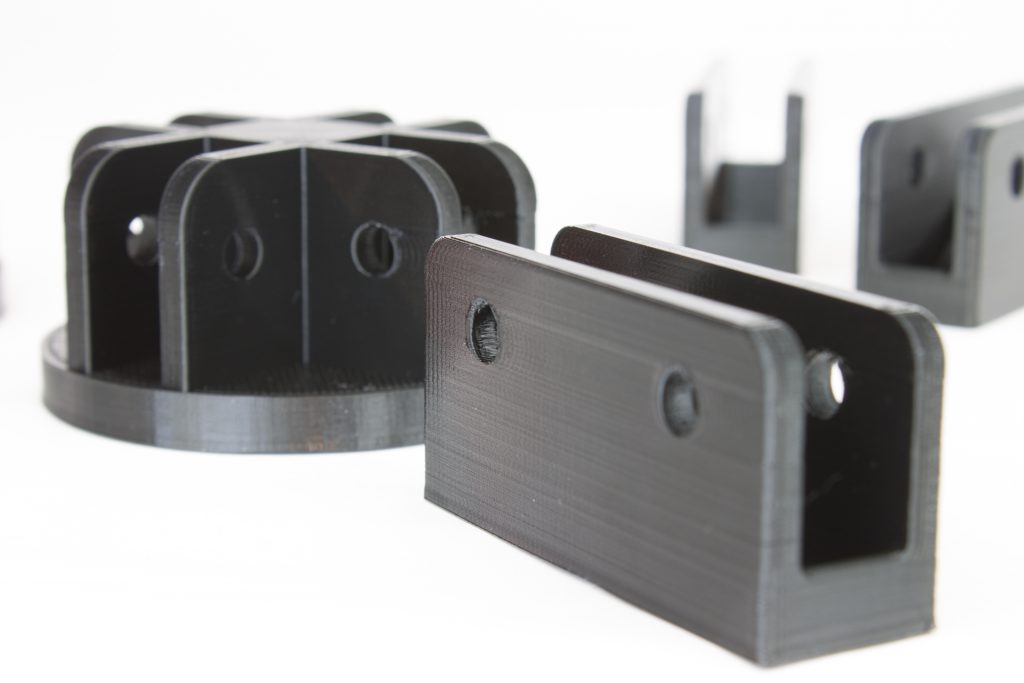
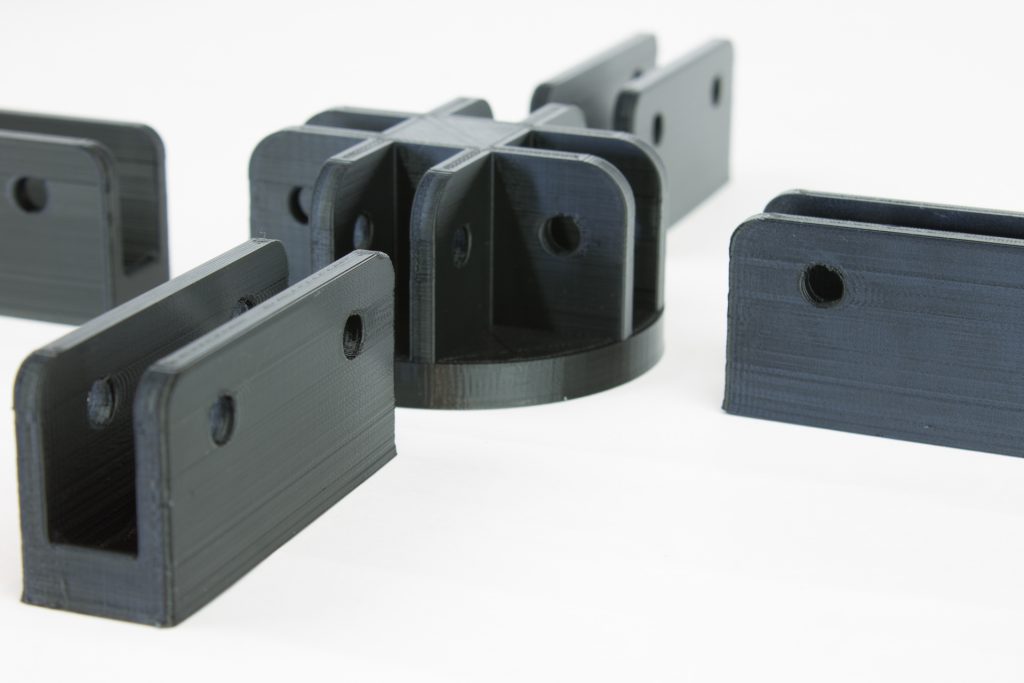
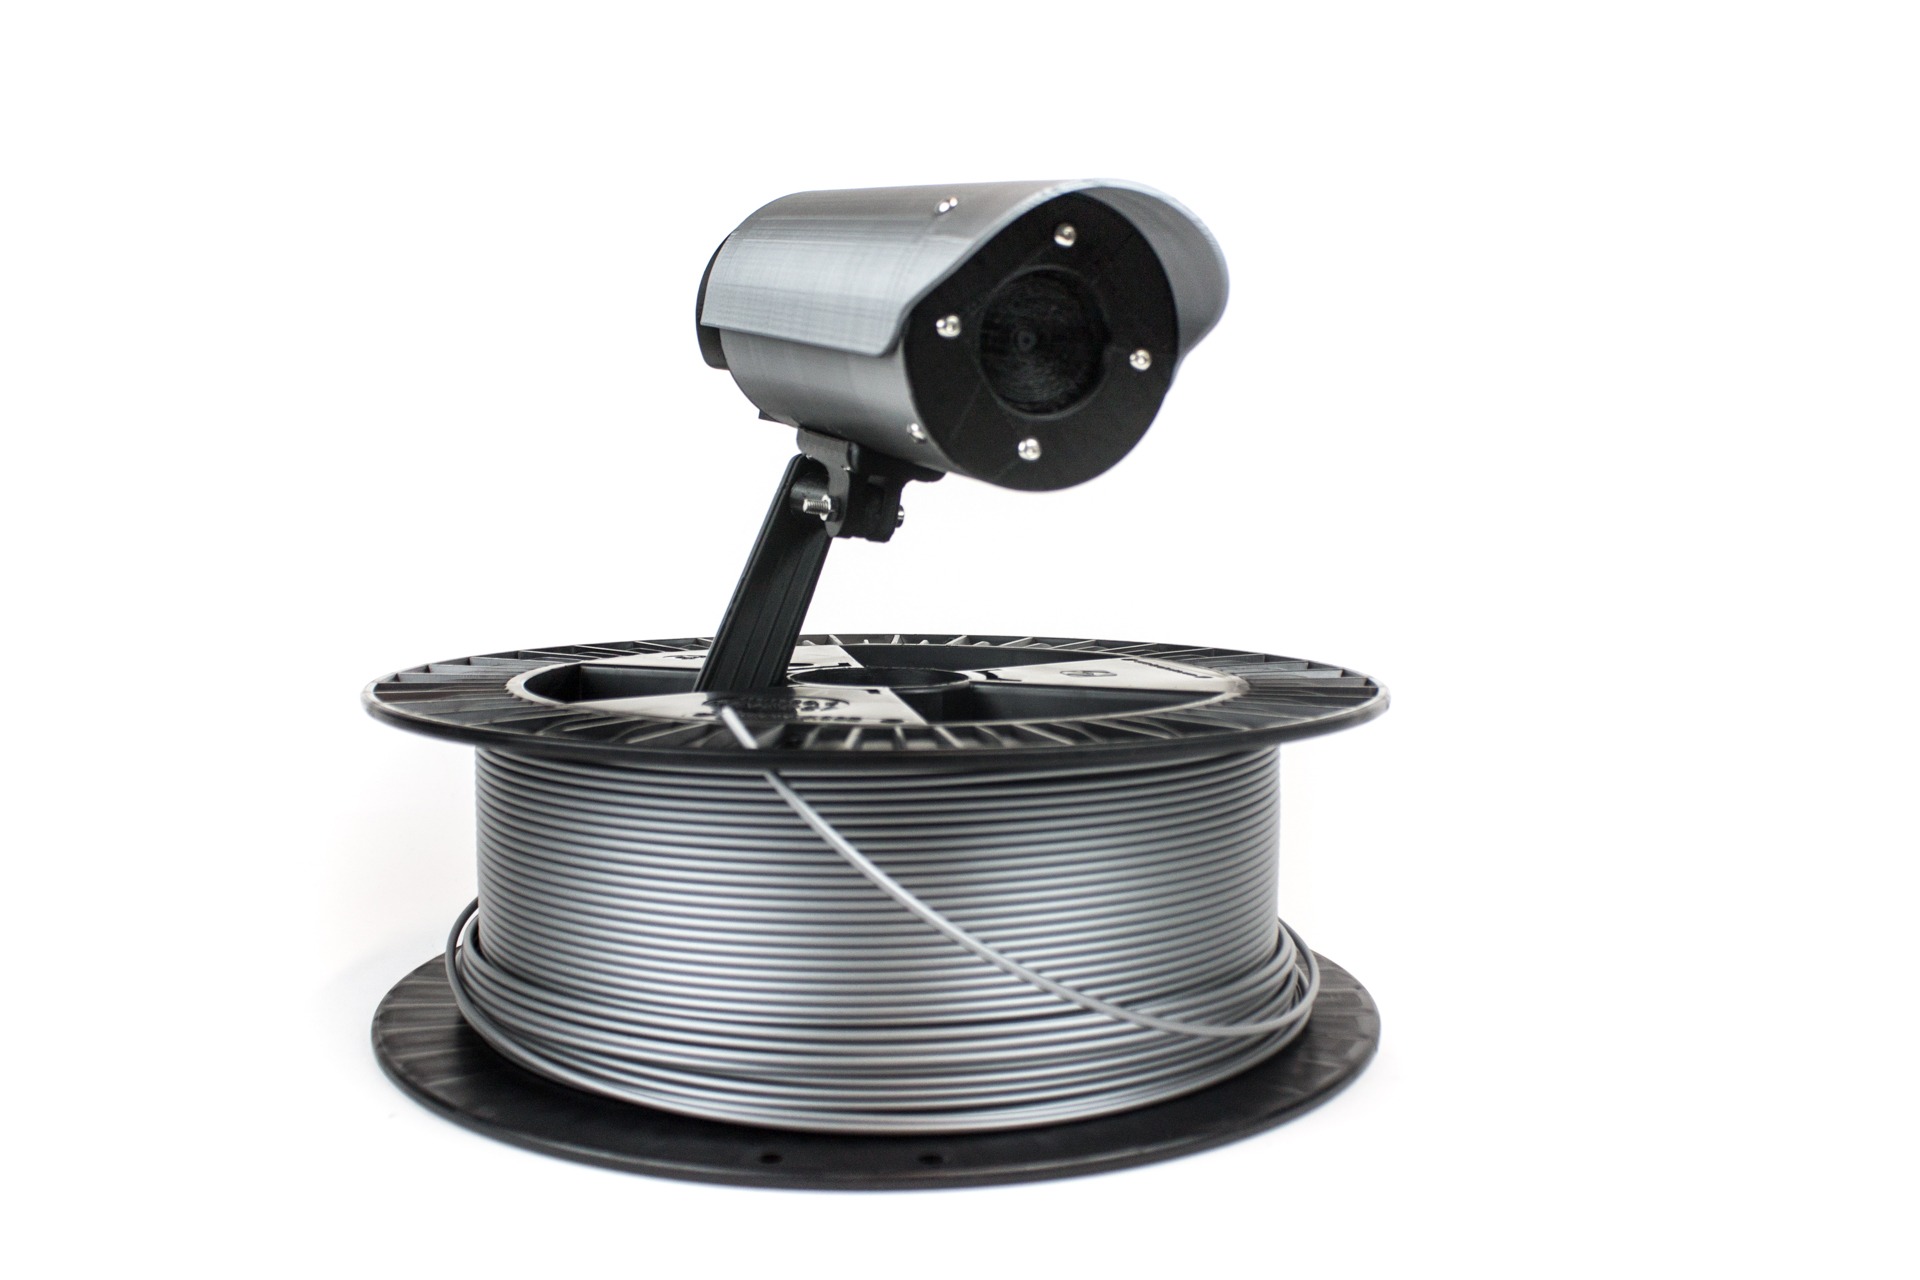
Today’s featured print serves two goals. First of all, we’re always looking to use our filaments to make the best use of it. In this case we have used PLA Economy to make a prototype of a security camera housing. The second purpose was to make our new intern Pierre known with the Ultimaker 2 and Cura slicer software. We can safely say both goals were met.


Designed by Toby Lankford: https://www.thingiverse.com/thing:993974

Working from a design by Toby Lankford, Pierre made this model in 3 days. It was a perfect model for Pierre to get the printer and slicer known and to print multiple parts.

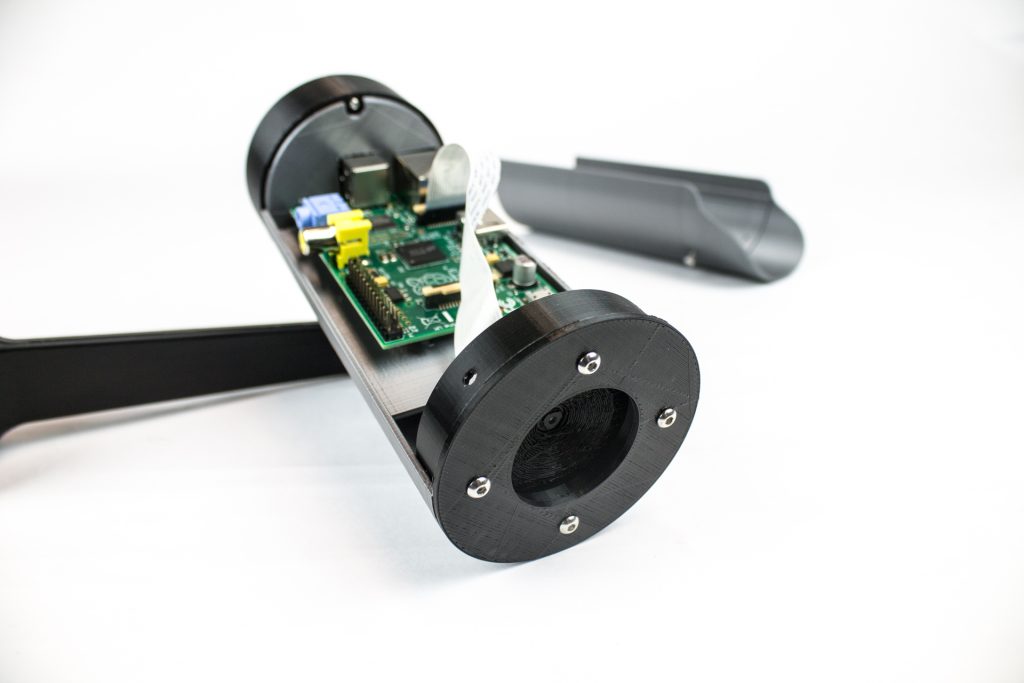
We used this case to welcome our new intern Pierre. This was a perfect project to get to know the Ultimaker 2 and Cura slicer software. Pierre also used a Raspberry Pi to show how the internal parts should be mounted.

Printed on the UM2 with PLA Economy Silver. Everything is printed at 0.2mm layerheight, 210/125C and 60C bed temperature.

We used PLA Economy as it’s perfect for making a first visual model of a new product. For outdoor use we would not advice using PLA Economy if durability is important, but it has proven to be an excellent filament for indoor use and visual prototyping.

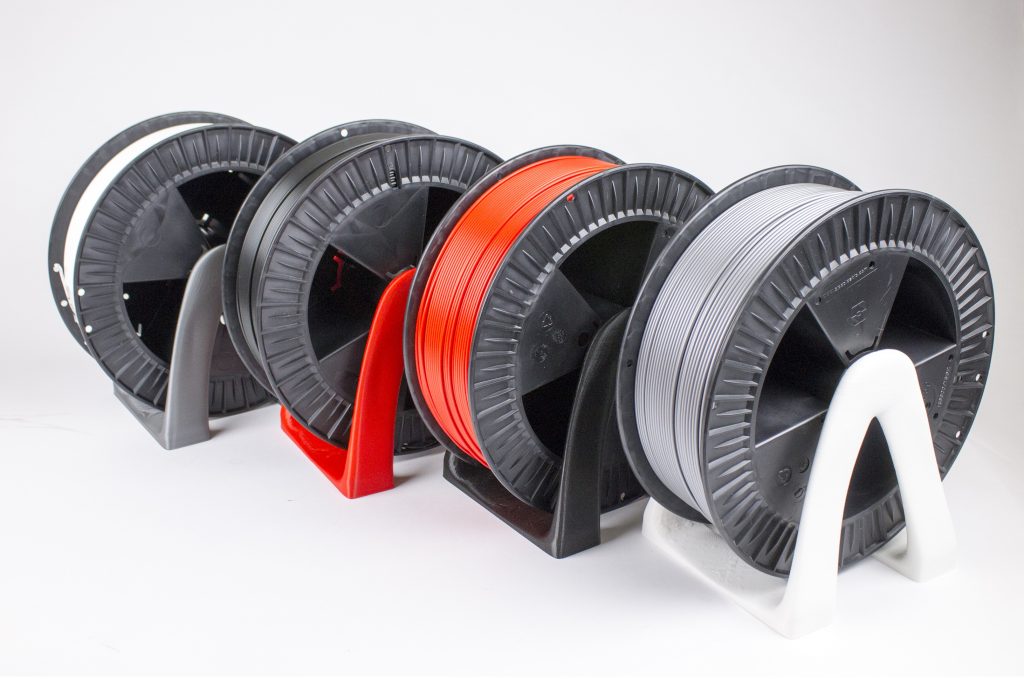
PLA Economy is a fantastic PLA grade which we launched in November last year. Initially we released four colors: white, red, black and silver.

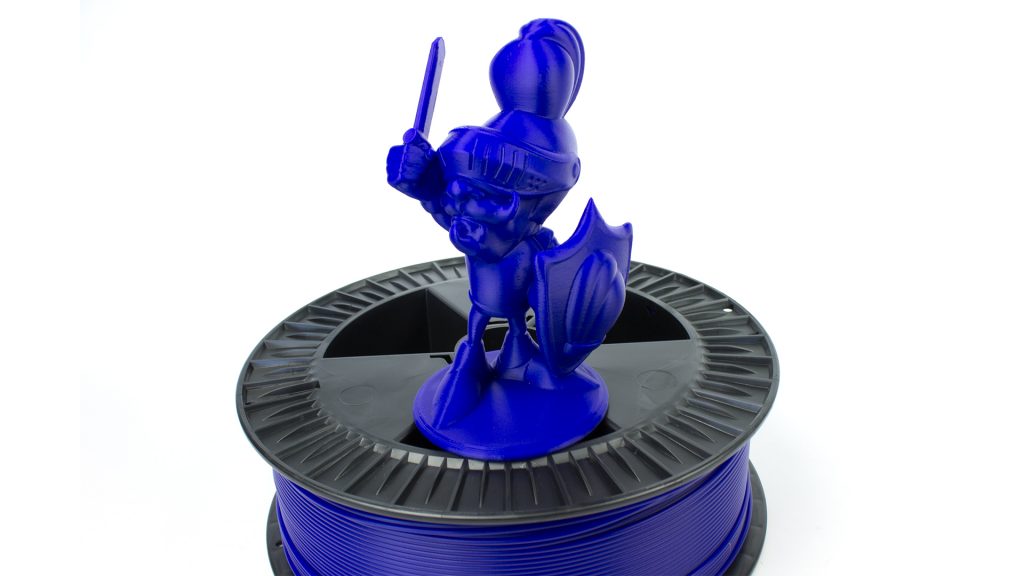
Recently added the always popular Dark Blue, which is similar to our very own Ultra Marine Blue that we offer in our portfolio of PLA/PHA filaments.

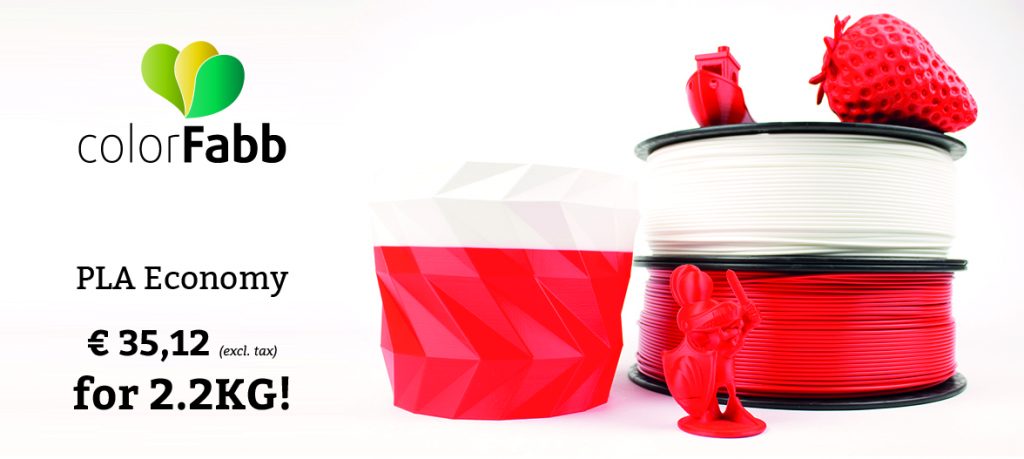
PLA Economy offers a great value for your money. One spool consists of 2.2kg of filament for a dirt cheap price of a little over € 35 (ex VAT and shipping). It is a different grade than our range of PLA/PHA, but we guarantee the same colorFabb quality. Our filaments are readily available from our webshop.

Here are some print settings to get started:

Adviced 3d printing temperature: 195C-220C

Adviced 3d print speed: 40 – 100 mm/s

Advised Heated bed (if you have one, not strictly necessary): 50-60C

Cooling fan: 100% fan cooling for best aesthetics, this gives best performance on overhangs and small details. For best mechanical performance try printing with the least amount of cooling needed, for optimal layer adhesion.

Or: You can use the standard PLA settings if your printer has these pre-defined and these should work fine.

You can also opt for the PLA Economy Value Pack: order four spools as a value pack and receive an immediate 10% discount!

Buy PLA Economy                                      Buy PLA Economy Value Pack

PLA Economy is very well suited for the maker who needs quality at an affordable price. It is a perfect filament for large volume and small series production, made with the guaranteed colorFabb quality that we are known for.

Garden sprinkler

We all know Daniel Norée as the designer and maker behind the Open R/C project (remember the big F1 car we printed last year? It was his design!). But of course, Daniel is also known for his very active YouTube channel and his great work in 3D printing in general.

Last year he used our colorFabb_XT to print a self-designed garden sprinkler:

We found this design to be an excellent example for our brand new PETG Economy filament!

Design by Daniel Norée: https://www.thingiverse.com/thing:2077154

You can follow Daniel and the projects he is working on via YouTube and Twitter

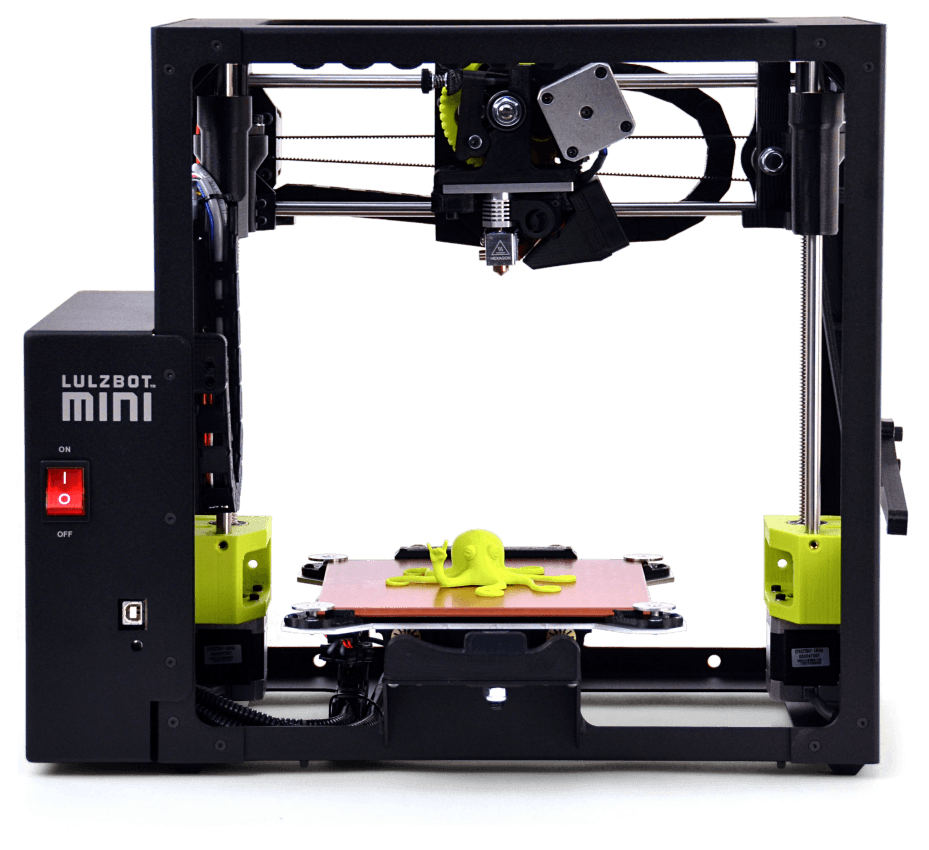
The parts were printed with PETG Economy on the Lulzbot Mini. We used 0.25mm layerheight at 235C printing temperature and manually slowed down printing to optimize the overhang quality.


We have received a lot of requests for PETG in our portfolio and have recently added PETG Economy to our portfolio. We initially started with 3 colors: Black, White and Red.

All of these are available exclusively on 2.2kg spools. You can buy PETG Economy here.

Material specifications

Material: colorFabb PETG Economy

Diameter Tolerance: ± 0.1 mm

Density: 1.28 g/cm3

Glass Transition Temperature: 70C

Full data sheets are available now: http://colorfabb.com/Materials/

colorFabb Economy: Large volume, High quality, Low price

colorFabb’s Economy line is developed for users who need a lot of filament. By adding a specifically sourced PETG to our portfolio we are adding more functionality and diversity to our range of filaments.

As with PLA Economy we have extensively tested this filament in our print lab. Both in production and print lab we have adhered to the highest colorFabb quality – this is something we simply do not compromise on.

The idea behind these filaments is to keep it at a very competitive price. Retail price of PETG Economy is € 40 excluding VAT and shipping. This works out to be a little over € 18 per kg for high quality filament.

The Lulzbot Mini is available at colorFabb. As Lulzbot’s official reseller we ship from stock. We offer free shipping in Europe and two free spools of filament!

The LulzBot Mini was built to work out of the box, with no complicated assembly process getting in the way of you creating. Operating the Mini is the same- straightforward software, easy to read documentation and an army of LulzBot enthusiasts eager to help out people getting started. This printer is not only easy. you will still find flexible, industrial strength capacity from this machine.

Read Make Magazine’s review of the Lulzbot Mini here.

The Lulzbot Mini is now available in our webshop at € 1.573 including VAT / € 1.300 excluding VAT.


Octolamp

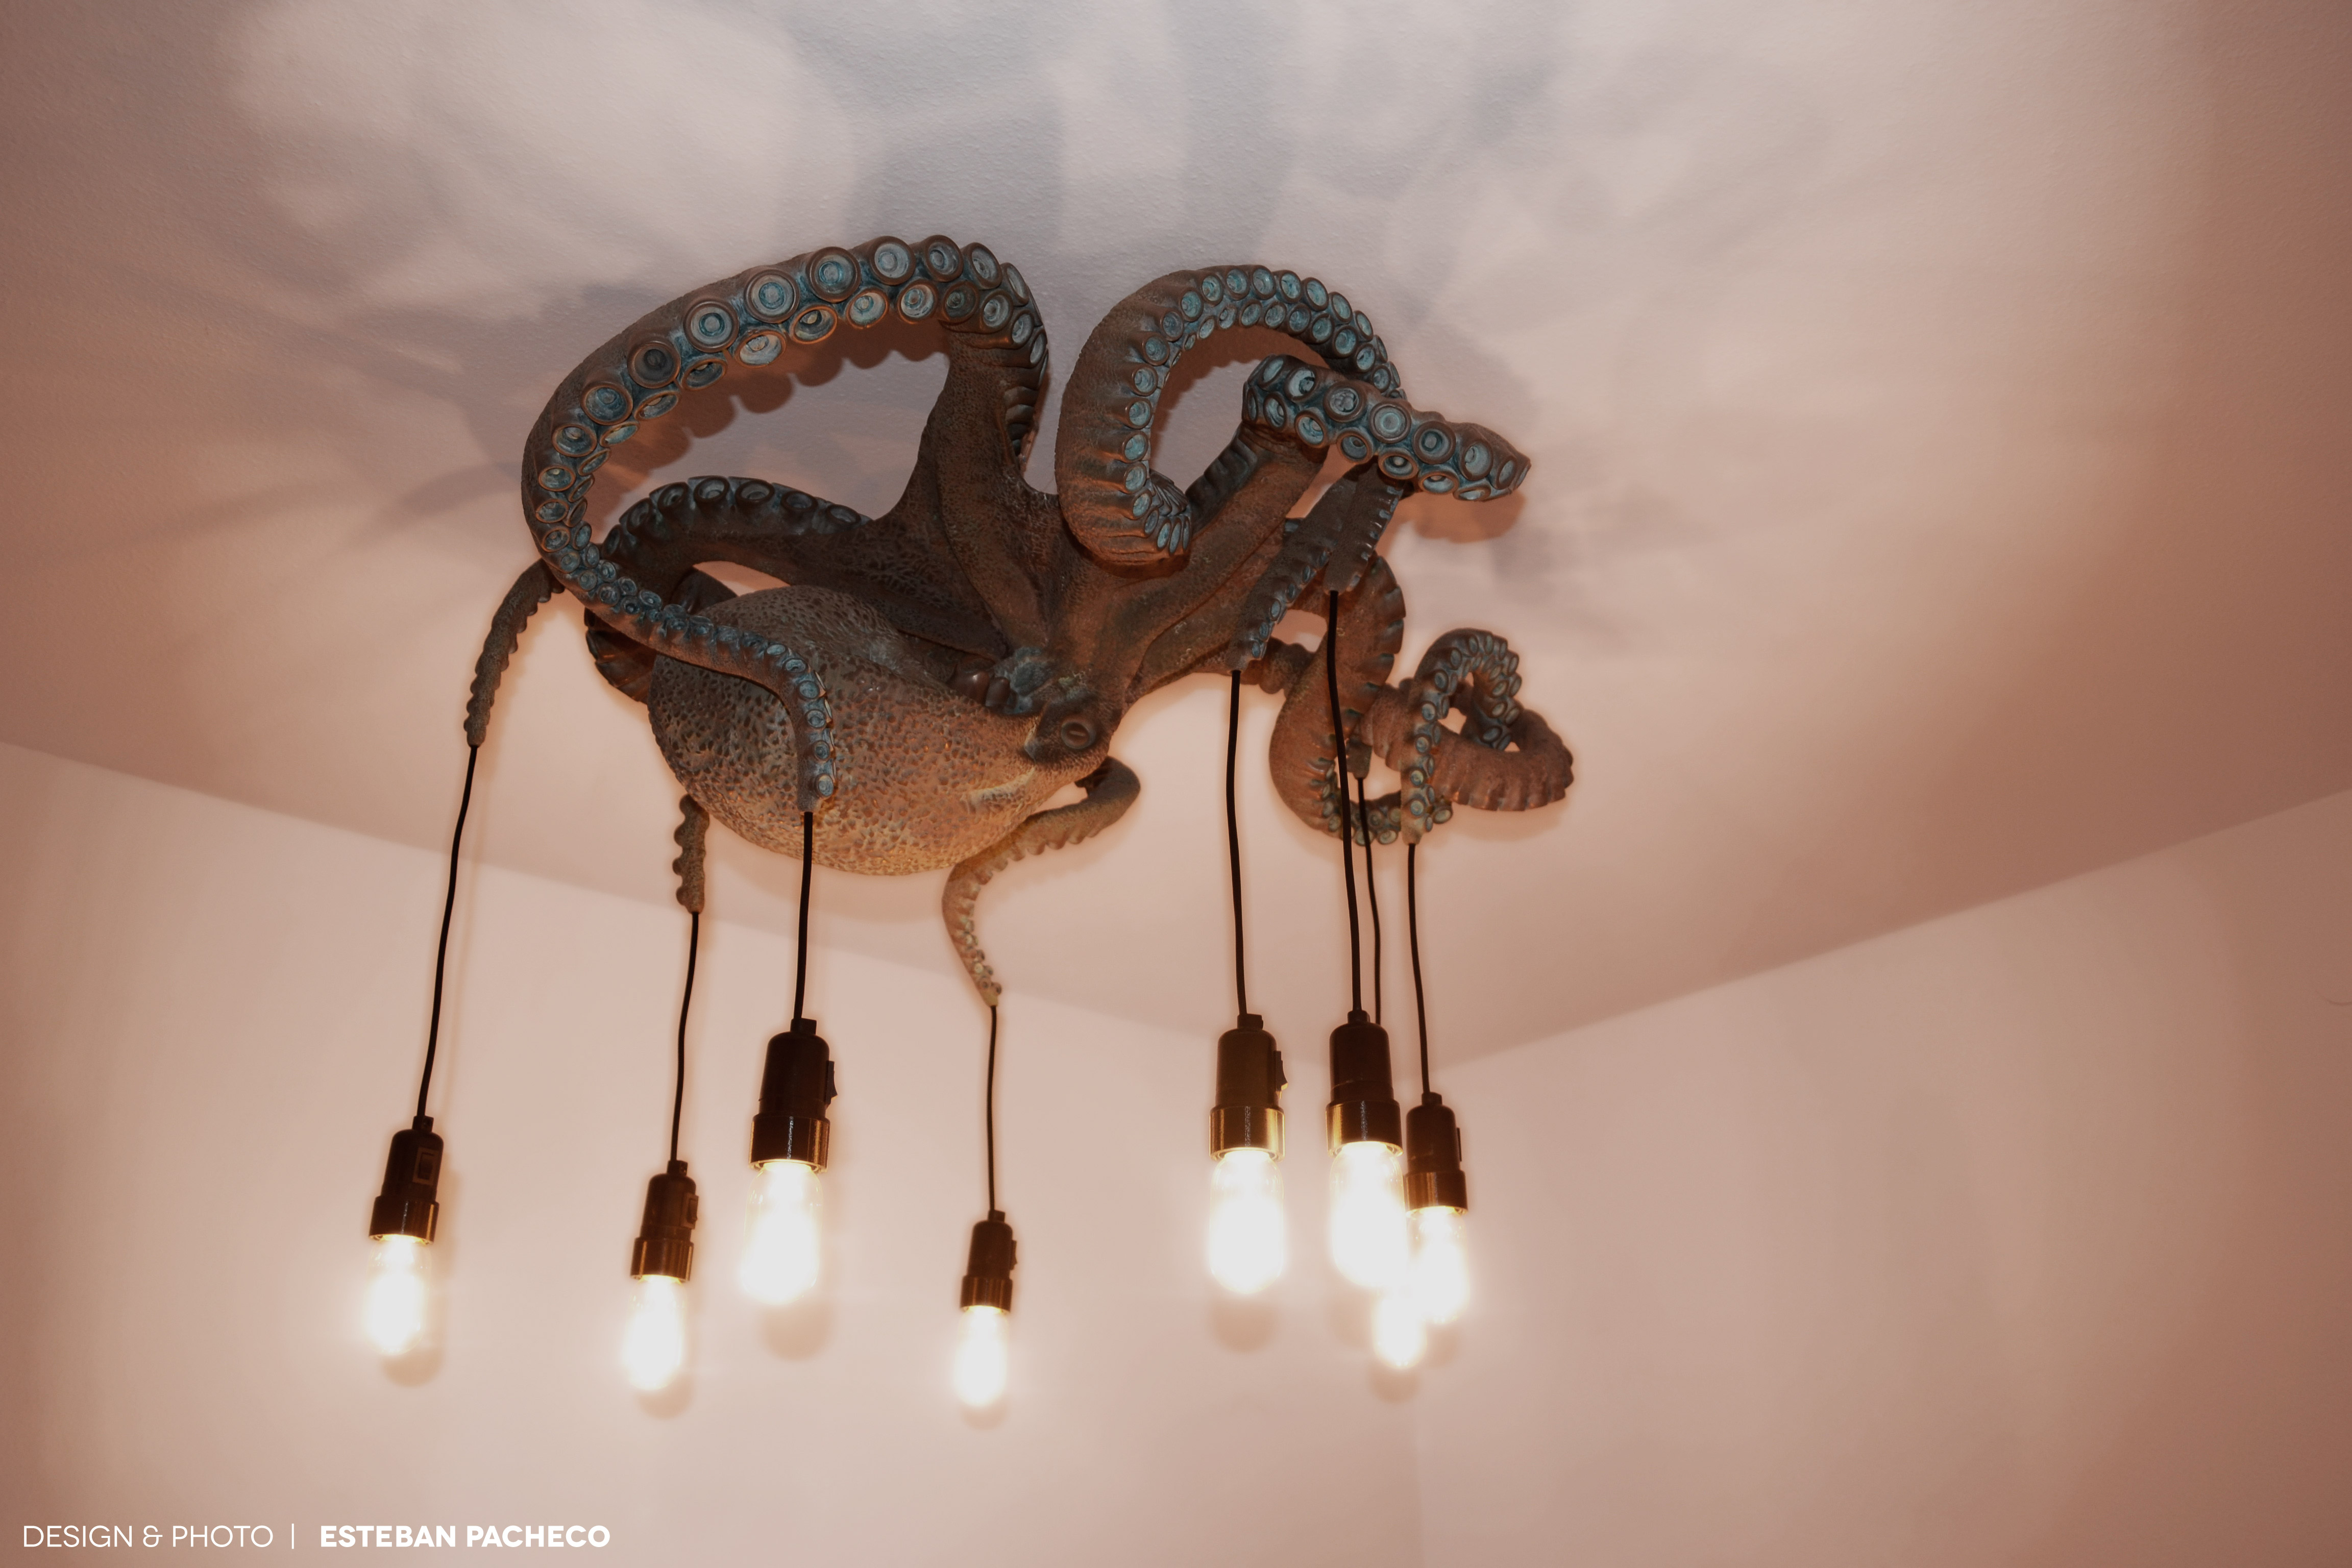
At colorFabb we know a lot of cool things are made with our filaments. We see a lot of them on social media and what our users share with us via email. We love seeing how the materials we make are being used to make useful, functional and beautiful prints. But every now and again we come across a project that is just plain awesome, like a huge, entirely printed bronzeFill octopus – now known as the Octolamp!
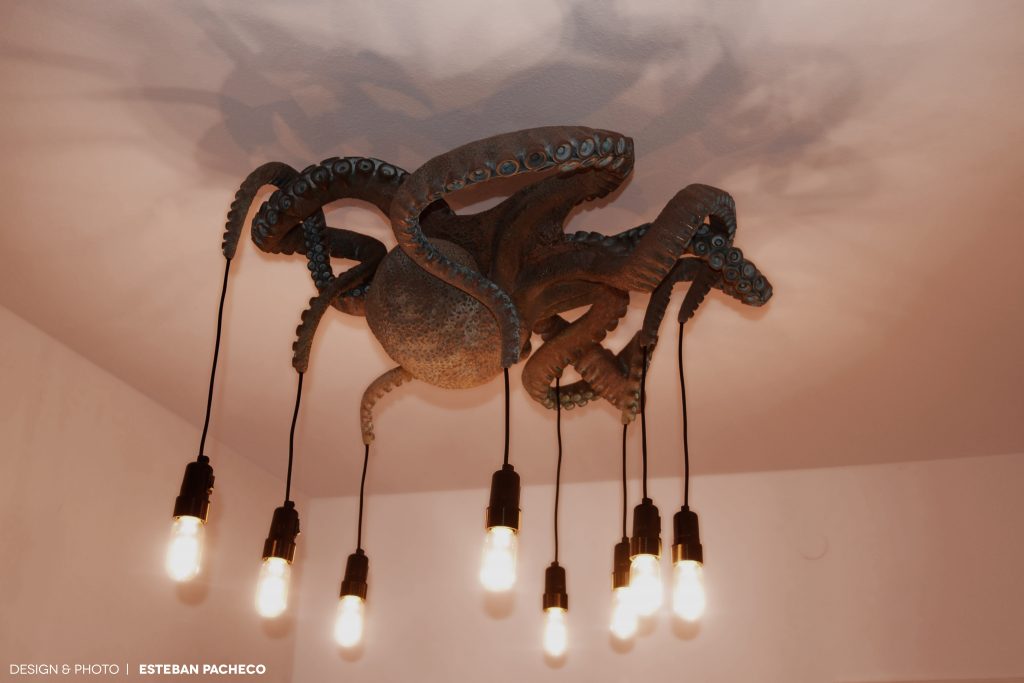
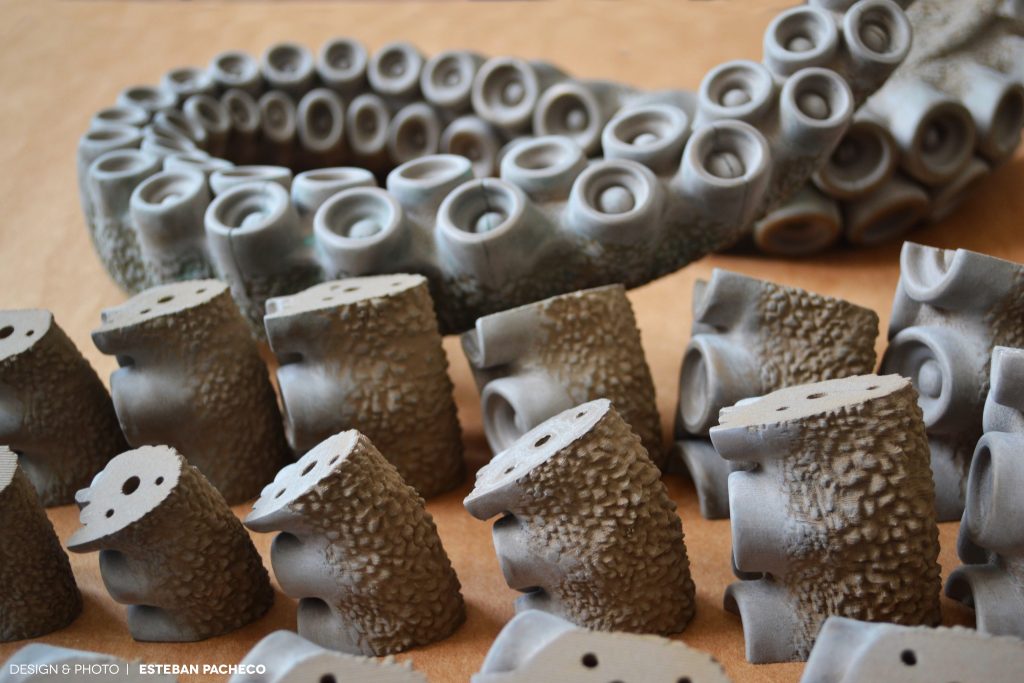
Esteban Pacheco contacted us last winter and told us about the project he was working on. In his initial email he wrote: “It’s a huge figure of an octopus (around 1m x 1m x 0.4 m) that I’m producing to work as a Roof lamp – the head is pointing down, so it looks like the octopus is attached to the ceiling by the tentacles. There’s a total of 156 pieces. I’m finishig to print all the pieces, and im polishing them.”

By the description alone we knew it was a huge project and undertaking. Last week we received the pictures made by Esteban and we were blown away. We asked Esteban to tell us more about himself and the Octolamp project:

“My name is Esteban Pacheco born in Panamá. I am an Architect working and living in Germany since 2008. I got my Master’s Degree in Architecture in Germany. I’m fascinated about digital technologies and fabrication processes in Architecture, 3D parametric form finding methods, and non-conventional geometries.”

About his motivation he says:  “The reason for this project was to test my modelling and printing skills. Since a new ceiling lamp for my studio was needed and I personally consider the class “cephalopoda“ really astonishing due to its characteristics, I decided to mix both ideas to create something called  “Octolamp”.”
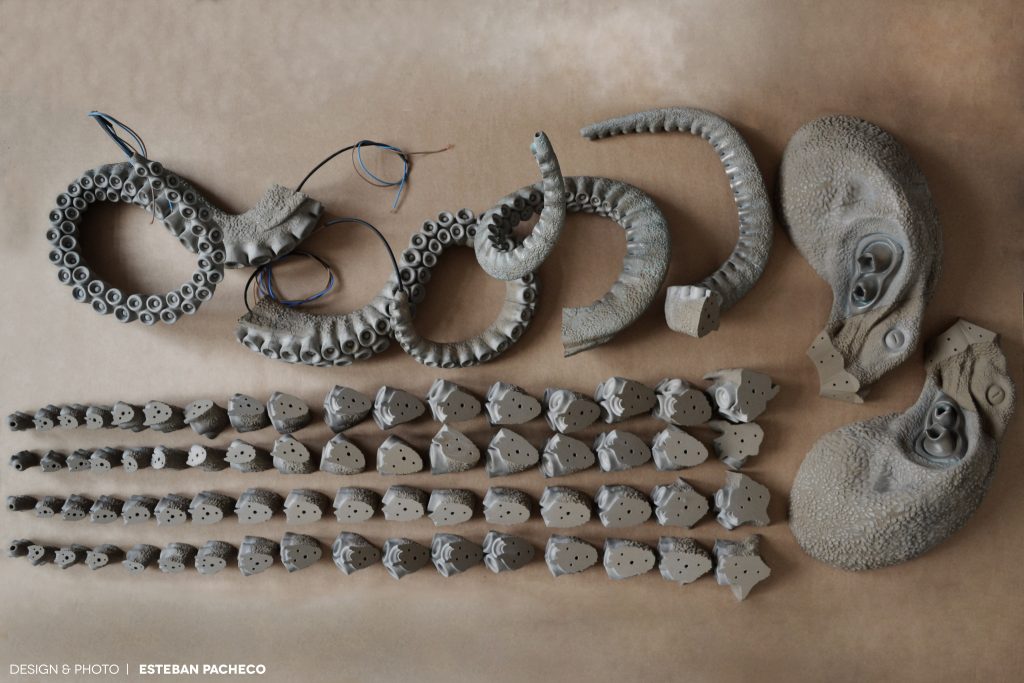
The Octolamp 3D model took around 13 months to complete. Because of its geometric complexity, the 4 million polygons and around 4 GB File was sliced in 156 unique parts to make it printable. Each one of the parts was checked to find errors like: invalid mesh faces, non-manifold mesh faces and naked edges among others. This task took one month to complete.

Of course he needed a reliable printer and through his 3D Hub he already had extensive experience with the Ultimaker 2+. Esteban explains:  “An Ultimaker 2+ was used due to its reliability and nozzle diameter flexibility. This allowed me to print with several different layer heights and outline thickness, depending in the grade of detail needed.”
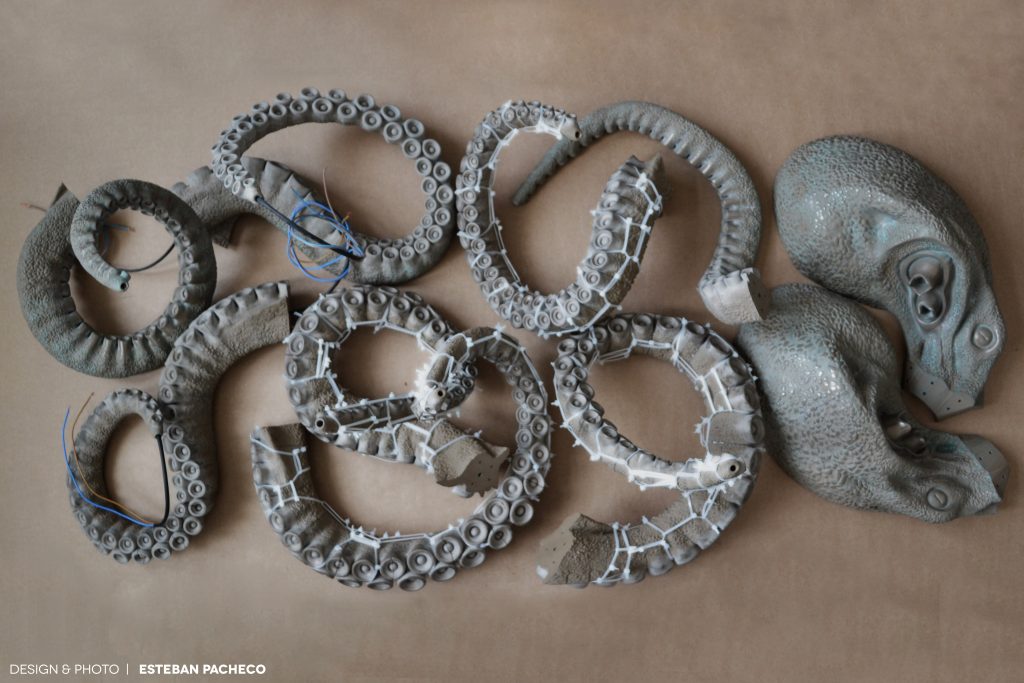
The software used for generate the toolpaths was Cura 2.4, but for a few specific parts Simplify 3d was used. Esteban used the following printing parameters:

Print speed: 40 mm/s

Temperature: 230 C°

Material Flow: 108%

Support: 25 % [Grid pattern]

Infill: 30 % for arms / 20 % for head

Retraction length: 4.5 mm

Retraction speed: 45 mm/s
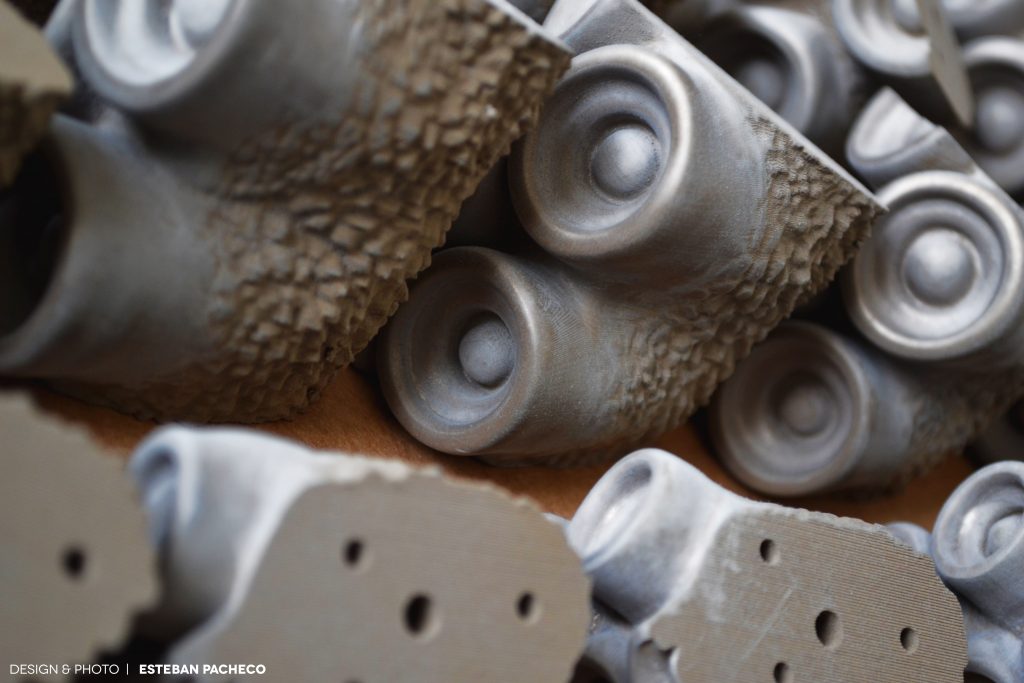
Esteban is a fan of colorFabb filaments and bronzeFill in particular, especially since this special filament fits this project perfectly.

“ColorFabb’s bronzeFill was selected because it can be post – processed to achieve a noble finish, in contrast with normal PLA. This material can be polish to a high glossy level and also is able to oxidize to acquire an antique – eerie greenish – looking overlay. This feature fits totally with the concept of an octopus. It just adds “Character” to the end result, like a piece recovered from an old sunken ship. For this specific project a total of 18 spools of material were needed, in other words, around 27 Kg of filament. That amount includes support material and print failures. And the end the lamp total weight is 23 kg.”

bronzeFill was our first truly special filament, launched 3 years ago and still one of our most popular filaments. The added weight and unique aesthetic properties have made this an extremely popular material. Seeing a project like the Octolamp materialize with this filament is fantastic!

If you want to have more information on how to print with bronzeFill, visit our handy tutorial: How to print with bronzeFill
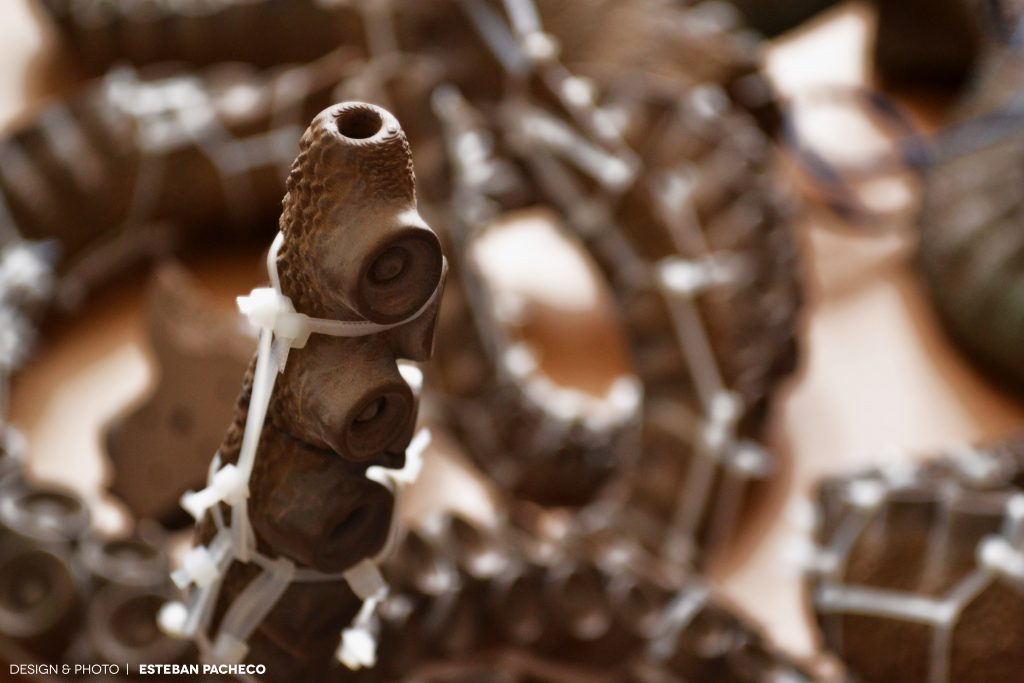
Of course the trick with our metal filled filaments is the post-processing, which was a huge undertaking on its own. It took 4 months and included 3 different stages:

  1. Sanding stage: using 240, 400 and 1000 grit metal sandpaper.
  2. Polishing stage: several polishing creams were tested.
  3. Oxidation stage: for this a mixture of Vinegar and Salt applied directly to the model using a tiny brush was used to accelerate the oxidation process, in some areas.

The results are downright stunning and please keep in mind post-processing was done on all 156 pieces that were printed!! This is a dedication to the project that is rarely seen at this scale.

If you are looking for more tips and advice regarding post-processing bronzeFill and our other metal filled filaments, we have a nice collection of articles collected on our site.
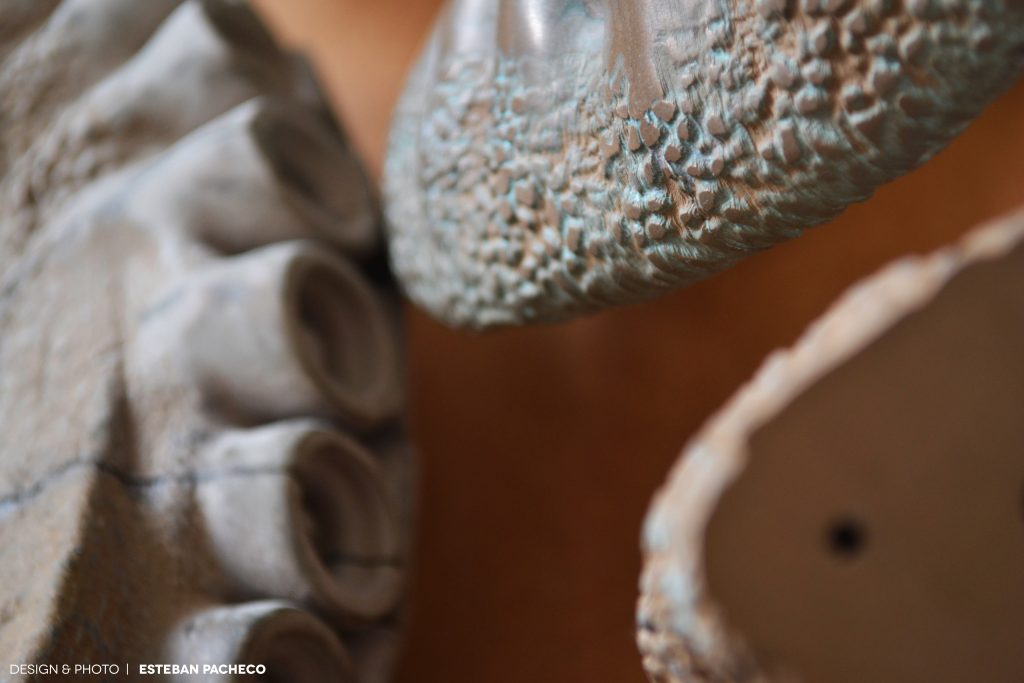
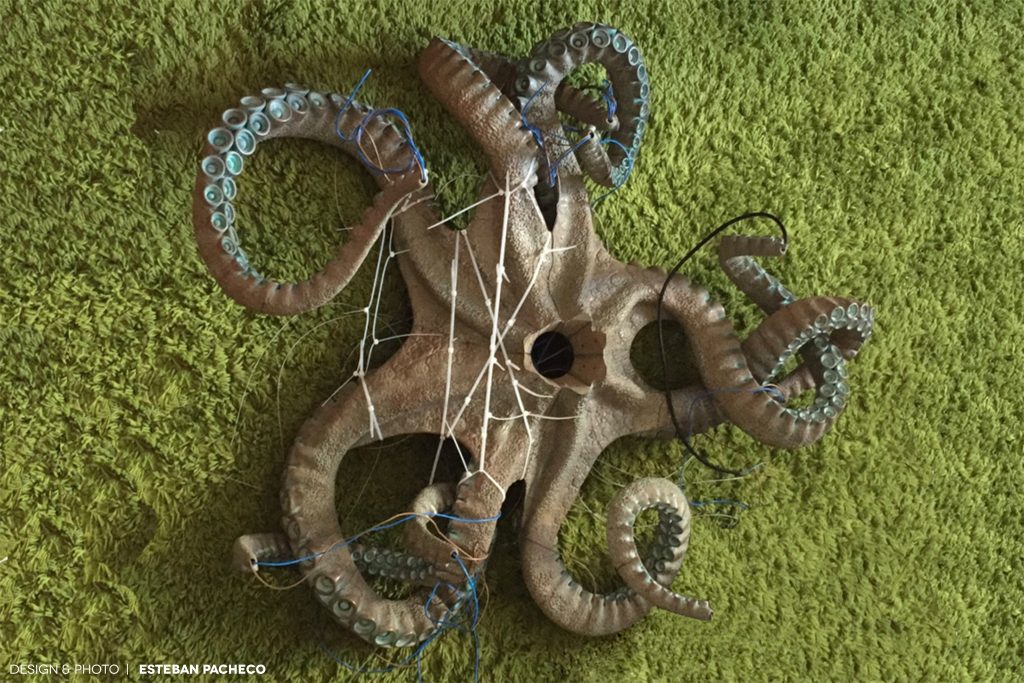
For the assembly, no screws were needed for the Octolamp itself. All pieces were glued together using very strong epoxy adhesives.
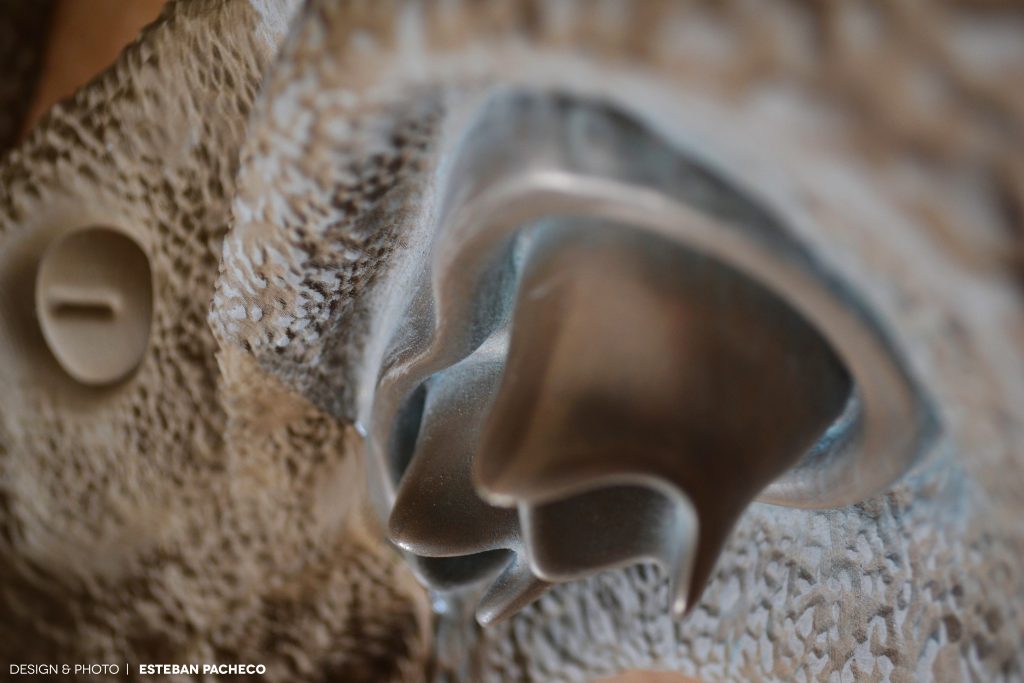
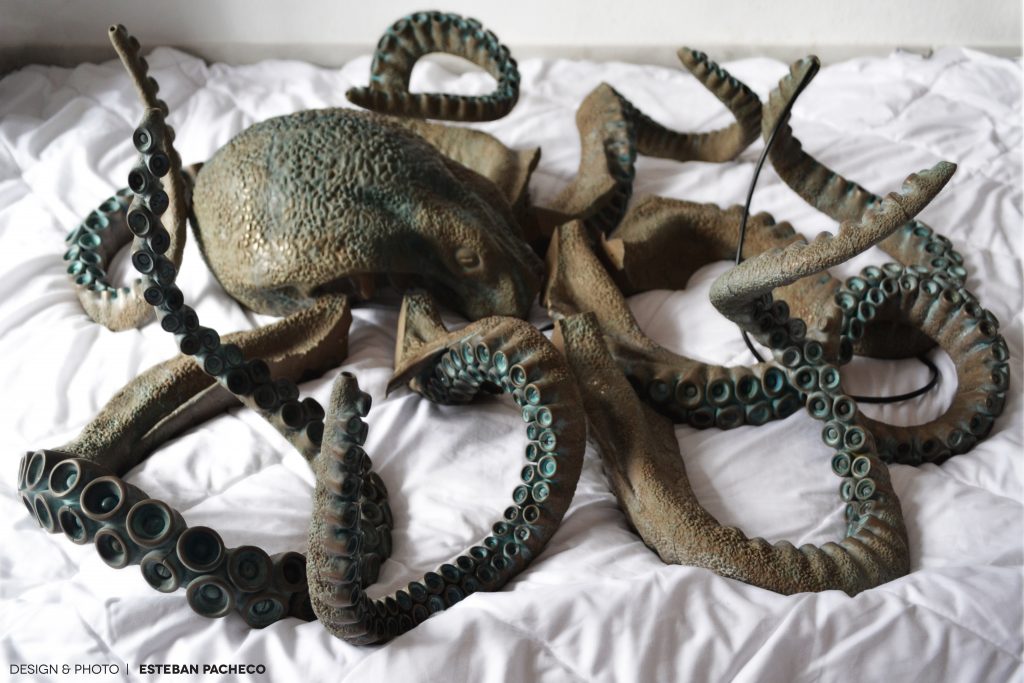
We thank Esteban for sharing this project with us. Again, we were extremely surprised to see bronzeFill being used for such a big and long term project. As said, Esteban has his own 3D Hub. He started in January of this year and he has only received five star reviews. The work and dedication he put into the Octolamp makes this easy to understand. Of course, not all projects take 18 months to complete, but Esteban knows what he’s doing and aims for the best quality in his prints. We cannot wait to see more work from him!

Alternatively, you can also follow him on Facebook.
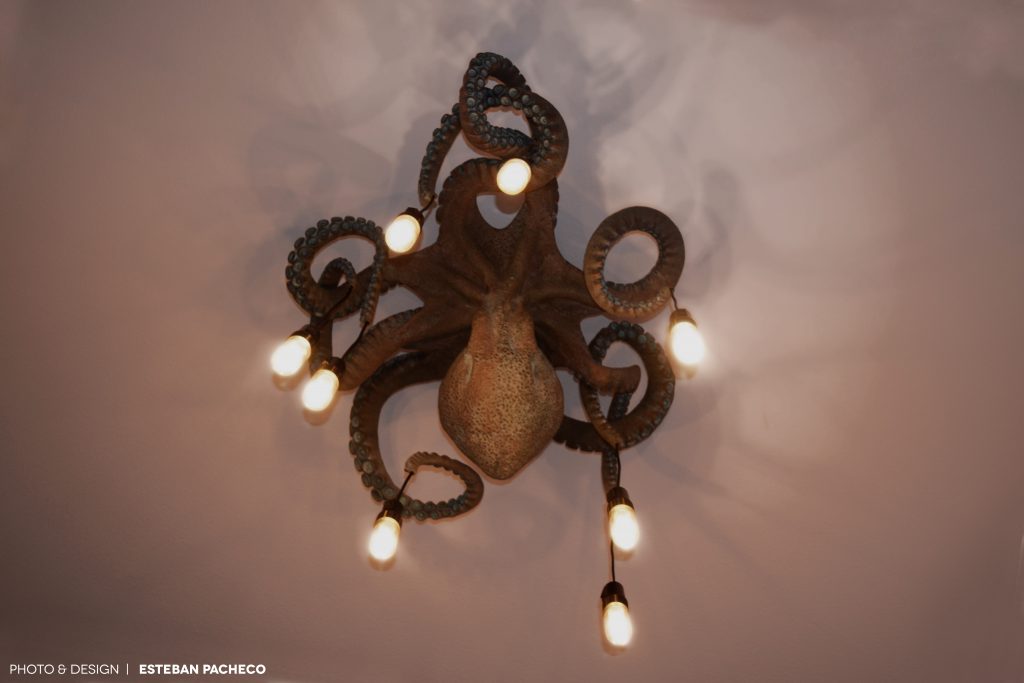
Interested in bronzeFill? It is readily available in our webshop as 750 grams and 1500 grams spools. We also have samples available.

If you have an awesome project to share, made with our materials, do no hesitate to contact us at sales@colorfabb.com
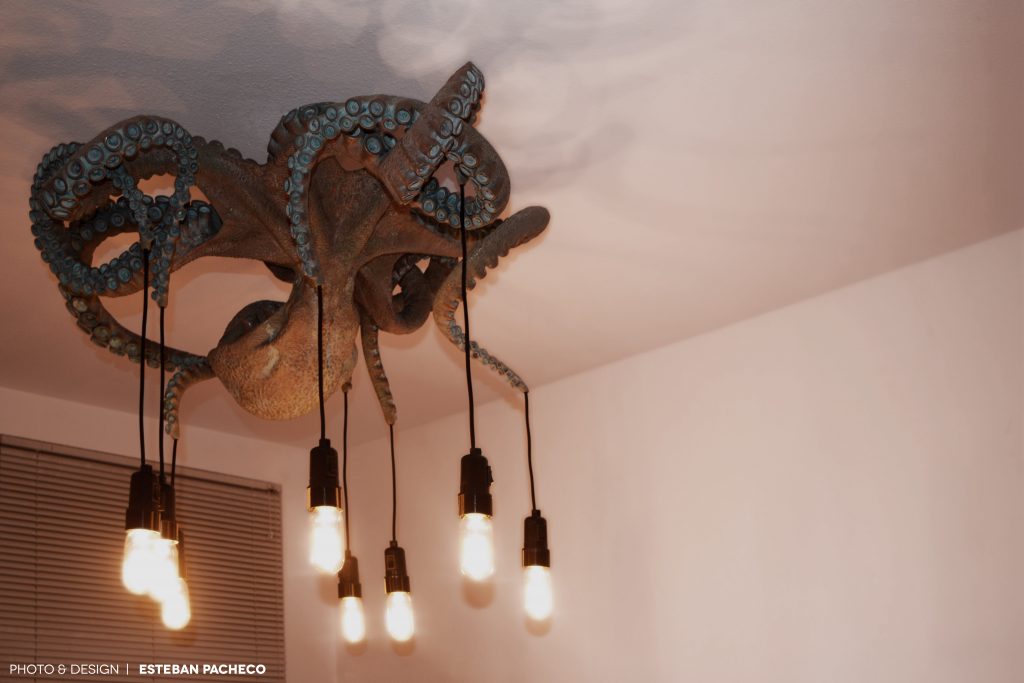
Design of the Octolamp by Esteban Pacheco (email)

All images made by Esteban Pacheco and used with permission
Bracket

Summer’s here & we are all spending more and more time outside. Considering the erratic behaviour of Dutch weather, a lot of people here have party tents to keep a bit safe from wind, the odd rain shower or just to protect their precious barbecue.

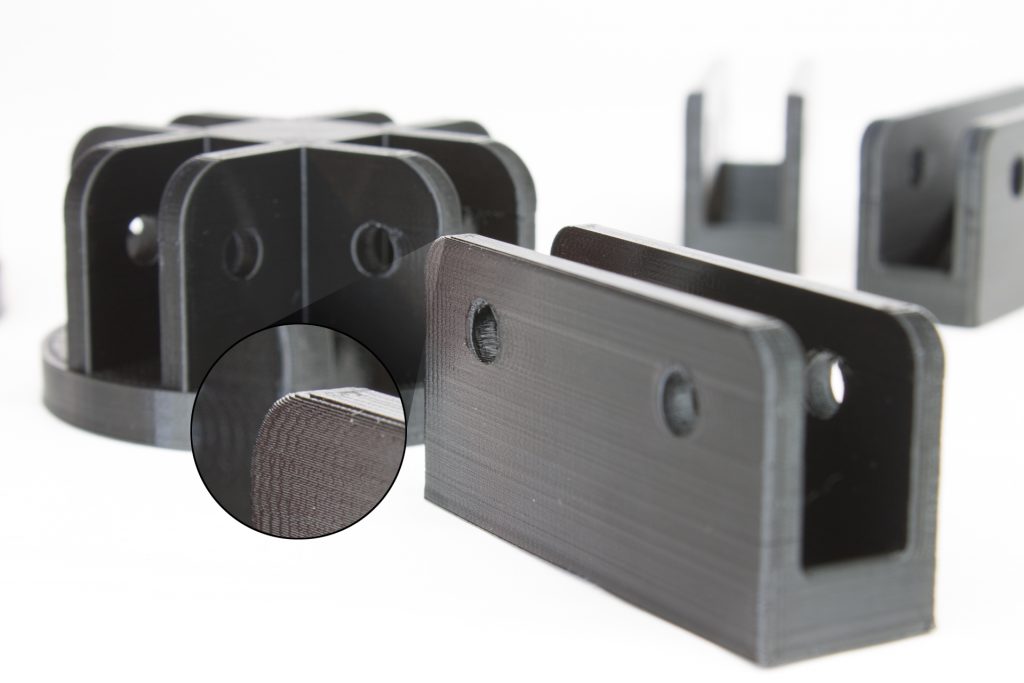
The brackets that connect the frame and cloth often break due to poor quality, storage or just by dropping them. With 3D printing it is easy to fix this. We printed these replacement brackets for our customer Paul Noij, who also designed these.

We printed these parts on the Stacker S4 with our brand new PETG Economy Black. By using 2 of the 4 heads at the same time at 0,12mm layerheight, this set was now finished overnight instead of taking a full day extra.

3D printing once again proofs to be extremely useful to replace every day parts.

We launched PETG Economy last week. After the release of PLA Economy in November 2016 we have expanded our Economy range with PETG now. PETG is a functional material widely used in 3D printing. By adding PETG Economy to our portfolio we give our users a brand new grade with the trusted colorFabb quality.

As with PLA Economy we have extensively tested this filament in our print lab. Both in production and print lab we have adhered to the highest colorFabb quality – this is something we simply do not compromise on.

colorFabb’s Economy line is developed for users who need a lot of filament. The idea behind these filaments is to keep it at a very competitive price. Retail price of PETG Economy is € 40 excluding VAT and shipping. This works out to be a little over € 18 per kg for high quality filament.

PETG Economy is available in our webshop.

About the Stacker

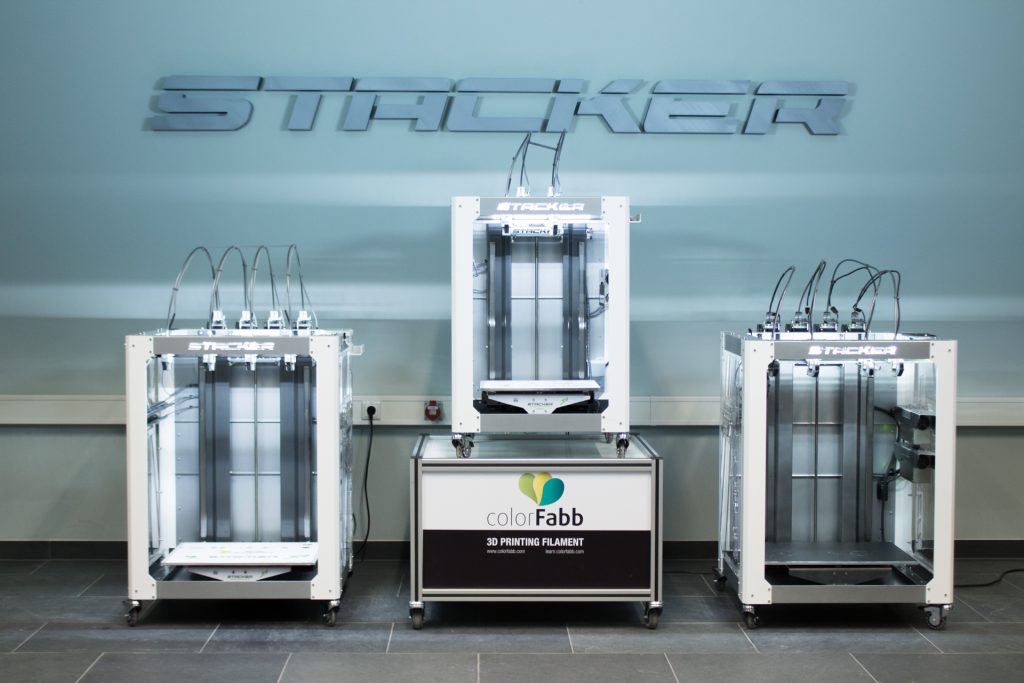
Tough, reliable and industrial grade: Stacker printers are produced in the US and are known for their reliability and high performance.  We are the distributor of this US made machine in Europe and have printed many hours on it. One of the big advantages of the Stacker printer is its versatility: You can print 4 prints at the same time or print one big print. Stacker is affordable. Stacker fits into any workplace. Stacker is highly mobile. You go from prototype to production in no time.

You can find more information on our landing page or request a quote at sales@colorfabb.com

Two Stacker S4 printers on the side and the latest S2 in the middle. And with, yes, a 3D printed logo

Fidget spinner assembly tool

The craze has not died yet and we still see fidget spinners everywhere. We recently made one with woodFill and copperFill. You can read the original post here.

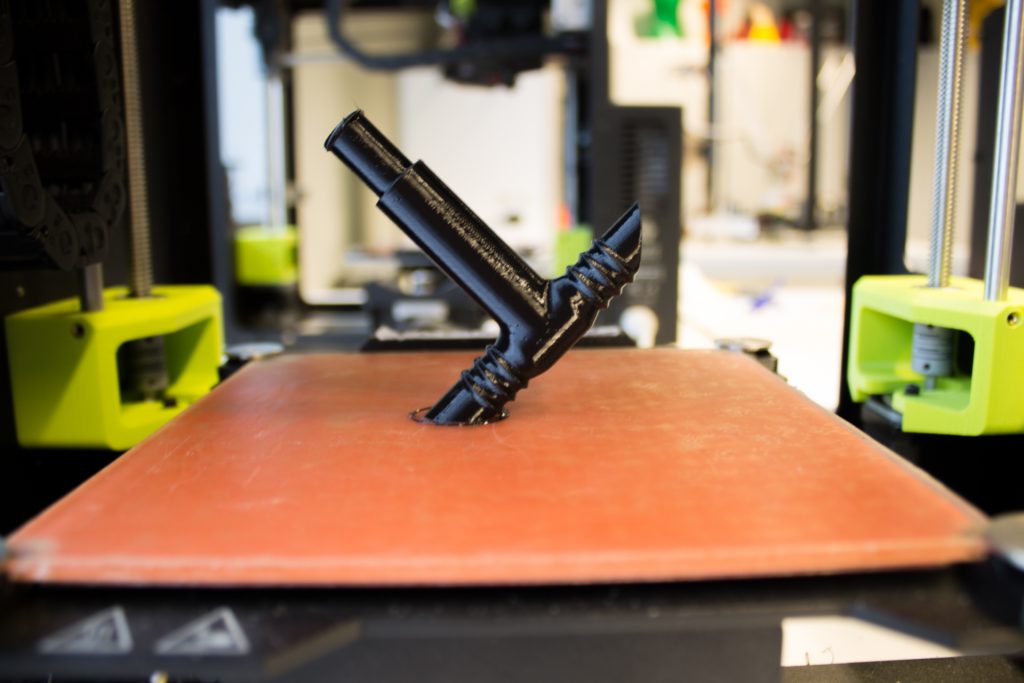
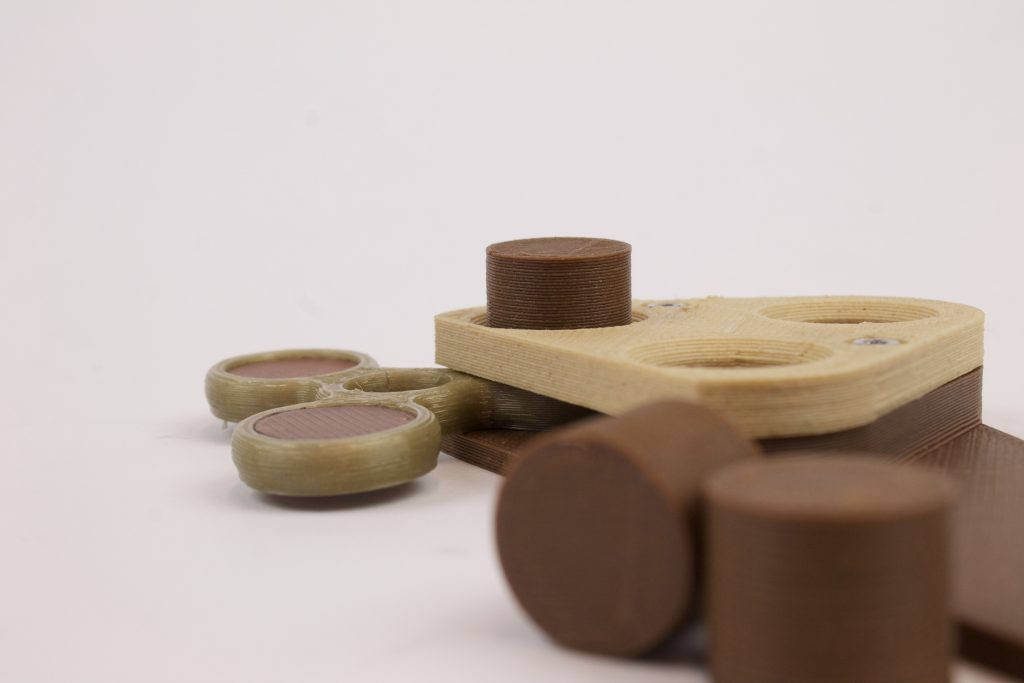
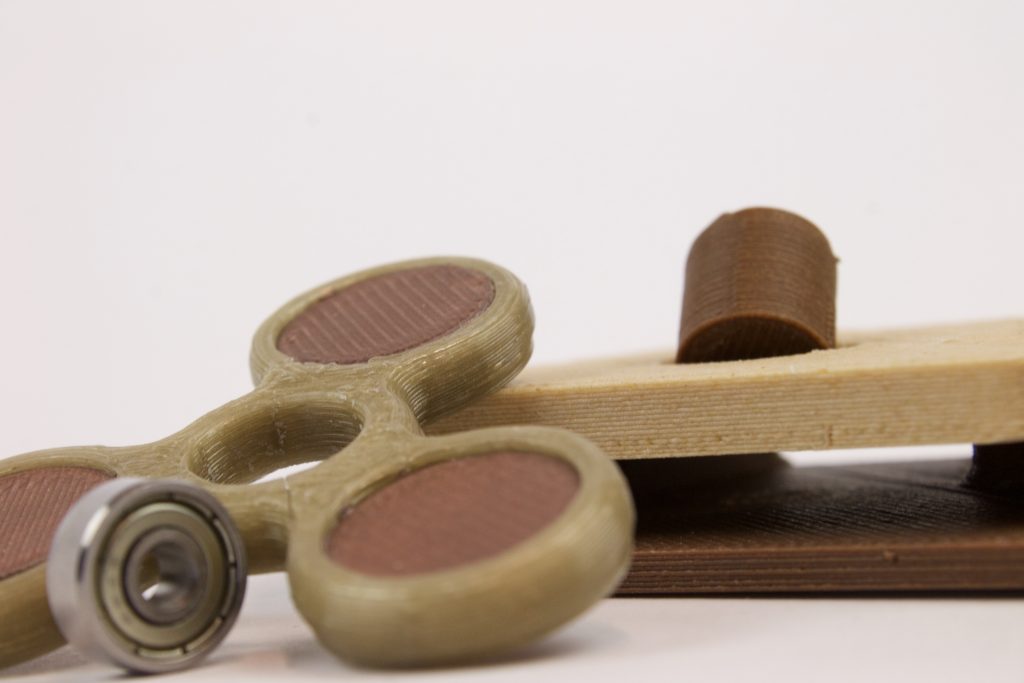
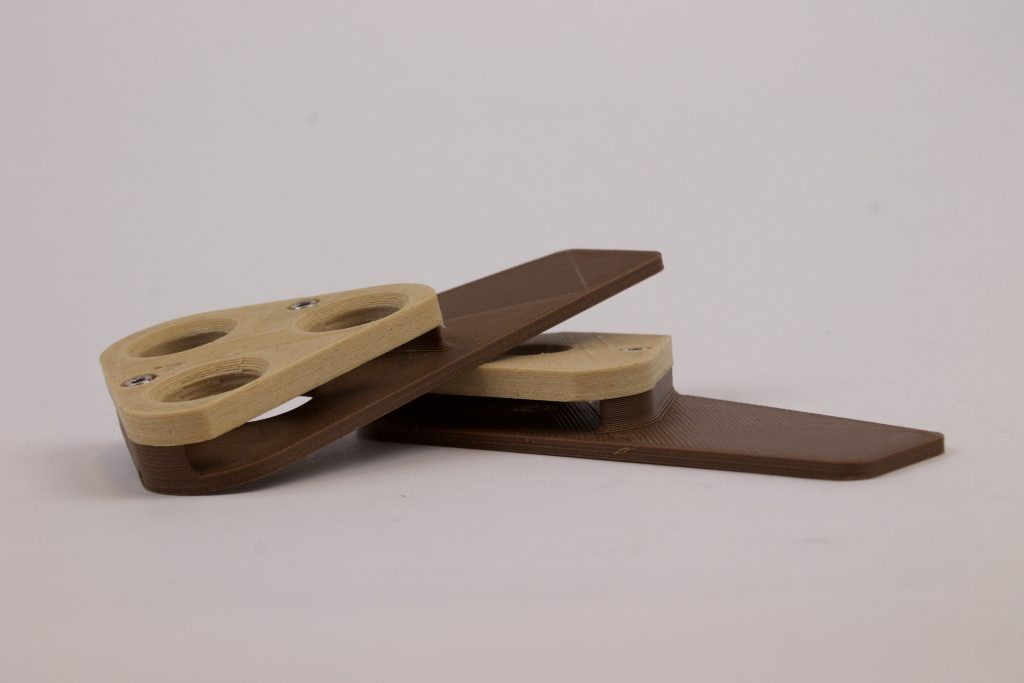
Two weeks ago we held an open house for family and friends who were curious about our new building. We did not want to let them go home empty handed and decided to print a whole bunch of fidget spinners. The idea was to print the body of the spinners with PLA/PHA and nGen and create added weight by printing with copperFill. The copperFill parts needed to be firmly placed in the body and with over a hundred fidget spinners to be made, we decided to make a small assembly tool:

Design by colorFabb

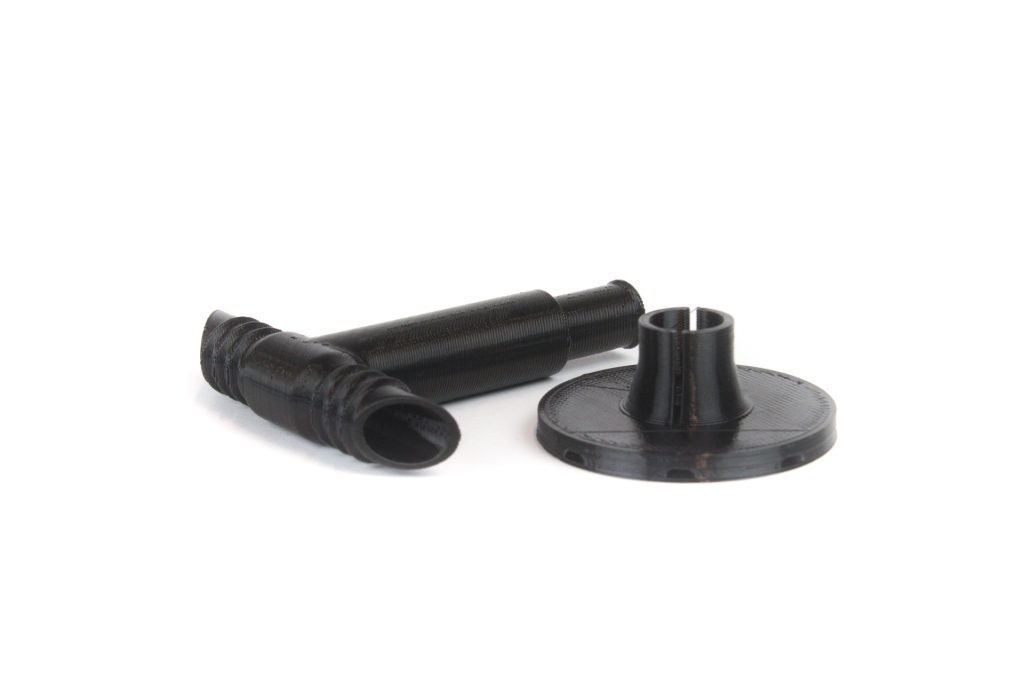
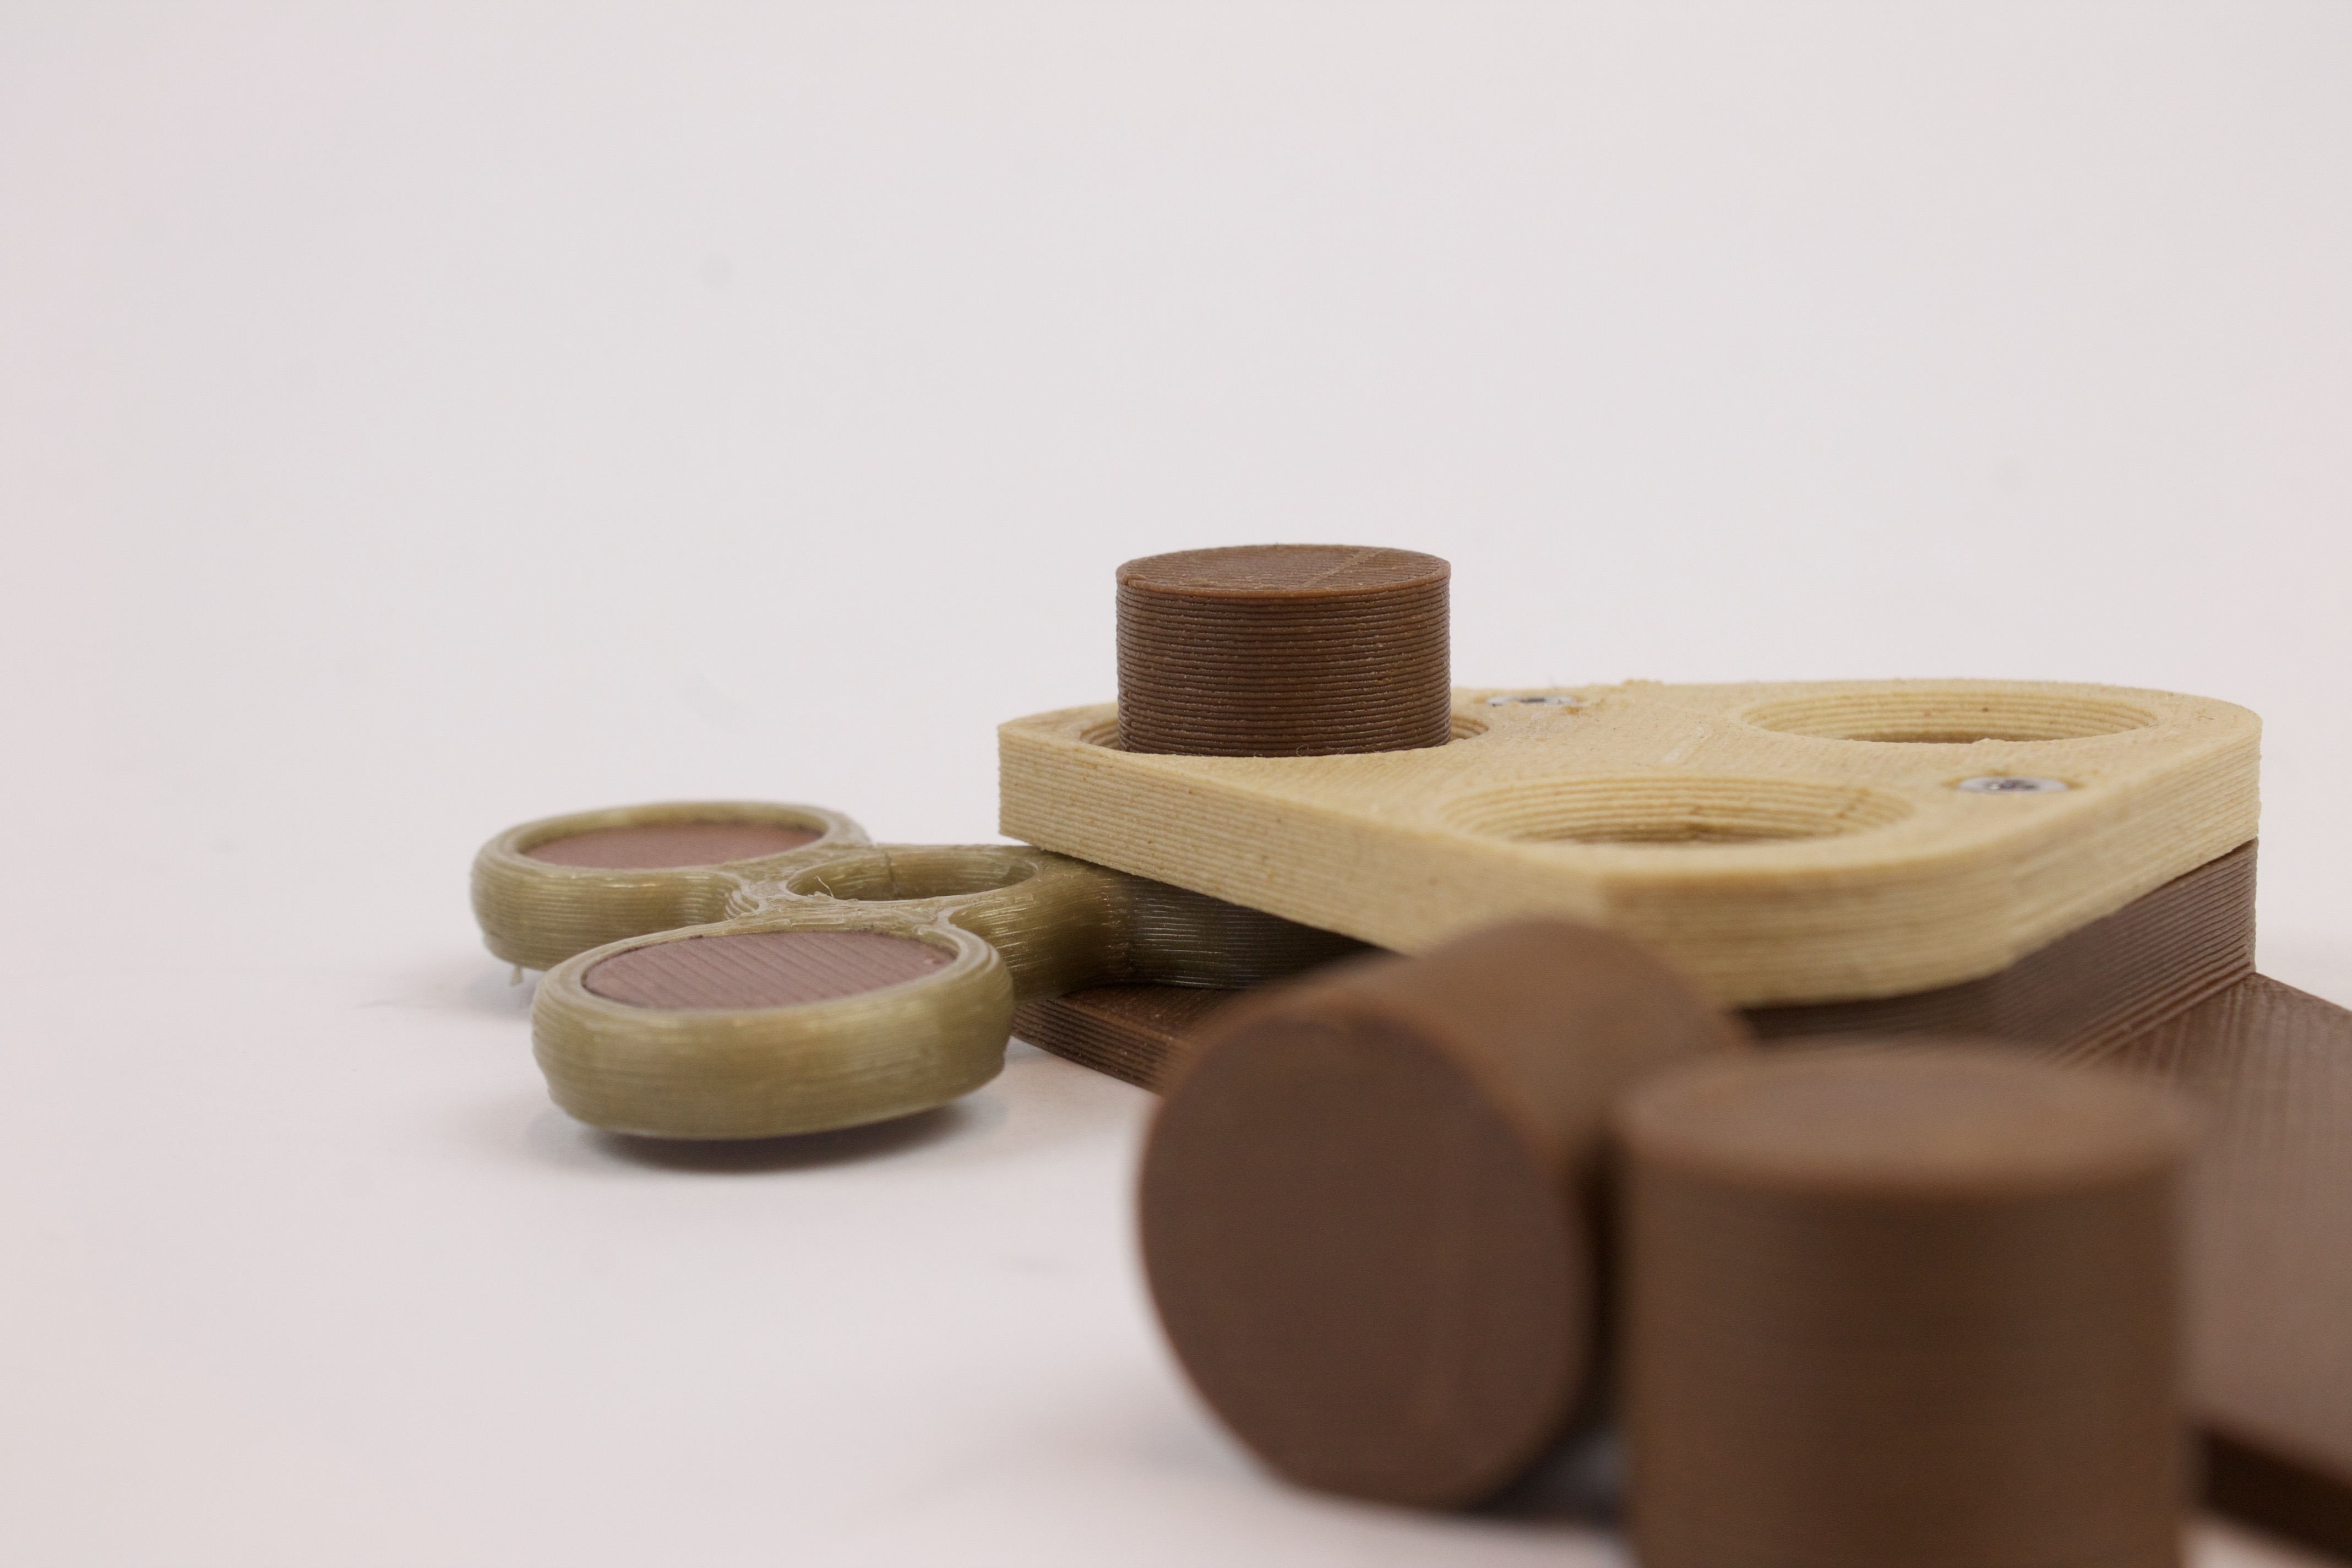
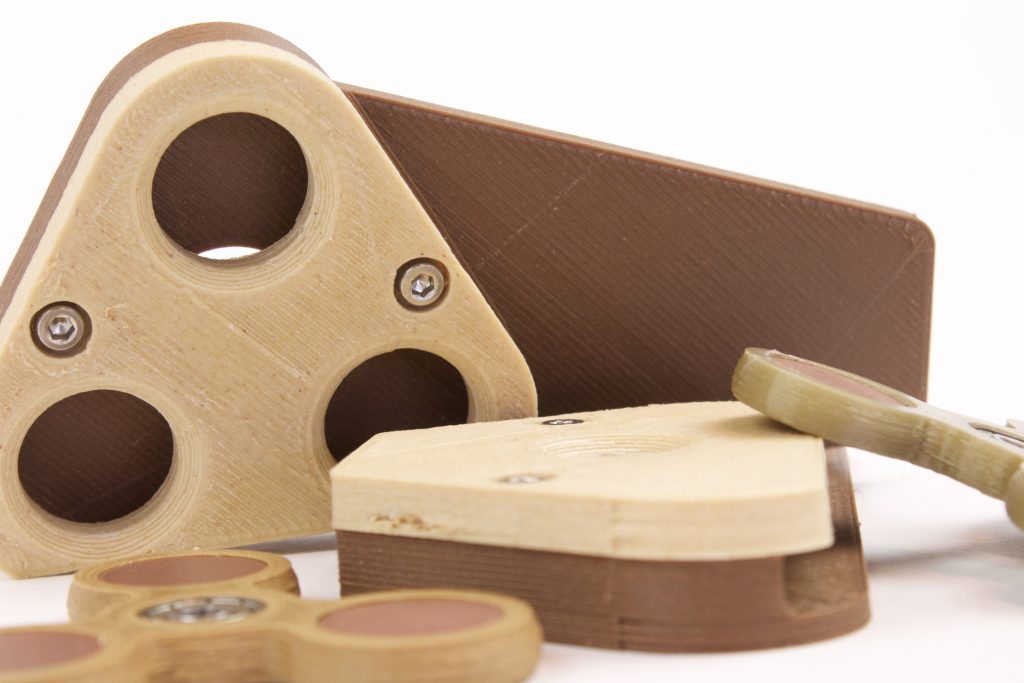
The tool is printed on the Lulzbot Mini with corkFill and woodFill. We used a 0.38mm layer height to give it a nice coarse look.

The assembly tool is made up of a top and bottom halve, held together by two M3 screws screwing directly into the print.

A spinner can be slid in from the side and the copperFill weights (or bearings) can be positioned from above. They can then be tapped in to place with a hammer using corkFill cylinders as a driver.

woodFill was launched in November 2013 during the London 3D Print Show and was our first special filament. Other natural filled special filaments have followed, like bambooFill (which we recently discontinued) and more recently corkFill. Our woodFill has been a hit from day one due to easy processing and its fantastic looks. Added bonus is that your print room smells like a wood shop when printing with woodFill.


The Lulzbot Mini is available at colorFabb. As Lulzbot’s official reseller we ship from stock. We offer free shipping in Europe and two free spools of filament!

The LulzBot Mini was built to work out of the box, with no complicated assembly process getting in the way of you creating. Operating the Mini is the same- straightforward software, easy to read documentation and an army of LulzBot enthusiasts eager to help out people getting started. This printer is not only easy. you will still find flexible, industrial strength capacity from this machine.

Read Make Magazine’s review of the Lulzbot Mini here.

The Lulzbot Mini is now available in our webshop at € 1.573 including VAT / € 1.300 excluding VAT.

Tyre

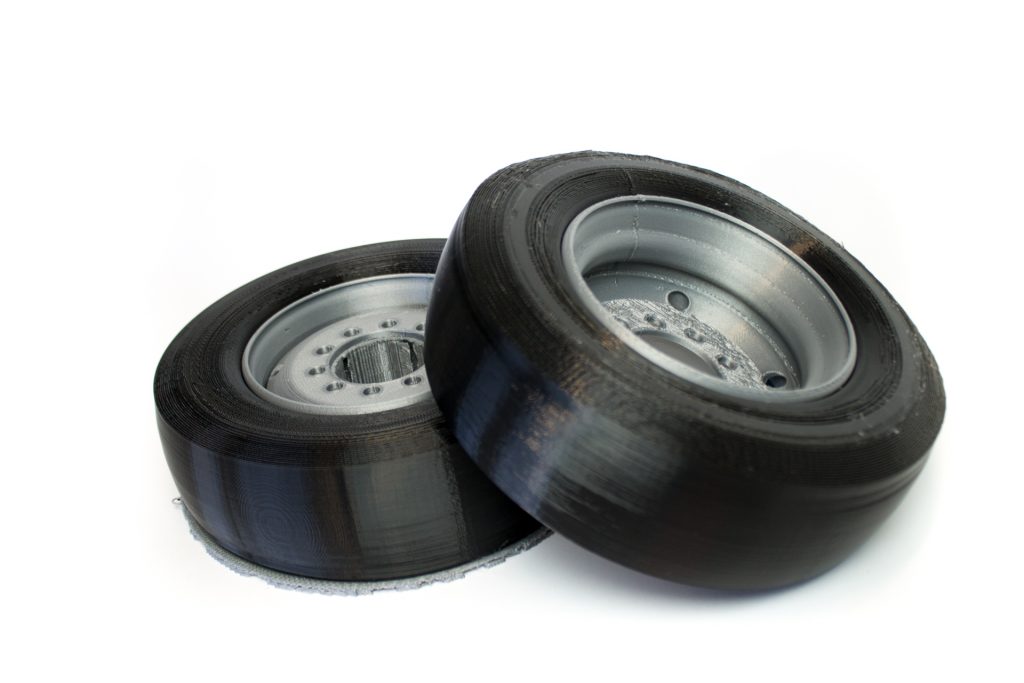
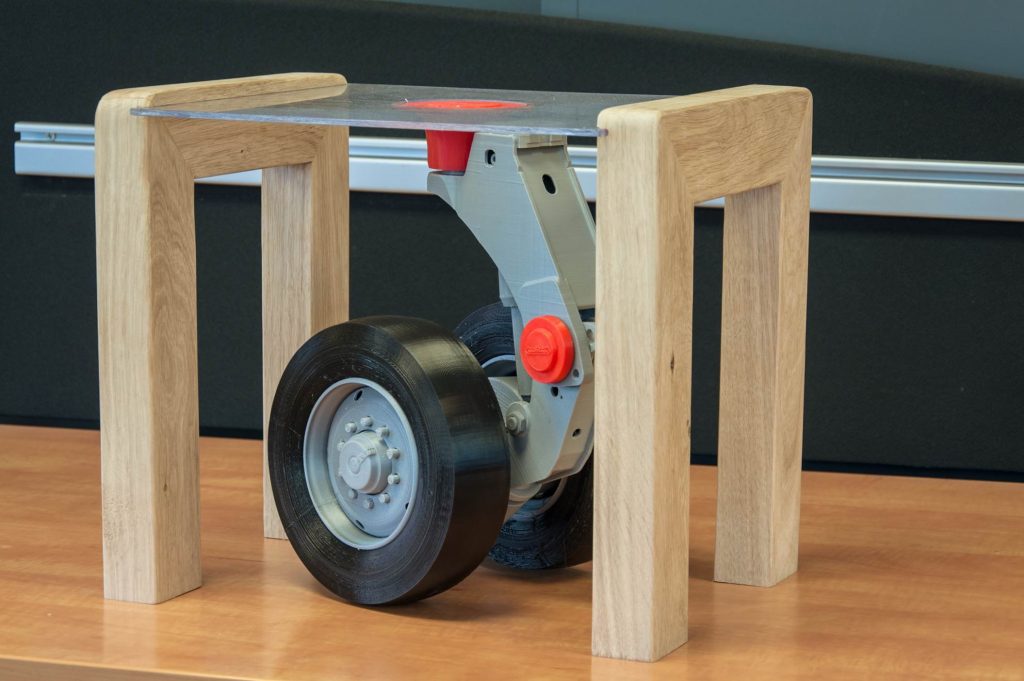
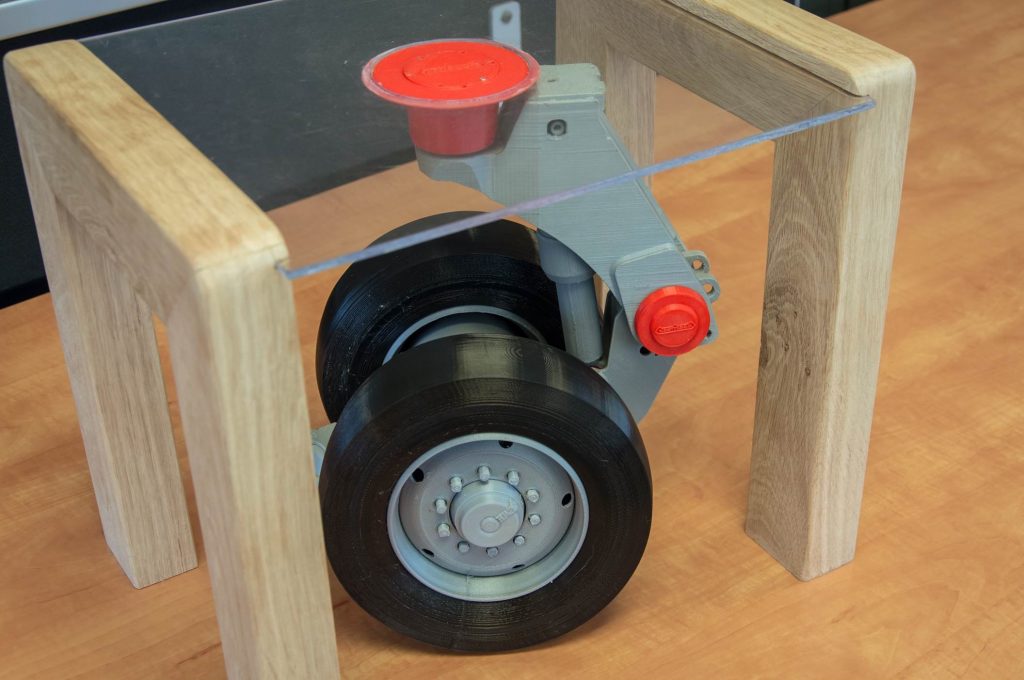
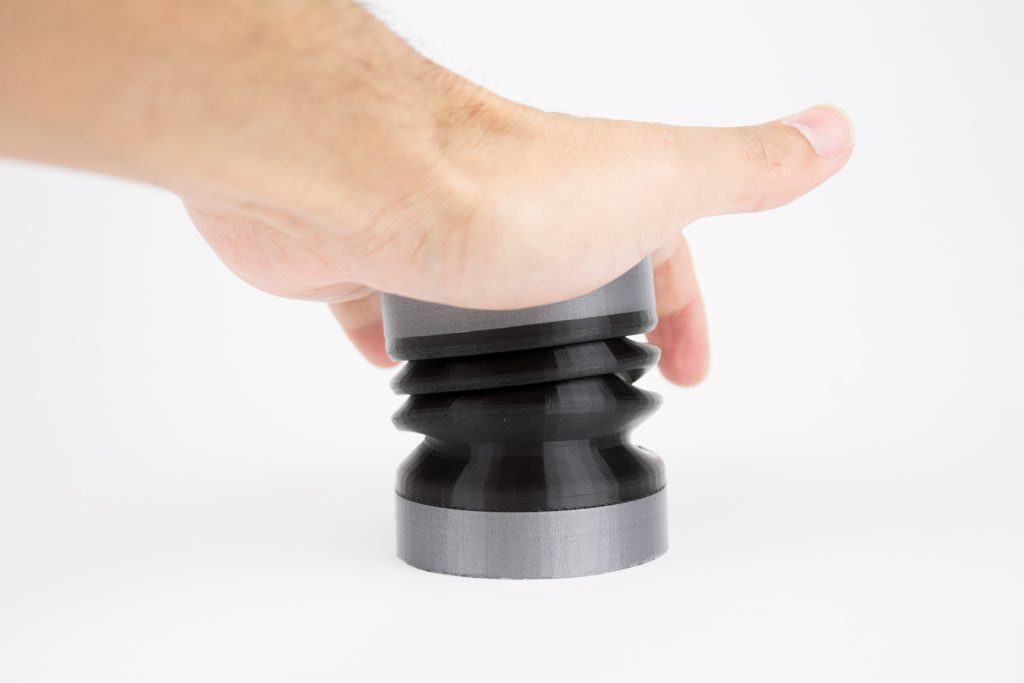
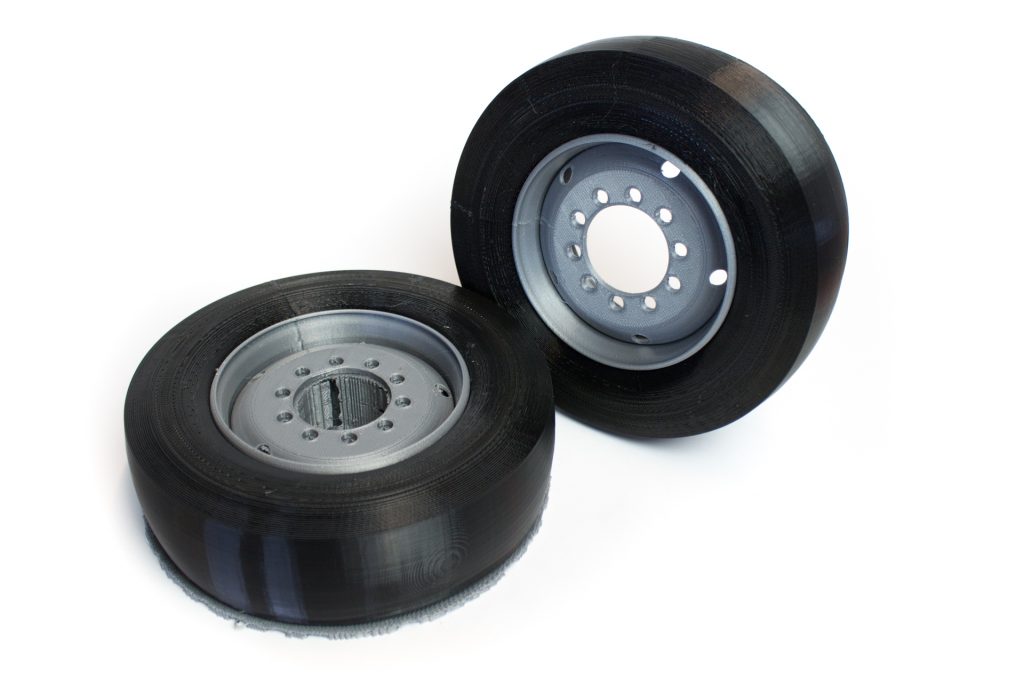
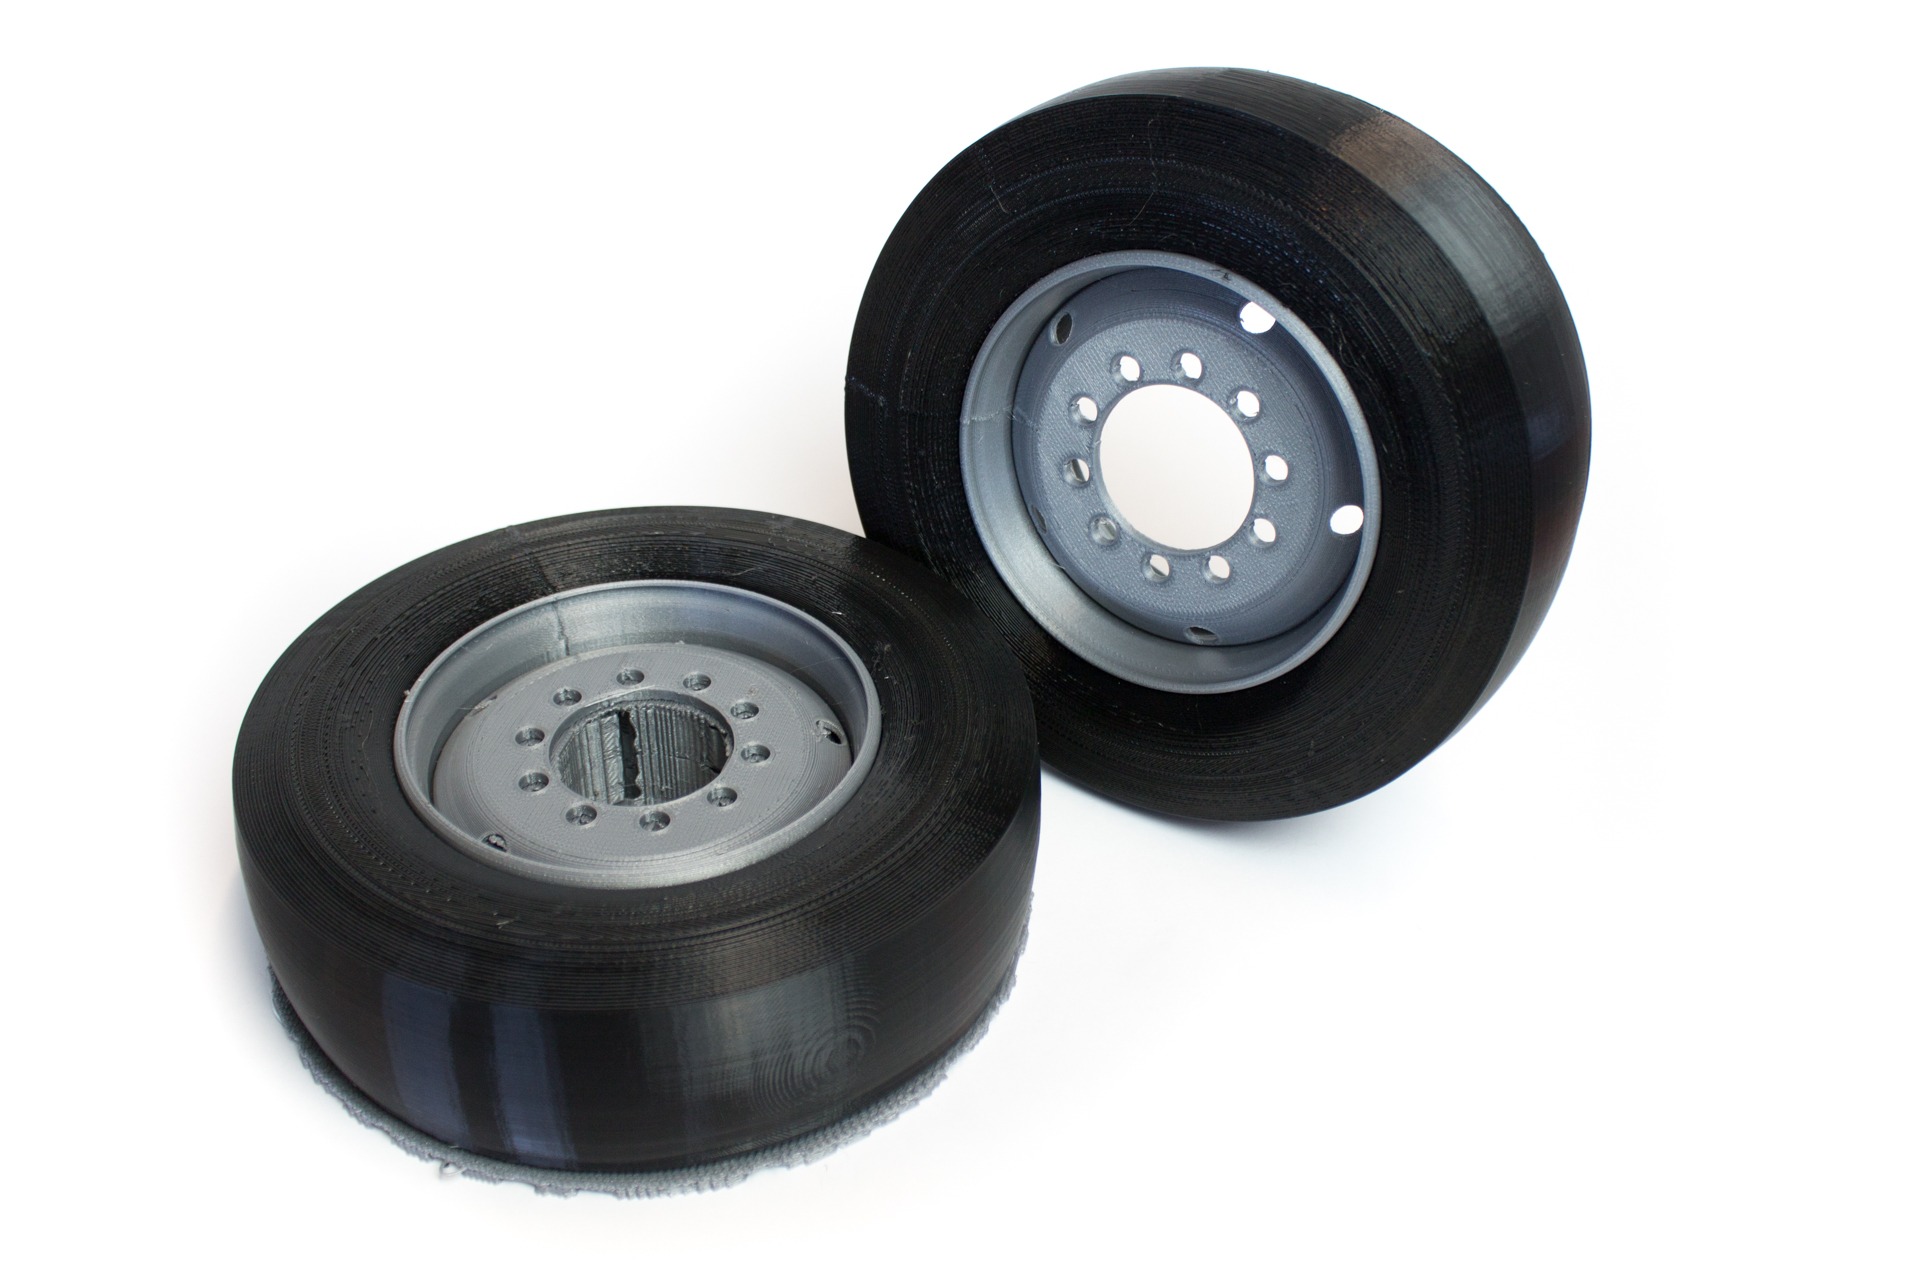
3D printing is a great tool to make show-and-tell objects in a cost-effective way. Nooteboom Trailers (website) recently approached us to print a tyre (or tire, if you are in the US or Canada) for them to showcase during an open house day. We wanted it not only look like a tyre, but also feel like a tyre. That’s why we used nGen_FLEX Black for the tyre itself:


For the rim we used nGen Silver Metallic.

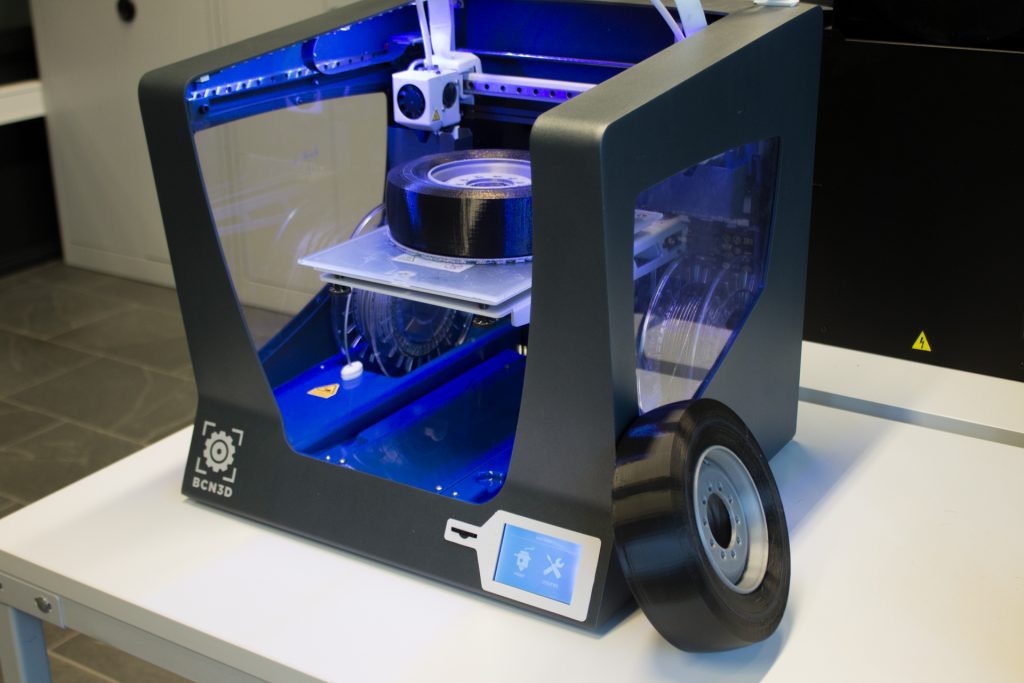
We printed this on the BCN 3D Sigma with 0.6mm nozzles which enabled us to print this in one go with both materials at the same time. Layer height is 0.25mm.

To give the tyre the proper feeling we used only 4% infill. We have printed before with nGen and nGen_FLEX (here) and the (layer) adhesion between these two materials is excellent!
Nooteboom Trailers BV, a family business founded in 1881, is an international organisation offering their customers complete solutions in the field of abnormal transport. Nooteboom designs and builds trailers of the highest quality with a payload of 20 to 200 tonnes. Nooteboom is always striving to improve by continually investing in the best solutions for their customers.
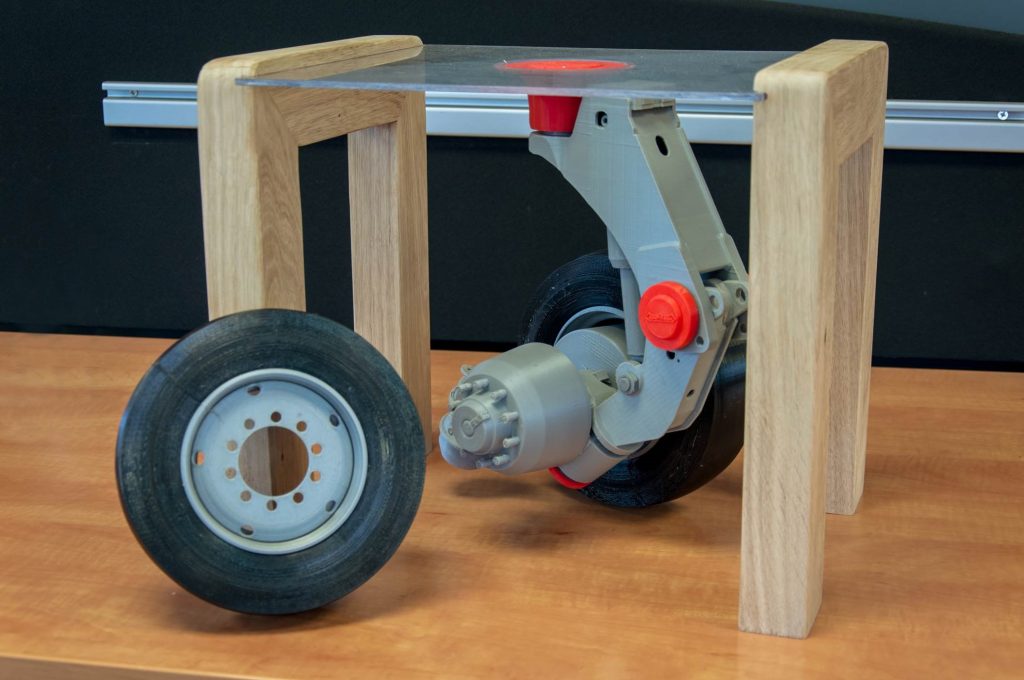
In the pictures below you can see how the print was showcased at Nooteboom Trailers:


About the materials

nGen was released a in November 2015 and is an all-round filament which has many advantages over, say, a PLA. The temperature resistance is over 80 degrees C and it works on most printers with a heated build plate.  nGen is a low-odor, styrene-free material uniquely suited for 3D printing enthusiasts, particularly those who need the flexibility to print within a wide processing temperature range. With nGen you will have good flow properties through the printer nozzle—even at lower temperatures than some other polymers require. These properties make nGen more workable at a wider breadth of temperatures, producing reliable results and resulting in less waste.
You can find more information on our dedicated landing page.

nGen_FLEX was released in September 2016 at the TCT Show and is our first semi-flexible material. With a Shore A hardness of 95 it is a material that is ideally suited for functional parts. It is not soft and squishy like other flexible materials in the market, but allows for fast printing and printing on 3D printers using a Bowden tube. nGen_FLEX is a material for users looking for an engineering grade flexible filament with a high temperature resistance (over 120 degrees C) and good chemical resistance.

You can read the initial reception of nGen_FLEX here.

Both nGen and nGen_FLEX are made with Eastman Amphora™ 3D polymers, a range of co-polyesters developed with Eastman Chemical Company for 3D printing. Amphora co-polyesters are low-odor, styrene-free choices that are uniquely suited for 3D printing applications. With Amphora, items can be created that are more functional, more durable, more efficient and attractive. You can find more information about co-polyesters in the article we published last summer: What we talk about when we talk about co-polyesters.

Both nGen and nGen_FLEX are available now in our webshop (click here or here) and via our network of distributors and resellers. Click here for a reseller closest to you.

Helian logo

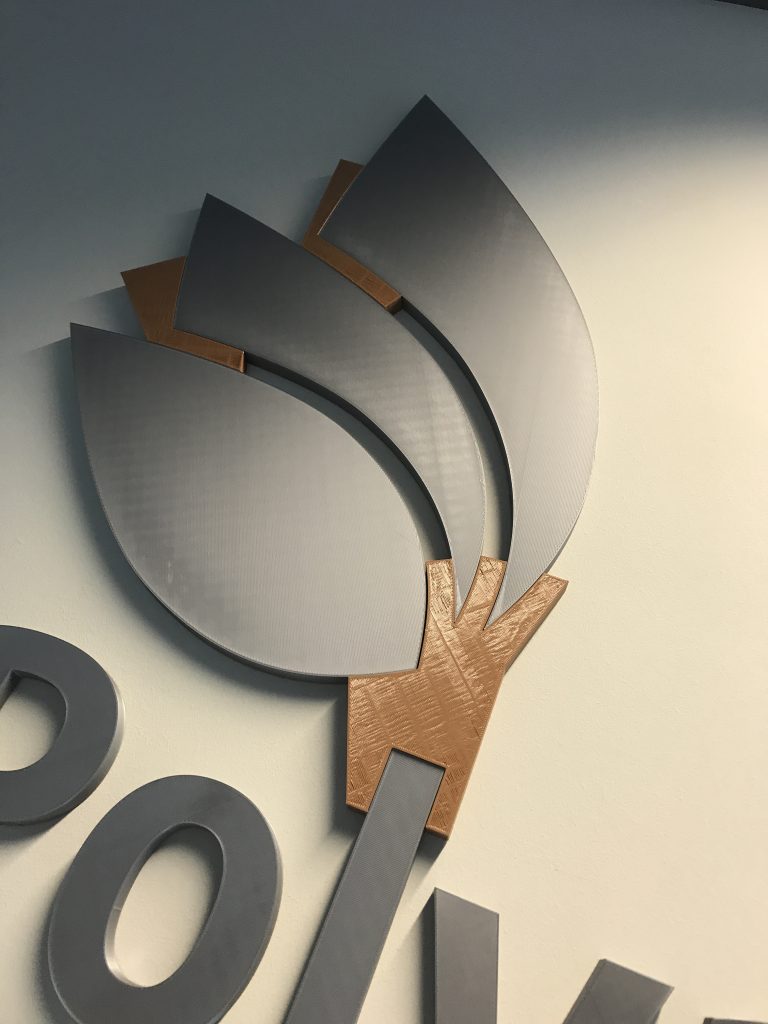
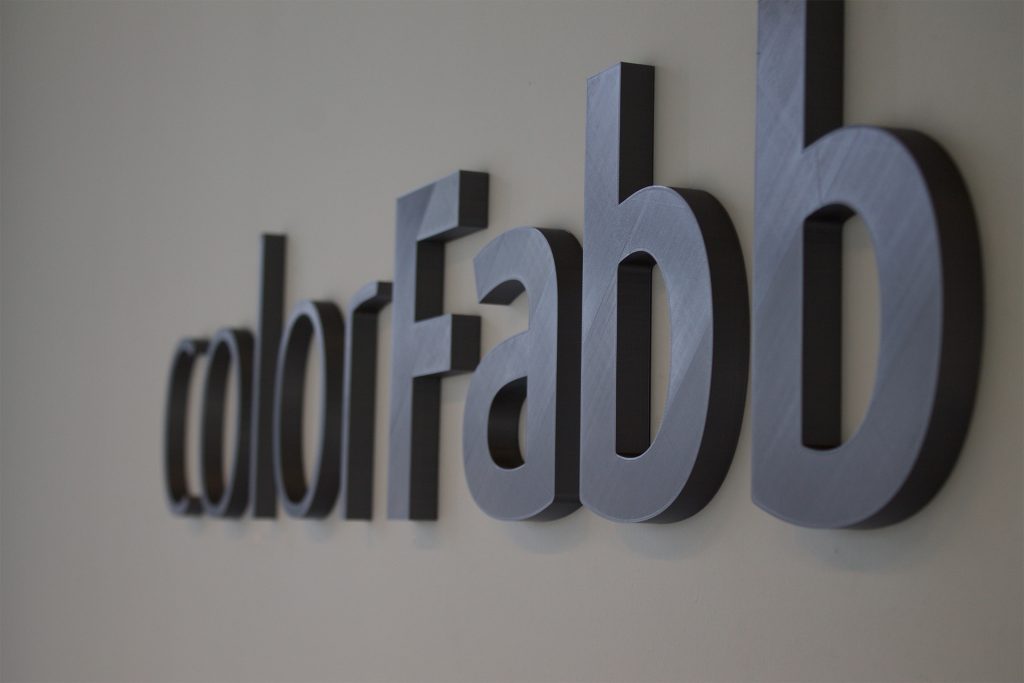
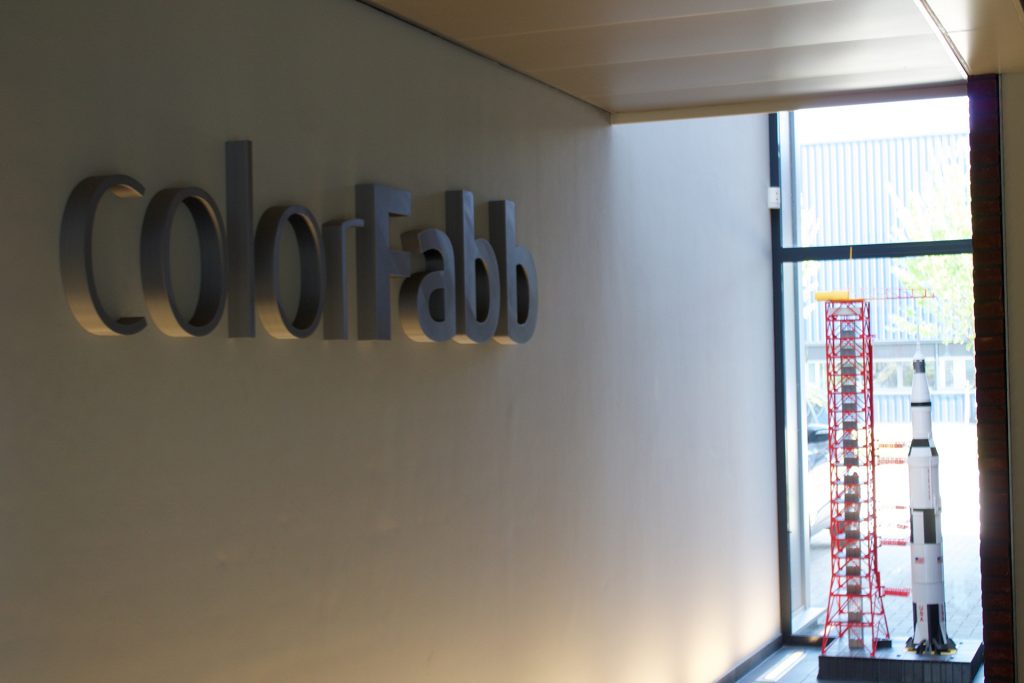
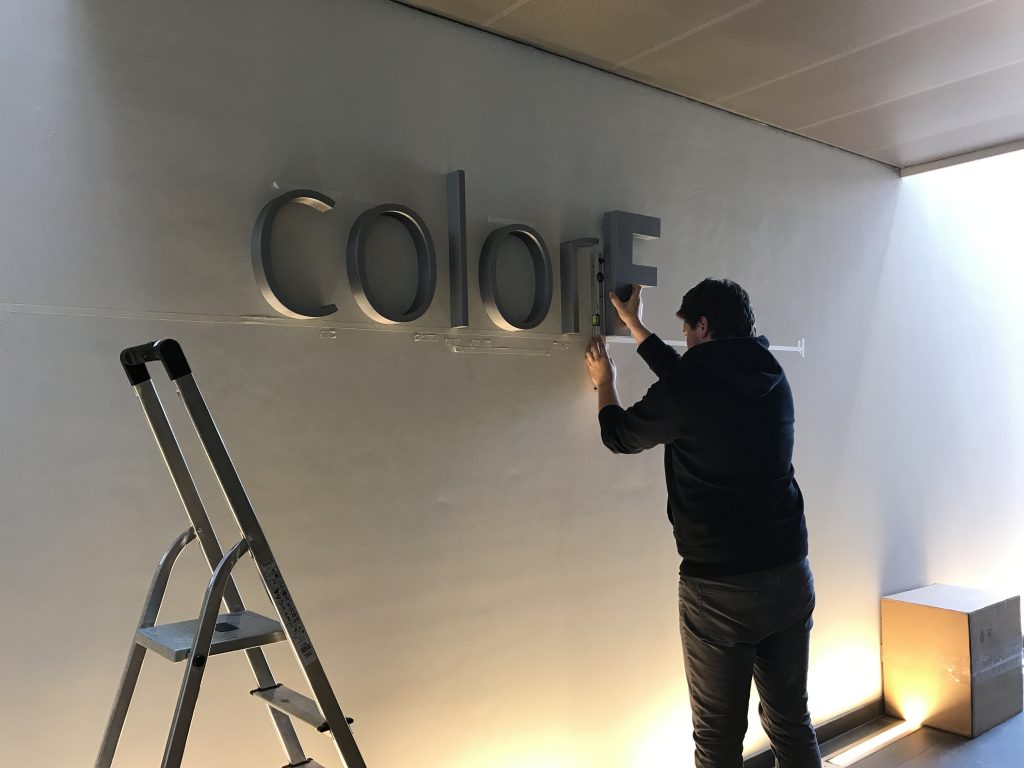
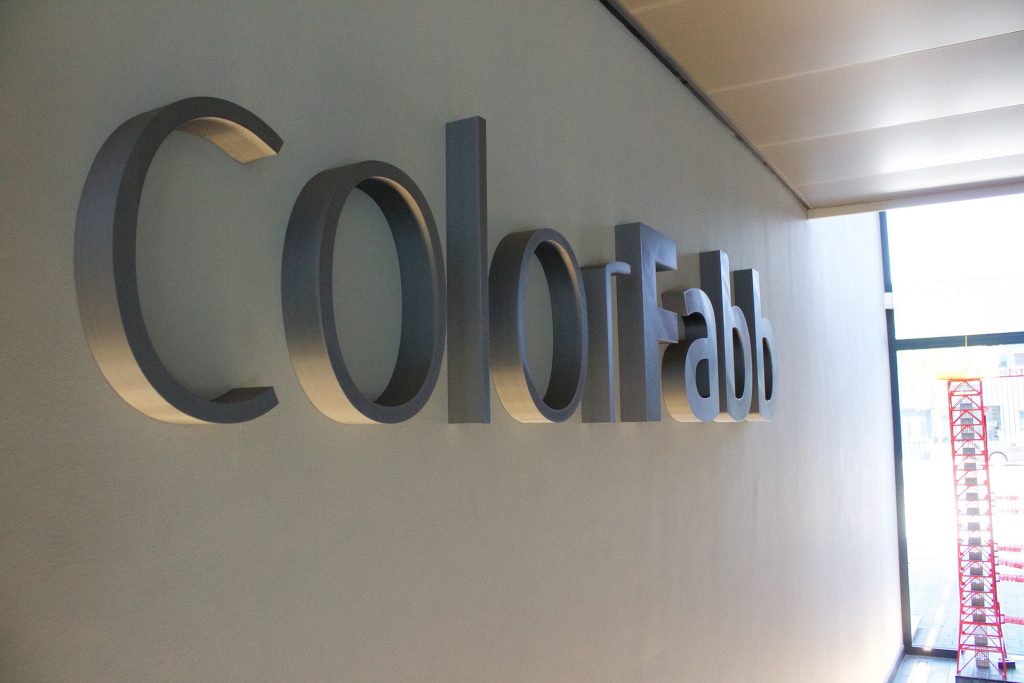
Ever since moving into the new building we have been working to decorate the interior in a uniform way. One thing (of many) is to print the names of the companies: we have already printed the Stacker logo, which is hanging nicely in our print lab and last week we posted about the colorFabb logo proudly hanging on our wall.

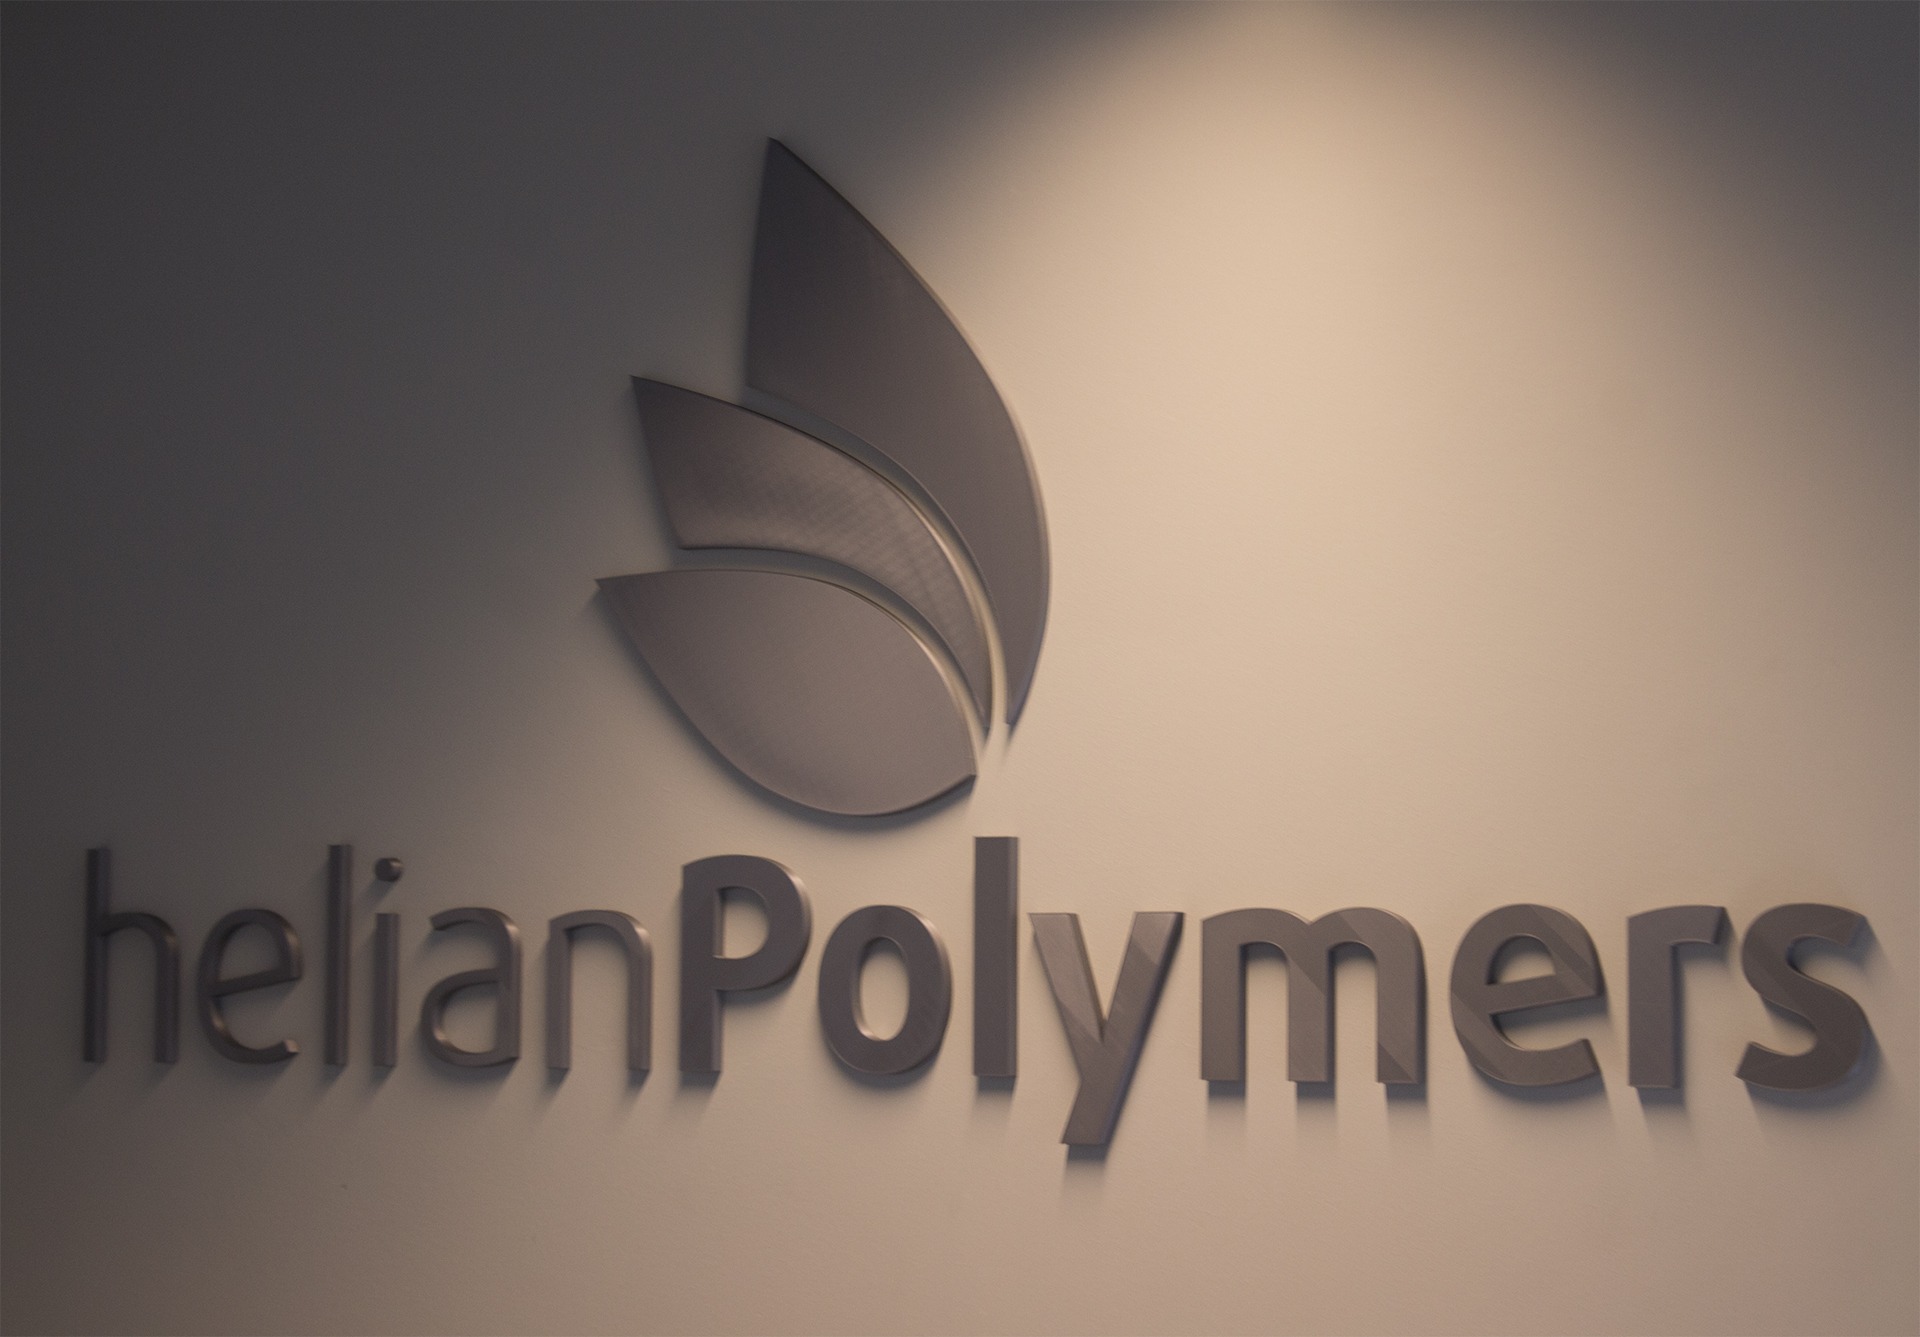
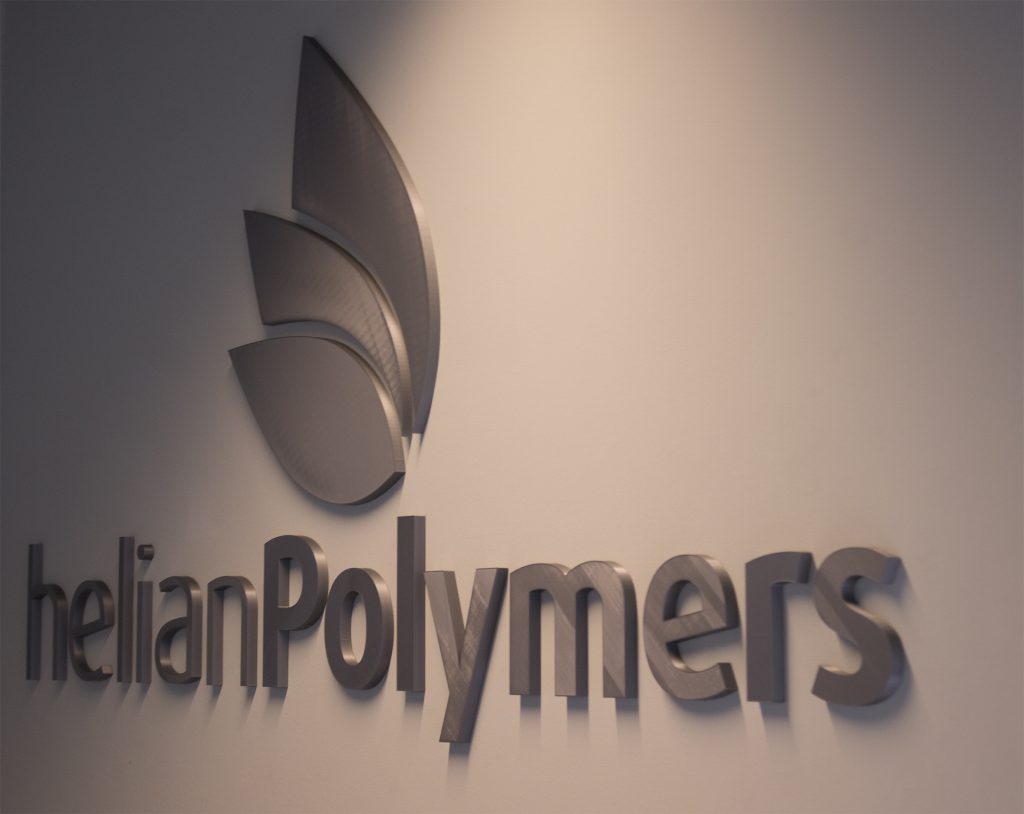
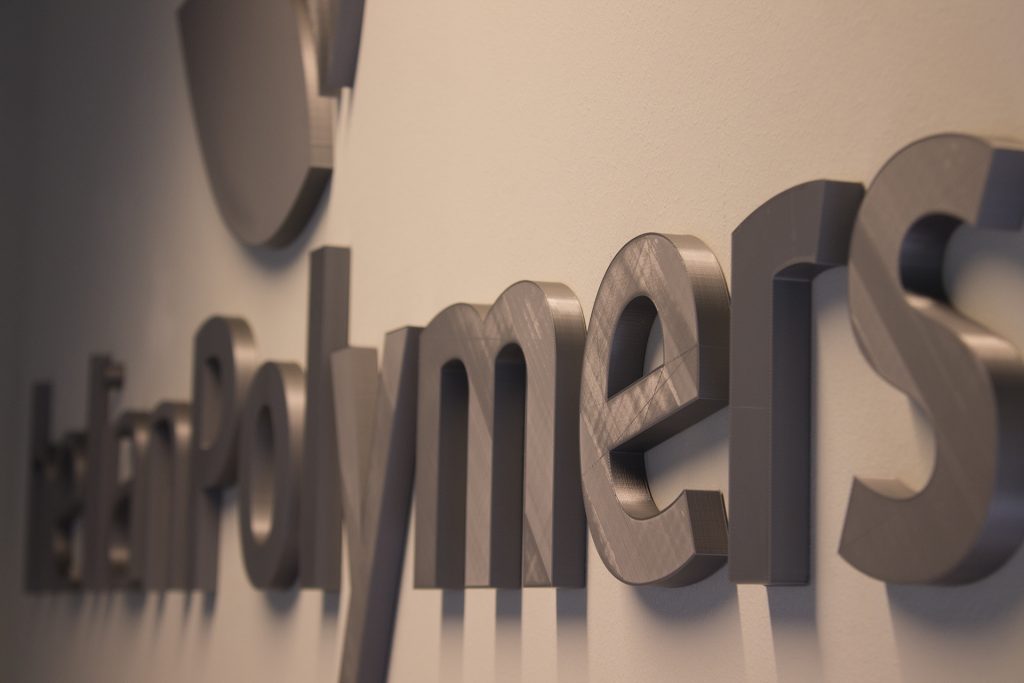
This week we have printed the logo for Helian Polymers:

Helian is, of course, the company where it all started for colorFabb. colorFabb started as a project of Helian Polymers. Helian Polymers BV is a young and dynamic company which was founded by Ruud Rouleaux at the end of 2011. In September 2015 the old company Peter Holland BV, that was founded in 1974, was incorporated into Helian Polymers, to combine all masterbatch activity into one company. In 2013 colorFabb started as part of Helian Polymers and became its own legal entity, colorFabb BV, in September 2015.

Helian Polymers is your partner for masterbatches, compounding and also the driving force behind bioplastics.online where small lots of bioplastics can be ordered. You can find the Helian website here and the biolplastics.online website here.

The logo is now on the wall in their office in our mutual building.

For this print job we used two printers: The Stacker S4 and the Ultimaker 2. The material of choice was PLA Economy Silver, similar to the logos we printed for colorFabb and Stacker. It took 3 days to print all the letters and pieces of the logo, with a total use of 1.2kg of filament.

Top-Tip: using some leftover PLA/PHA we printed some spacers for the “leaves of the logo” to ensure the spacing and orientation was right.
This is easily done in most CAD systems by simply sketching with a small offset to the logo and closing the sketch loops with some straight lines.
These spacers can of course be printed with the lowest possible settings and some left-over material and will make your job a lot easier on the more difficult shapes.

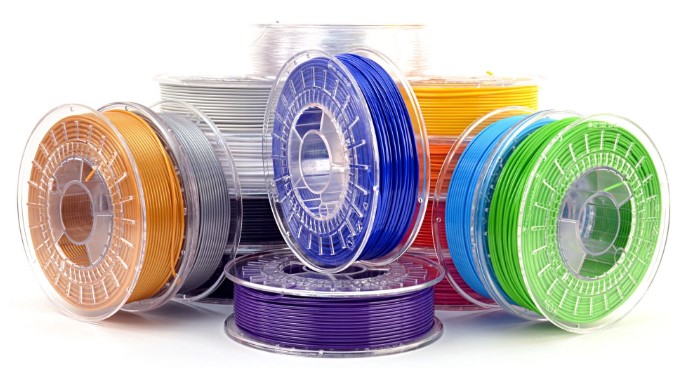
We launched PLA Economy in November last year and has been a best seller ever since. We offer 2.2kg filament on a big spool for a little over € 35 (excluding VAT and shipping) at the best colorFabb quality you are used to. We have extensively tested this PLA grade in our print lab. Since this week we offer a fifth color to our portfolio: Dark Blue, which ships now from stock.

Visit our webshop now.

Drain exit

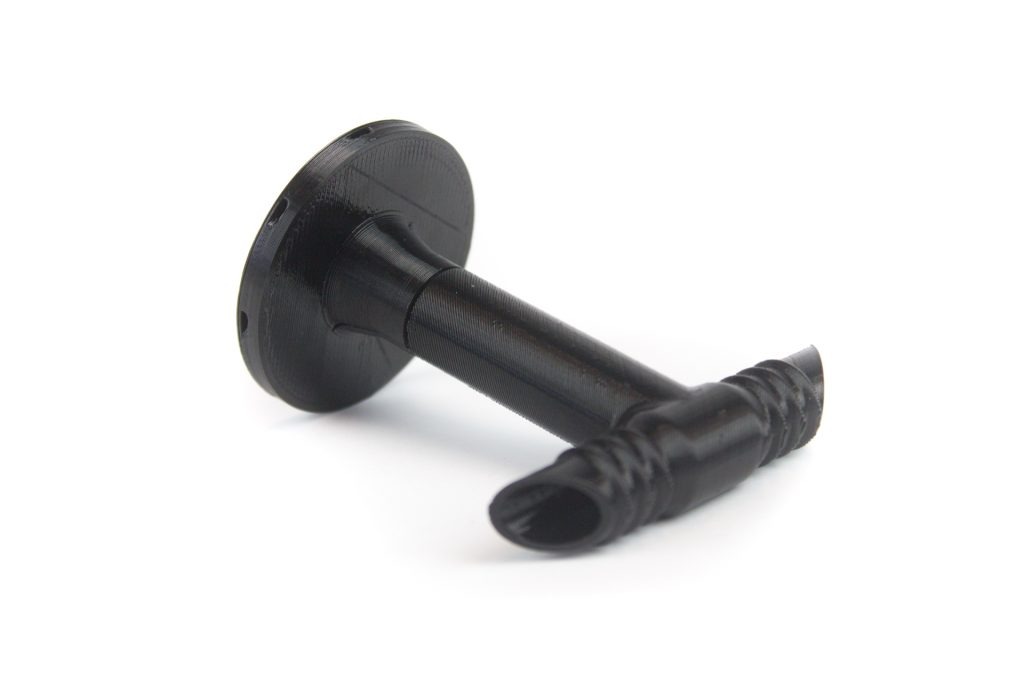
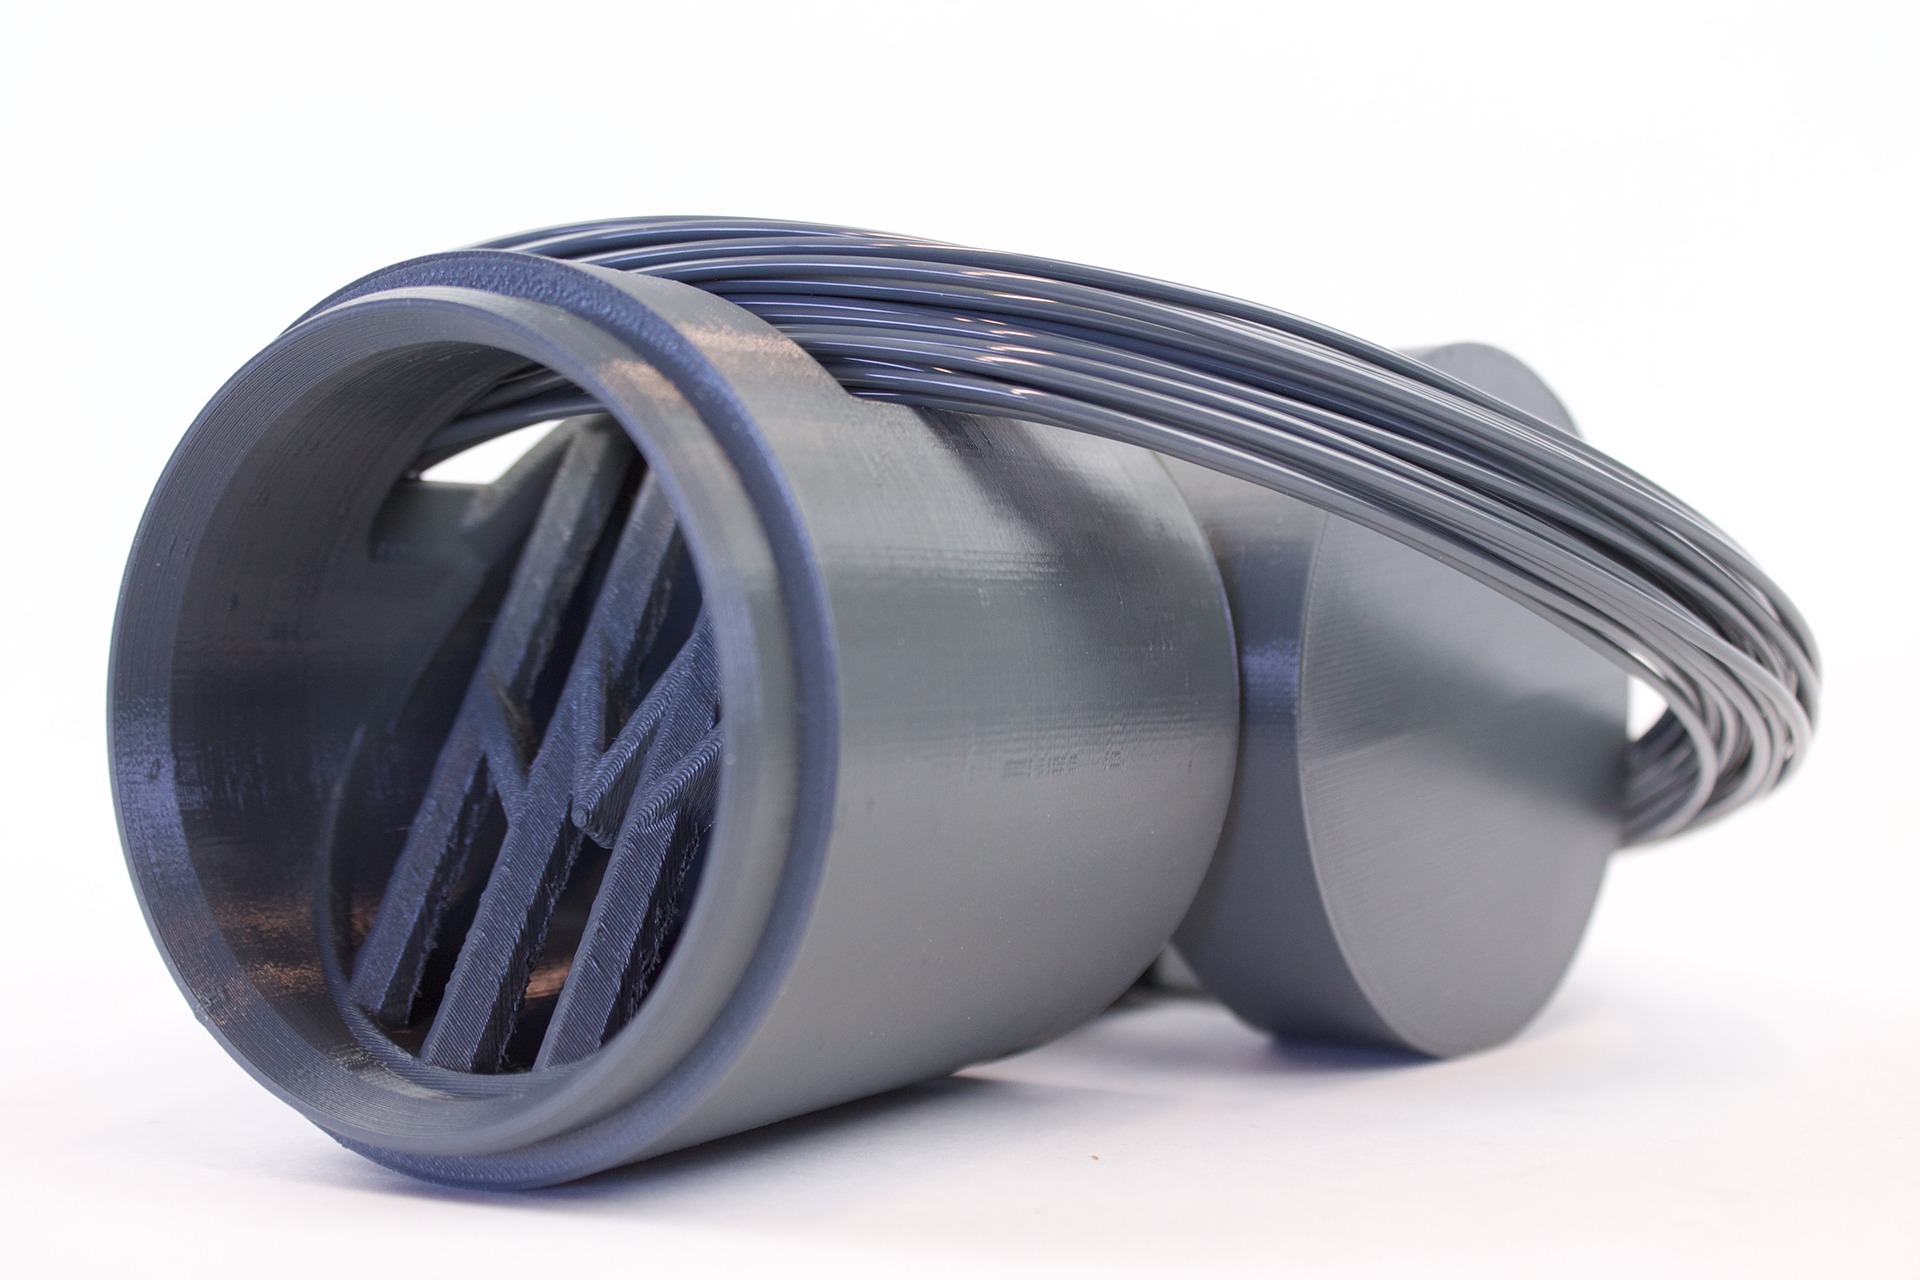
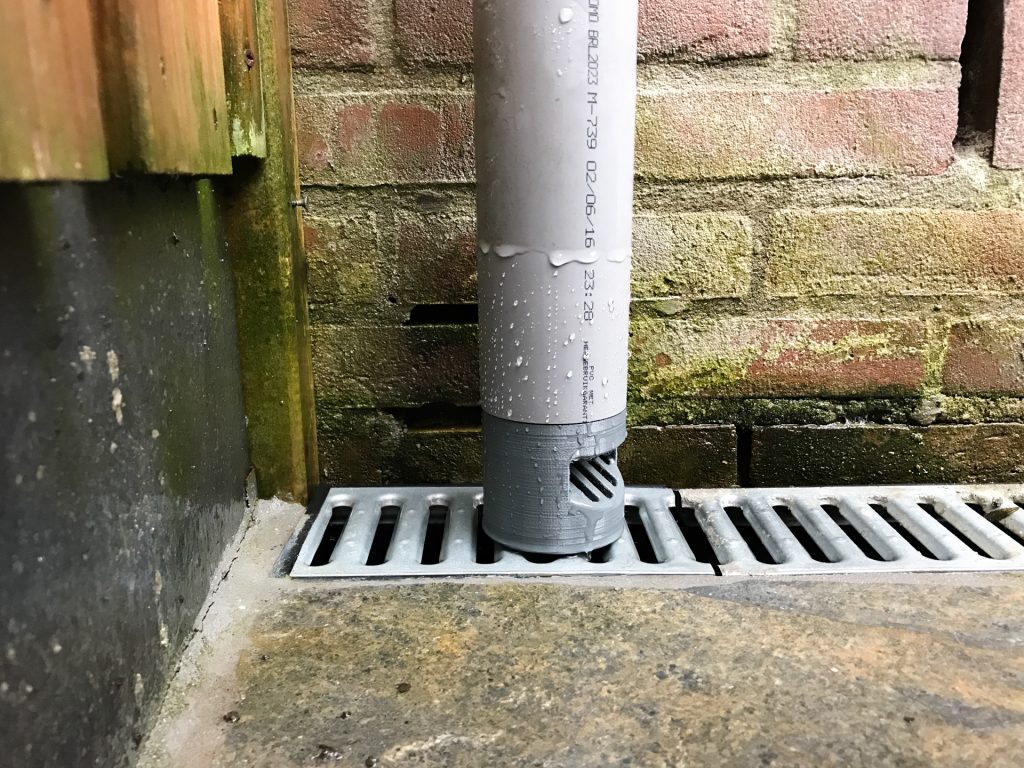
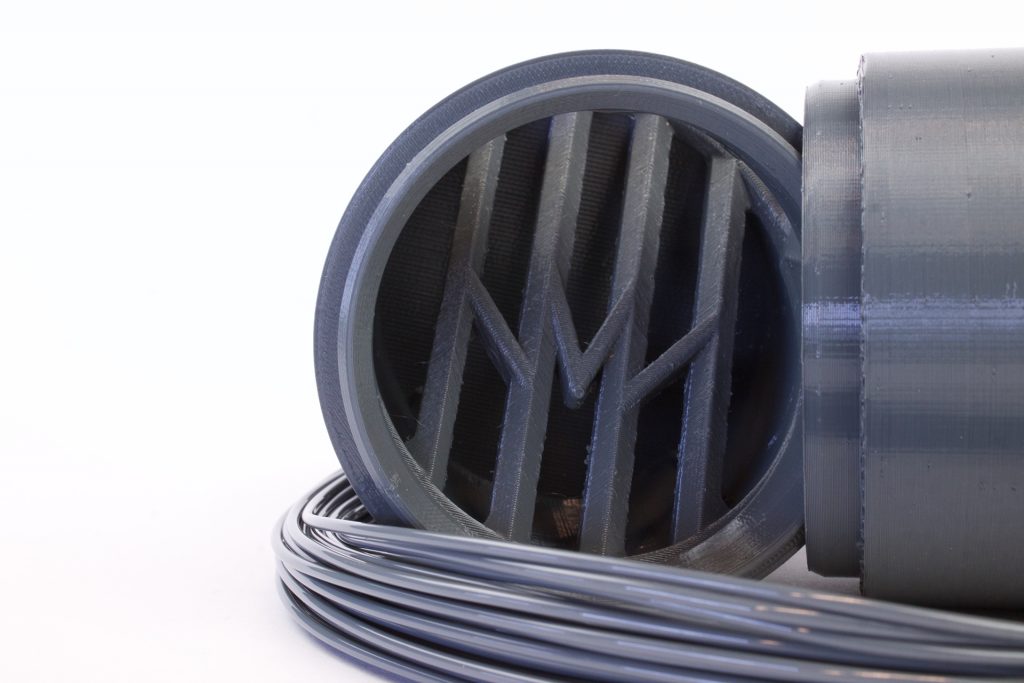
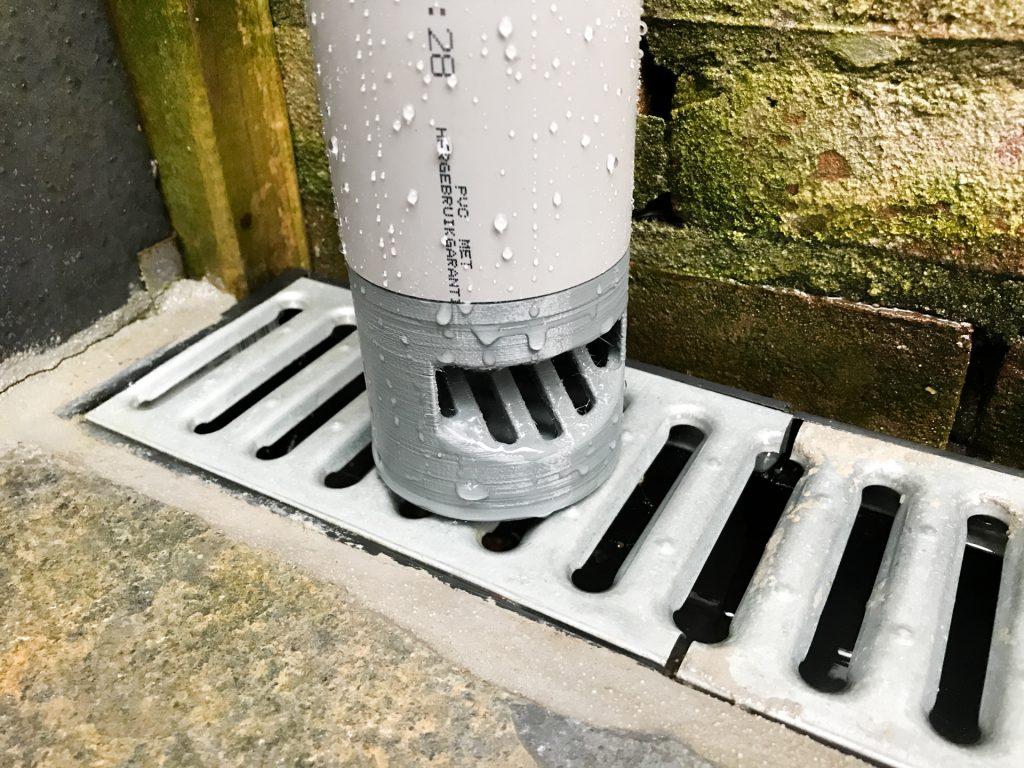
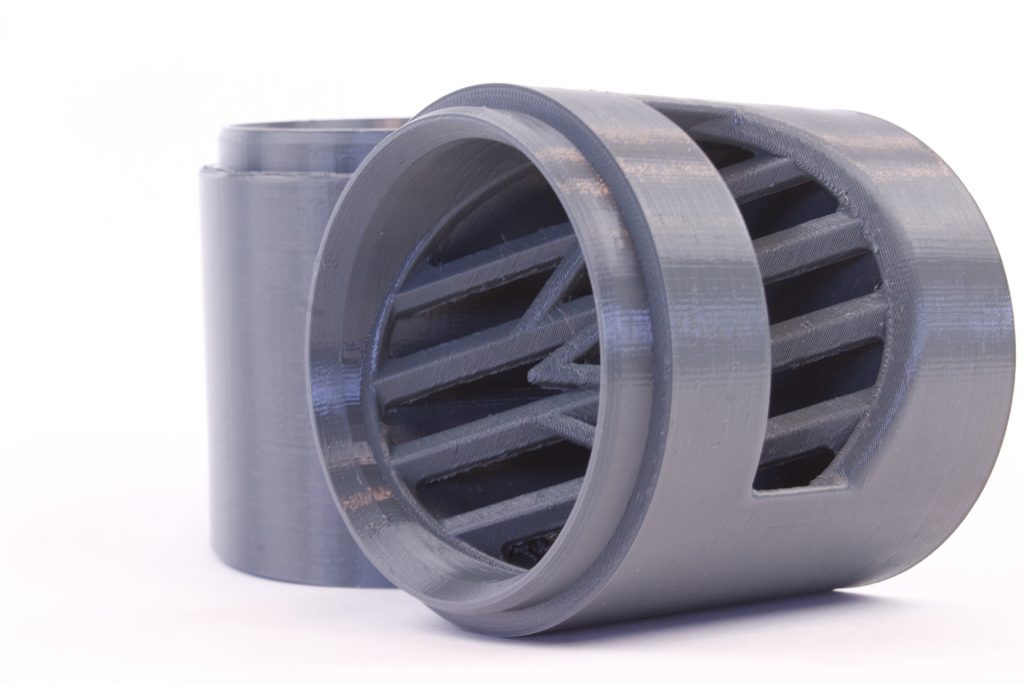
In Western Europe the weather is erratic at best. With leaves ending up in the gutter, we want to avoid that they clutter up the drains. One of our colleagues, Jos,  ended up designing and printing his own drain exit:

Design by Joshyuhttp://www.thingiverse.com/thing:2308895

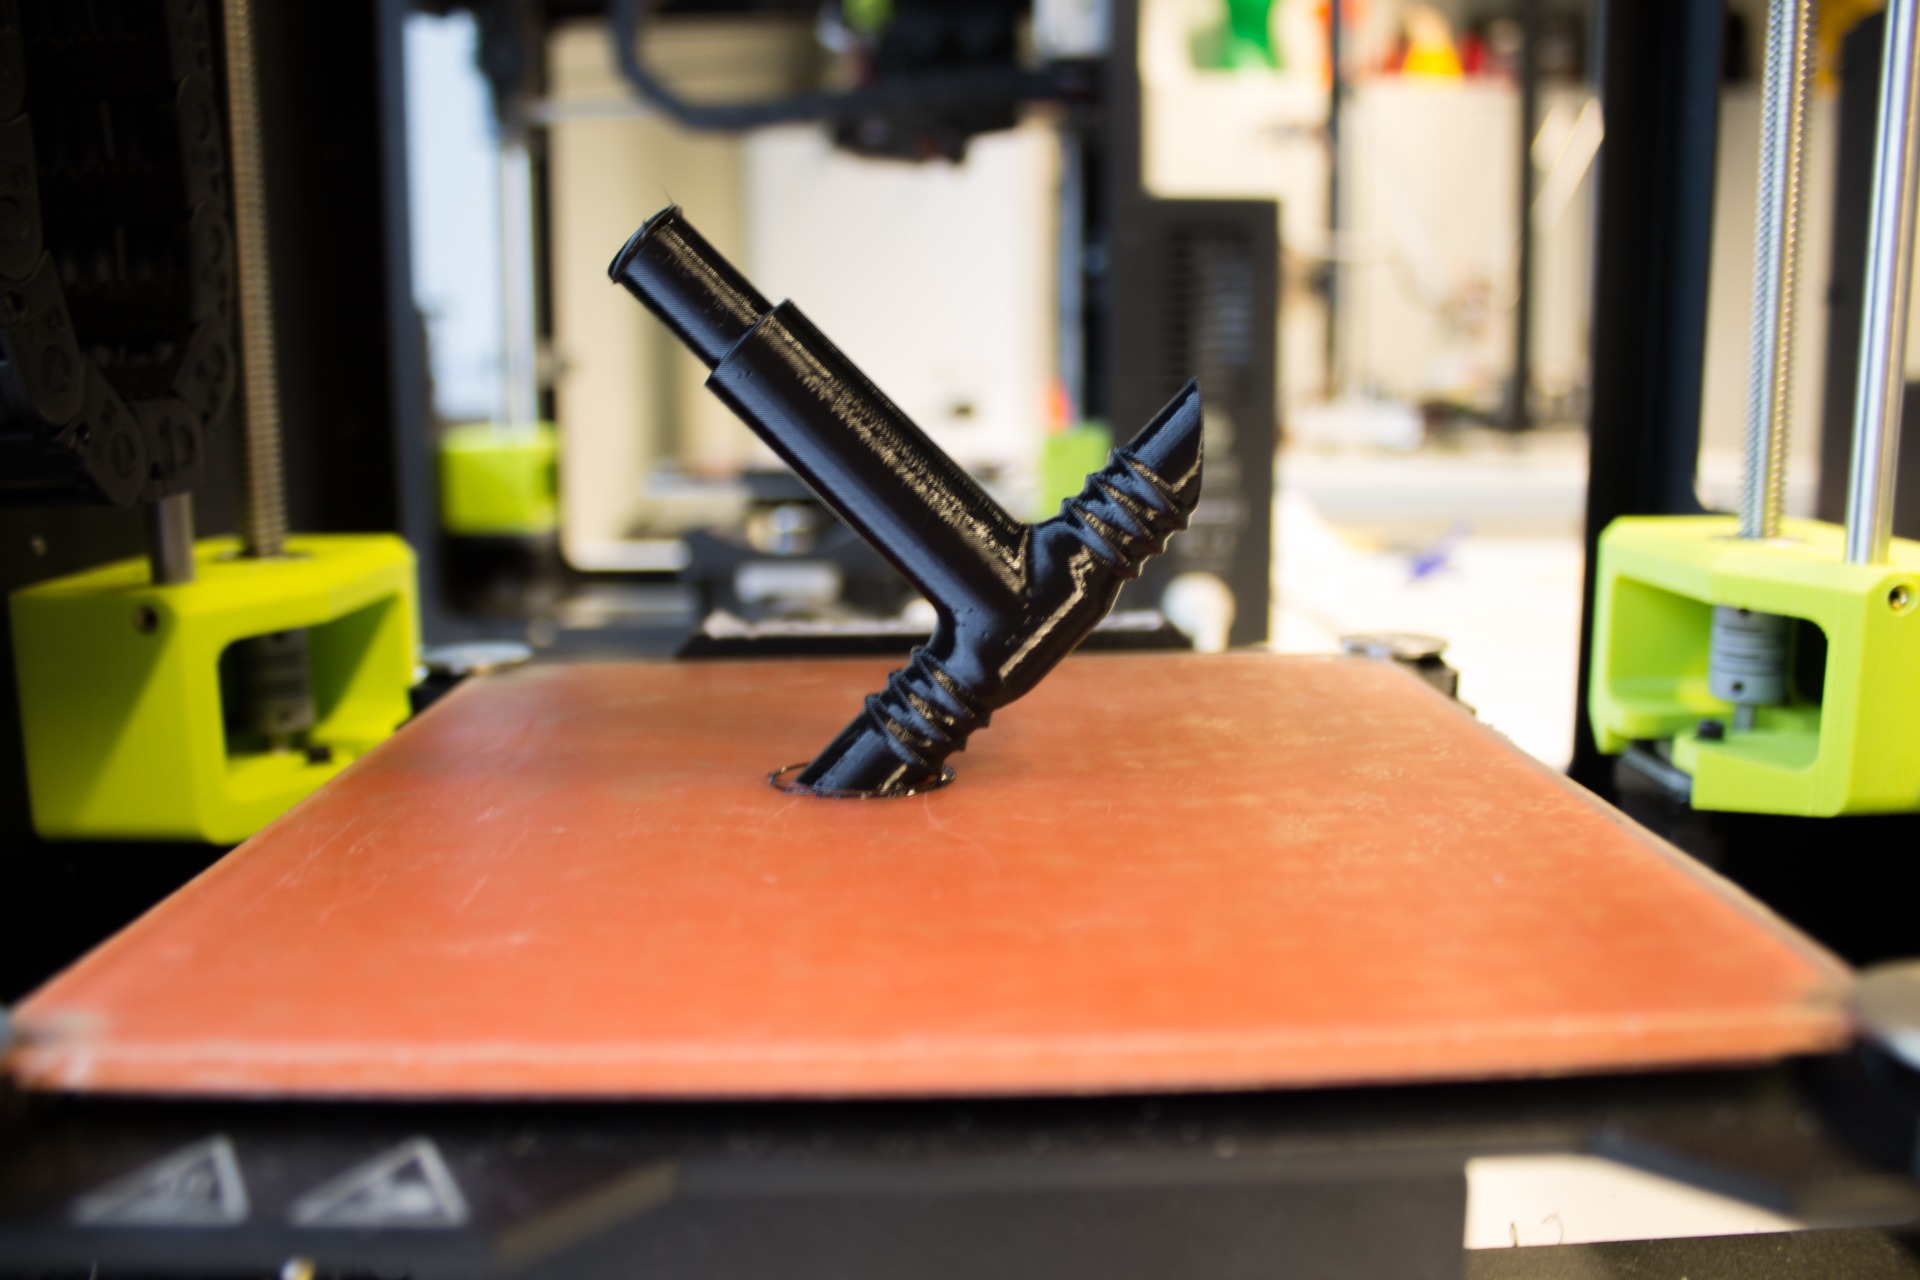
It is a practical piece, printed on the Ultimaker 3 with colorFabb_XT Dark Gray. It took approximately 12 hours to print this part.

We launched colorFabb_XT almost 3 years ago at the London 3D Print Show together with Eastman Chemical Company. Eastman is our material partner for co-polyesters. colorFabb_XT is made with Amphora AM1800 and has a unique formulation for 3D Printing that features excellent properties : High strength and very high toughness, Odor Neutral processing, High Tg / improved temp. resistance, Styrene free formulation, FDA food contact compliance, BPA (Bisphenol A ) free formulation. It will allow the user to produce 3D printed functional products in a safe way.

You can find the data sheets and other documentation on our website: http://colorfabb.com/Materials/

colorFabb_XT is available in 14 colors, including clear.

Our range of Amphora based co-polyesters are perfectly suited for a project like this. In 2014 colorFabb teamed up with Eastman Chemical Company to develop unique grades of co-polyesters suited for 3D printing. Eastman Amphora™ 3D polymer are a low-odor, styrene-free choice that is uniquely suited for 3D printing applications. With Amphora, items can be created that are more functional, more durable, more efficient, and attractive.

So far we have launched four grades, starting with colorFabb_XT in 2014. Late 2015 we follow this up with nGen, our next Generation general purpose filament and a drop in replacement for PLA. A wide processing window and perfect reliability make this filament a very popular one in our portfolio.

A little over a year ago we followed that up with colorFabb_HT, a high-temperature resistant filament that allows for functional engineering projects that need lasting parts. colorFabb_HT is enabled by Eastman Tritan™ copolyester technology.

At last year’s TCT Show in Birmingham we introduced nGen_FLEX to the market, a flexible filament with a Shora A hardness of 95 allowing for functional and flexible parts to be printed.

More information can be found in the blog we wrote about co-polyesters last summer.

Fidget spinner

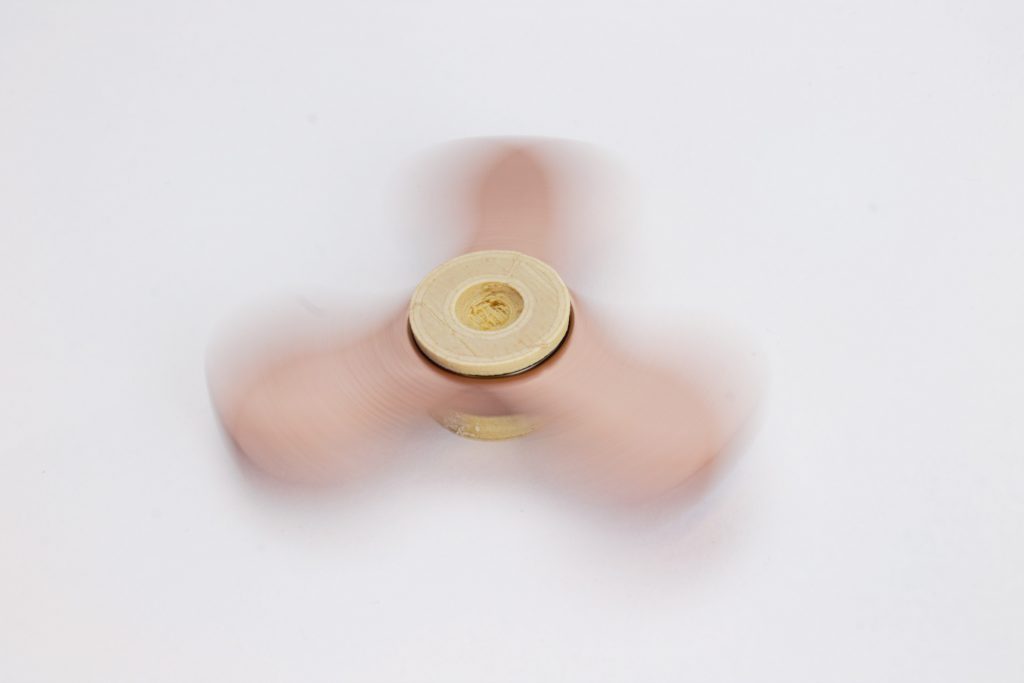
As anyone know who has a working internet connection, fidget spinners are all the rage right now. We have seen quite a few popping up on social media in the past few weeks. We could not stay behind and printed one ourselves:

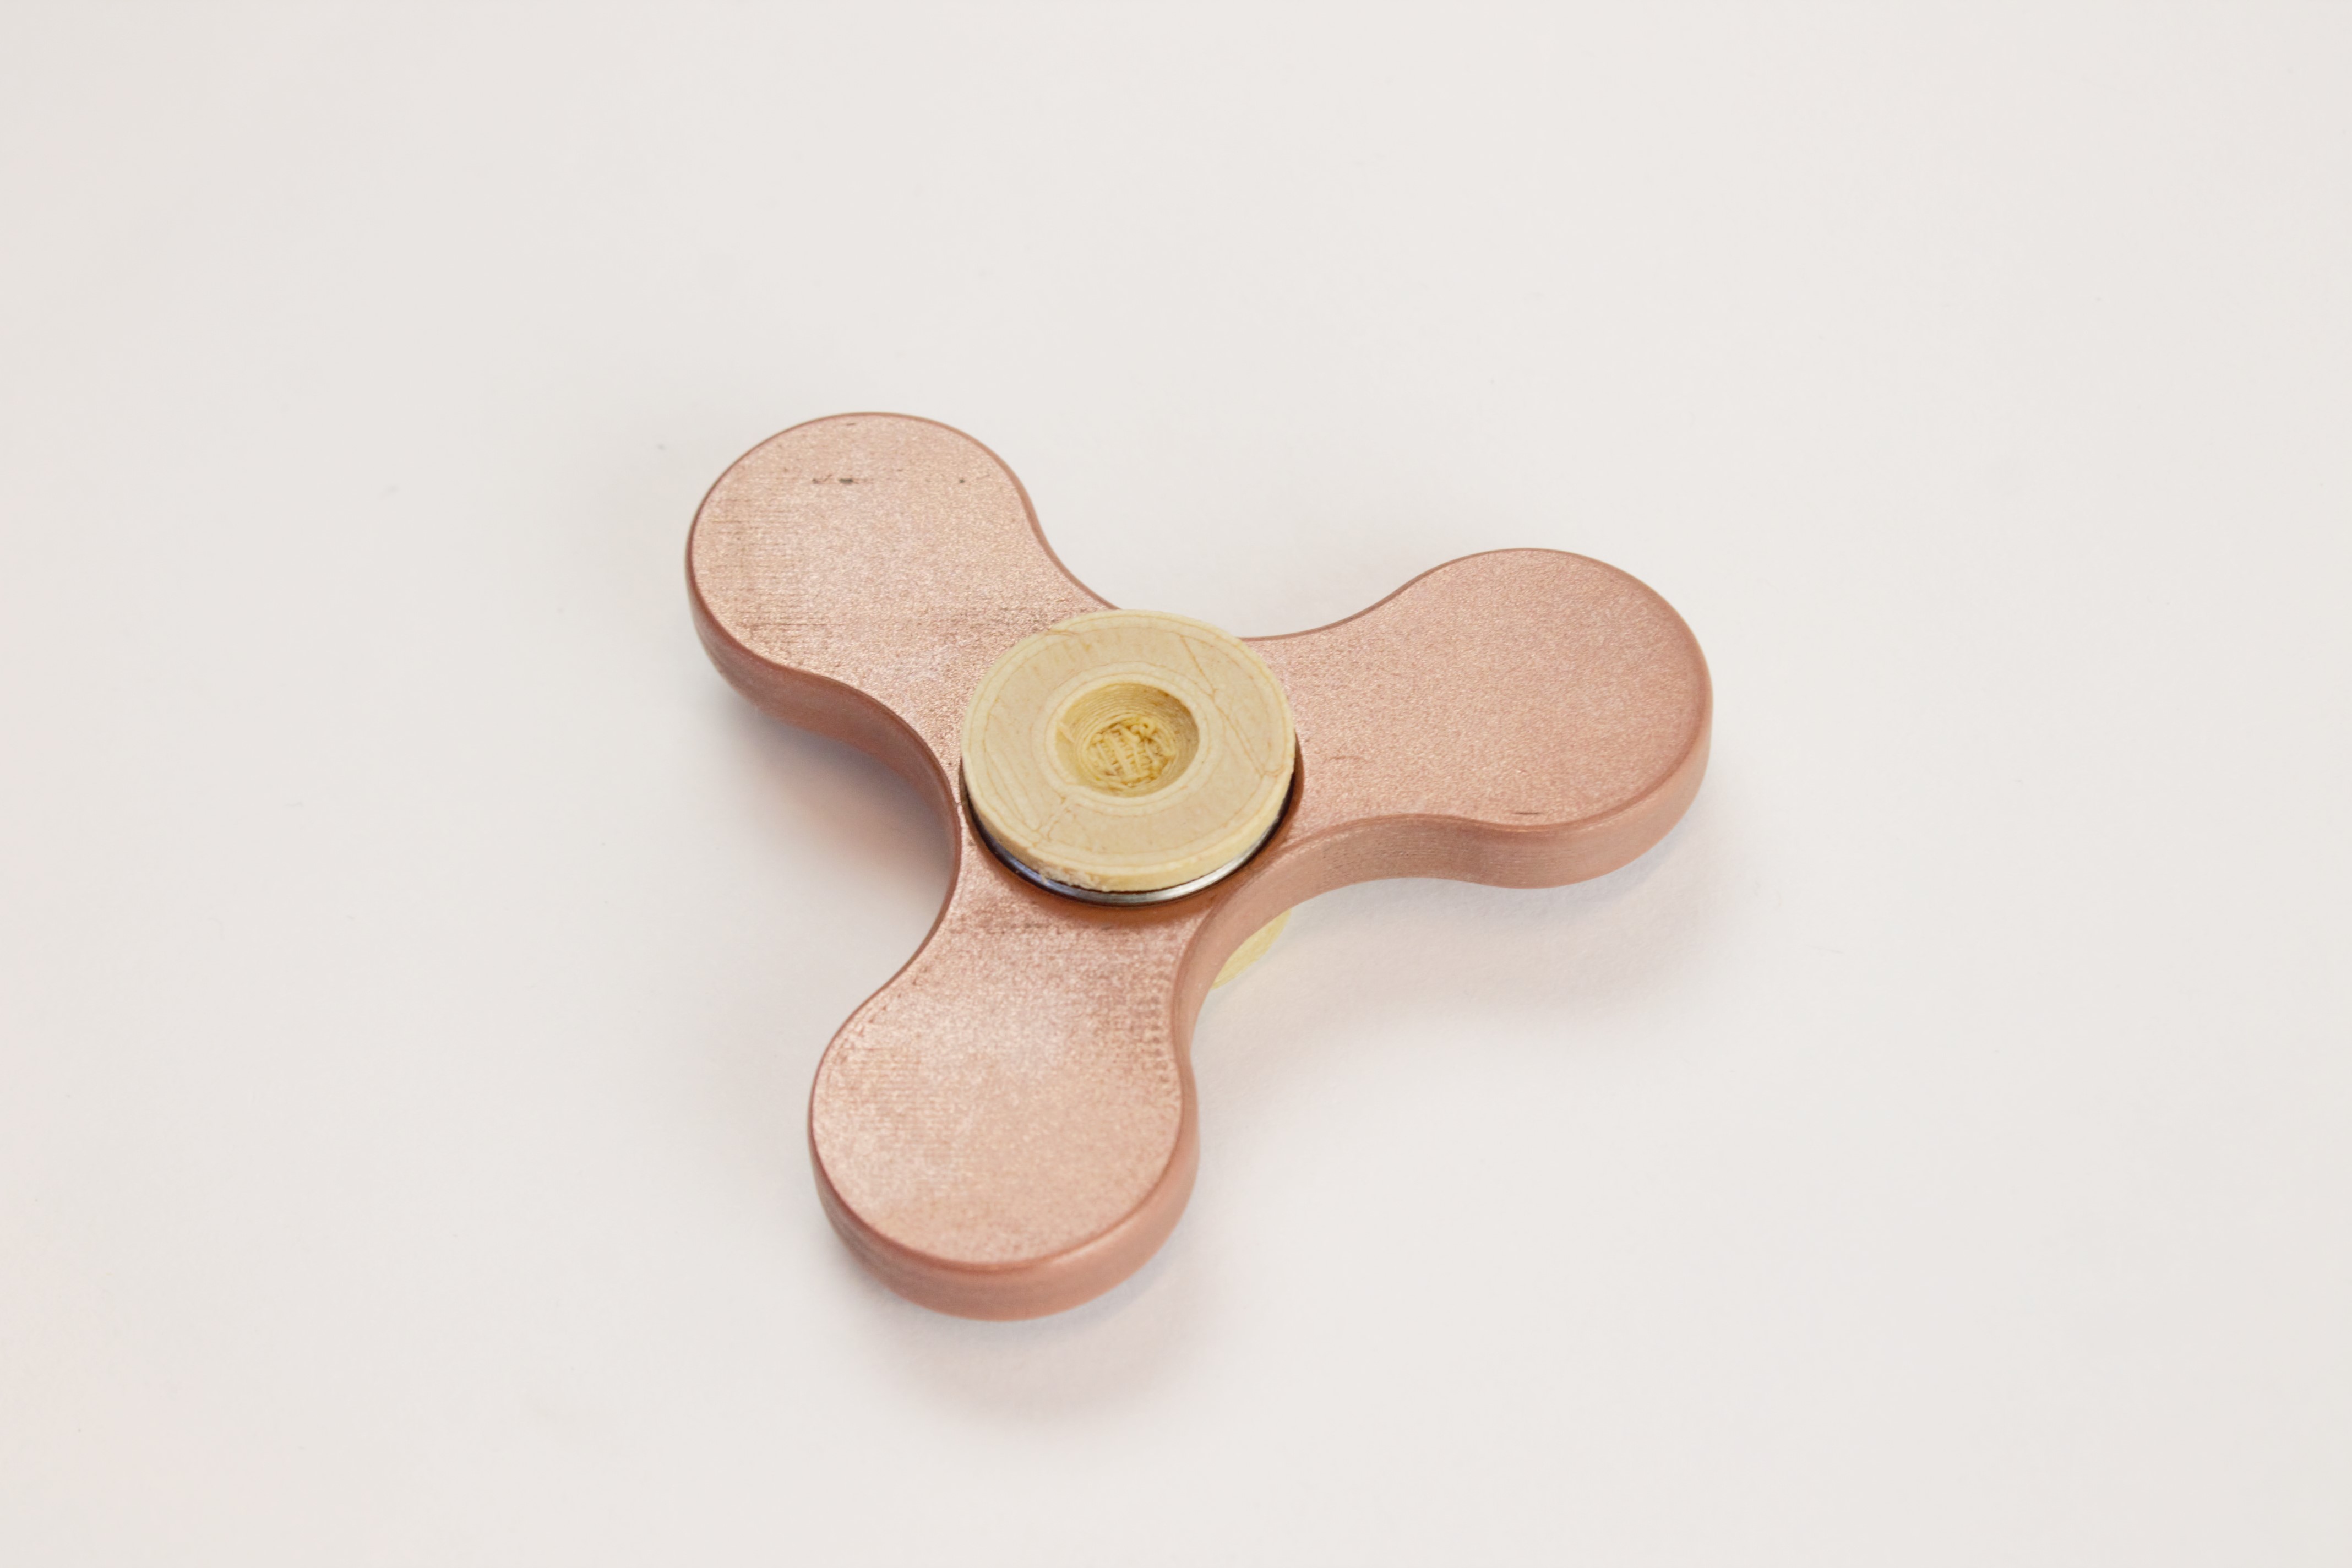
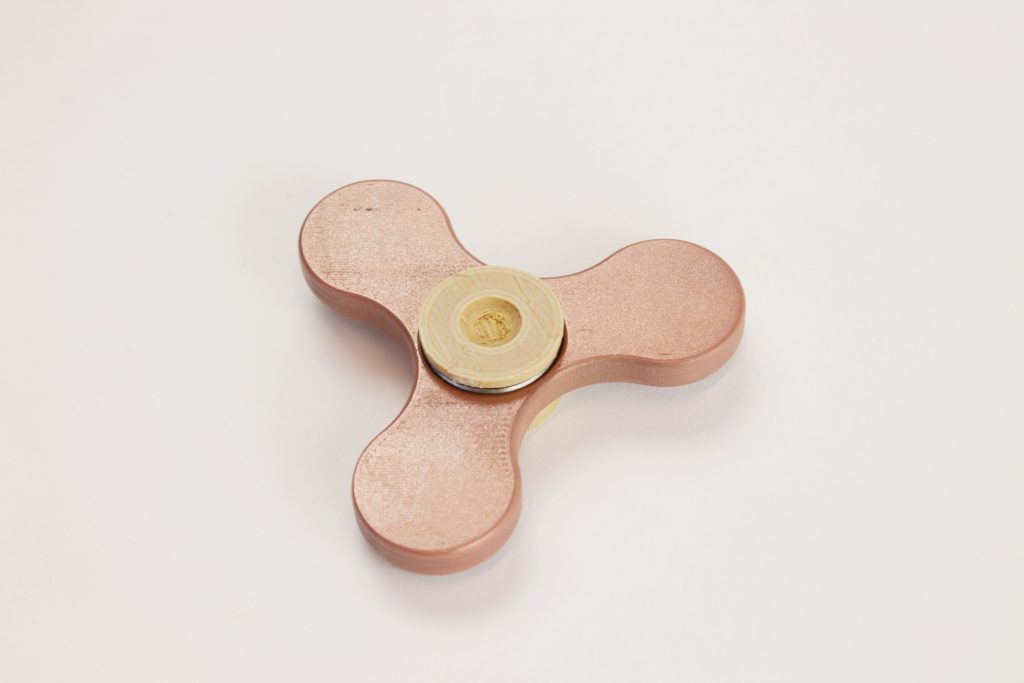
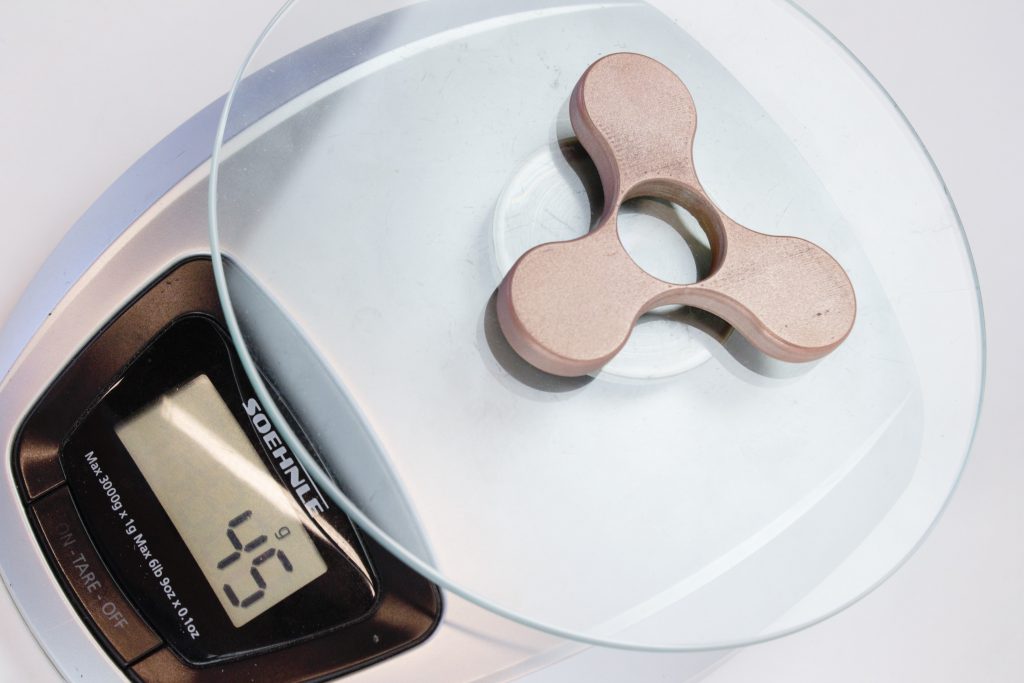
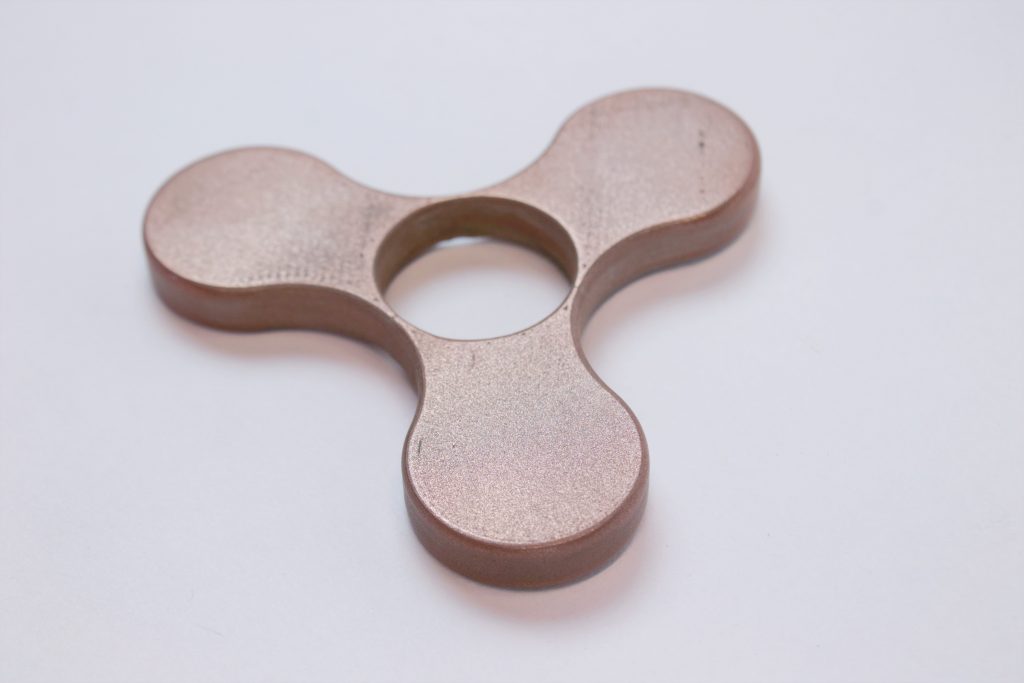
We based our print on the fidget spinner design by gyroscope07 (original file here), but removed the holes on the ends. Why? Normally one can put extra bearings there to add weight. But we have used our copperFill filament at 100% infill to add extra weight to this print. How much weight? This print weighs a respectable 45 grams, which you can really feel when spinning the fidget!

Our metal filled filaments, copperFill among them, weigh up to 4 times as much as regular plastic filaments.

Our metal filled filaments are an excellent choice for fidget spinners. One wonders, Why buy one when you can print a superior one?

The cap is the Comfy Fidget Spinner Cap by iDevel3D and it was printed with woodFill with 20% infill. The combined printing time for these parts was 2.5 hours.

For this print we used the Lulzbot TAZ 6 which has an excellent reputation with our special filaments, like copperFill and woodFill. The ease of use and quality make it one of the go-to printers in our printlab. The print was made with a 0.12mm layer height. For post-processing we did some manual sanding and used Brasso as a final touch.

copperFill was launched in the fall of 2014 and it was our second metal filled filament, after bronzeFill. The red shine that comes from the copper after post-processing has made it a fan favorite ever since. As with our other metal filled filaments, the aesthetics and weight are the key factors for choosing this filament and these characteristics make it a perfect filament for fidget spinners, for instance.

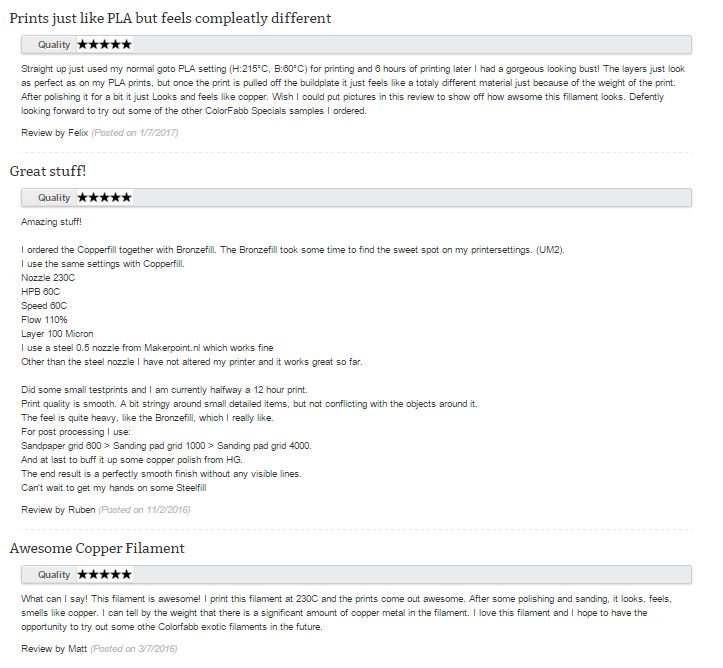
There are several five star reviews for copperFill on our website:

Learn more on how to print with copperFill with our handy tutorial. You can learn more about post-processing our metal filled filaments by visiting our blog or FAQ page on this topic.

copperFill is available and on sale right now (an extra discount, because we’re that nice!) in our webshop. And if you are looking for a great printer, why not consider the Lulzbot TAZ 6? We have it here in stock and offer free shipping + 4 free spools of filament!


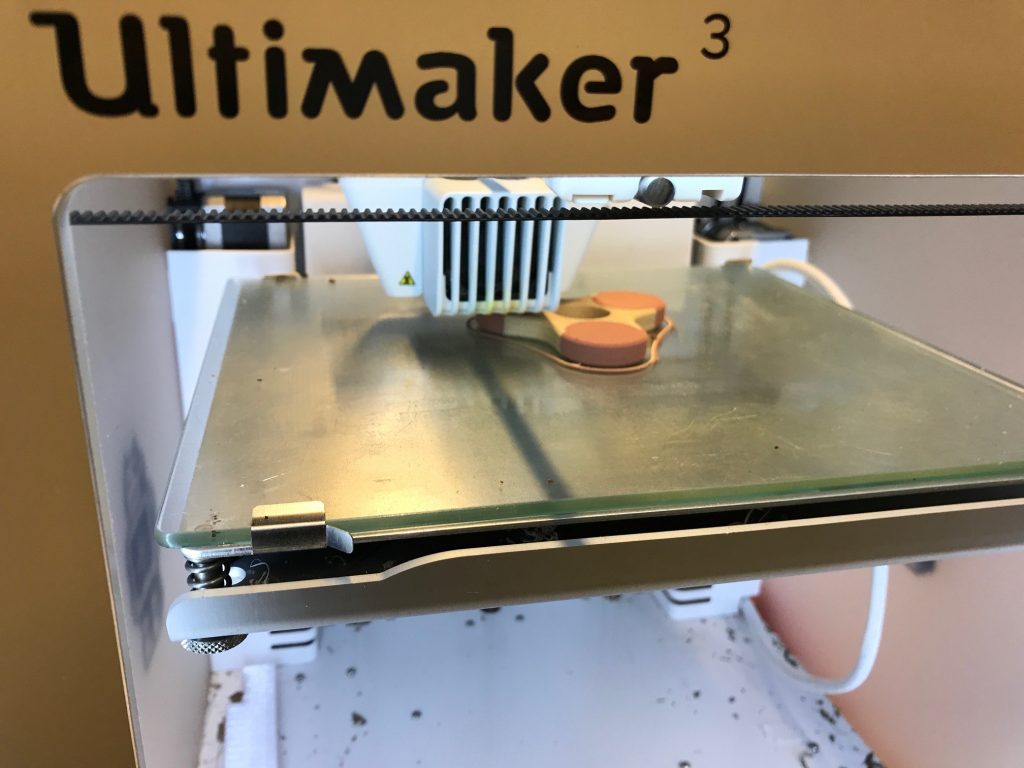
But we’re not done printing and spinning yet… We have another one coming up, printing right now. Here’s a sneak peek: