Filament Duck 2,2kg Spool holder

With the launch of our new Economy PLA on 2,2kg spools, we needed something to hold those big spools during printing. So we used our new material to print our remix of the Filament Duck which was originally designed by Thingiverse user Bold.

Design: http://www.thingiverse.com/thing:1862683

Design: http://www.thingiverse.com/thing:1862683

2,2kg Spools are big! So unfortunately they won’t fit on every printer without help. This Filament Duck allows you to store the spool whilst hanging freely with just enough friction to allow for easy unwinding by the printer. You can place it outside of your 3D printer and feed the filament in just as normal. Now you can enjoy our new Economy line of PLA almost as easily as our other materials.

3dhubs-filament2

This new economy line of PLA filaments by colorFabb delivers a good quality PLA filament in four great colors at very reasonable pricing. ColorFabb PLA Economy is not a standard PLA. It has been modified for better layer adhesion and flow properties to get better performance over other basic PLA filaments. Because it’s made with the same processing technology used for other premium colorFabb products, this PLA Economy will be just as reliable.

Economy PLA is available on 2.2kg spools only, delivering a whopping 740 meters of 1.75mm filament and 270 meters of 2.85mm filament.

We have been testing this material for the better part of the summer and have found this material a great alternative those customers who need a lot of PLA. We are initially releasing PLA Economy in four colors: White (RAL 9010), Black (RAL 9005, Red (RAL 3020) and Silver (RAL 9023).

Other colors that will be added at a later date.

duckxl_003s


Let’s make something clear

We’re taking a look at how to 3D print with a high level of transparency. Our latest material, colorFabb_HT, is highly suited for this because of its high-flow characteristics. More information will be published later once we have it, we’re still very much in the testing-phase. But here are the basics so you can try it yourselves.

colorfabb_HT-6 You can find the model of this print designed by Walter Hsiao on Thingiverse here: http://www.thingiverse.com/thing:854360
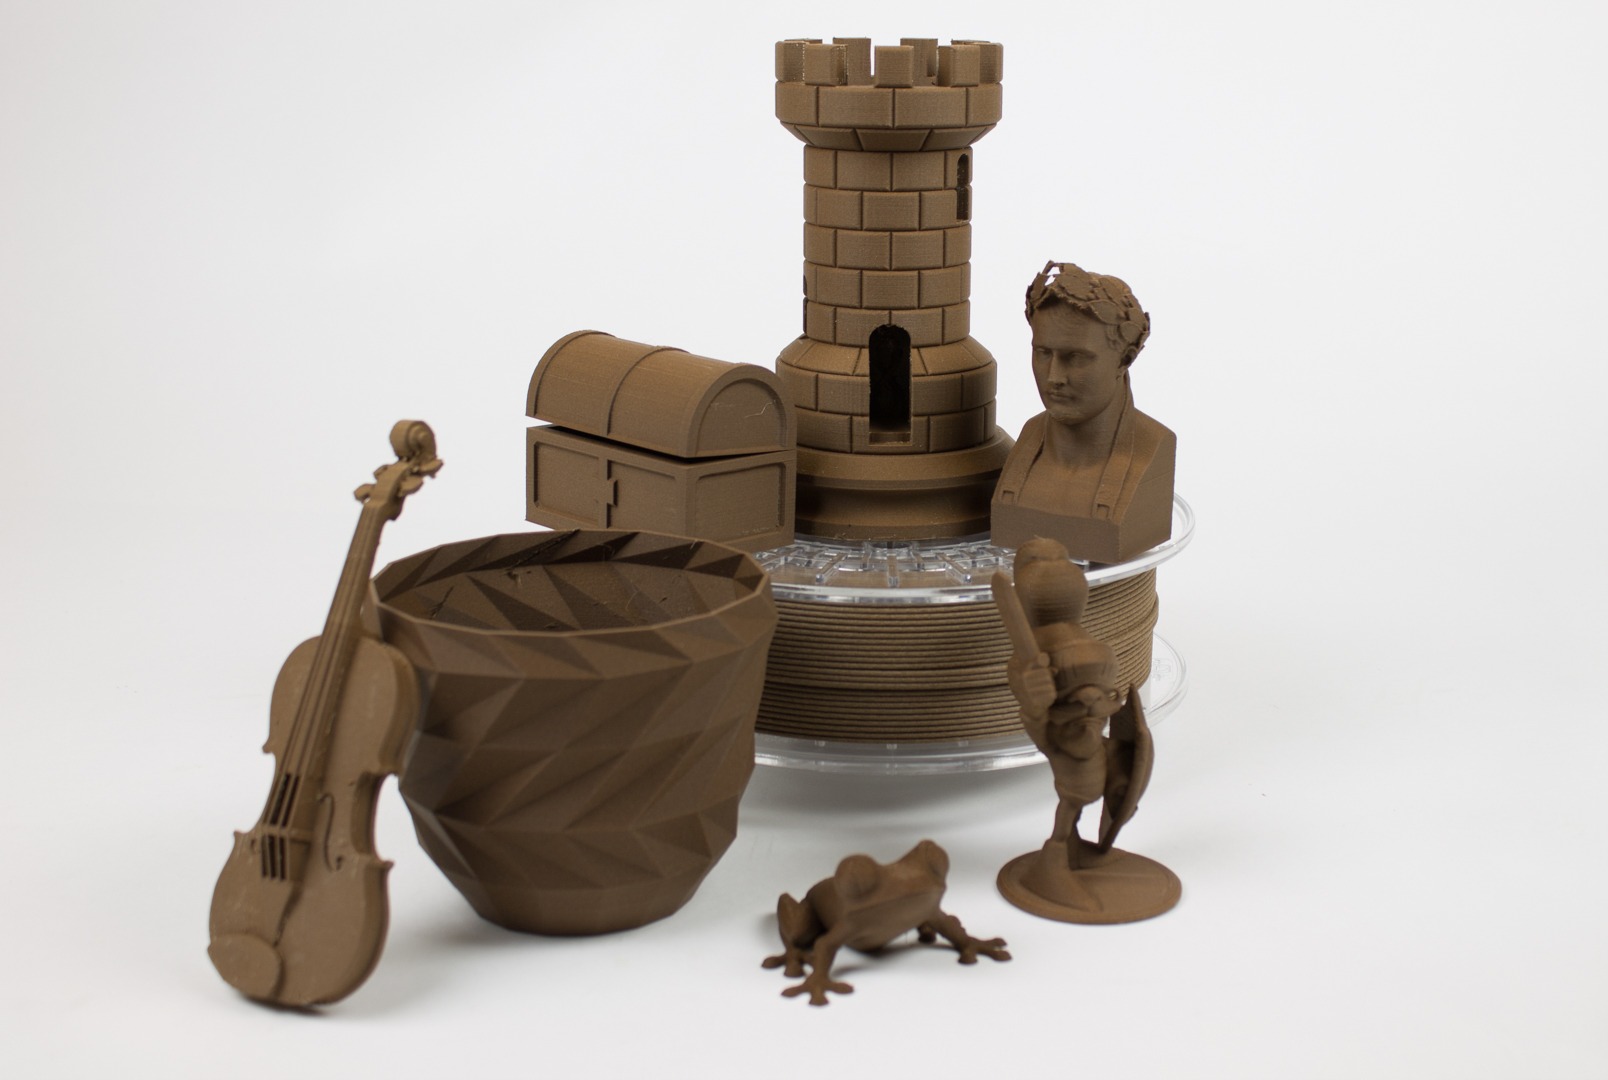
 

colorFabb_HT

Due to the process of 3D printing, there is always a limit to how clear your print will become. With most materials the small gaps in between the 3D printed lines never really gets filled, resulting in a milky look when printing with transparent filaments. colorFabb_HT manages to fully close these gaps, resulting in a fully solid and transparent part. Printing transparent not only means new and exciting optical applications, but it also means maximum toughness as the material is fully fused together.
For more information about the _HT material, take a look here: http://ht.colorfabb.com/


Material and heat

Printing clear products mainly relies on two key aspects: extruding enough material and getting enough heat (energy) into the new material. The easiest way to start is by locking in some settings and only play with temperature, speed and flow.

We’ve started with a 0,8mm nozzle; no cooling; 0,1mm layerheight; 20mm/s and of course 100% infill. In terms of temperature, set your heated bed to the max get your hotend up to at least 260°c. Using this as a starting point, we’ve found settings to print transparent on a few different machines already. But with so much variation between printers (even from the same type!) you will always have to find the best settings for yourself. Also, the bed material has a big influence on the transparency straight out of the printer, the smoother the bed material the better. A coat of 3DLAC on a glass plate seems to work the best for us so far.

Looking at the two key components, first start with getting the right amount of heat into the material. This is a combination of volume per second and nozzle temperature. If your printer has a maximum of 260°c than your stuck playing with speed, otherwise you could try printing a bit hotter to allow for more speed.
Printing too hot will result in minuscule bubbles inside the print and may also cause the part to turn a bit yellowish. Printing too cold will not fuse the sides of the lines together properly and show as white stripes.
With the temperature dialed in, start playing with the flow. Try to turn it up to the maximum without losing (too much) dimensional accuracy or creating a bulge on top of the print. The Ultimaker 2 we used for this required about 110% flow to achieve an optimal filling.

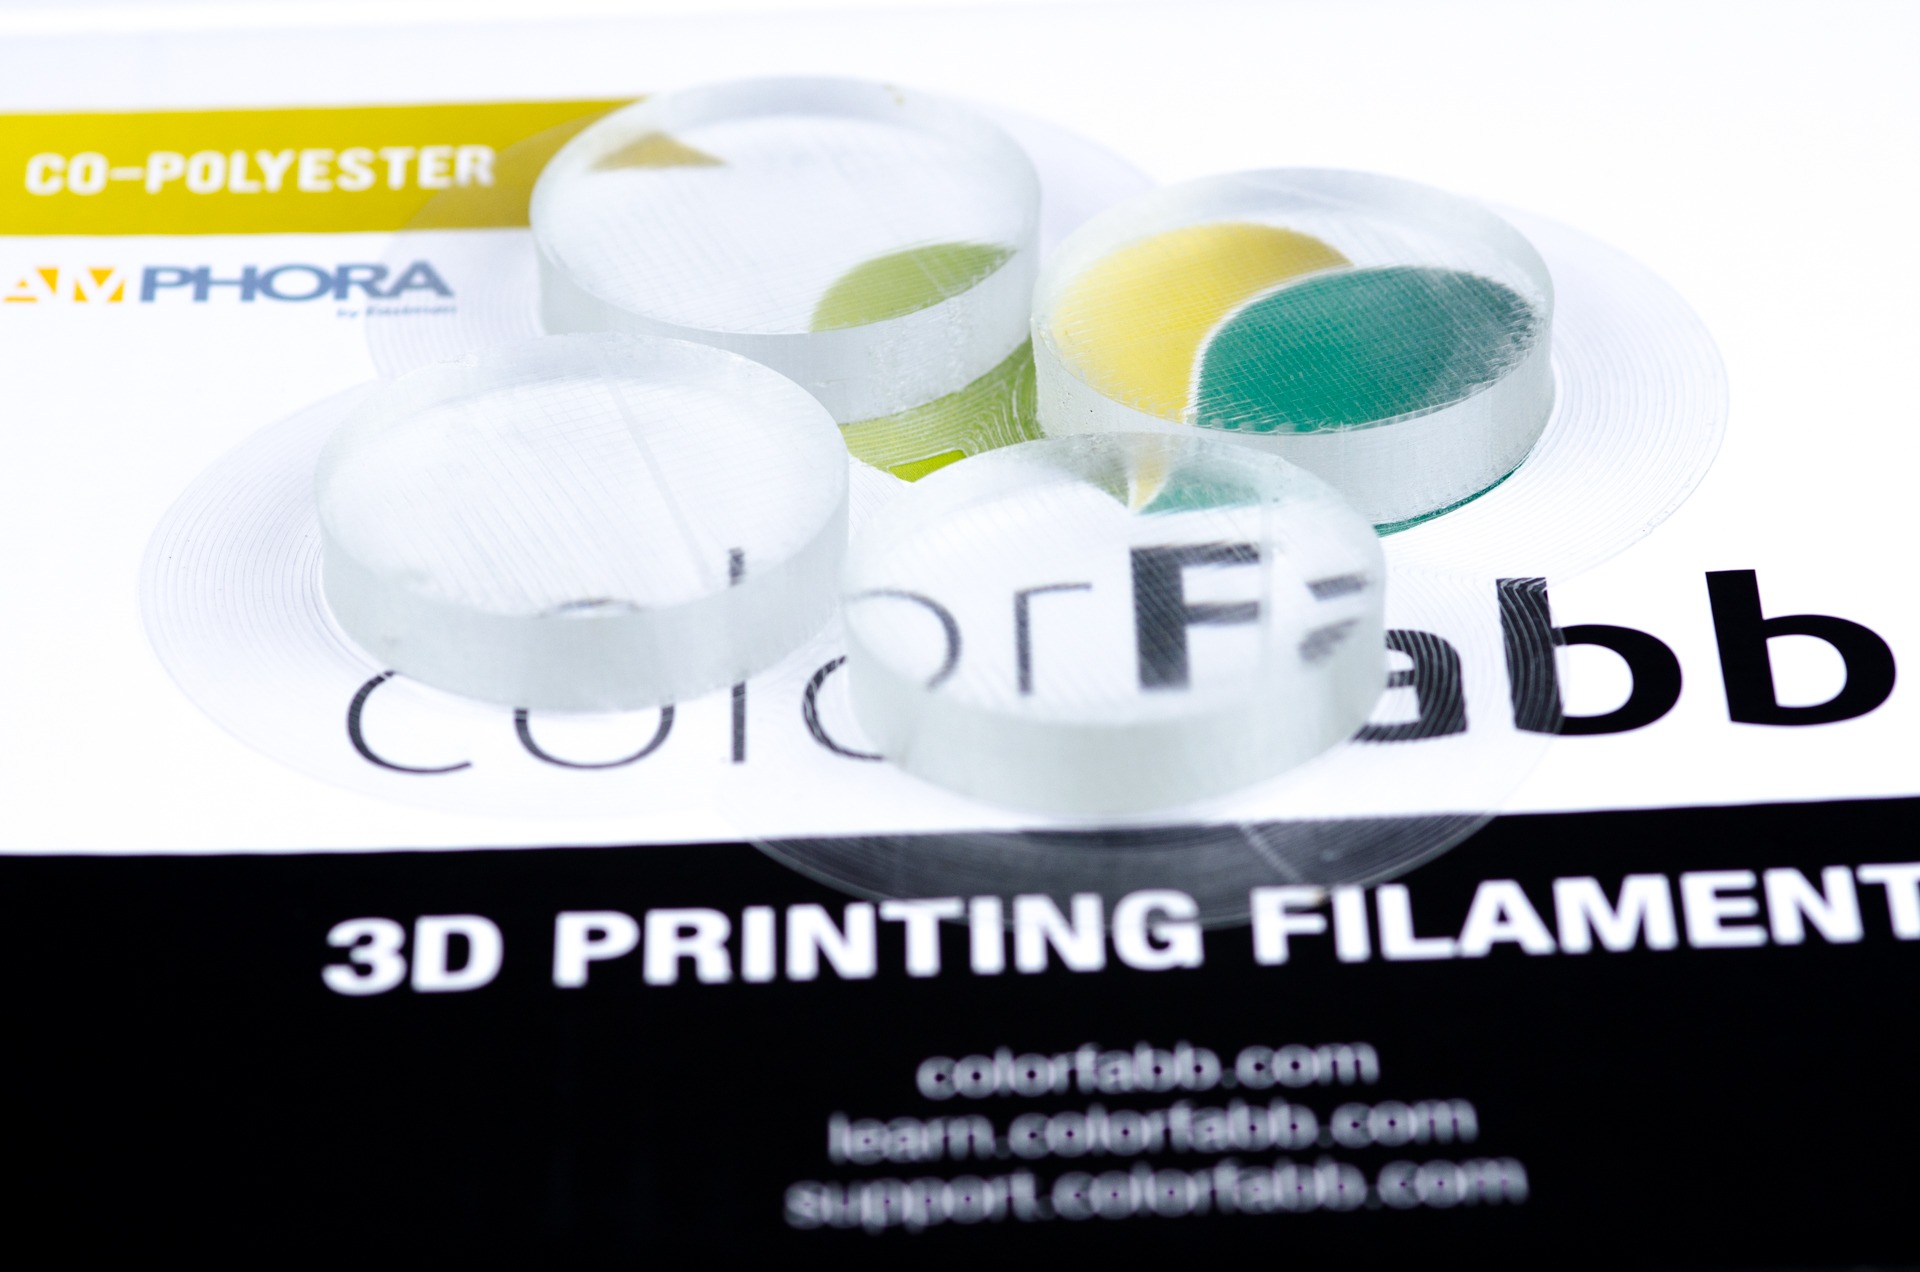
Optimal settings can lead to some very clear and transparent parts straight from the printer. These cylinders have had no post-processing at all.
colorfabb_HT-17

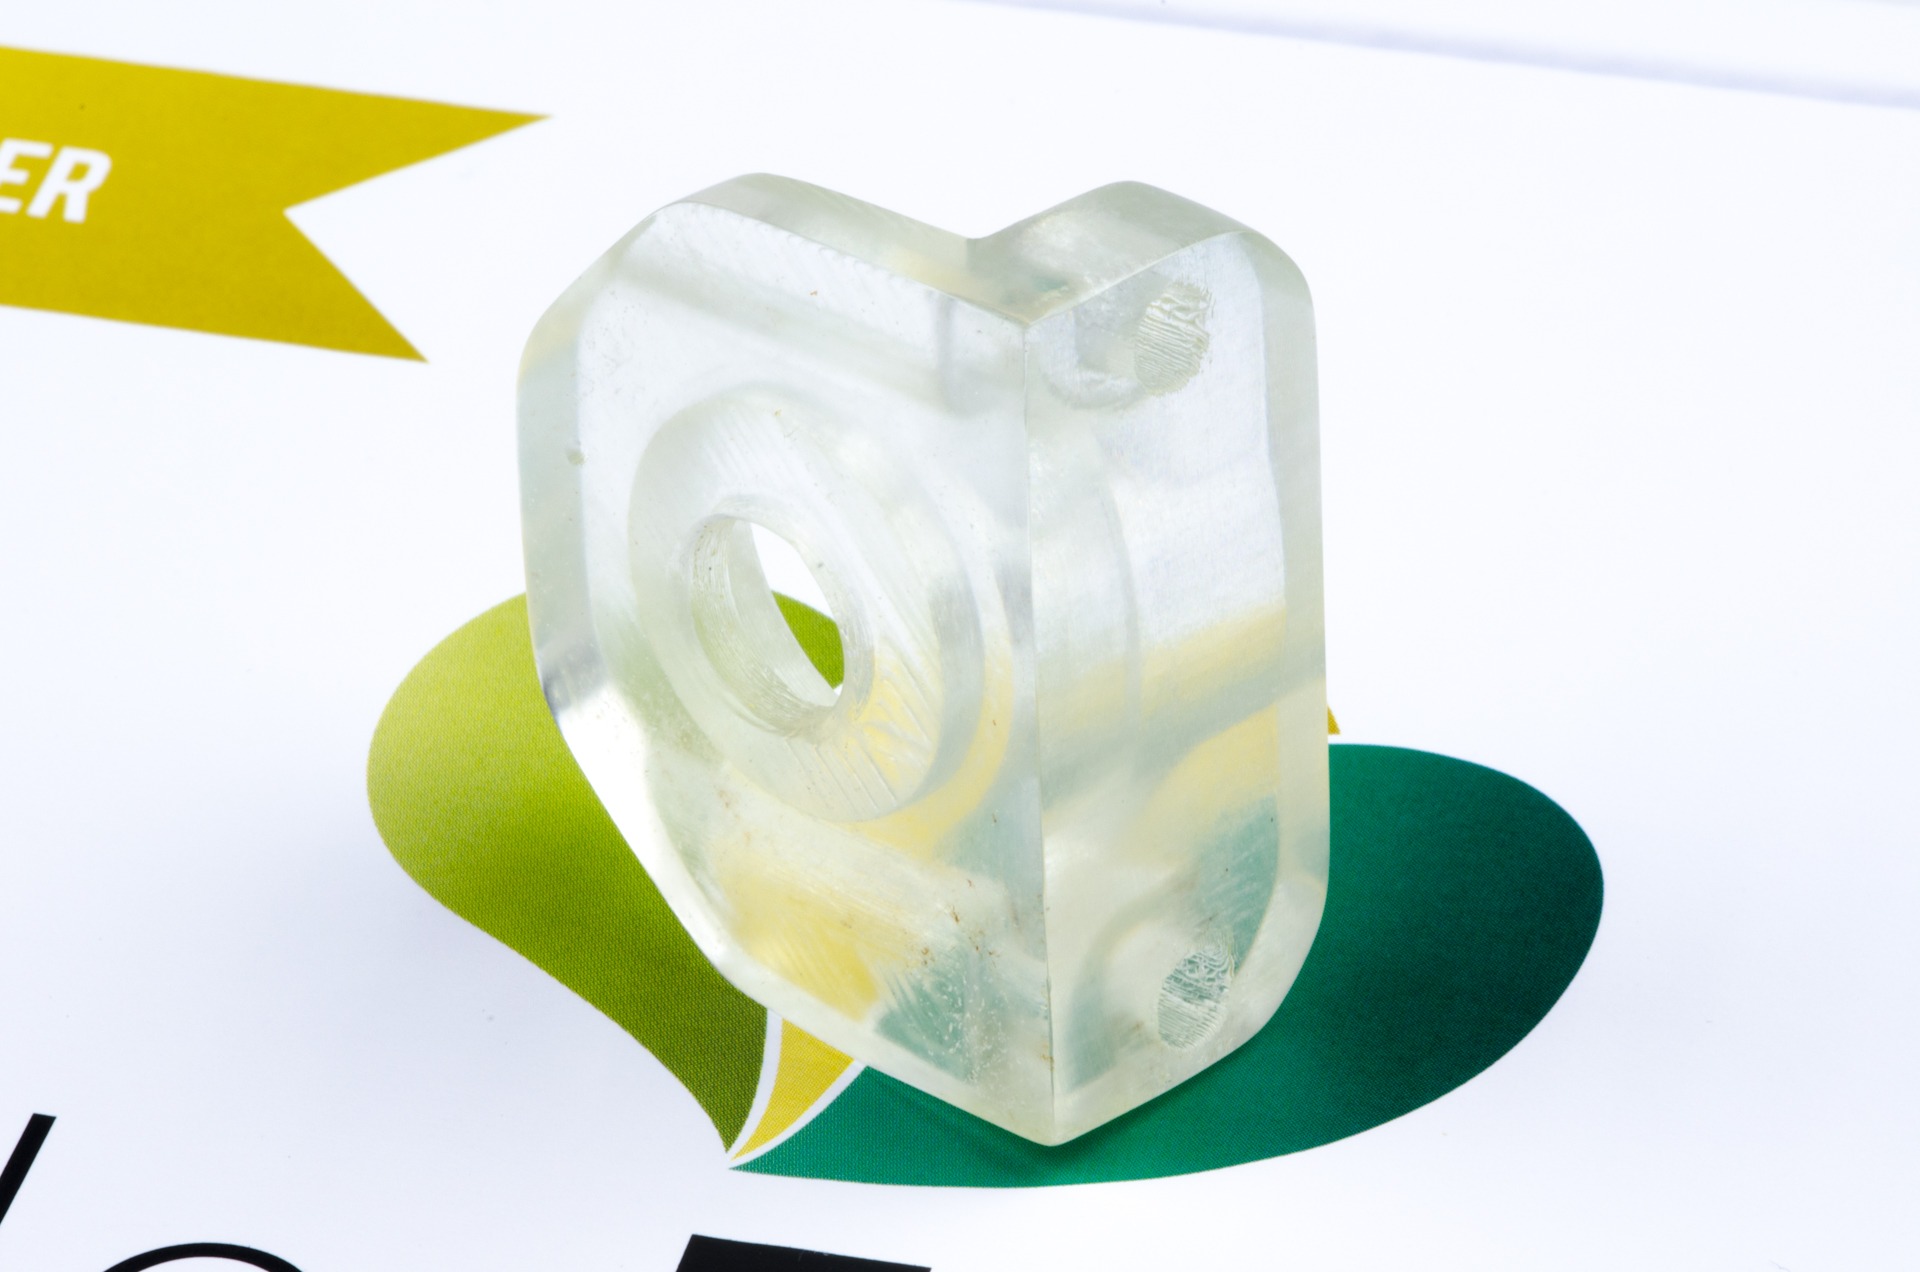
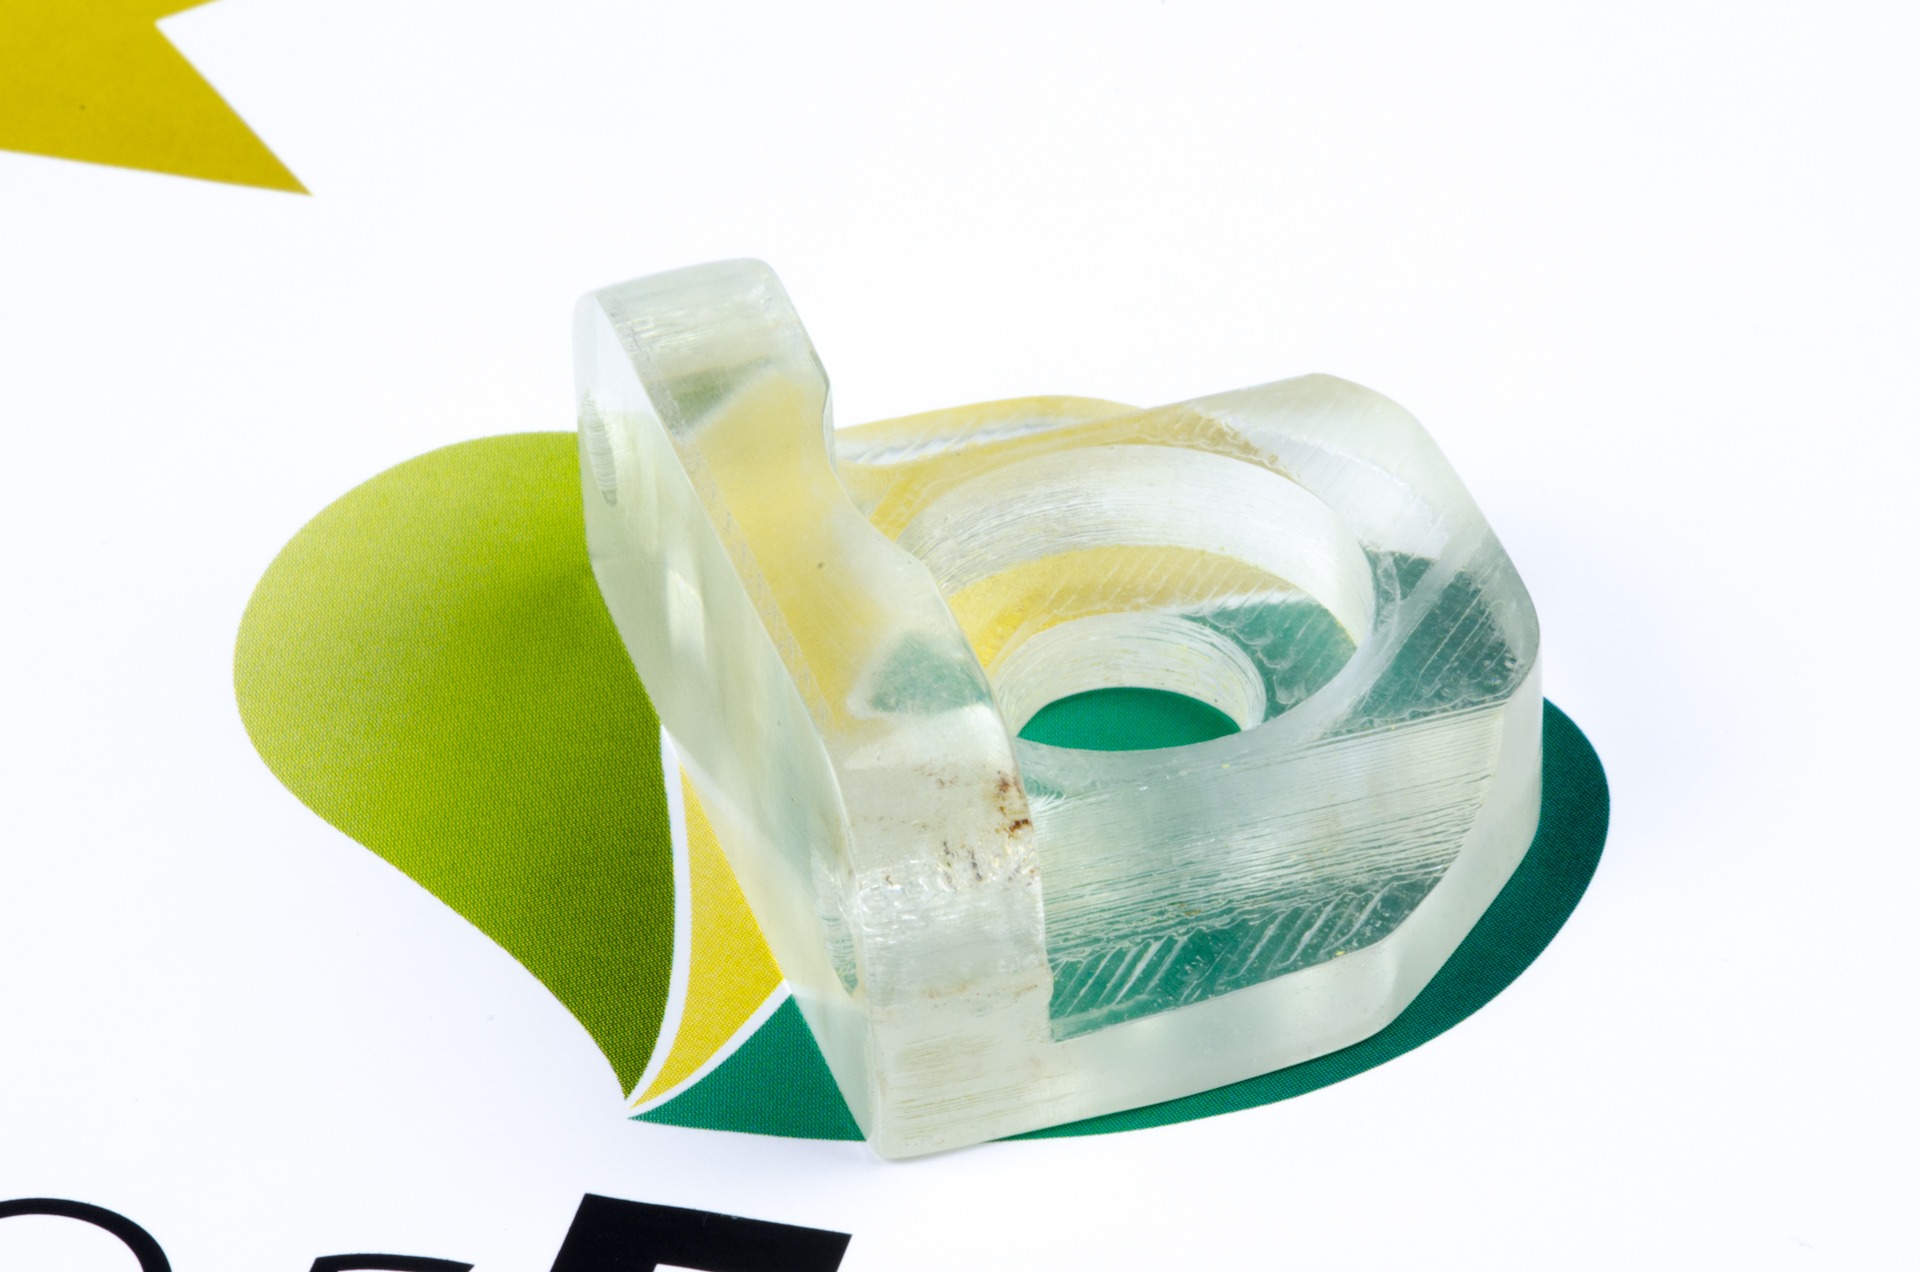
With some extra effort though, you can create parts which look amazingly transparent.
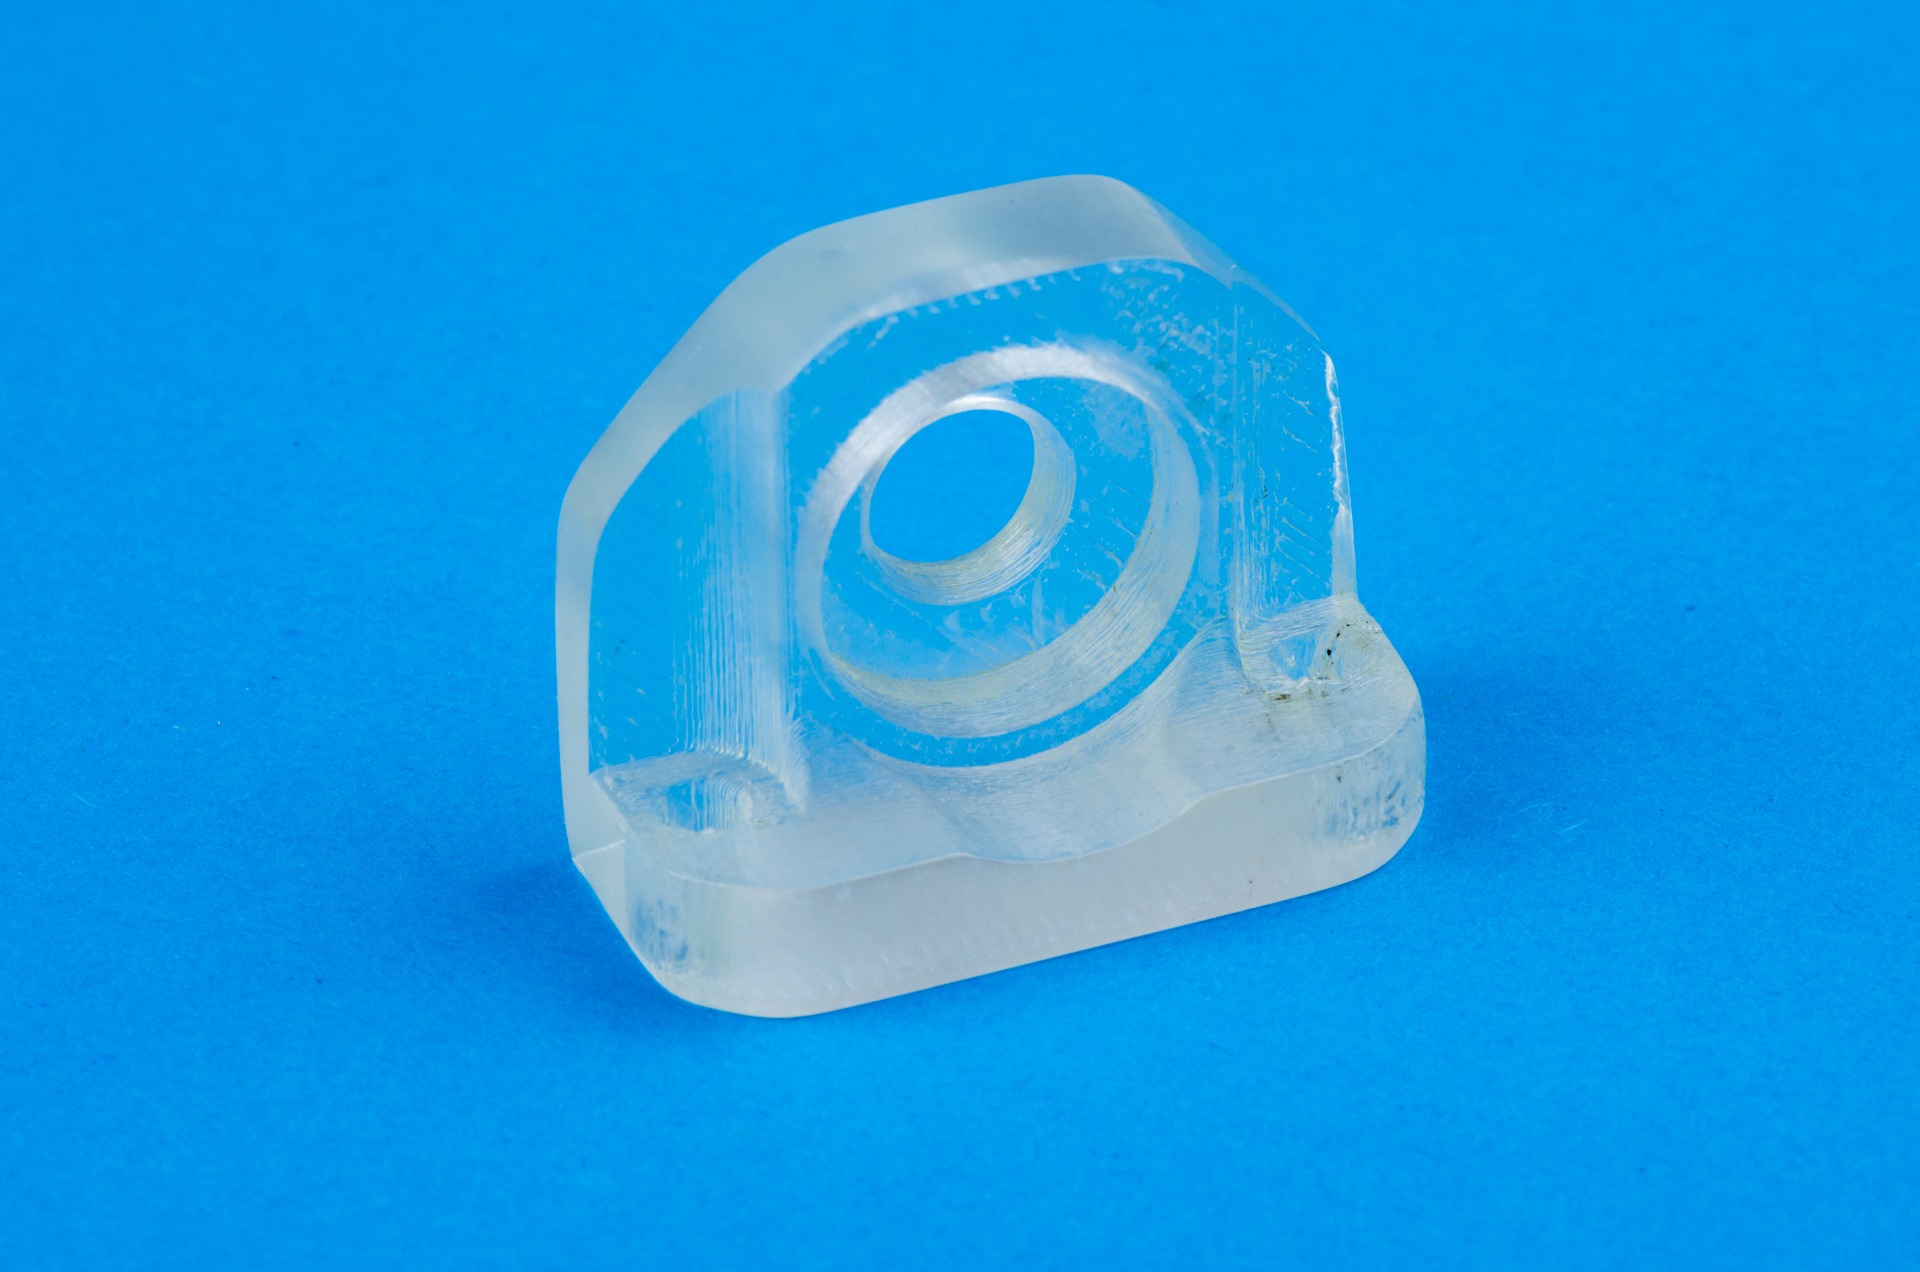
Using the same technique as for post-processing our metal-filled filaments, we have sanded most of the outside of this bearing holder using up to 600 grit sanding paper. This results in a very smooth but matte finish, which you can than polish to create the best transparency we’ve ever seen in a 3D printed part. But more on this later, because we’ve only just started testing this.

Properly photographing a transparent part is quite tricky, take a look at the last (blue) picture to get a better understanding of how transparent it really is.

colorfabb_HT-10

colorfabb_HT

How to print with corkFill

corkFill-13

This is the brand new corkFill based on colorFabb PLA/PHA. If you liked the original woodFill and its successor bamboofill, this one should complement your filament portfolio really well.

To help you getting the best results out of your printer here are some tips for Ultimaker Original, Ultimaker 2 and Makerbot Replicator 2 settings with general advises for other printers.

Continue reading

3D Printed Bike


Summer has come to the Netherlands and we all love to ride a bike here.

3D printed bike

Read more about the 3D printed bike here!

XT-CF20 bike project release

Hey you 3D printing enthusiasts!

So this is what’s possible with everyday’s 3D printers and a suitable filament: the XT-CF20 bike

XT-CF20 bike
The XT-CF20 bike being driven outside colorFabb’s office

I’ve been working on this 3D printed bike during the past 5 months and now we are ready to publish this, it works like charm 🙂

XT-CF20 bike frame
The XT-CF20 bike frame

We’ve used an Ultimaker Original Plus with a 0.8 nozzle to print these parts. Only the handle has been printed on the STACKER.

Printing the entire bike frame would take too much time and material, so we decided to print the lugs and connect tubes to them. The result is an amazingly strong bike frame at an acceptable weight.

The big benefit of making your own bike is that the sizes of the bike can be customized manually before 3D printing to preserve best ergonomics. Various types of tubing can be used including carbon, titanium, aluminum or bamboo.

3D printing allows a huge freedom of forms and allows unique features in the design. This has been used to implement a new kind of adhesive distribution system. With this technique one can assemble the bike and add an polyurethane adhesive which distributes itself to the right places without getting your hands dirty. The strength of the bike frame has been tested with a FEM analysis and, of course in real life use.

the XT-CF20 bike can be downloaded via GrabCAD: https://grabcad.com/library/xt-cf20-bike-3d-printed-bicycle-1

Youmagine: https://www.youmagine.com/designs/3d-printed-bike

Thingiverse: http://www.thingiverse.com/thing:892442


Enjoy 🙂

Stephan

Let‘s Polish!

Hi and welcome back to metal printing,

I finaly got my first busts back from the polisher. It‘s pretty impressive, the material changed fully from dull and shineless to a real metal look. Now I‘m wondering if there is the possibility to achieve this finishing at home too. I tested different kinds of polishing which everyone of us could use at home: Trumbling with screws, ceramic and steel; polishing with steelwhool and sandpaper and (my favorite!) „Dremel“- tools. I like this methode and what is possible with it. But it is still far away from professional polishing. The professional one looks like real metal and mine looks more like shine plastic.

So I would like to hear about your methodes and the experiences with it. Did you already try to polish your metal prints? And if yes how does it look and what did you find out?

blog2

On the left side you can see the professional polished bust in comparison with an unpolished one. And on the right side is an unfinished print which I used for testing the Dremel – tools for polishing.

I‘m looking forward to hearing from you.

Your Ines

XT-CF20 update

Ladies and gentlemen, the waiting is over!

I proudly present the first bike that I am going to build here:

3d printed bike from xt-cf20

The concept is that you have printed connection parts that can be customized via the customizer, so that you can take any kind of tubing that you have or that you want to use like carbon fiber (xt-cf20), bamboo or metal tubes.

So what do you think about this concept?

Let’s carry out a survey!

To get in touch and get a first impression about our customers I would appreciate if you take 2 minutes to answer this short survey concerning my project.

>here<

Busts_polished_small

Kind regards,

Ines

Let’s print metal!

My name is Ines Cebulla. I‘m 23 years old and was born in germany. I‘m an open minded person who is interested in new experiences with technology and design. Currently I‘m studying Industrial Product Design at Fontys Hoogeschool Venlo and will most likely graduate next summer with the Bachelor of Engeneering. For my Bachelor‘s Thesis I‘m working on a five months internship at Colorfabb.

profilbild_ines580x387

Colorfabb has the possibility to print bronze-, copper- and brassfilaments and give it a professional polish finish. My assignment is to test the possiblities of these materials. We want to print busts, works of art and other products for our clients with this method. Therefore we need to know which products are printable and how it is possible to scan people and products in the best way. What are you interested in and do you already have experiences with 3D scanning? All this I want to know to elaborate a concept for a printshop which makes your scans a product. I would appreciate to get your feedback and support.