We’re taking a look at how to 3D print with a high level of transparency. Our latest material, colorFabb_HT, is highly suited for this because of its high-flow characteristics. More information will be published later once we have it, we’re still very much in the testing-phase. But here are the basics so you can try it yourselves.
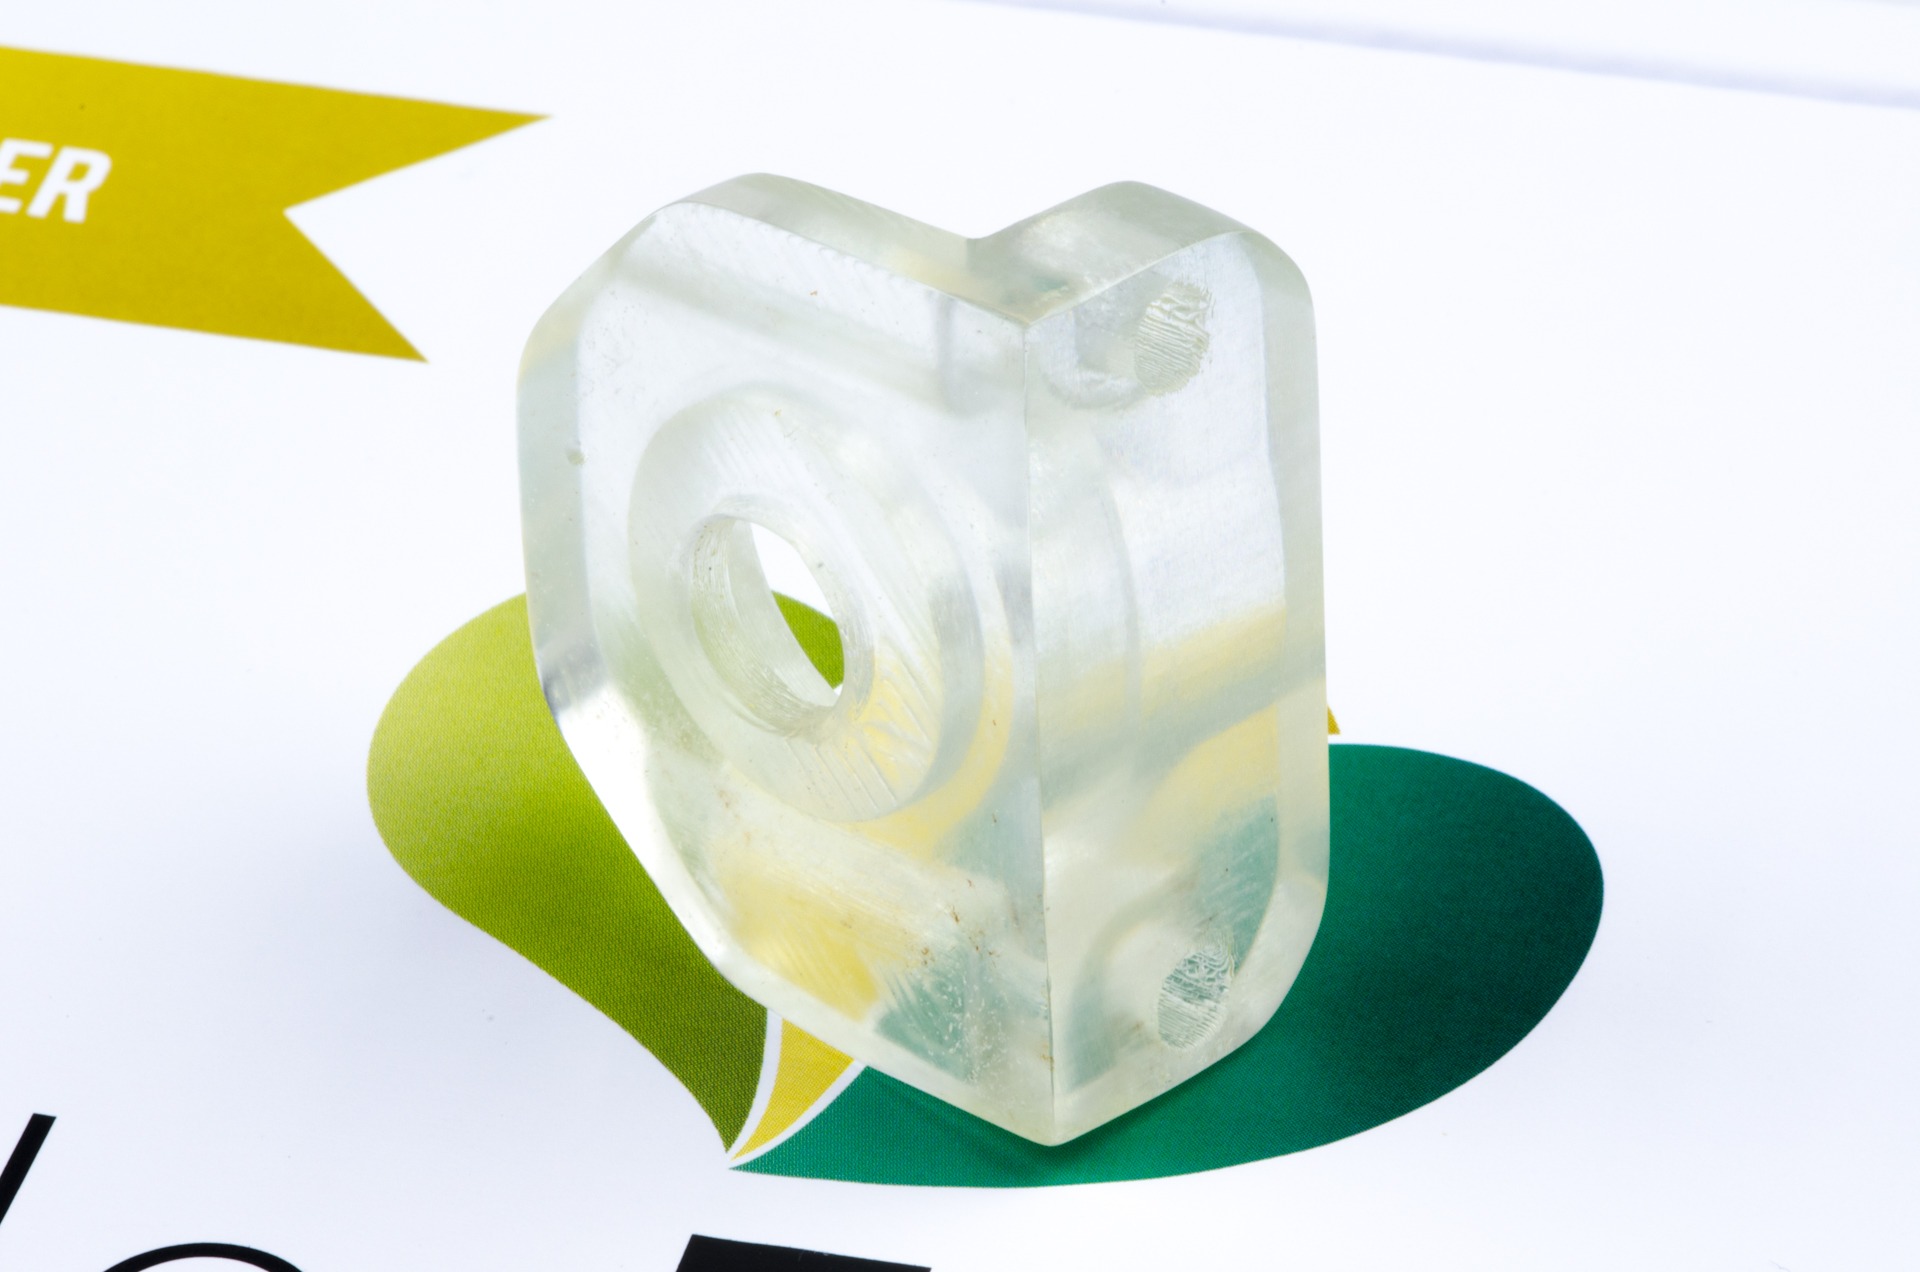
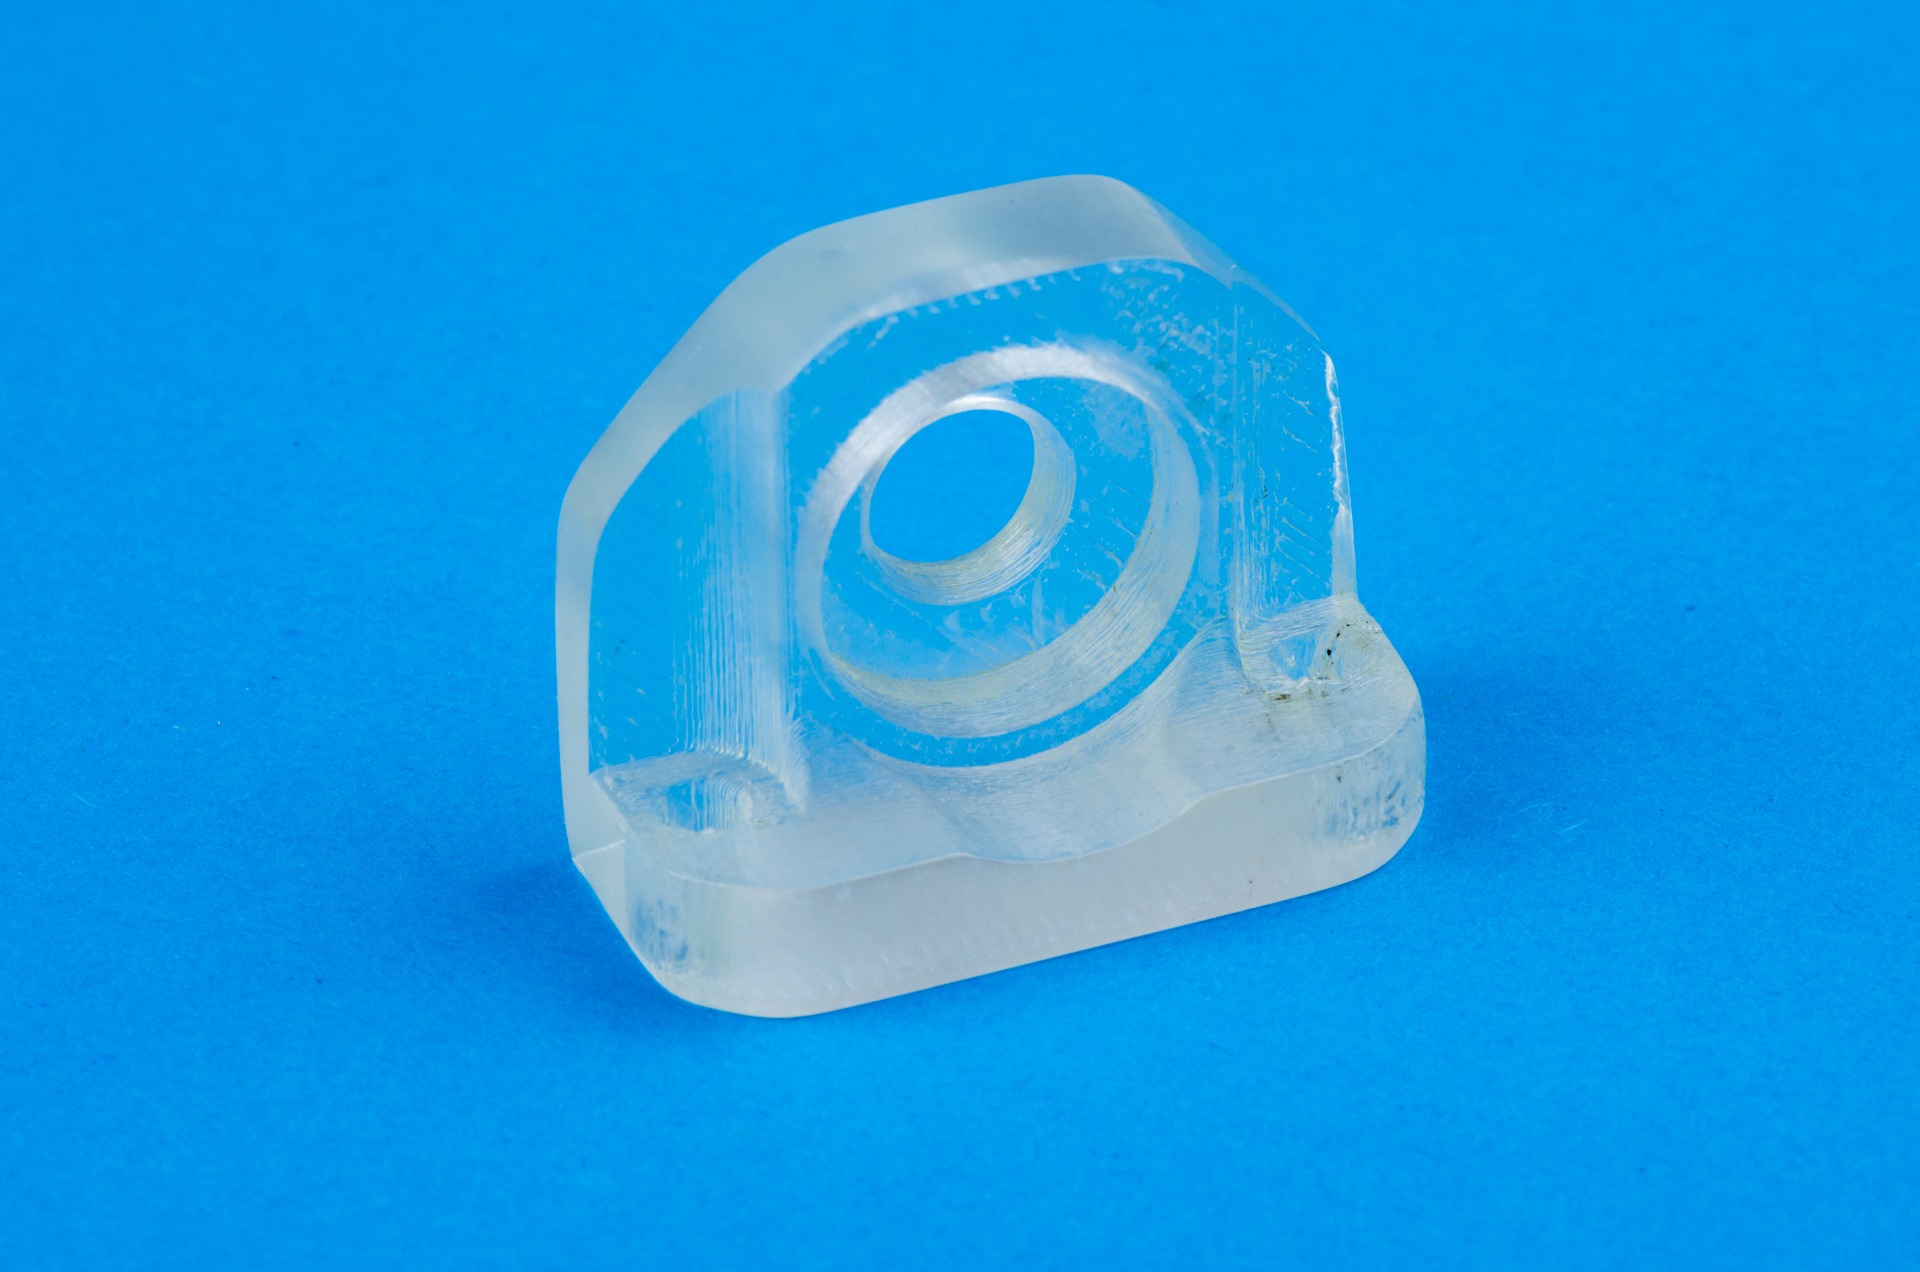
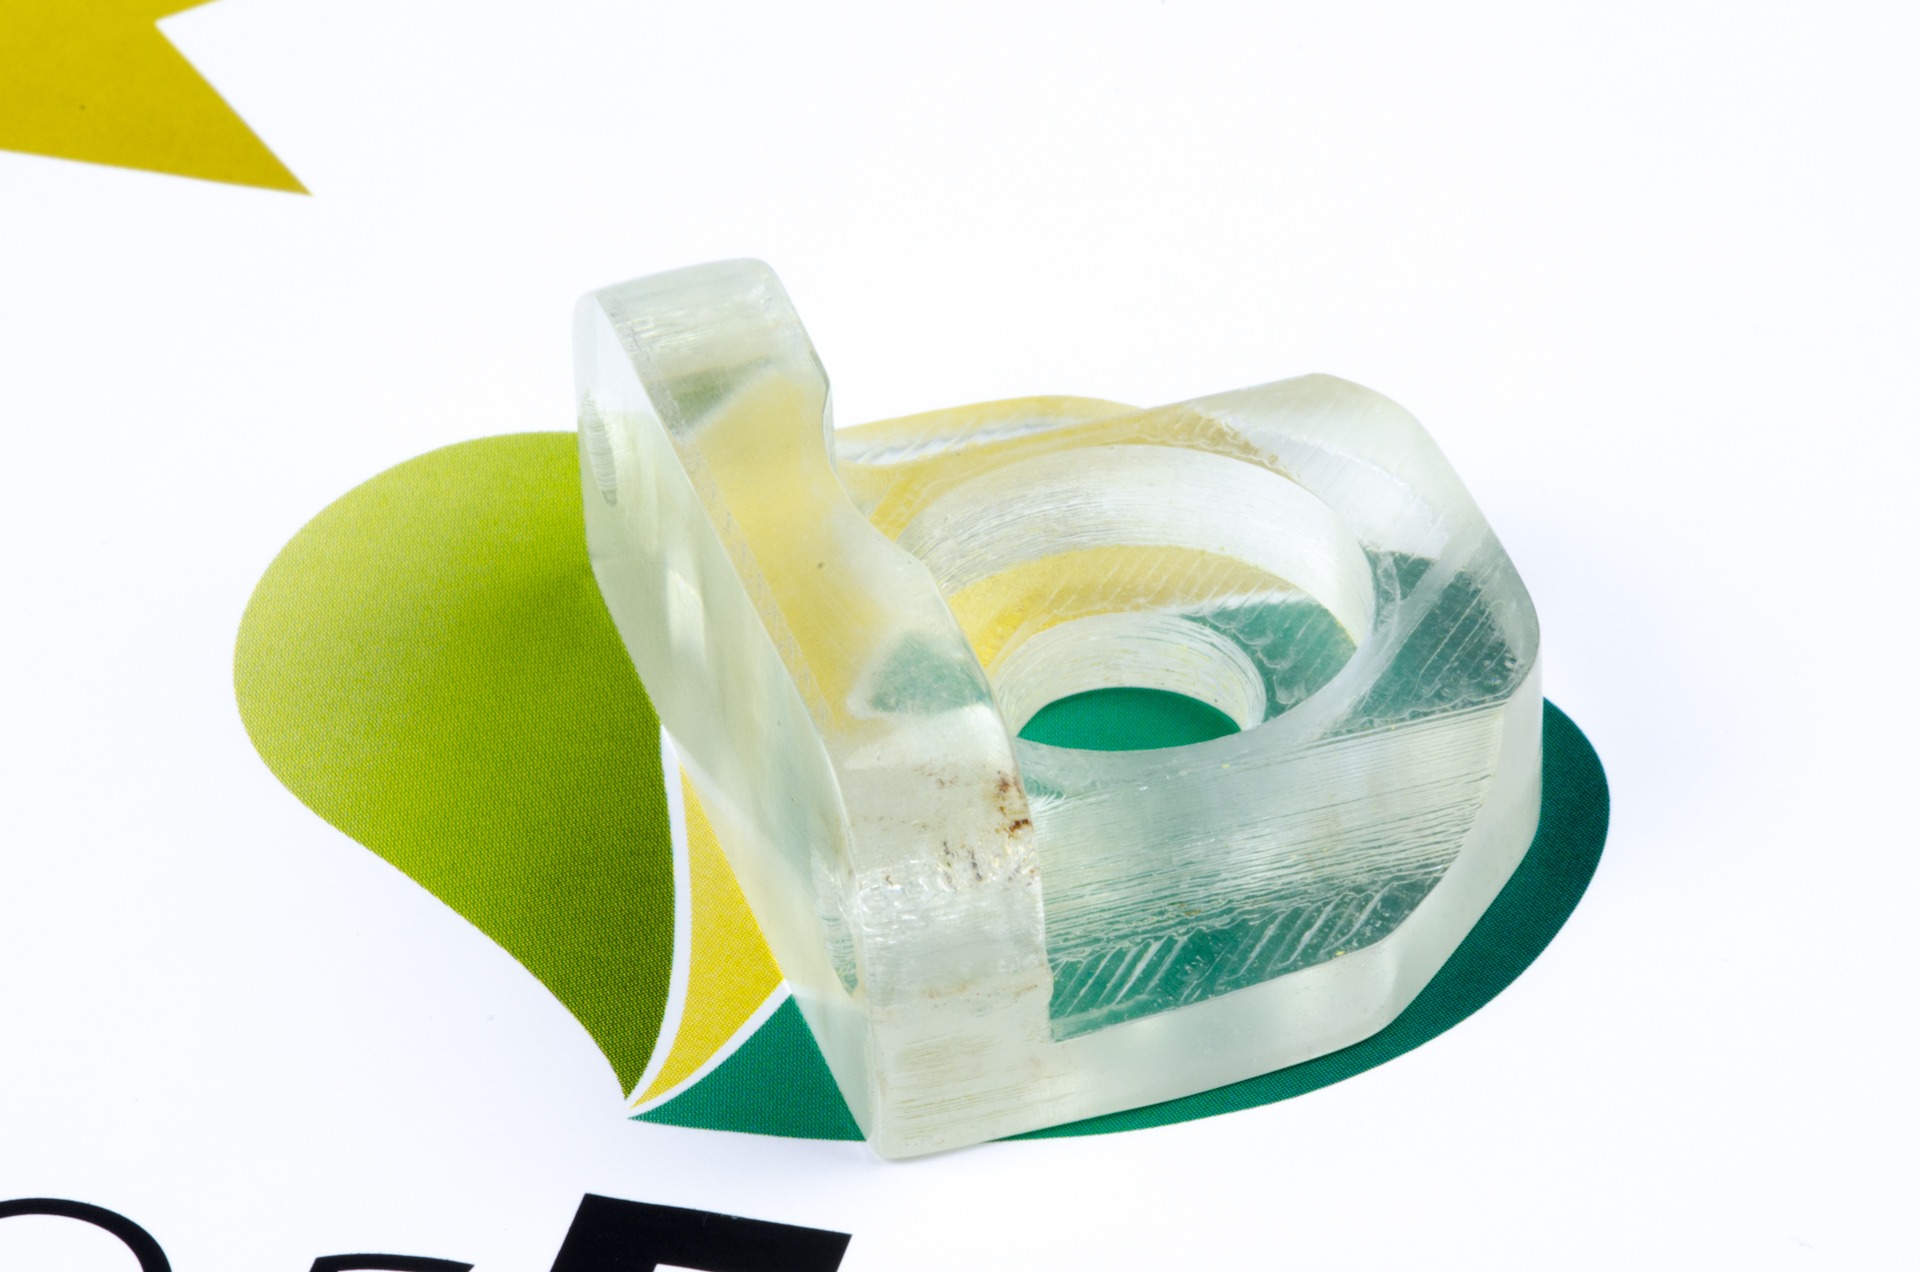 You can find the model of this print designed by Walter Hsiao on Thingiverse here: http://www.thingiverse.com/thing:854360
colorFabb_HT
Due to the process of 3D printing, there is always a limit to how clear your print will become. With most materials the small gaps in between the 3D printed lines never really gets filled, resulting in a milky look when printing with transparent filaments. colorFabb_HT manages to fully close these gaps, resulting in a fully solid and transparent part. Printing transparent not only means new and exciting optical applications, but it also means maximum toughness as the material is fully fused together.
For more information about the _HT material, take a look here: http://ht.colorfabb.com/
Material and heat
Printing clear products mainly relies on two key aspects: extruding enough material and getting enough heat (energy) into the new material. The easiest way to start is by locking in some settings and only play with temperature, speed and flow.
We’ve started with a 0,8mm nozzle; no cooling; 0,1mm layerheight; 20mm/s and of course 100% infill. In terms of temperature, set your heated bed to the max get your hotend up to at least 260°c. Using this as a starting point, we’ve found settings to print transparent on a few different machines already. But with so much variation between printers (even from the same type!) you will always have to find the best settings for yourself. Also, the bed material has a big influence on the transparency straight out of the printer, the smoother the bed material the better. A coat of 3DLAC on a glass plate seems to work the best for us so far.
Looking at the two key components, first start with getting the right amount of heat into the material. This is a combination of volume per second and nozzle temperature. If your printer has a maximum of 260°c than your stuck playing with speed, otherwise you could try printing a bit hotter to allow for more speed.
Printing too hot will result in minuscule bubbles inside the print and may also cause the part to turn a bit yellowish. Printing too cold will not fuse the sides of the lines together properly and show as white stripes.
With the temperature dialed in, start playing with the flow. Try to turn it up to the maximum without losing (too much) dimensional accuracy or creating a bulge on top of the print. The Ultimaker 2 we used for this required about 110% flow to achieve an optimal filling.
Optimal settings can lead to some very clear and transparent parts straight from the printer. These cylinders have had no post-processing at all.
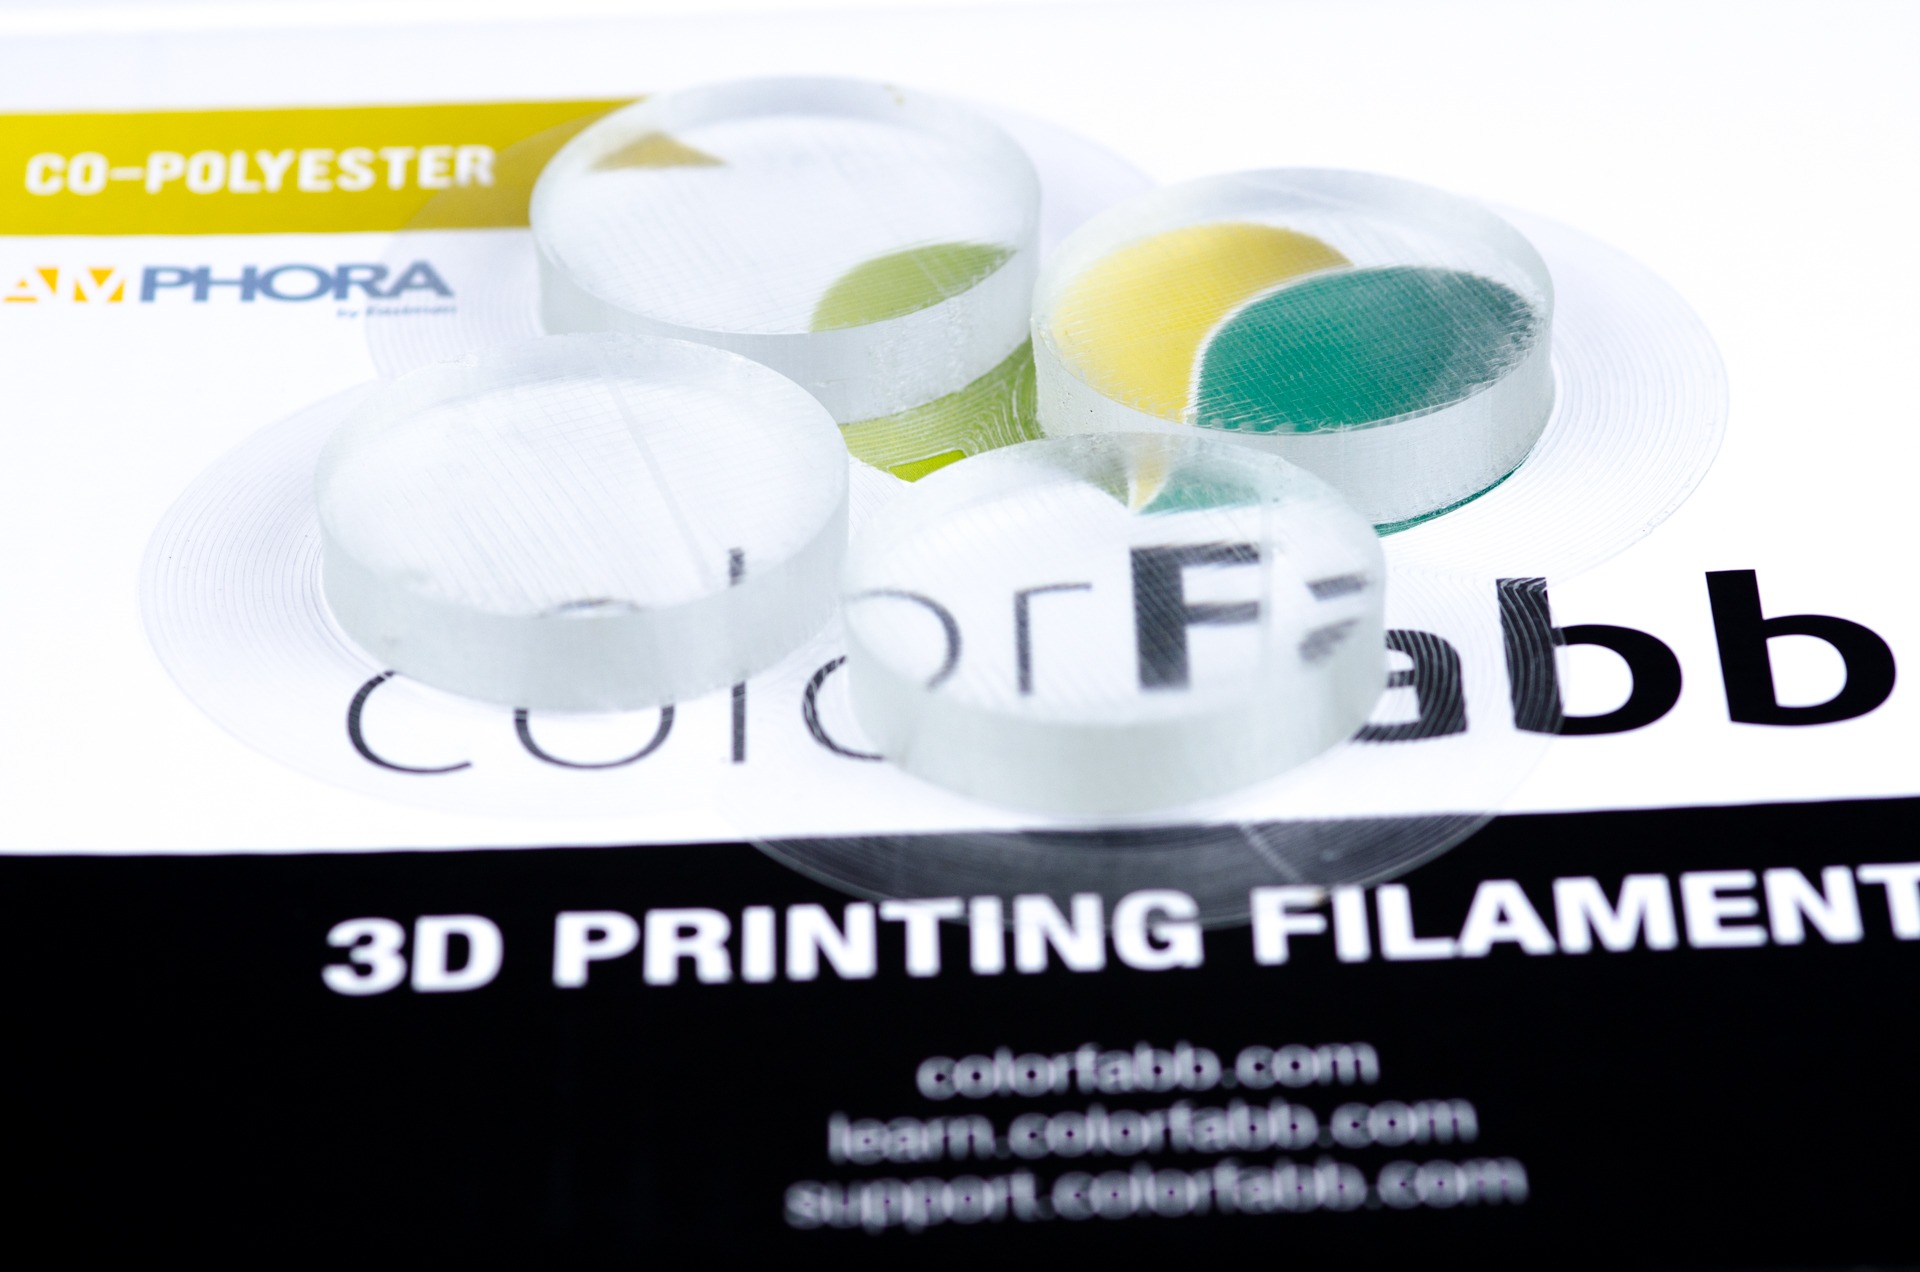
With some extra effort though, you can create parts which look amazingly transparent.
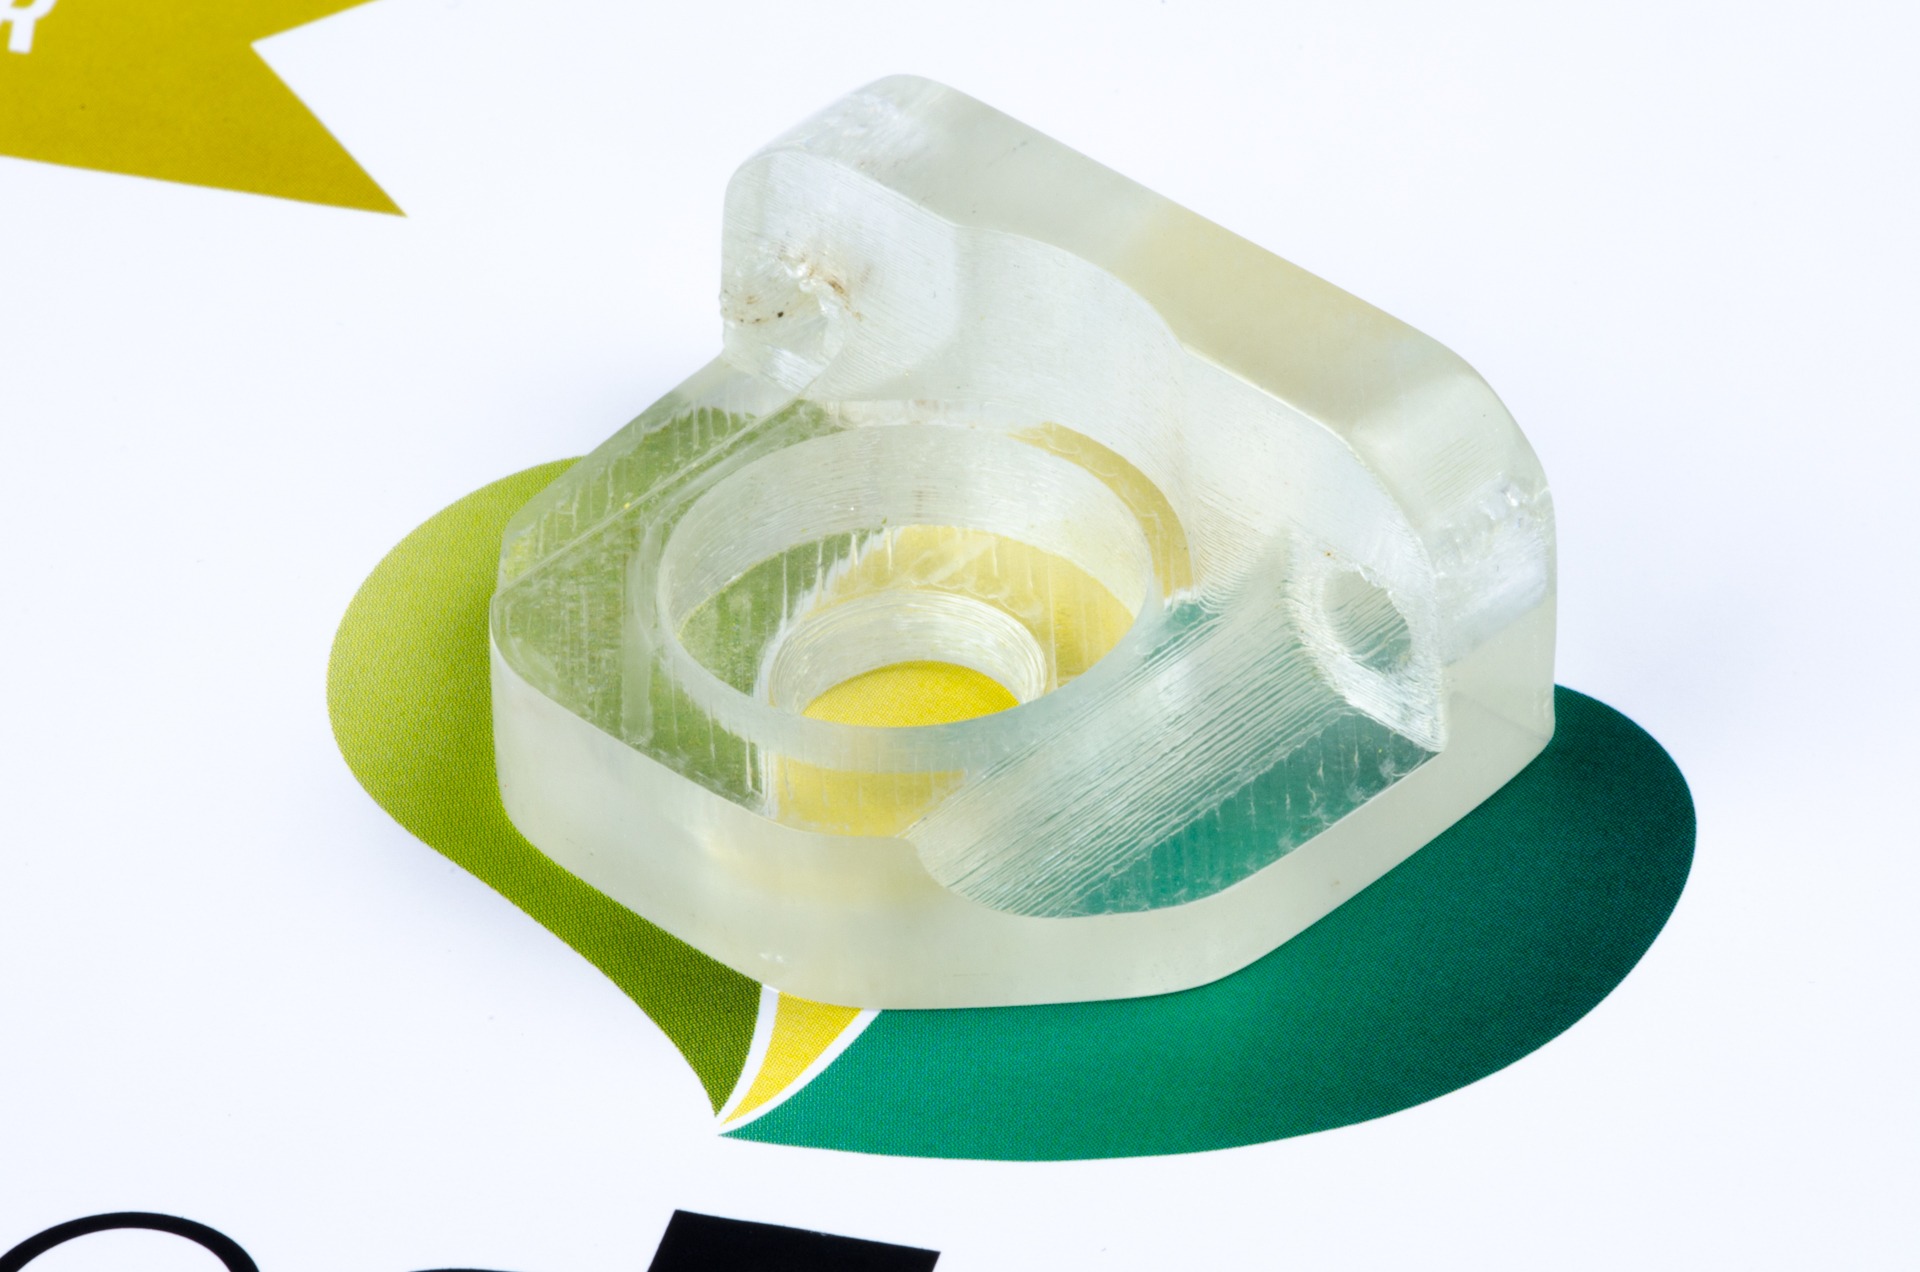
Using the same technique as for post-processing our metal-filled filaments, we have sanded most of the outside of this bearing holder using up to 600 grit sanding paper. This results in a very smooth but matte finish, which you can than polish to create the best transparency we’ve ever seen in a 3D printed part. But more on this later, because we’ve only just started testing this.
Properly photographing a transparent part is quite tricky, take a look at the last (blue) picture to get a better understanding of how transparent it really is.
