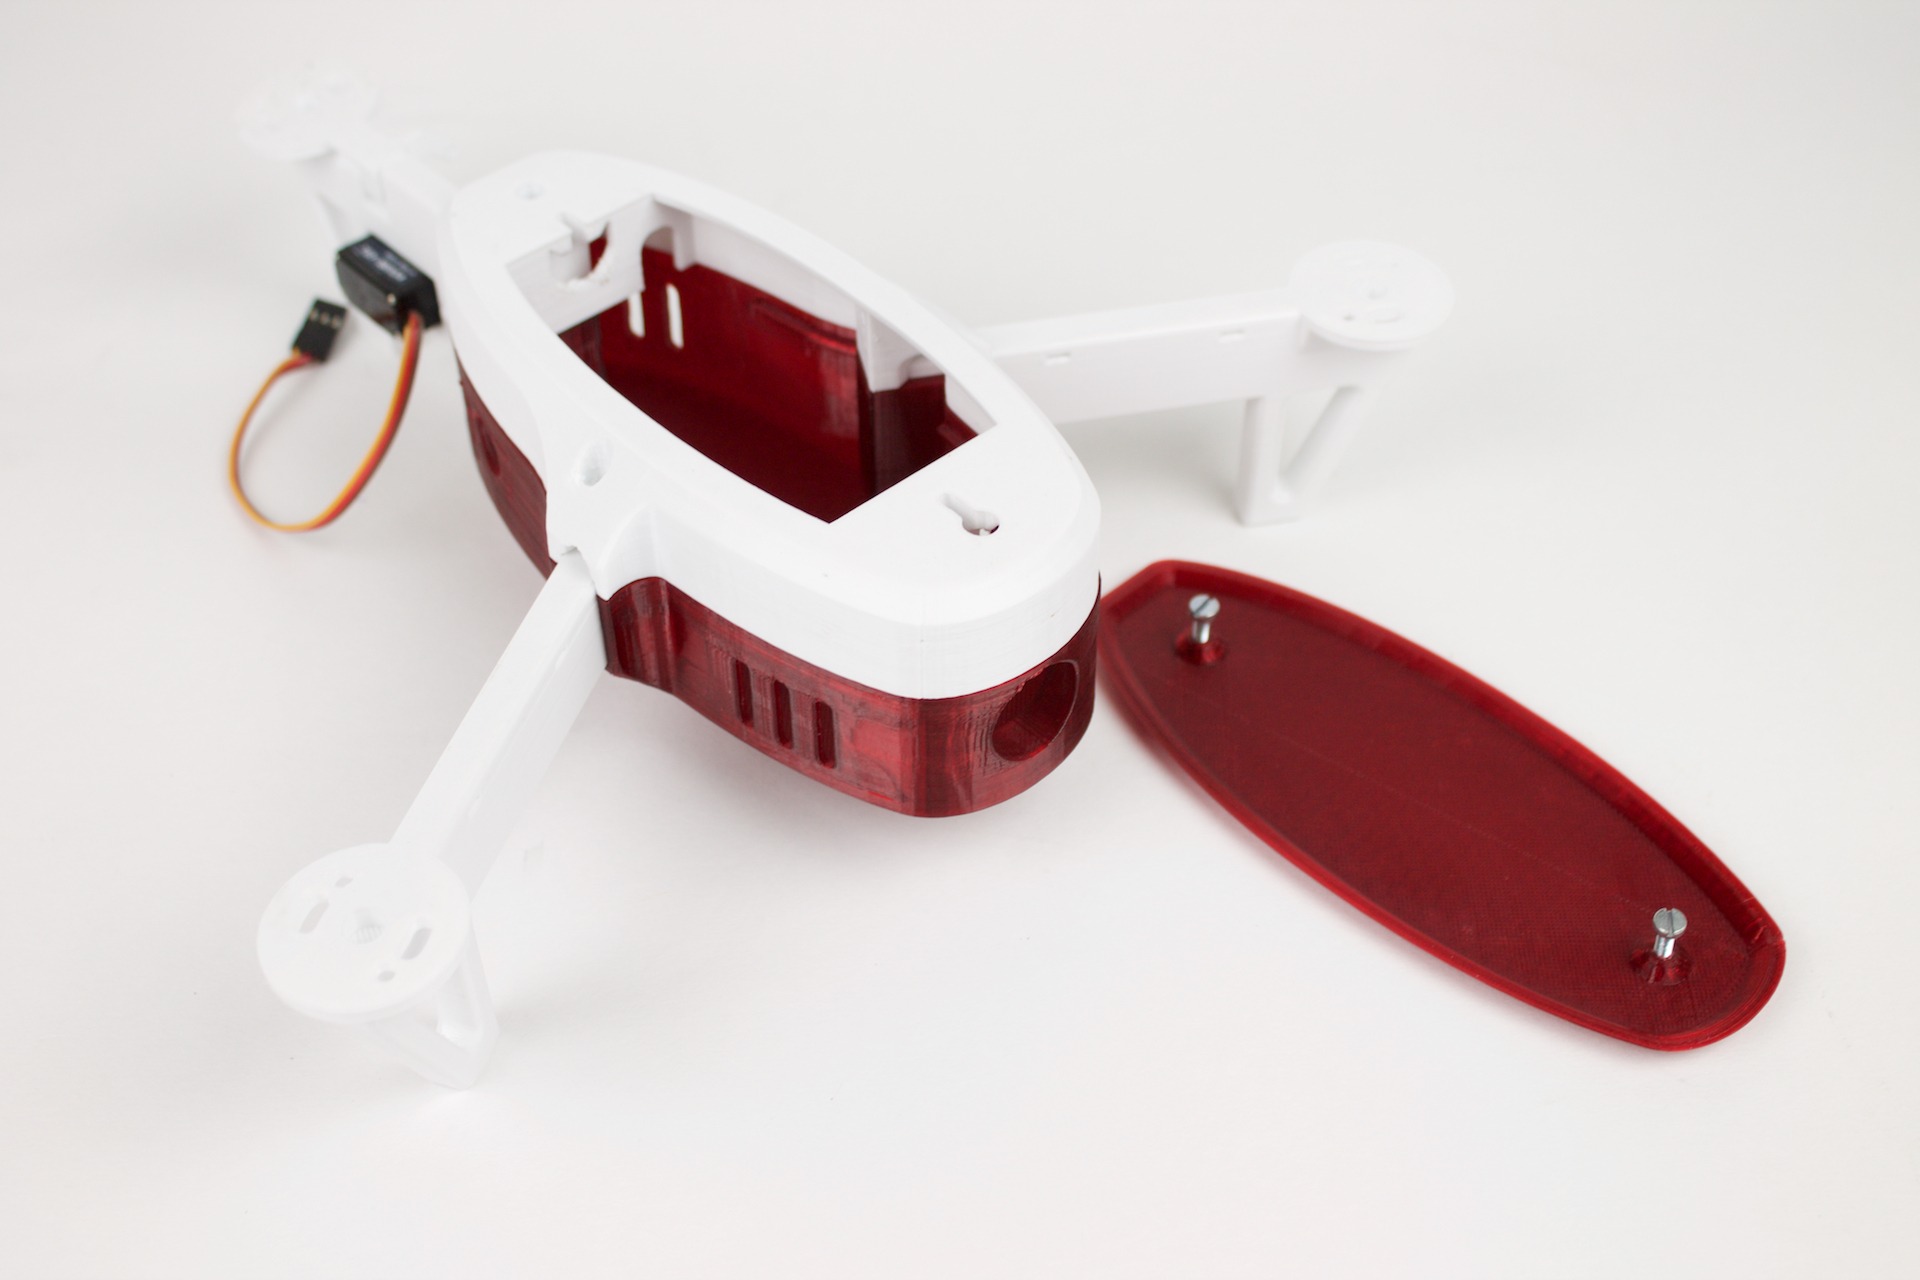
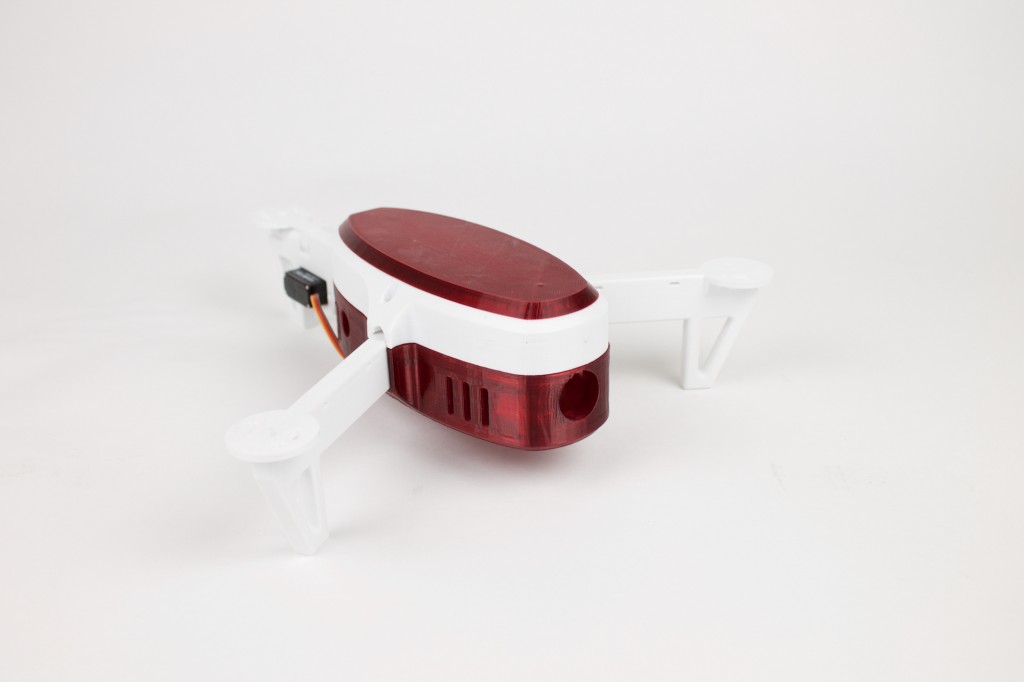
We’re always on the look out for amazing DIY projects that relate to 3D printing. Just the other day a new tri-copter design was posted on Flitetest.com by rocketman1092 which really caught my eyes. Then moments later it also appeared on thingiverse, so naturally we had to start making this right away.
Material & Slicing
The choice of material was easy. We needed something that was tough and resistant to heat so we decided on our XT 3D printing filament. All parts were printed on a Makerbot Rep
licator 2, with buildTak build plate. The buildTak plate allows you to print XT (with almost nog warping) without a heated build platform. For small parts one must use a slicer profile with cooling, but for larger parts it’s better to disable cooling so parts won’t start warping.
Makerbot Replicator 2 slicer profiles for XT filament:
0.2mm layerheight – 230C – Fan On
0.2mm layerheight – 230C – Fan Off
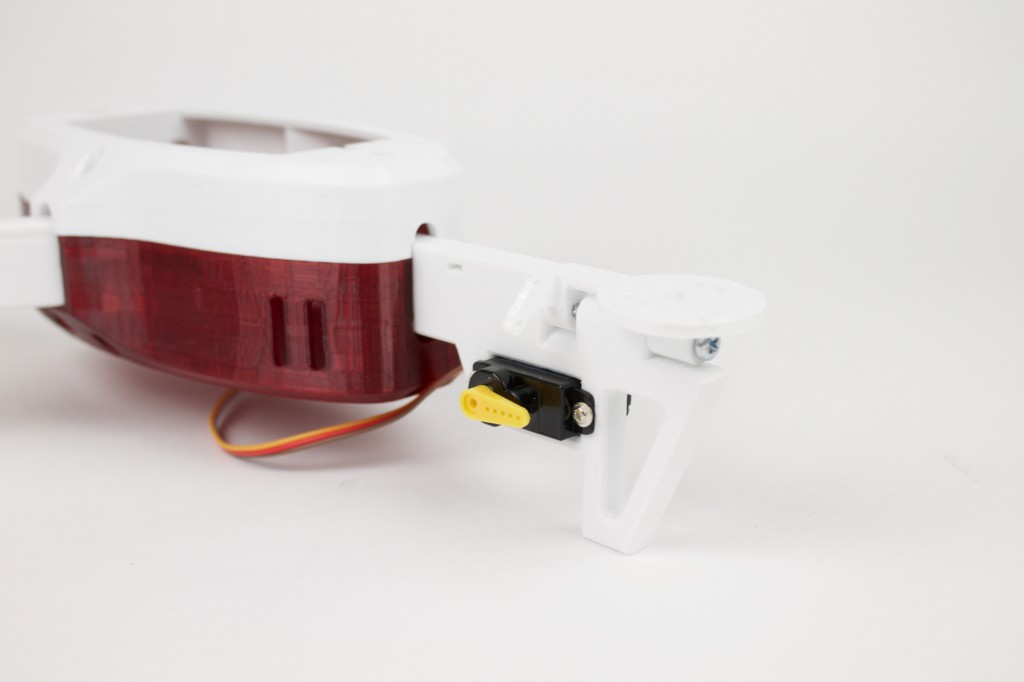
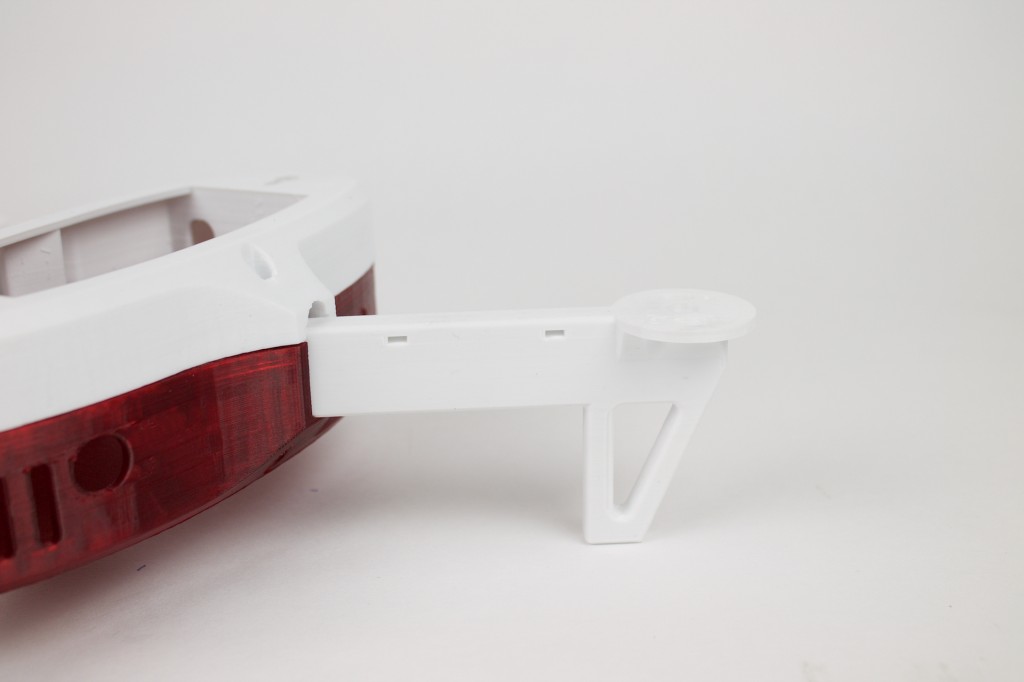
The 3D printed parts showed excellent layer adhesion using these settings, so they should be able to take a beating. Printing all the parts took roughly 12-14 hours, therefore making spare parts shouldn’t take too long.
Ordering Parts
Next step is of course buying the parts that we need to make this thing fly. Our tri-copter will have the following set-up
Motors
Multistar 2206-2150KV
ESC
Afro ESC 12Amp SimonK Firmware
Control Board
Naze 32 Acro
Propellors
Gemfan 5030
Battery
Turnigy Nanotech 1000mah 3S 25-50C
Telemetry
Skyzone 5.8ghz 200mw AV Tx & Rx set
Circular polarized antenna RP-SMA
Camera
Mini DVR 808 #16 Lens D

4 Comments
One all working of love to even buy a kit from yourselves if you can ship to uk 🙂
Keep checking this site, parts have been ordered so I’ll probably assemble the tricopter in the next month or so.
You can download the files yourself and order one via http://www.3dhubs.com
Hey Matt, I’m the original designer of this tricopter and have kits for sale. Let me know if you’re interested.
Hi Eric, if we can include link to your shop let us know!