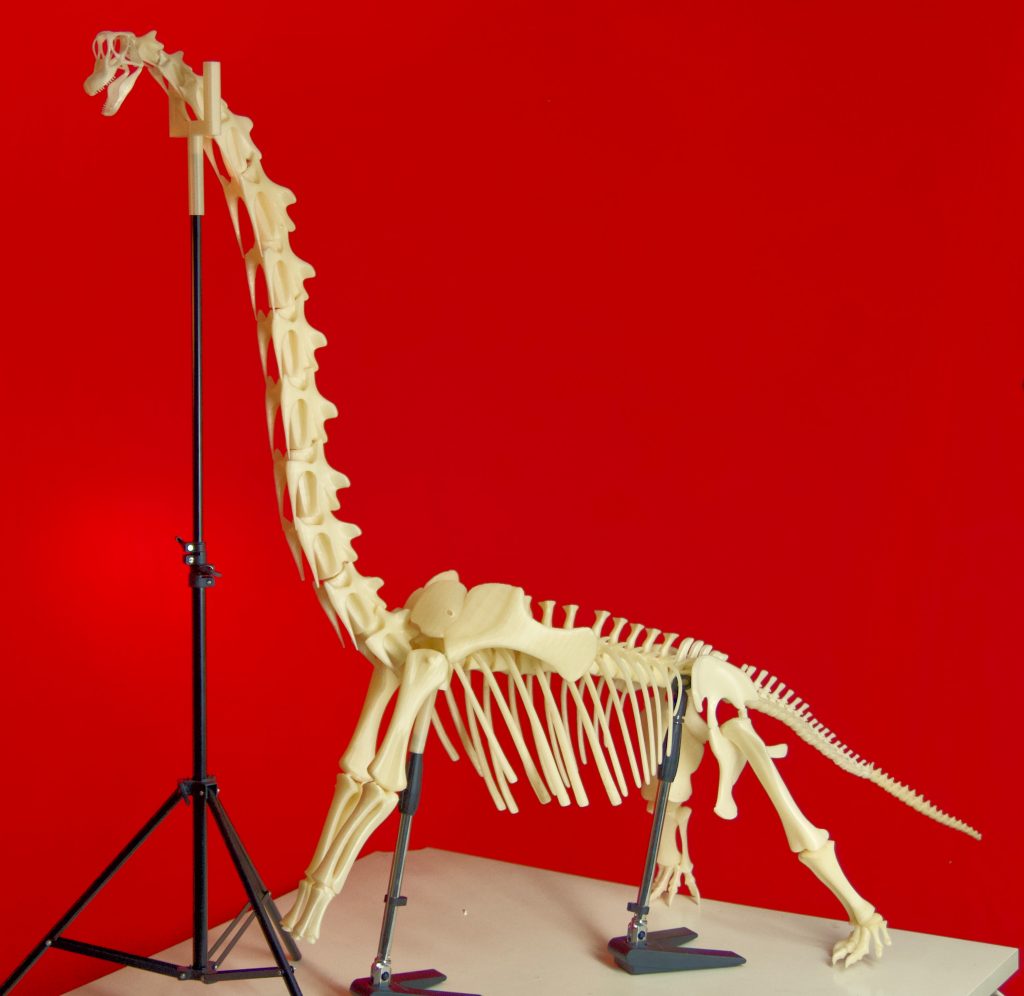
It’s dino time! Recently Marcos Pérez contacted us and showed us an amazing project he has been working on: a brachiosaurus skeleton entirely made with our PLA/PHA Natural:
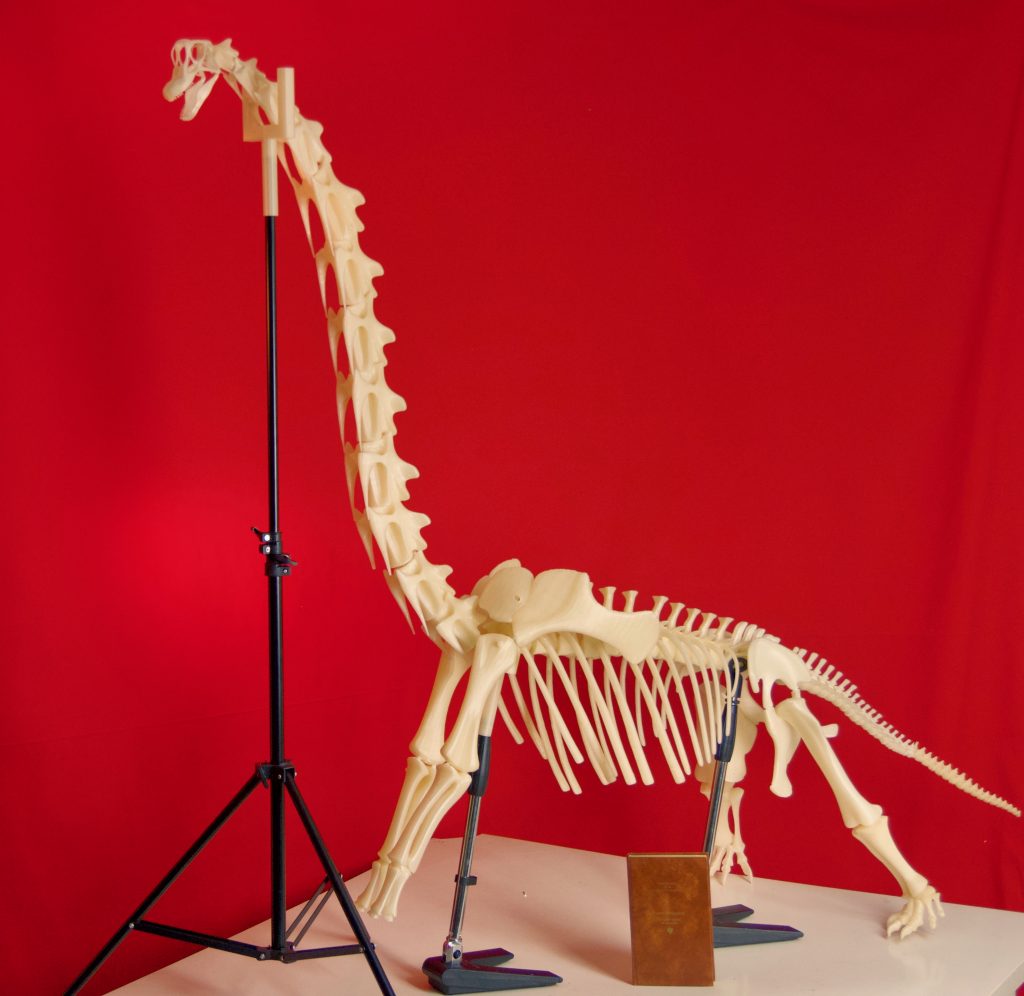 All images by Marcos Pérez, used with permission (and that’s a normal book for scale)
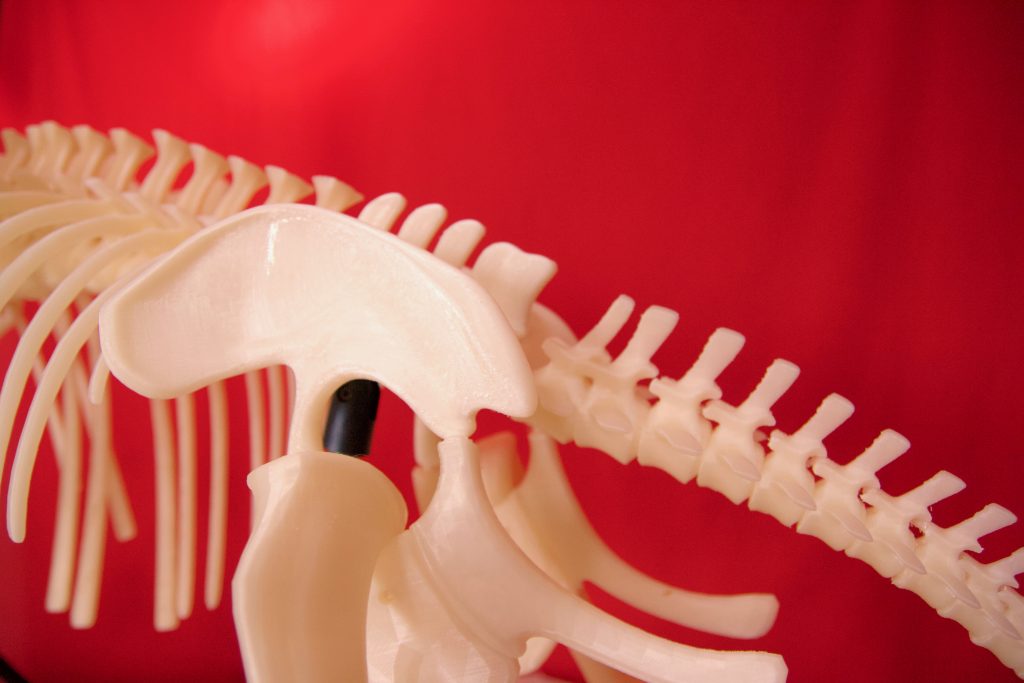
If the skeleton itself or the excellent print quality doesn’t impress you already, the size will. It measures 1.5 by 2.3 meters, weighs a whopping 7kg and consists of 23 pieces. The reason Marcos printed the brachiosaurus model is quite original – and awesome: “The model can be assembled and disassembled, and will be used in a children’s shelter, where the kids will search for the parts and then assemble it with some tools.”
And we thought it was merely a very cool print…
Originally the brachiosaurus roamed the plains of what is now North America. In real life, back before their demise about 66 million years ago, the brachiosaurus measured about 18 – 21 meters in length (head to tail), making this an approximate 1:10 scale model.
The story behind the brachiosaurus print
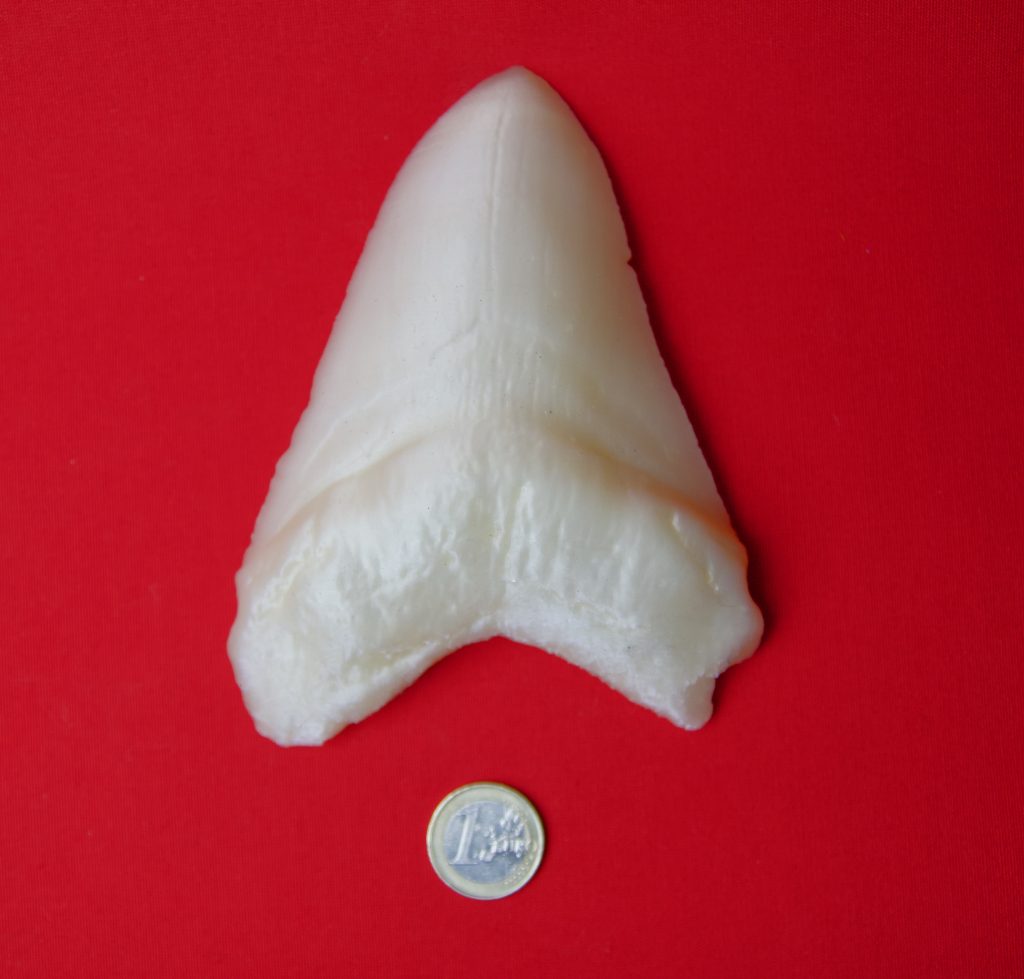
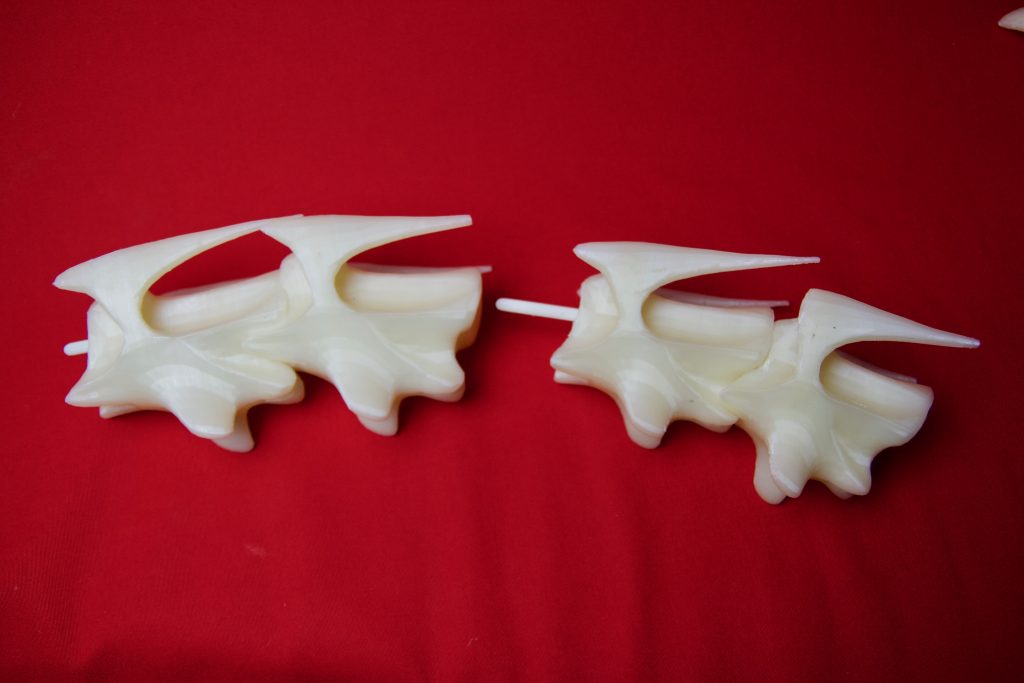
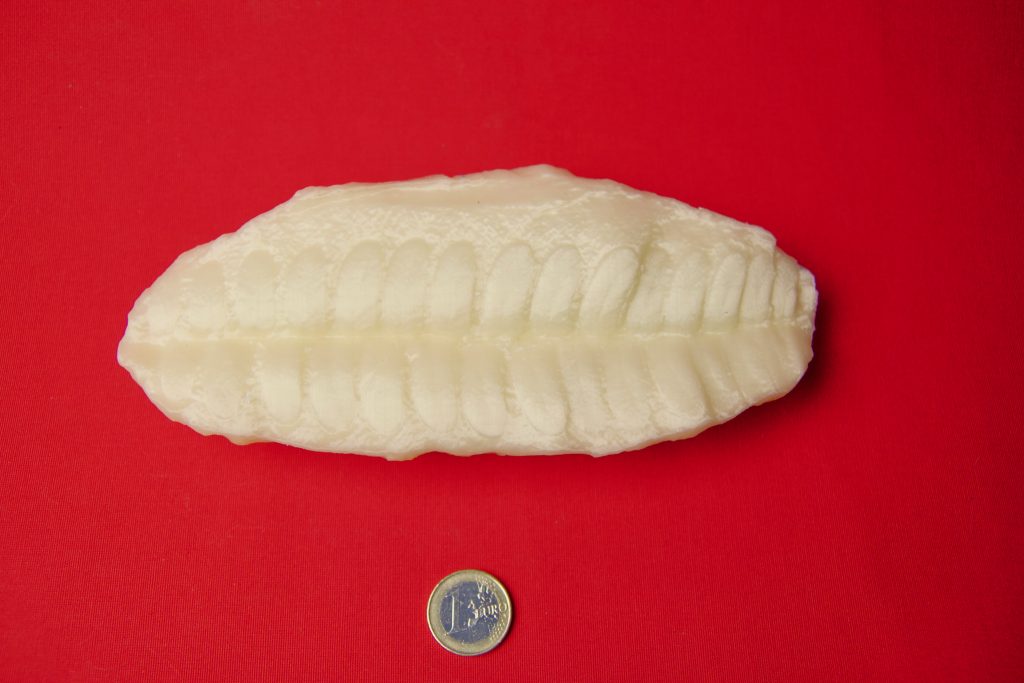
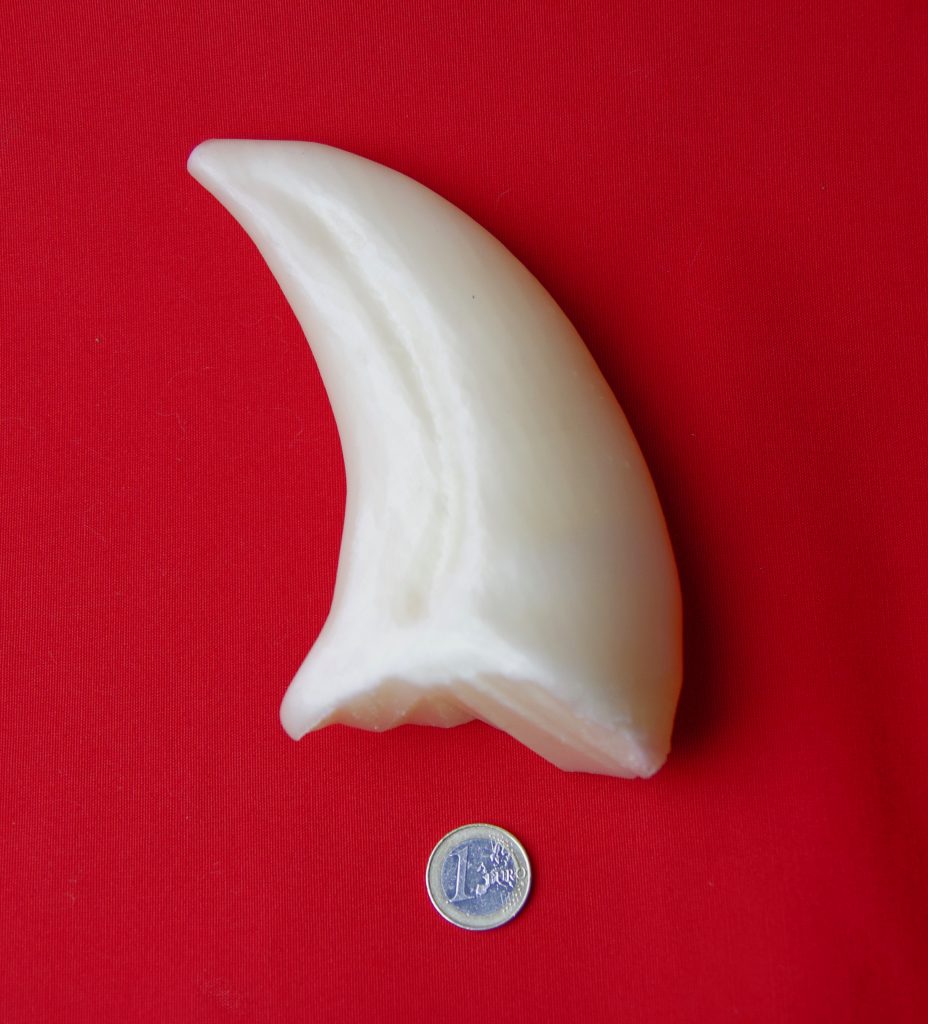
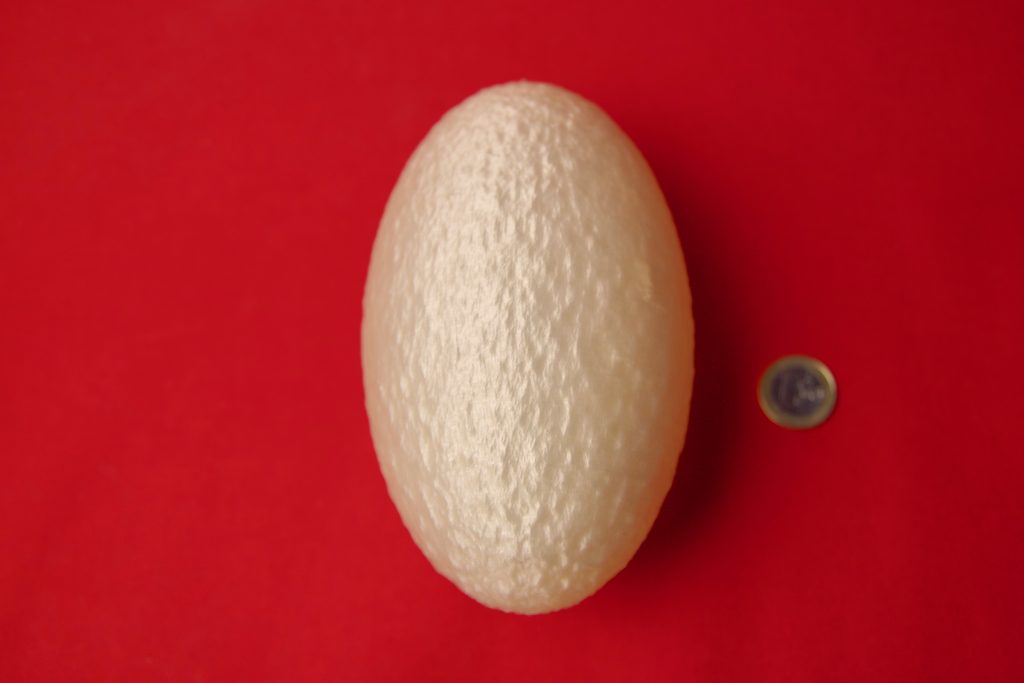
It all started with an order made by a Catalan company that is dedicated to creating themed hostels. One of them, which is dedicated to archeology, has a large area with sand. The idea was to make a large dinosaur skeleton (in terms of 3d printing) and several fossil replicas so that the children could accomplish archaeological work with their brushes and other tools. Marcos was advised by the Asturian company Geolag, with extensive experience in geology and archaeology ,that proposed me a series of models to replicate. One of those was the brachiosaurus: A dinosaur that, due to its large size, already represented a huge challenge.
He found a model, but it needed some rework. The file format had to be converted to multiple stl files, corrected and modified in Fusion 360 and later in Meshmixer before being sent to the Simplify3D slicer.
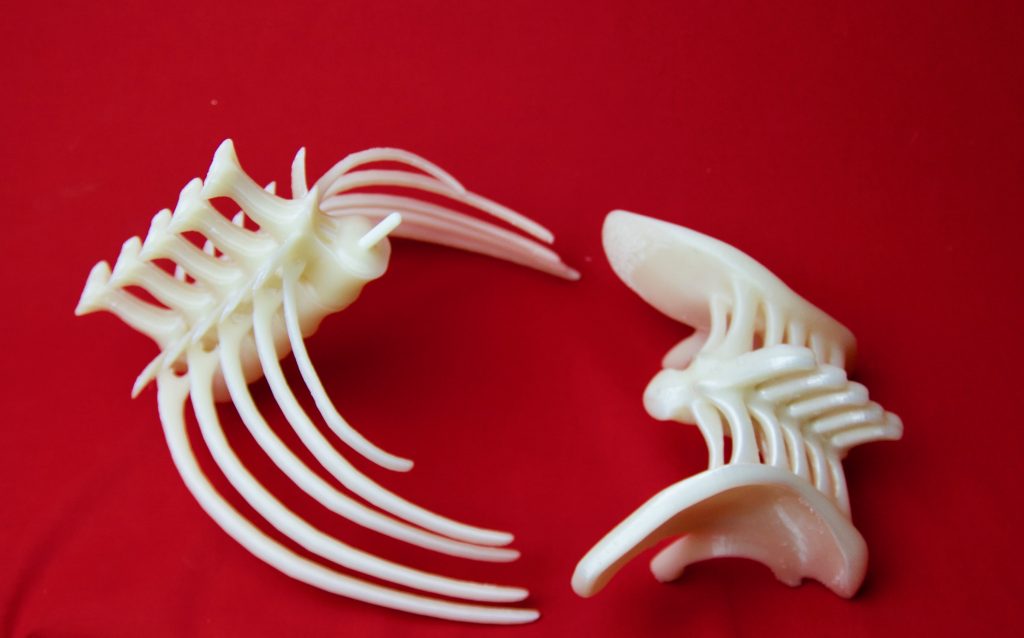
One of the biggest challenges was that the skeleton had to be mountable and removable, even by children. Therefore, it should have a simple mounting system and also be strong enough.
Printing all the parts wasn’t easy. Says Marcos: “The printing process was really tough. I needed a very large number of supports, considering that absolutely all the pieces had overhangs, some of them truly complex. With Simplify3d support system and filament’s pretty finish there was actually little post-processing. Just a slightly sanding and not much more.”
To give you an idea of the scale of this dinosaur print, here is the entire print in the garage:
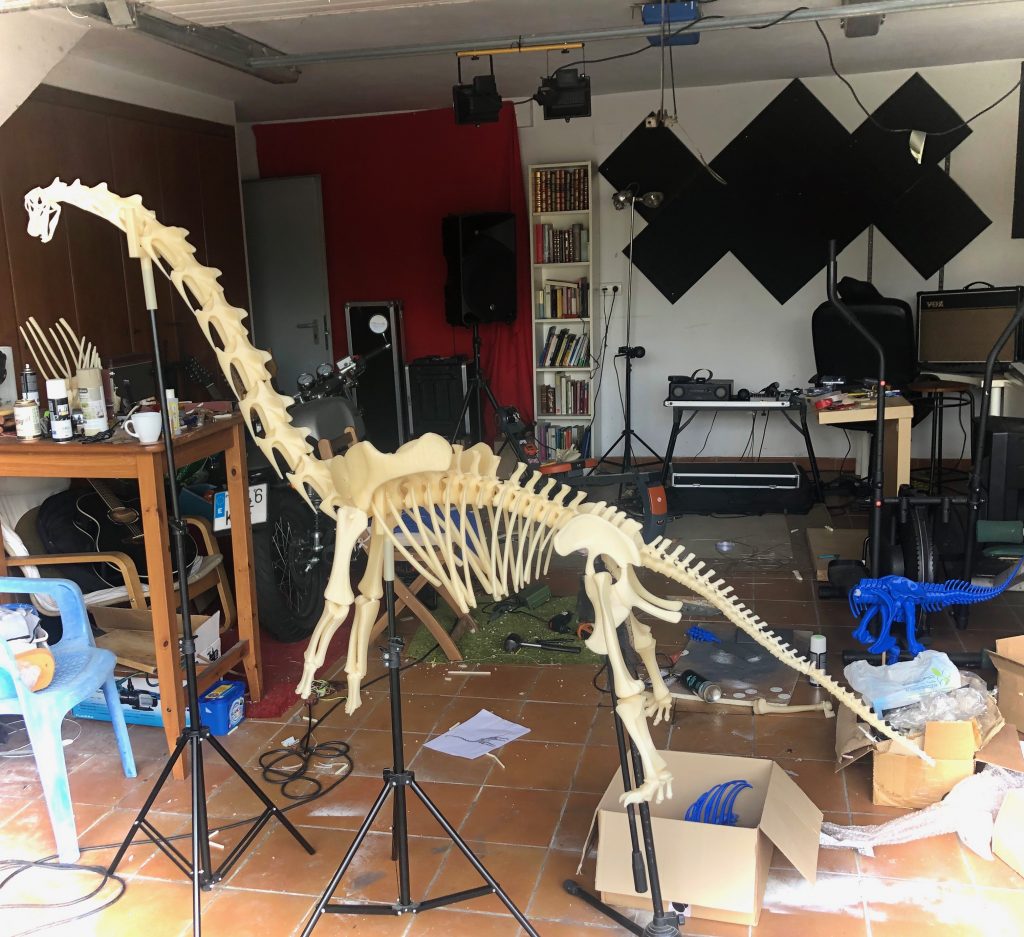
Let this sink in: 2.3 x 1.5 meters and 7kg of filament…
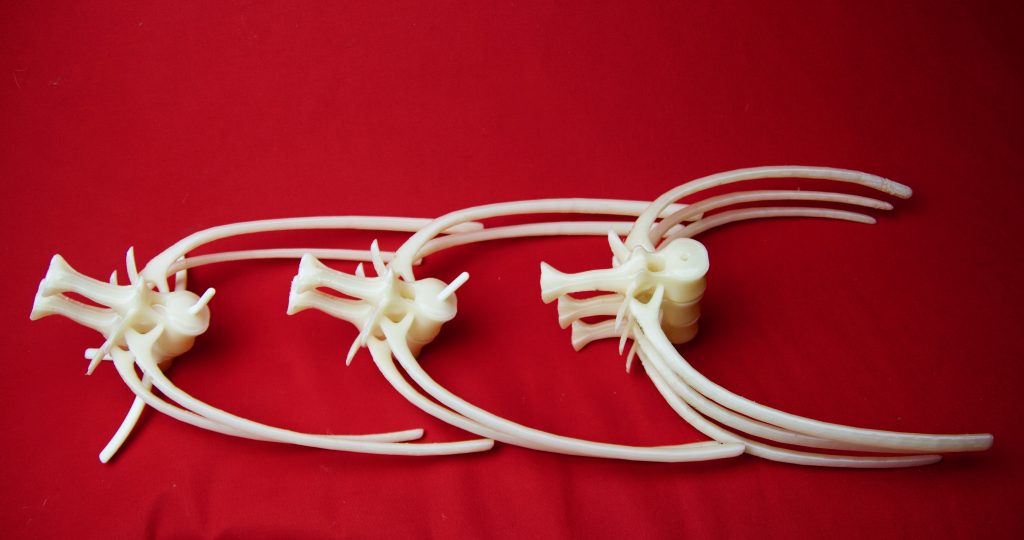
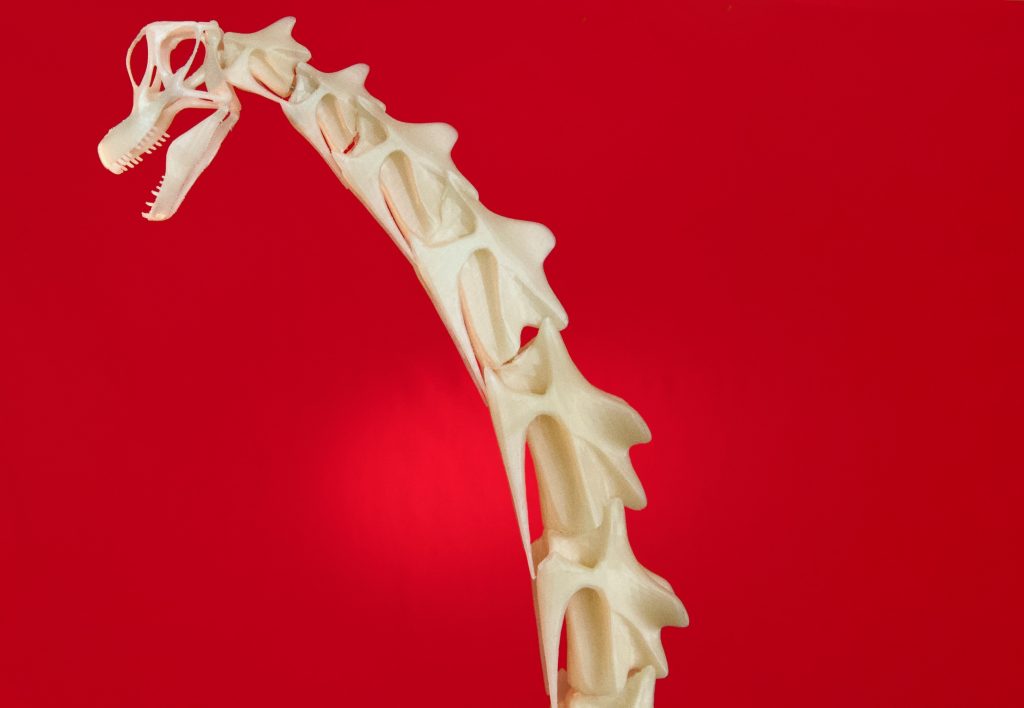
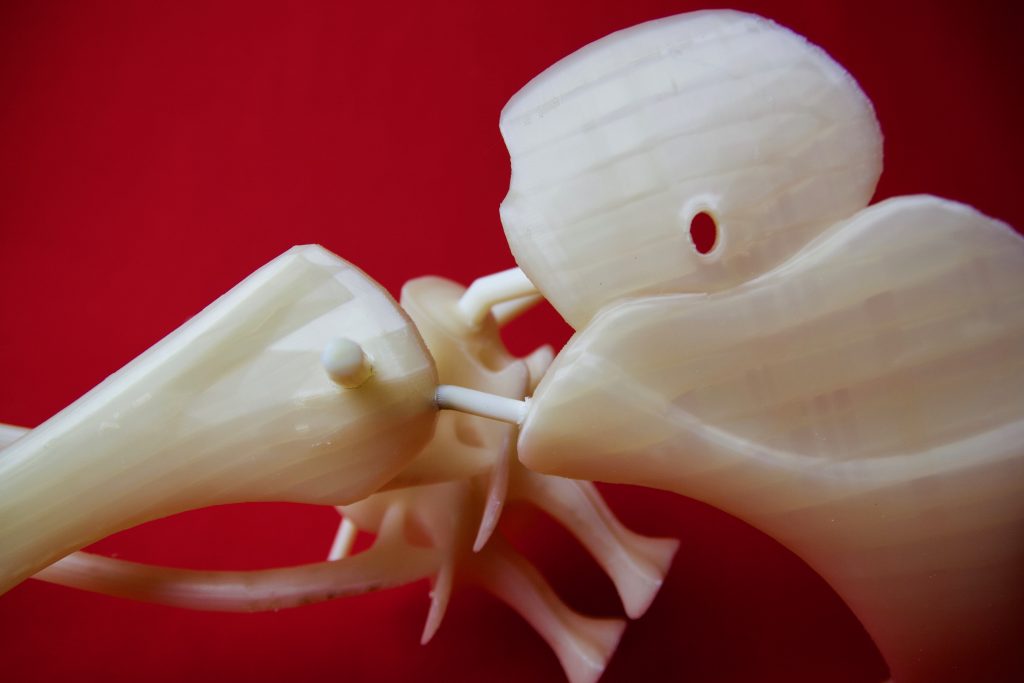
Marcos continues to explain the printing proces: “For all this I used two Ultimaker 2+, and a pair of Creality cr-10s pro and cr-10s. I used 0’8 and 0’6 nozzles for most of the printings. And 0.2 to 0.24 layer height in some parts. This was not a problem again, due to the beautiful finish of the filament. In order to join the pieces, I made some pla stud, printed horizontally by a large nozzle. I drilled joint areas and fixed them with silicone. Being printed horizontally with a large nozzle, the ribbed surface that was formed in the studs helped me to keep the pieces in place. It was easier than I had thought. Because at first I thought of steel rods, but it was quite dangerous for children. For the very heavy cervical spine joints, and the ribs joints, I designed and printed much thicker curved studs.”
The printing process took about 450 hours!

Marcos started 3D printing about 10 years ago and has been acquiring prints ever since and, he explains “researching to be able to offer products to companies in this northern region of Spain, Asturias, mostly dedicated to the manufacture of steel. I have worked making molds for impellers manufacturing in smart lighting companies and others companies that need any type of pieces, always finished products and rarely prototypes and medium production runs. I also make artistic pieces and specific orders such as dinosaurs.”
He also sometimes teaches 3D printing classes and is very passionate about this technology, as we can see! Marcos always tries to convince business people how they can save on costs by using 3D methods.
We thank Marcos for sharing his very cool brachiosaurus project. Keep up the great work!
About PLA/PHA
Marcos explained to us why he chose PLA/PHA: “I chose natural pla by colorFabb, because I had already used it in other projects and it’s a very silky touch filament, even with high layer heights, has a great finish, it’s quite easy to print, resistant, and, most of all because it doesn’t come from petroleum.”
PLA/PHA is our signature PLA filament which was the basis of colorFabb’s first product line. The added PHA makes our grade of PLA tougher and less brittle than generic PLA grades in the market. PHA (polyhydroxyalkanoate) is like PLA a bio-polyester, so our unique blend is still 100% biodegradeable. This material is available in multiple colors, but today we focus on the one without a color: PLA/PHA Natural.
We posted a dedicated blog back in 2017 to celebrate PLA/PHA Natural’s fourth anniversary. Read it here.
PLA/PHA Natural is available from stock and ships daily and worlwide for nearly 8 years already! Check the different spool sizes which are available in our webshop.
Fun fact: the brachiosaurus was the first digital dinosaur shown in the original Jurassic Park film.
More images