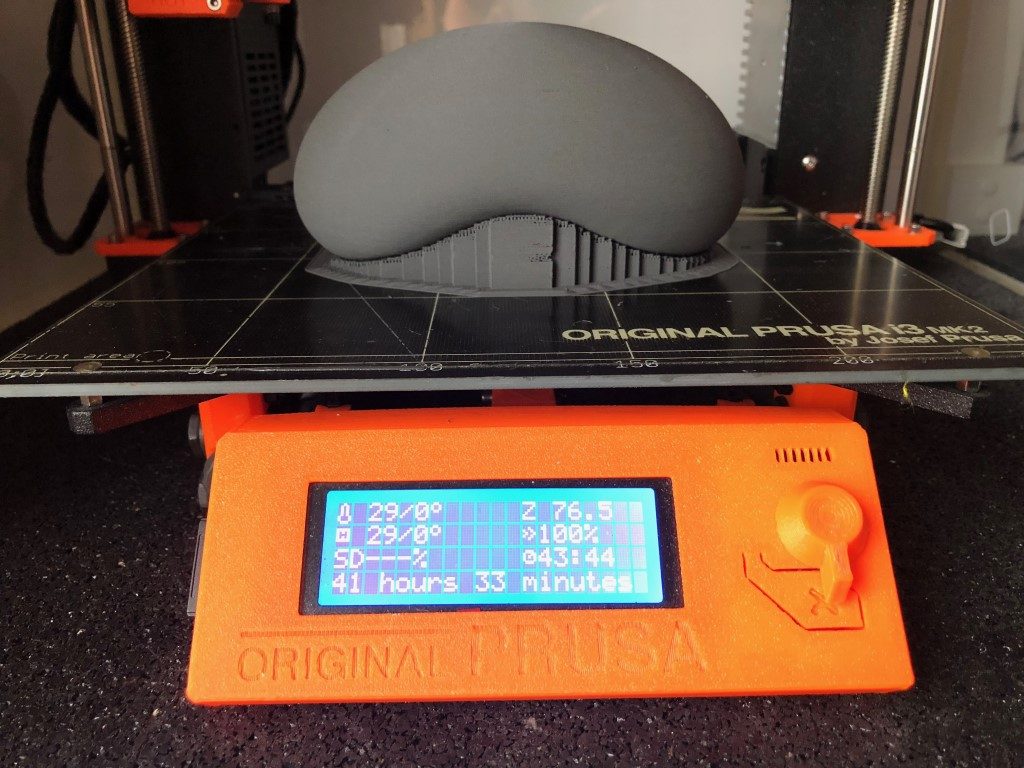
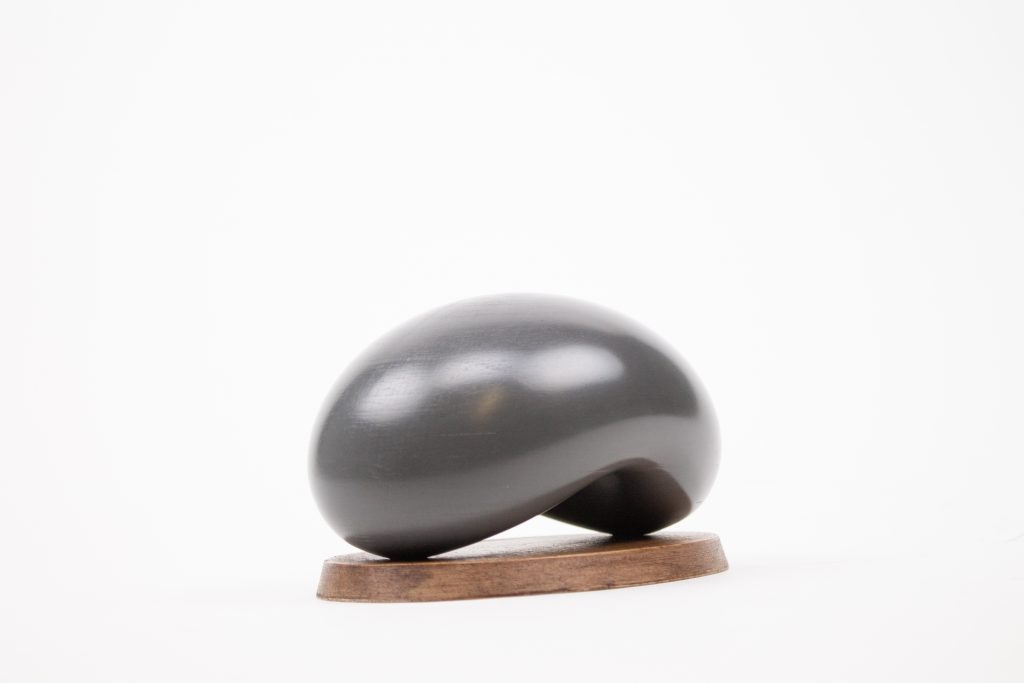
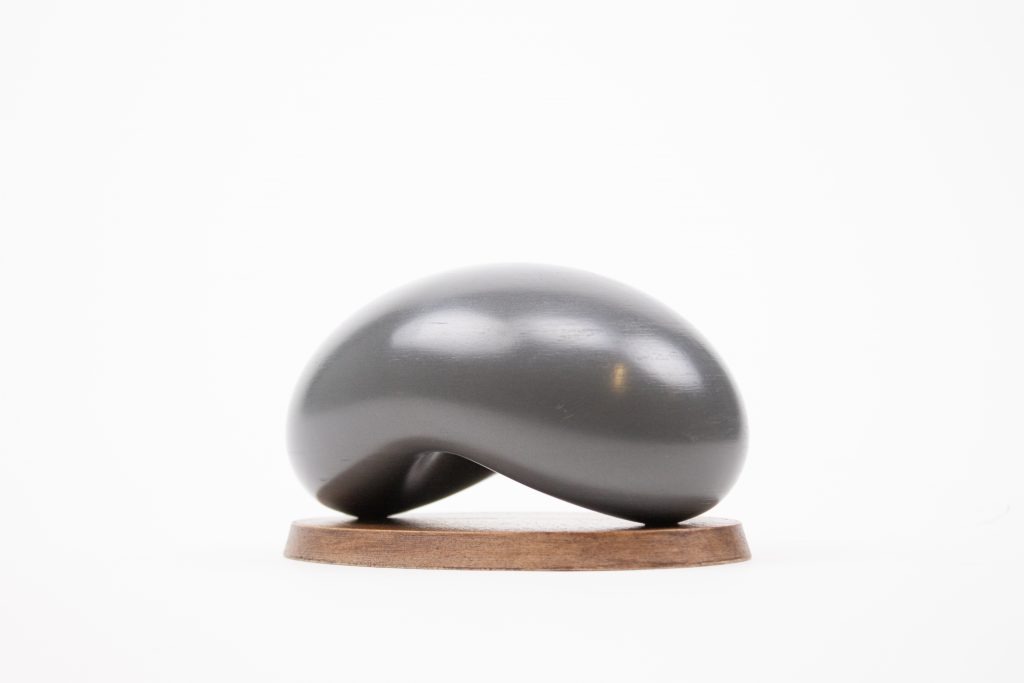
After last week’s Willis Tower we are highlighting once again one of Chicago’s landmarks: Cloud Gate, aka “The Bean”. Designed by Anish Kapoor, and turned into a 3D printing model by Ben Sauerwine, today’s featured print was made by Cloud3D using our special filament steelFill. Both printing and post-processing was done by this young 3D print bureau. How? Find out by scrolling down…
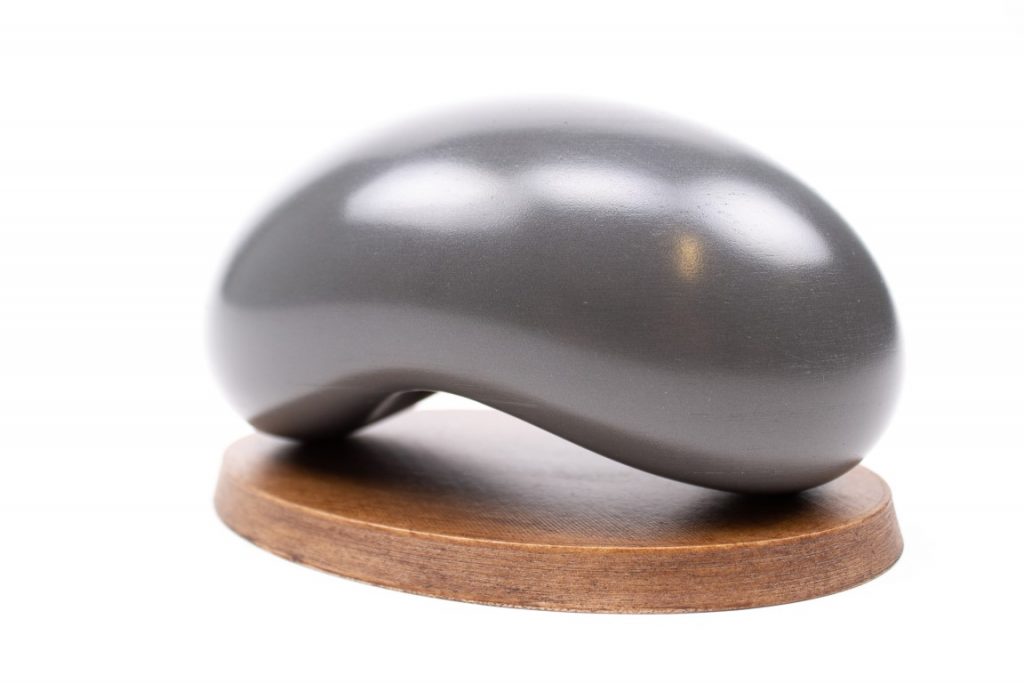
Design: https://www.thingiverse.com/thing:684126
The goal was to replicate the original Cloud Gate as good as possible and steelFill came the closest in regards to the materials on offer. Especially after post-processing the shine would resemble the Bean the best.
The print was made on the Prusa i3 MK2 using the following settings:
- Nozzle diameter: 0.4mm
- Layerheight: 0.1mm
- Printspeed: 20mm/s
- Perimeters: 4
- Infill: 20%
- Scaled to 150%
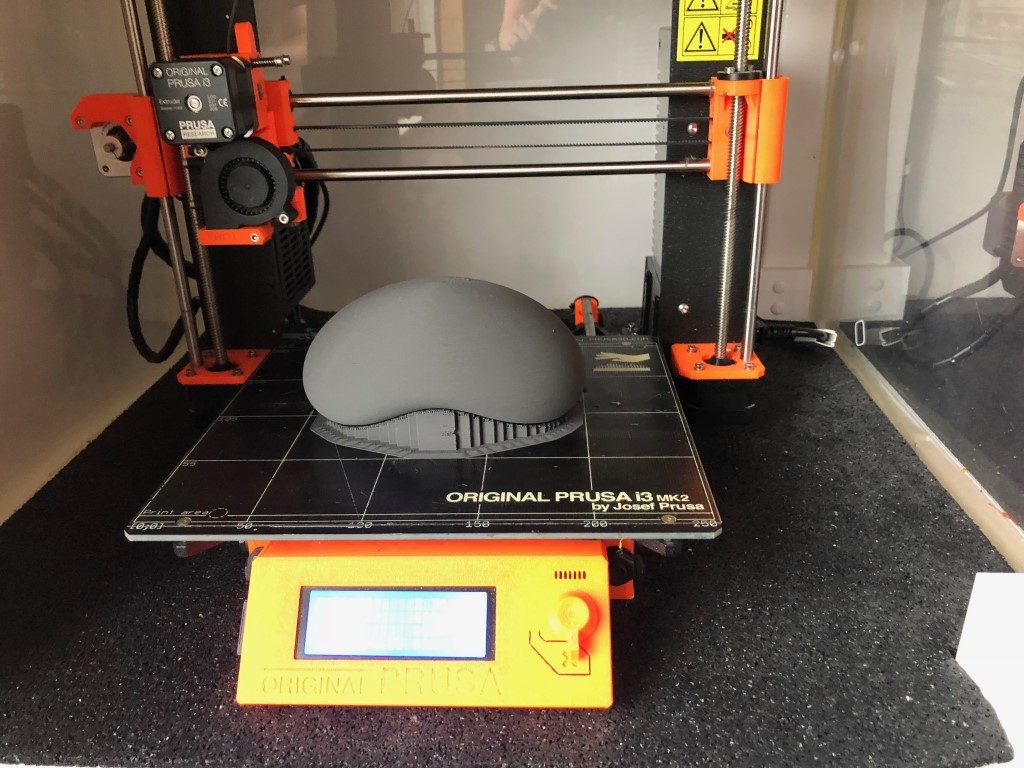
The print came of right away from the support material (also steelFill) and left a nice and smooth surface on the print.
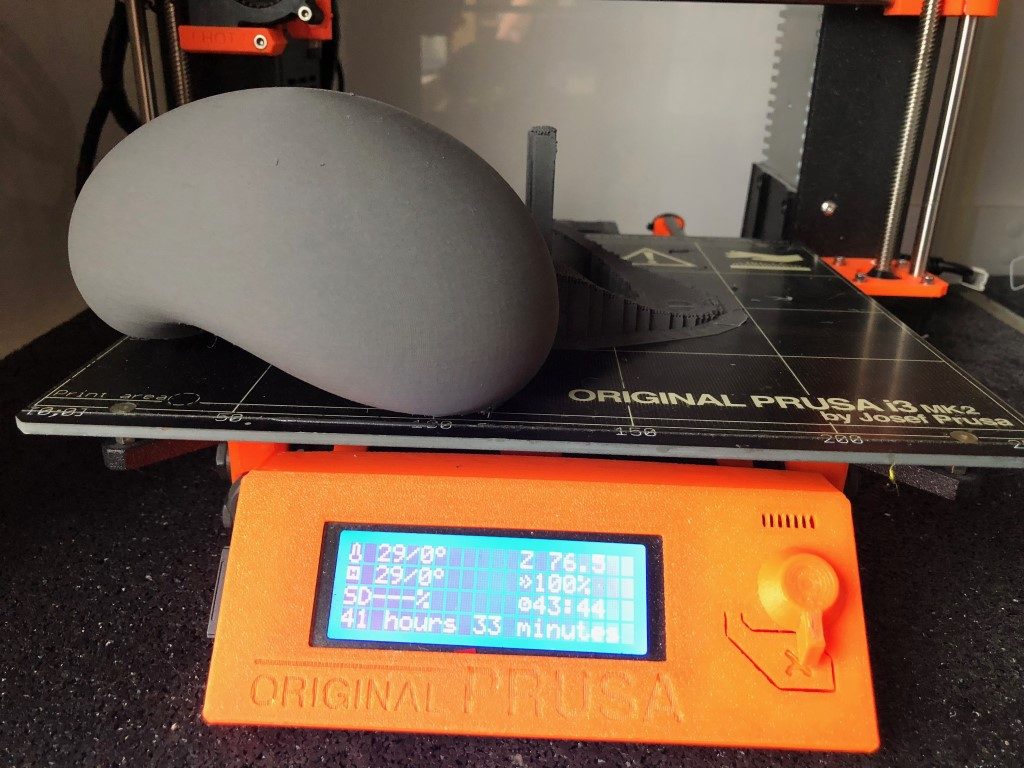
Next step: Sanding
Different grids of sandpaper were used in the following order: 80-180-240-600 waterproof-800 waterproof-1200 waterproof. After sanding Cloud3D started polishing with a steel polish. When that was done it was time for the high gloss clear coat.
Last step was polishing the paint.
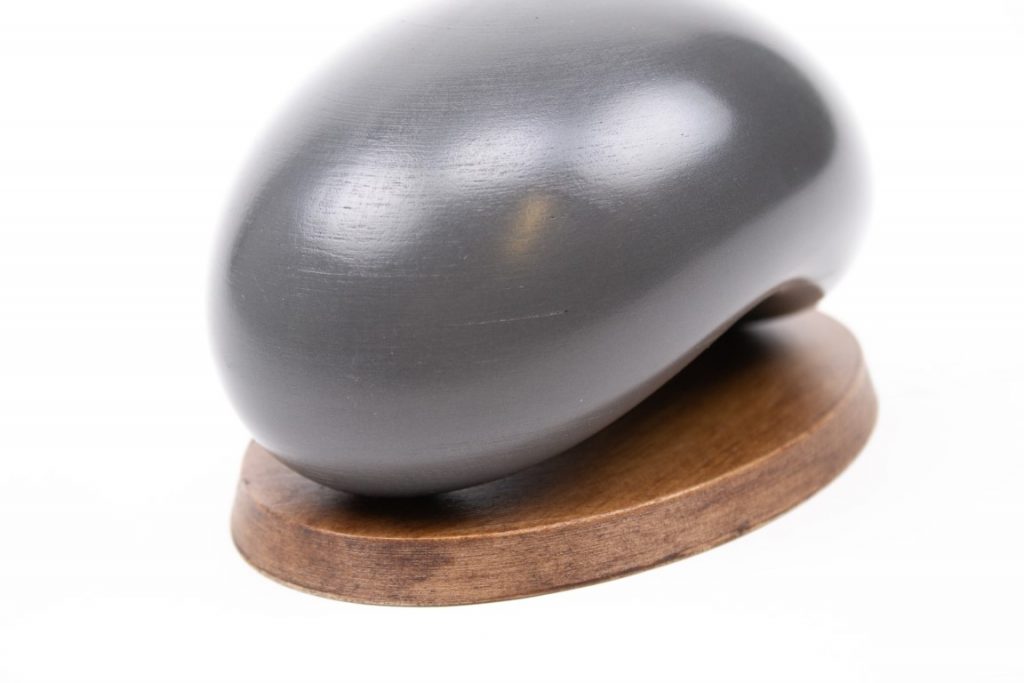
Of course every great print needs a pedestal, even a small one. For this our woodFill was used and to give it a more premium feeling, it was panted with interior wood laque.
With cyano acrylate glue the two parts were glued together.
Make sure to check out Cloud3D’s website to see their work and what they can offer you!
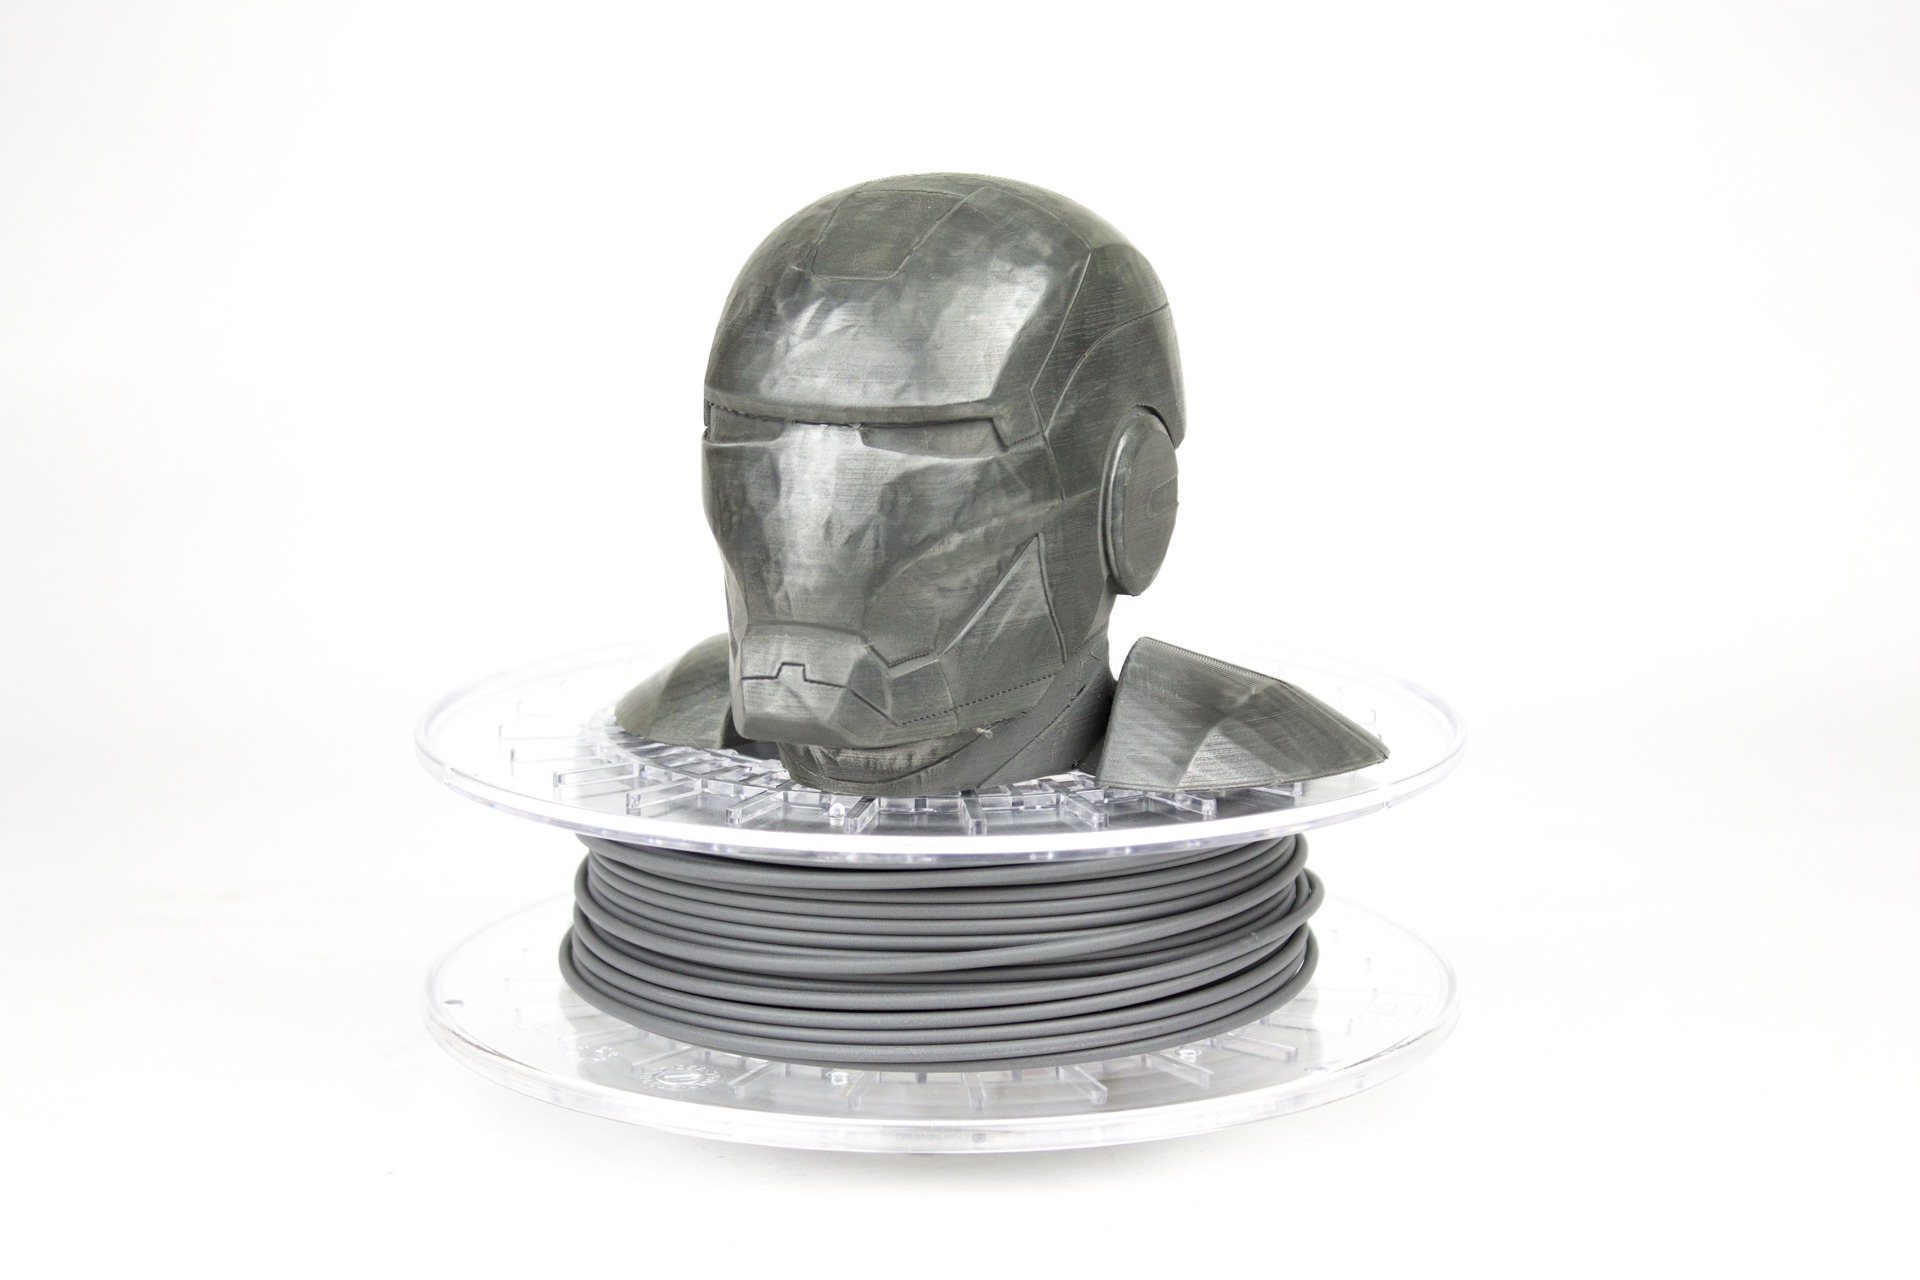
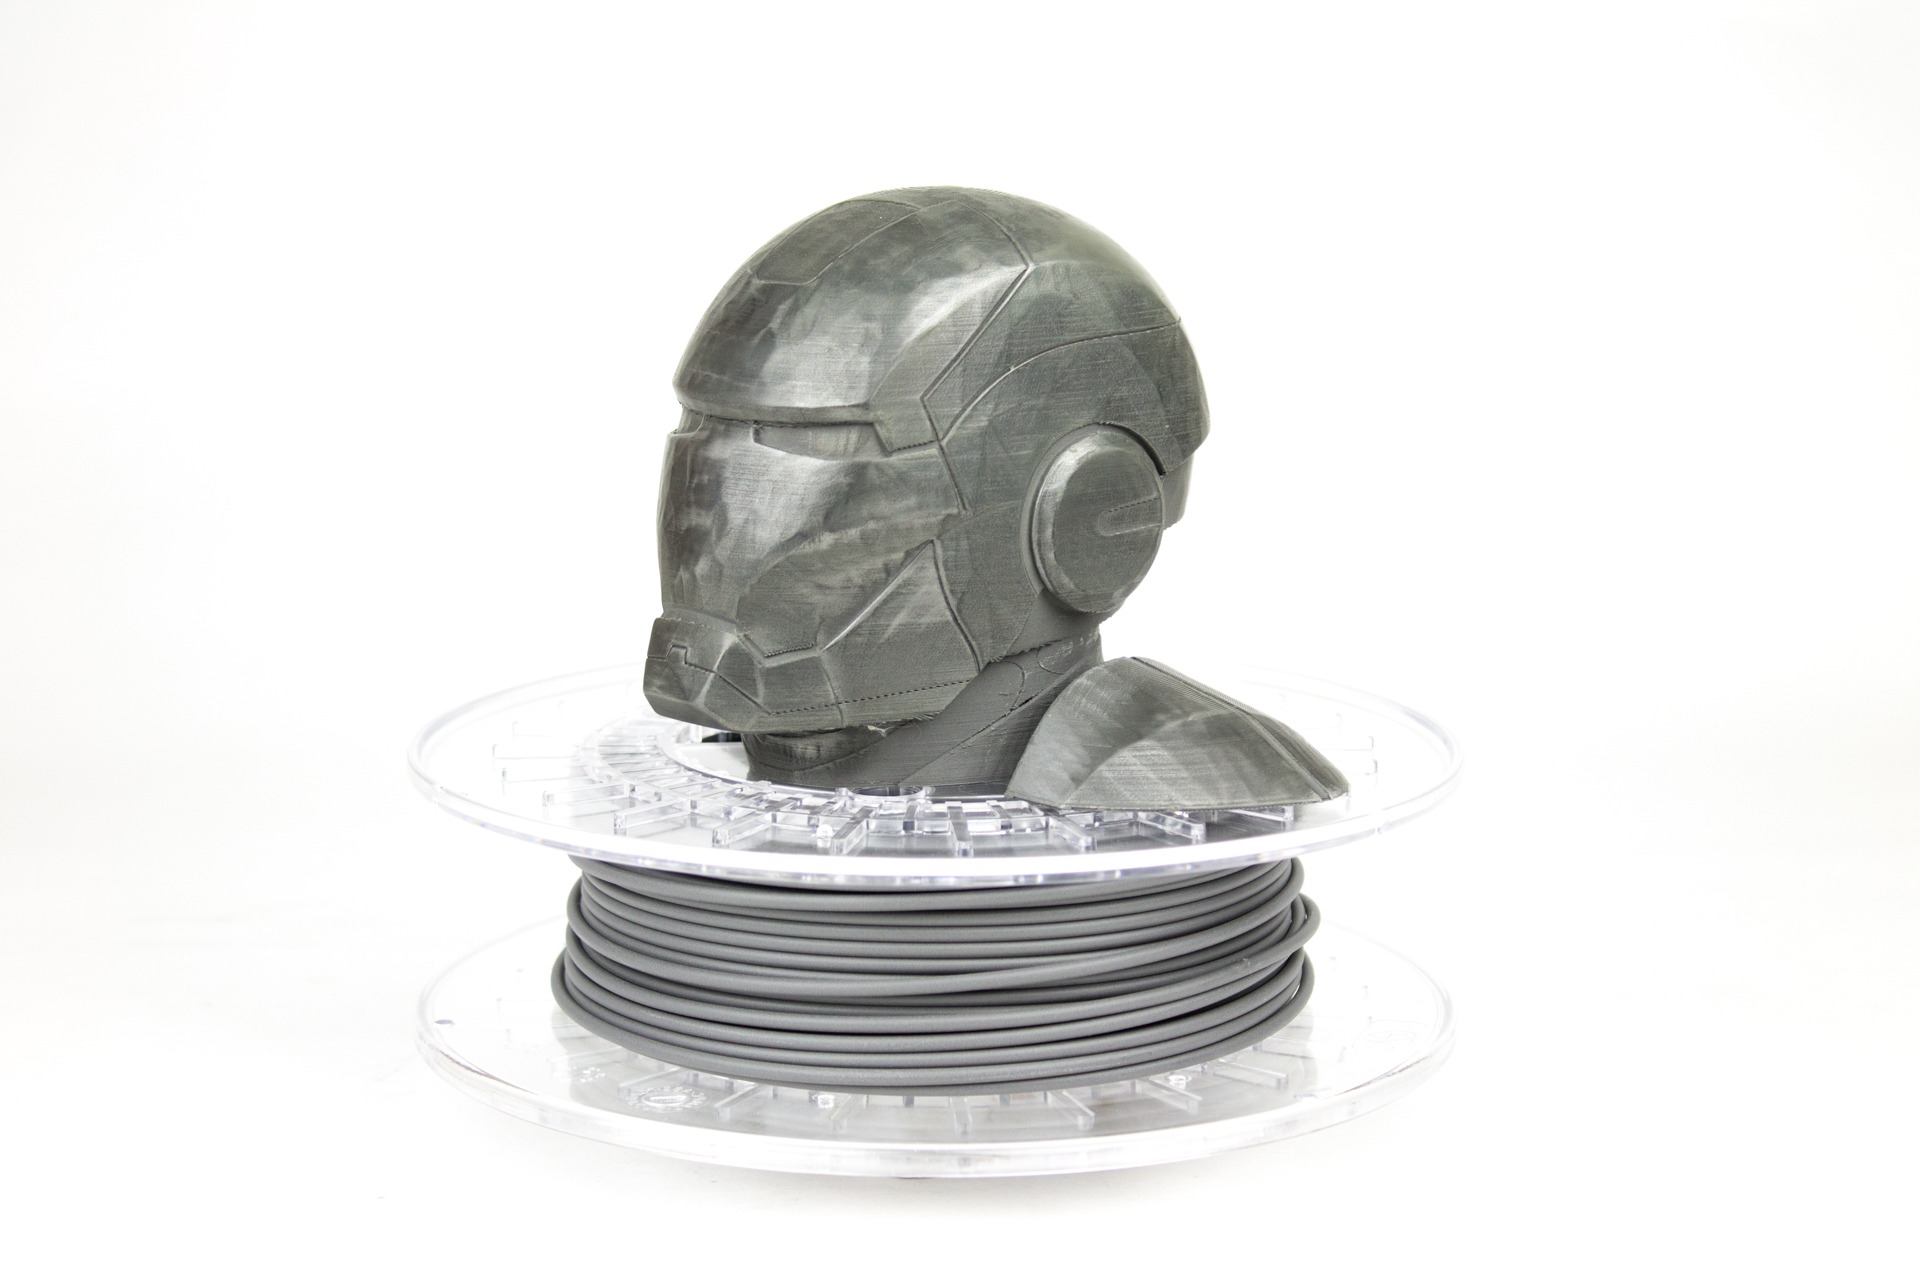
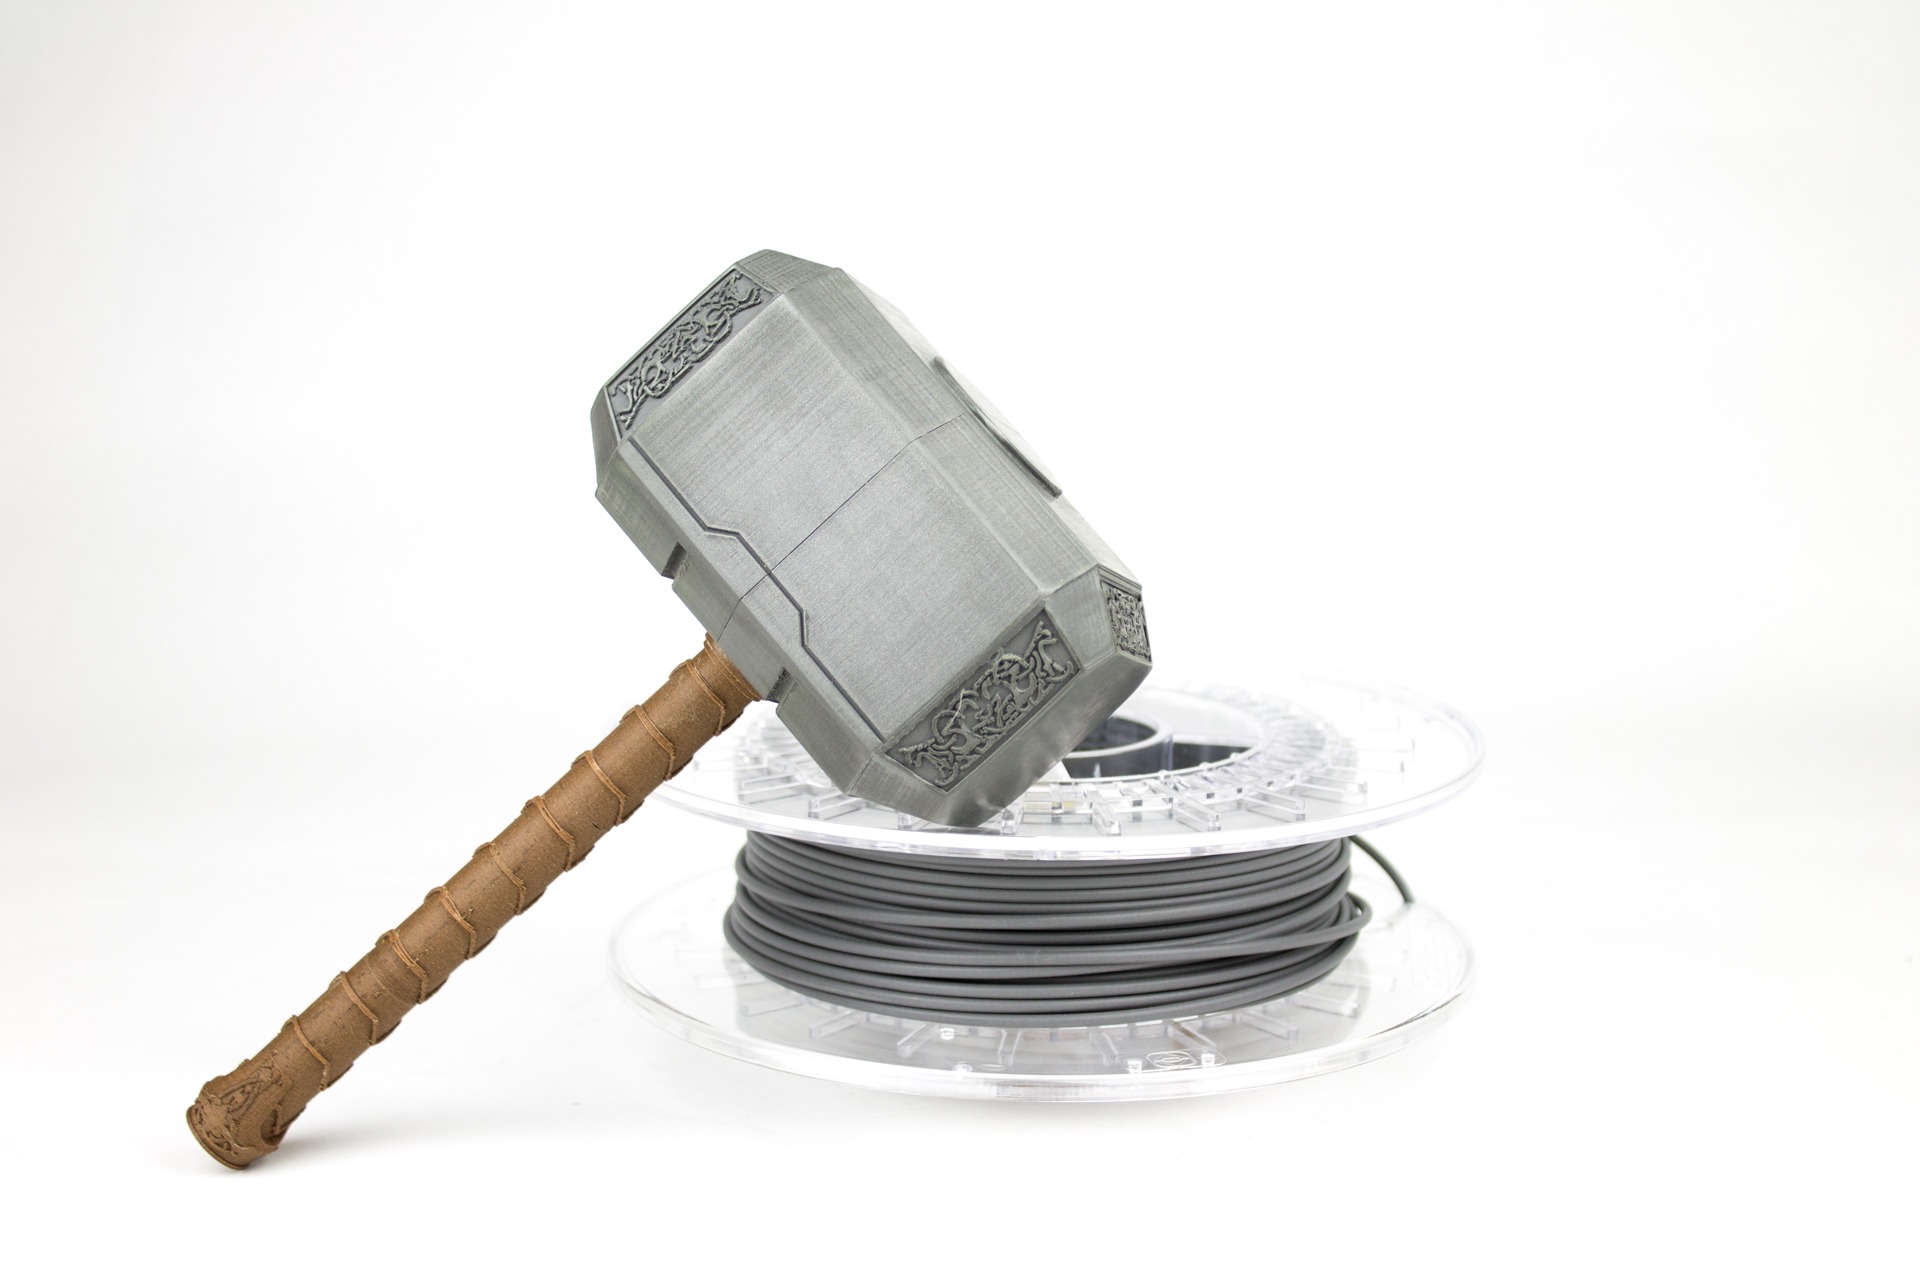
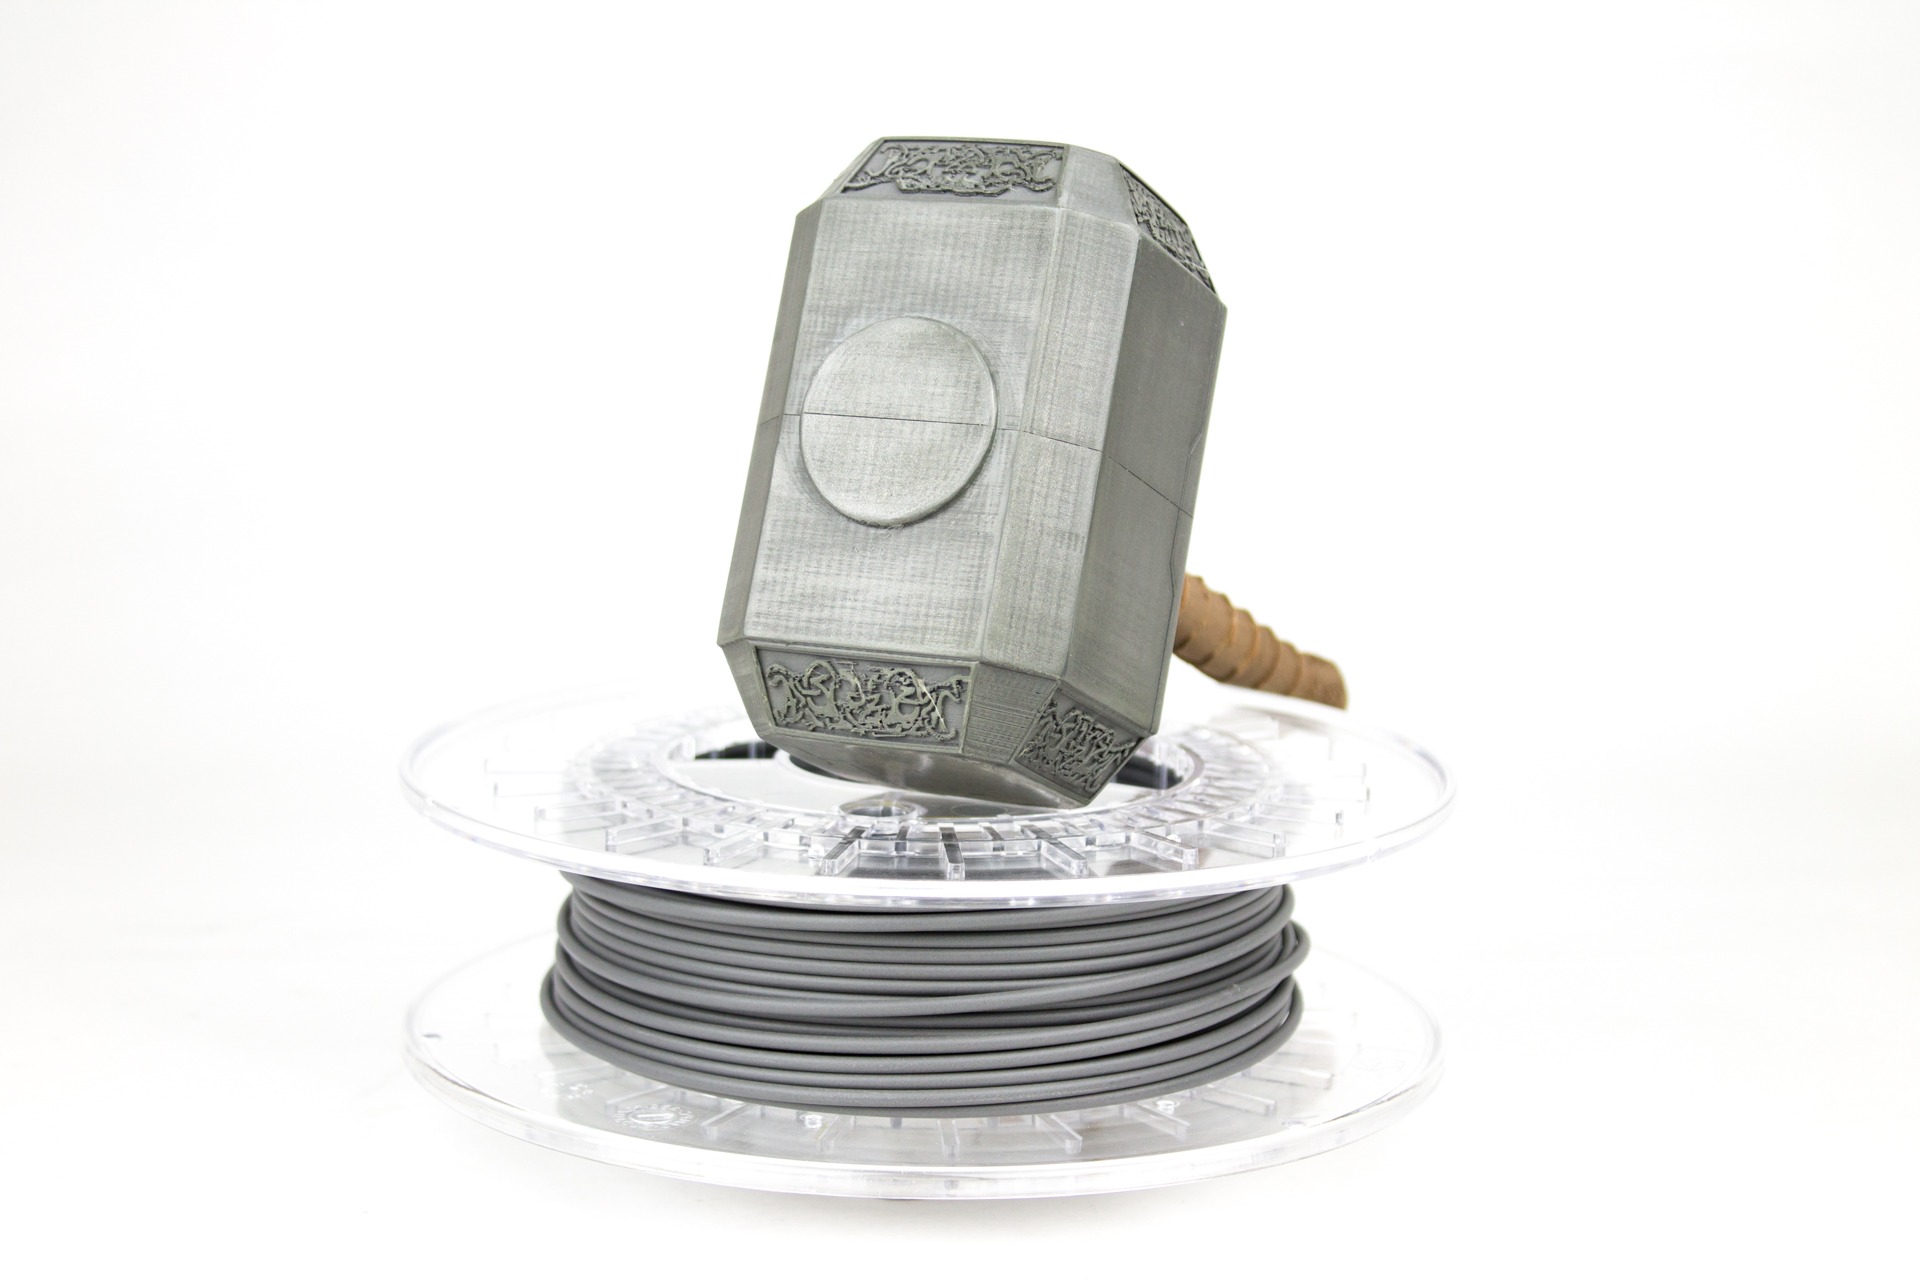
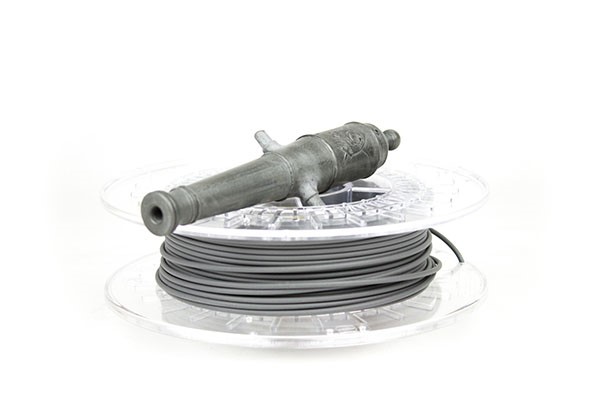
About steelFill
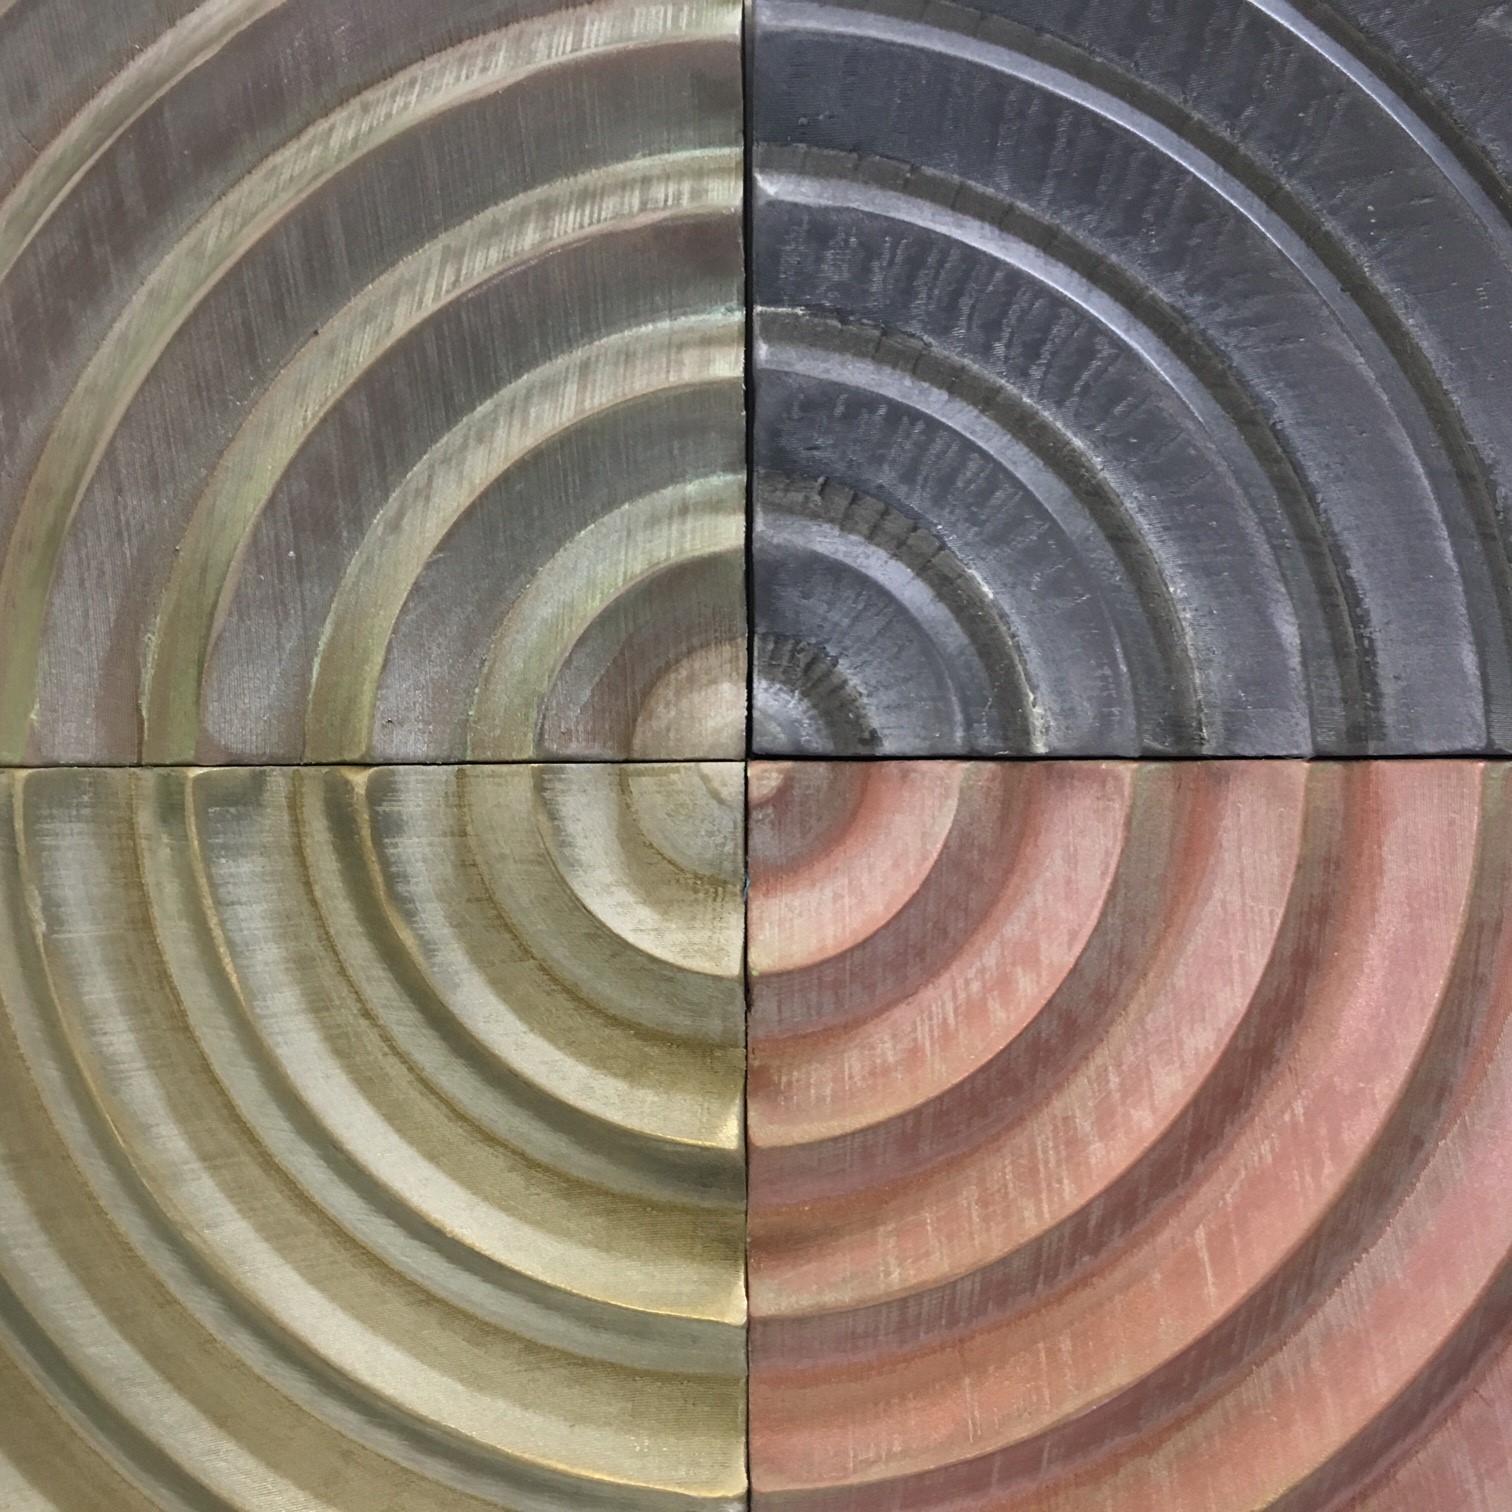
steelFill is the latest in our range of special metal filled filaments, being launched in 2016 after bronzeFill and copperFill (both in 2014) and brassFill (in 2015). Our special filaments are PLA/PHA based with actual metal particles in them (we do not disclose exactly how much), giving them a unique look and weight (up to 4 times as heavy as a regular print).
With special filaments like steelFill you can make objects that don’t look like plastic for a change. The trick is to have the right post-processing tools to do so. We have collected a nice collection of blogs and articles regarding post-processing of our special filaments: click here to find them all.
Another handy tutorial is our “How To Print With…” article regarding steelFill:
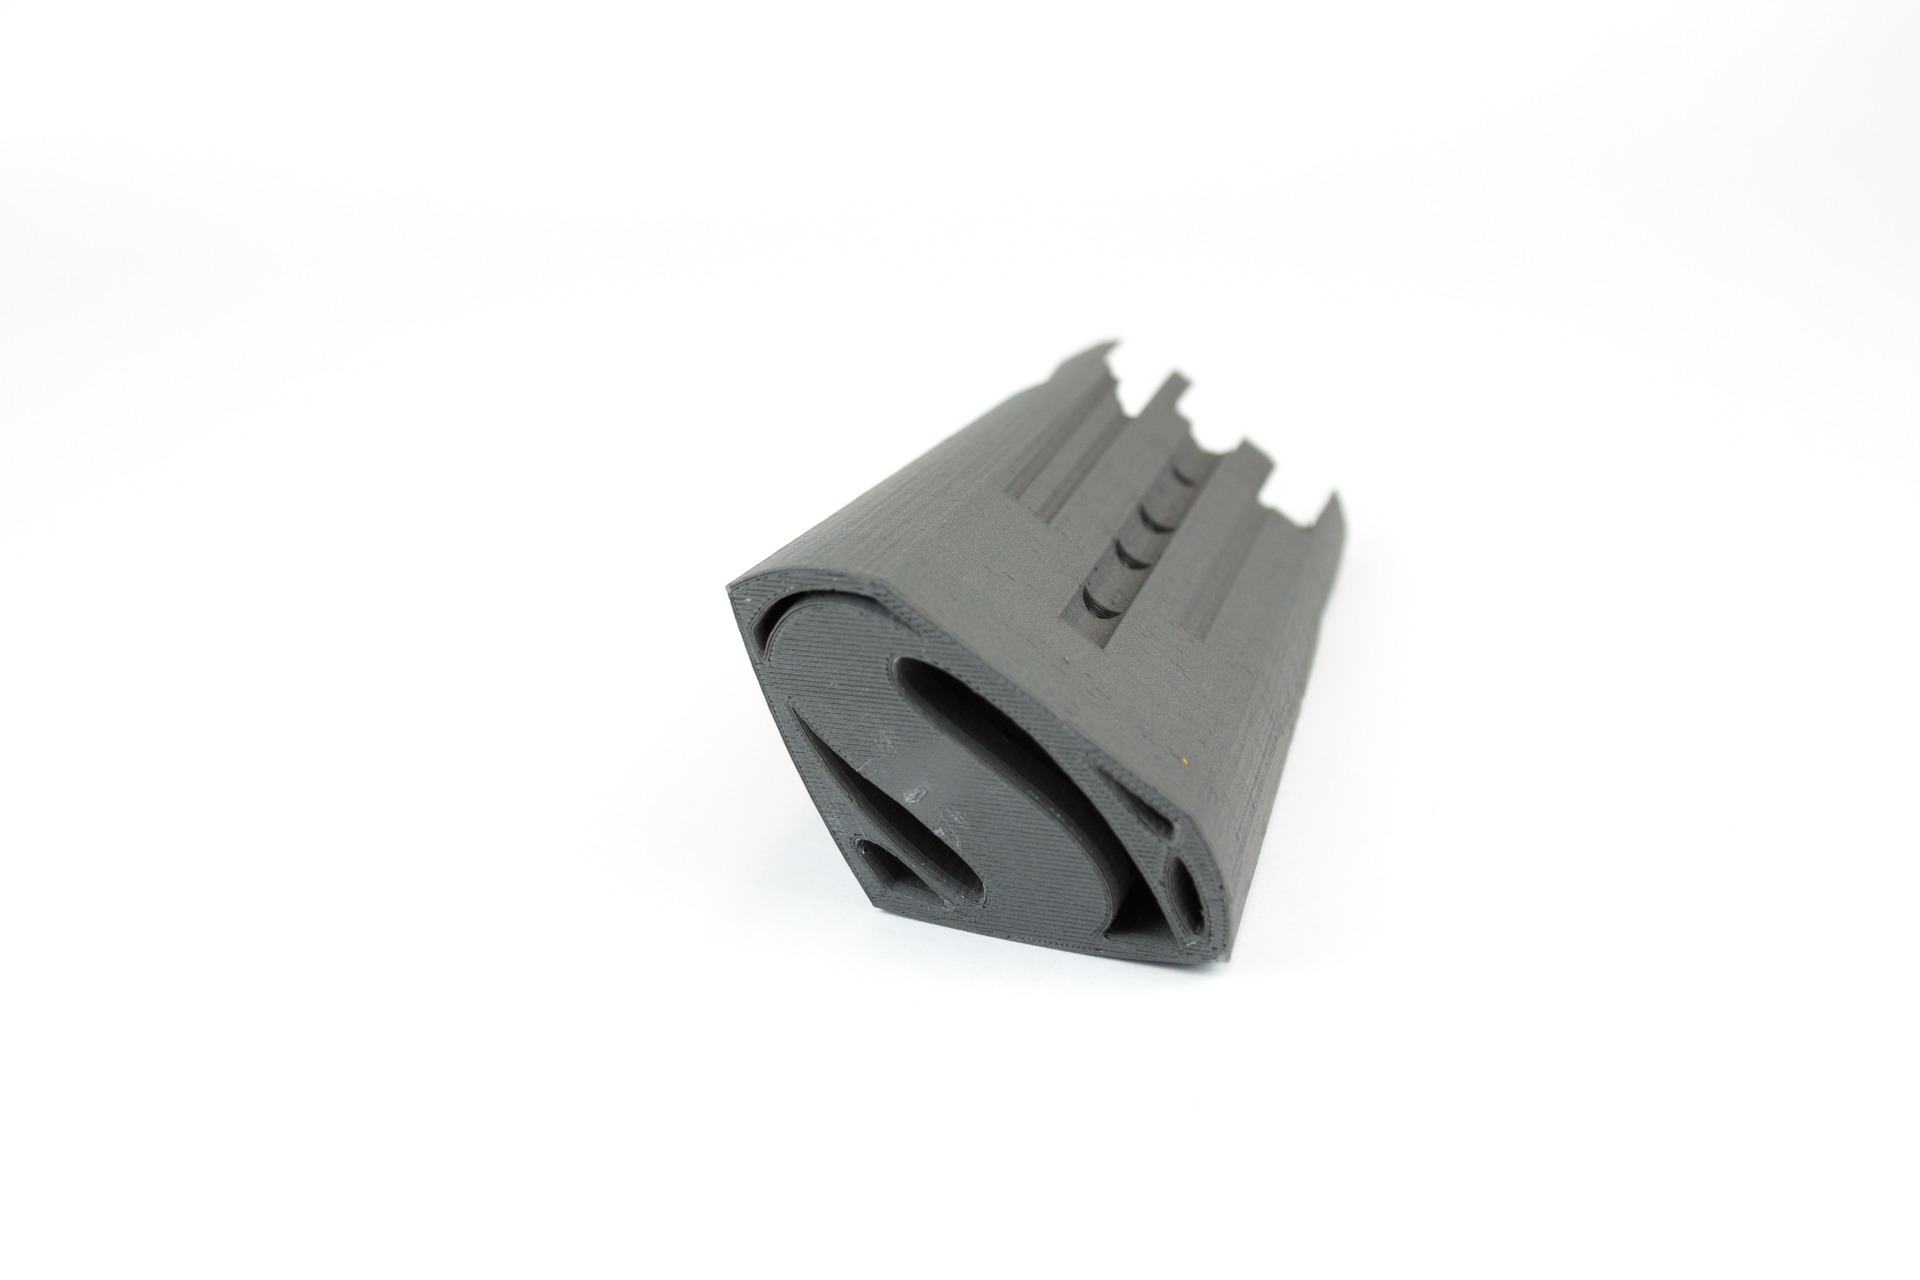
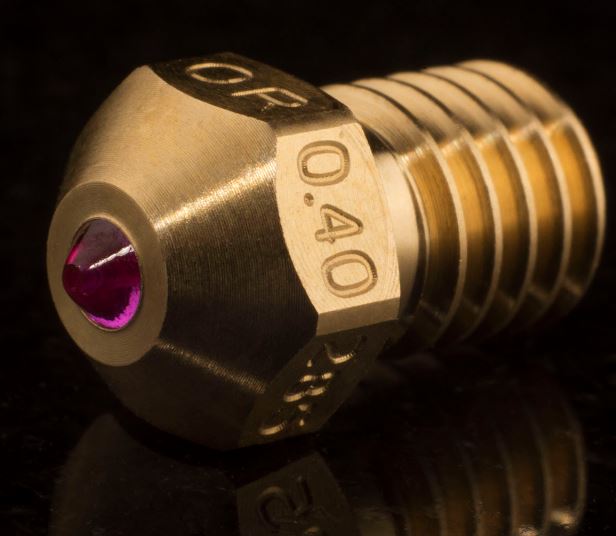
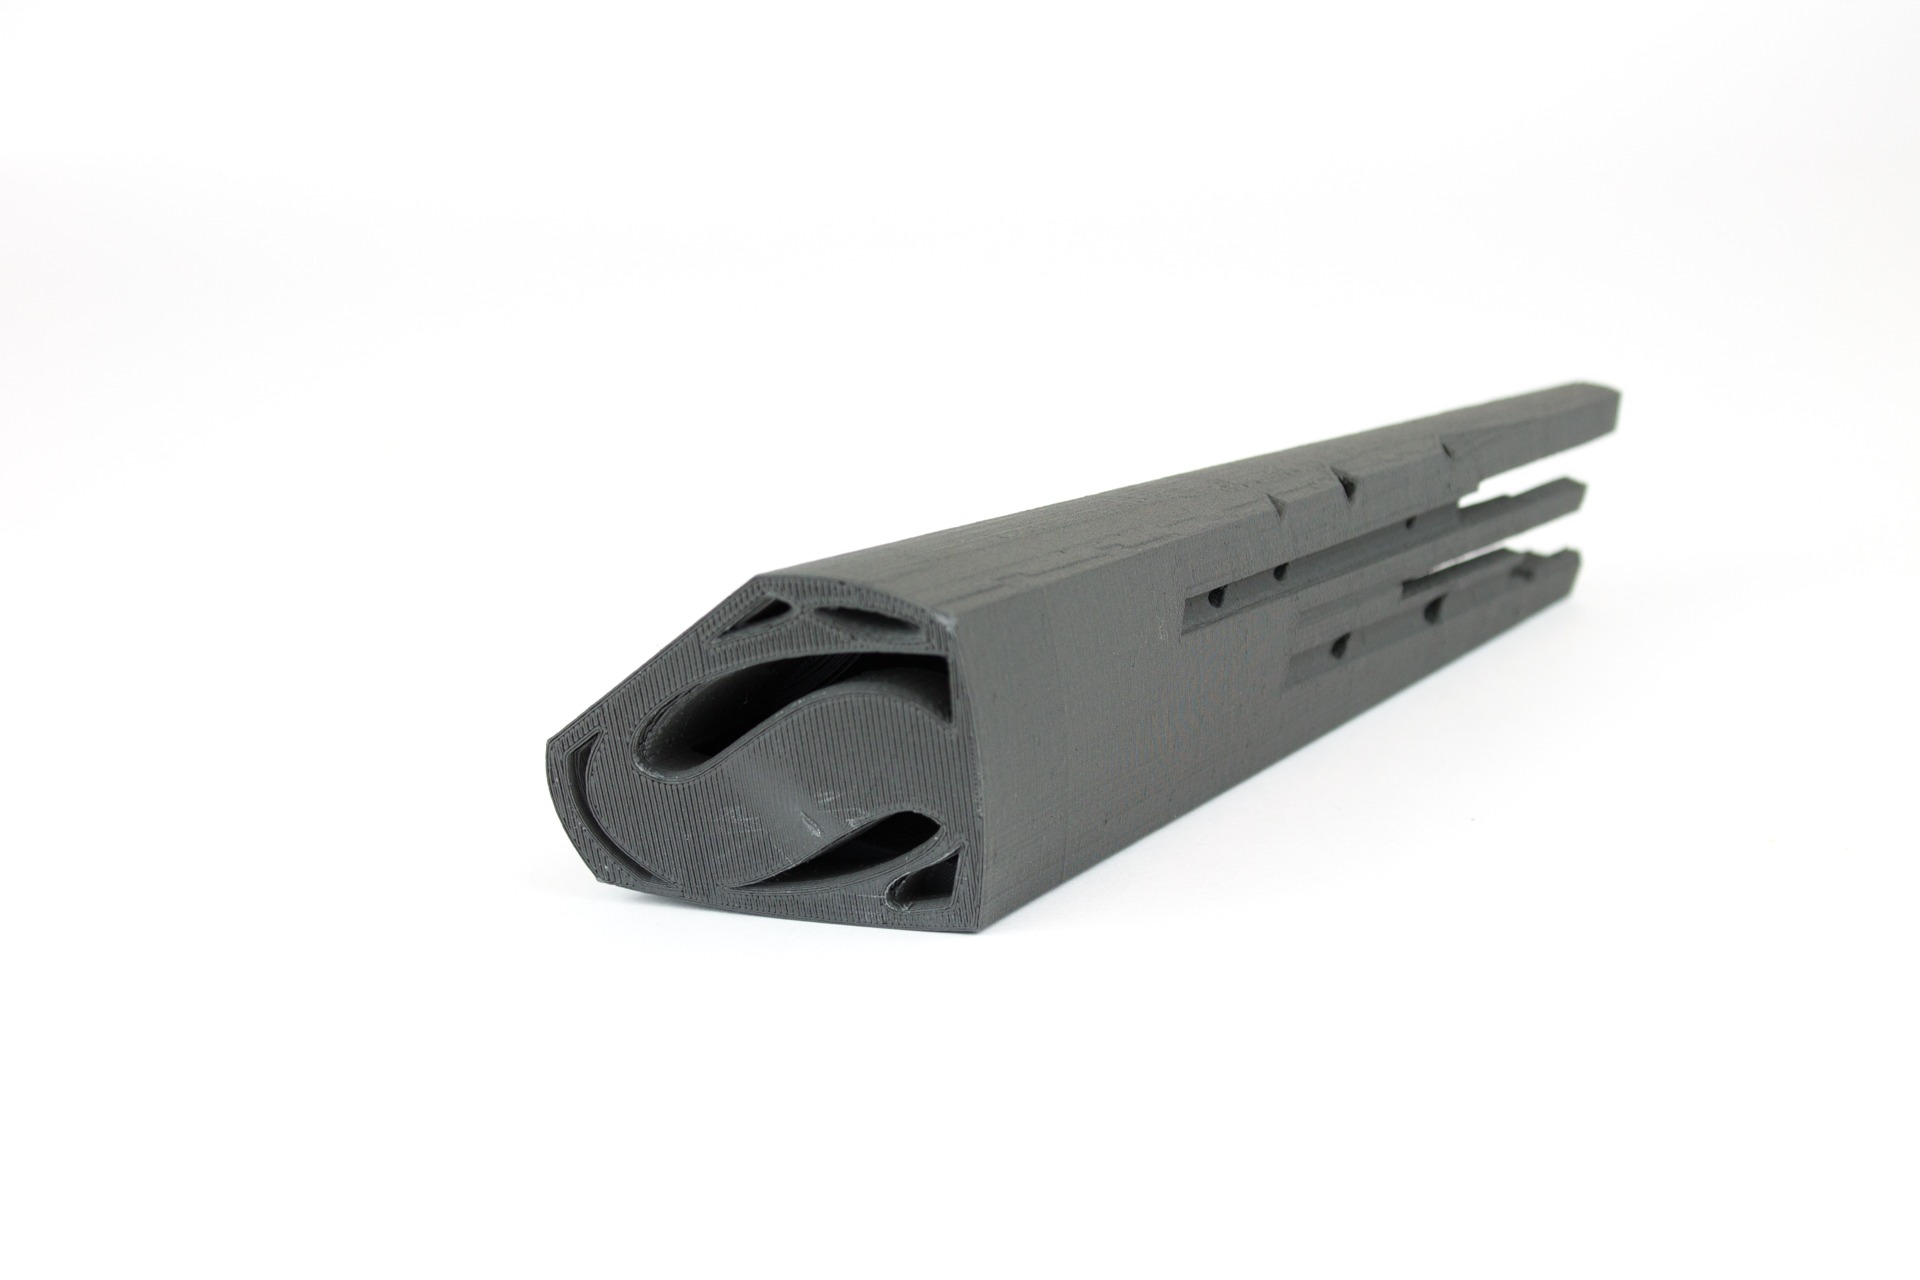
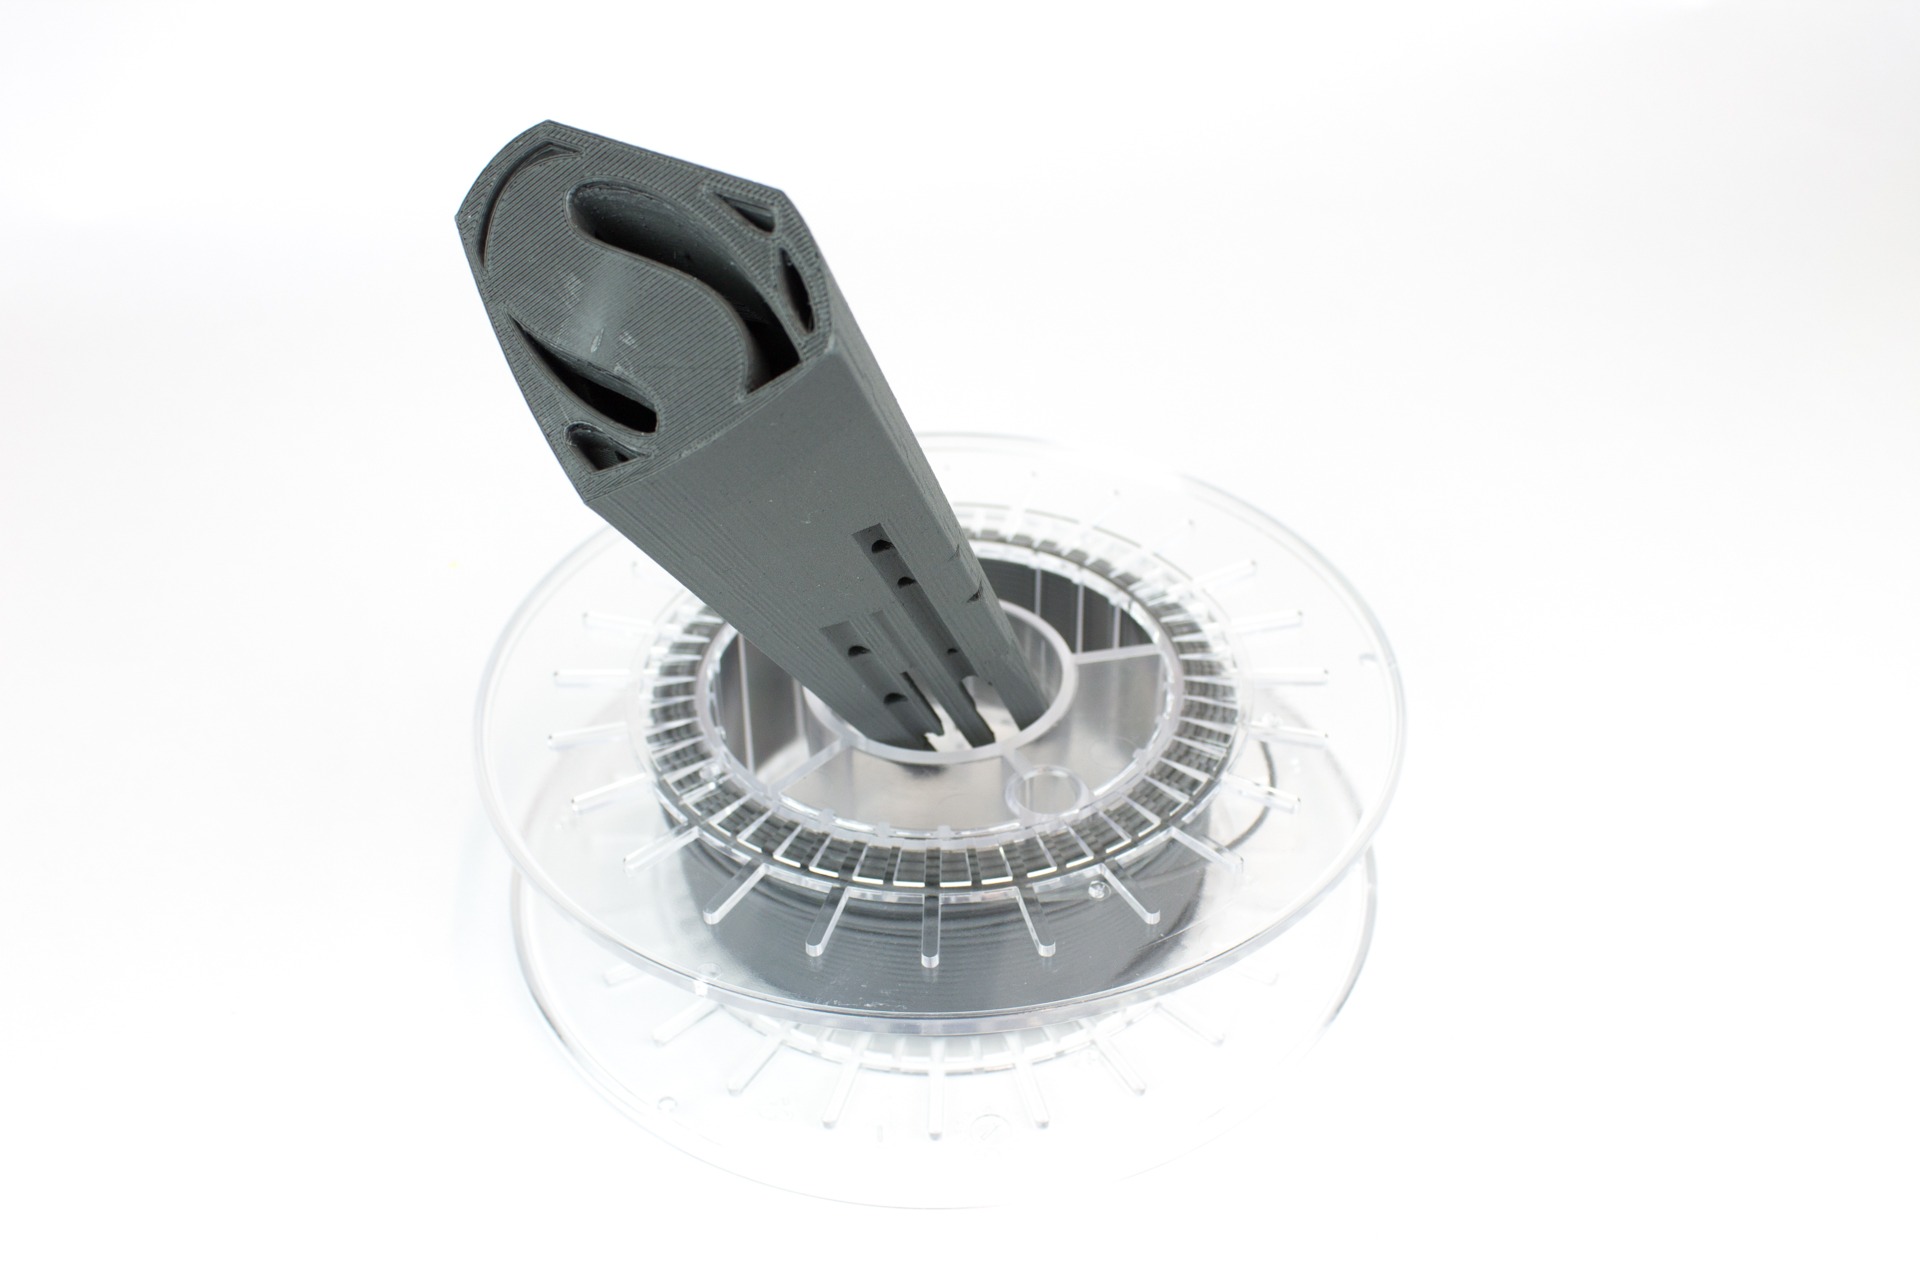
The high steel content of the steelFill material makes this filament quite abrasive to brass nozzles. Although it wasn’t used with this print, we always recommend using hardened steel nozzles or the Olsson Ruby Nozzle when printing abrasive filaments like steelFill.
steelFill is available in our webshop and ships daily, worldwide and from stock.
Full disclosure: one of the founders of Cloud3D, Sven Hacken, is also a colorFabb employee.