We all have a vise…

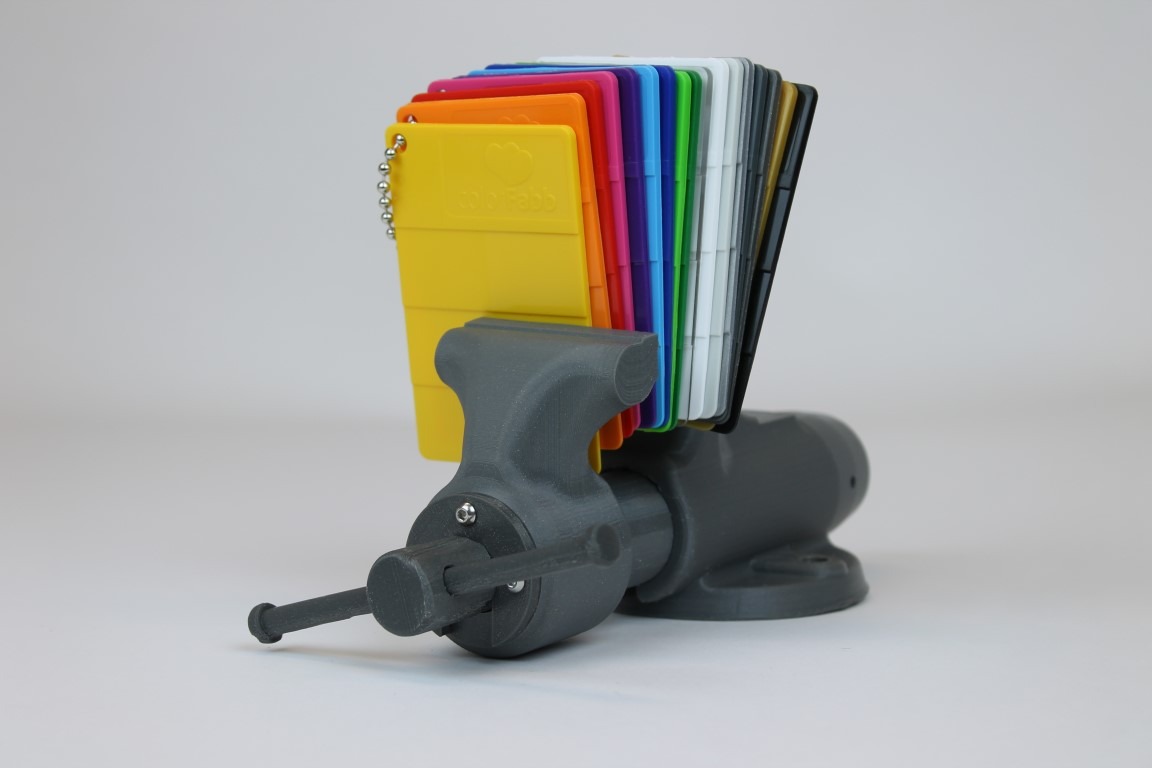
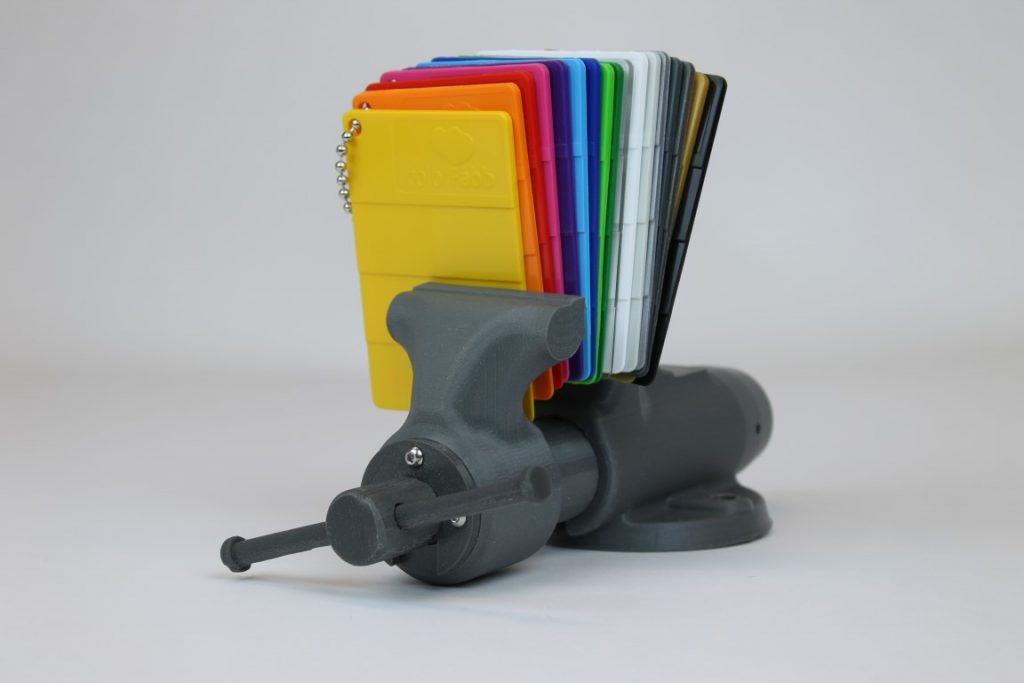
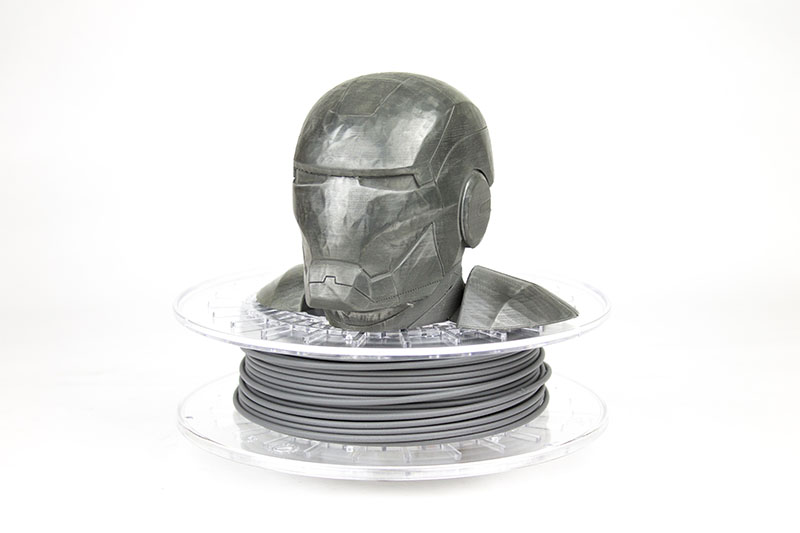
A 3D printed vise, made with nGen Dark Gray & Silver Metallic at 0.08mm layer height on the LulzBot mini. Inserted in the vise is the color portfolio of our range of nGen filaments.

Design: http://www.thingiverse.com/thing:1572431
Information: http://ngen.colorfabb.com/
17 colors available: http://colorfabb.com/co-polyesters/ngen

vise-ngen

nGen is a true all-round material suitable for most day to day 3D printing activities. At the core of its reliability is the special chemical make-up of the Eastman Amphora™ AM3300 3D polymer, which results in a good melt stability. From pellet to filament to 3D print, nGen retains its material properties very well, meaning more stable results with less waste of time and material.

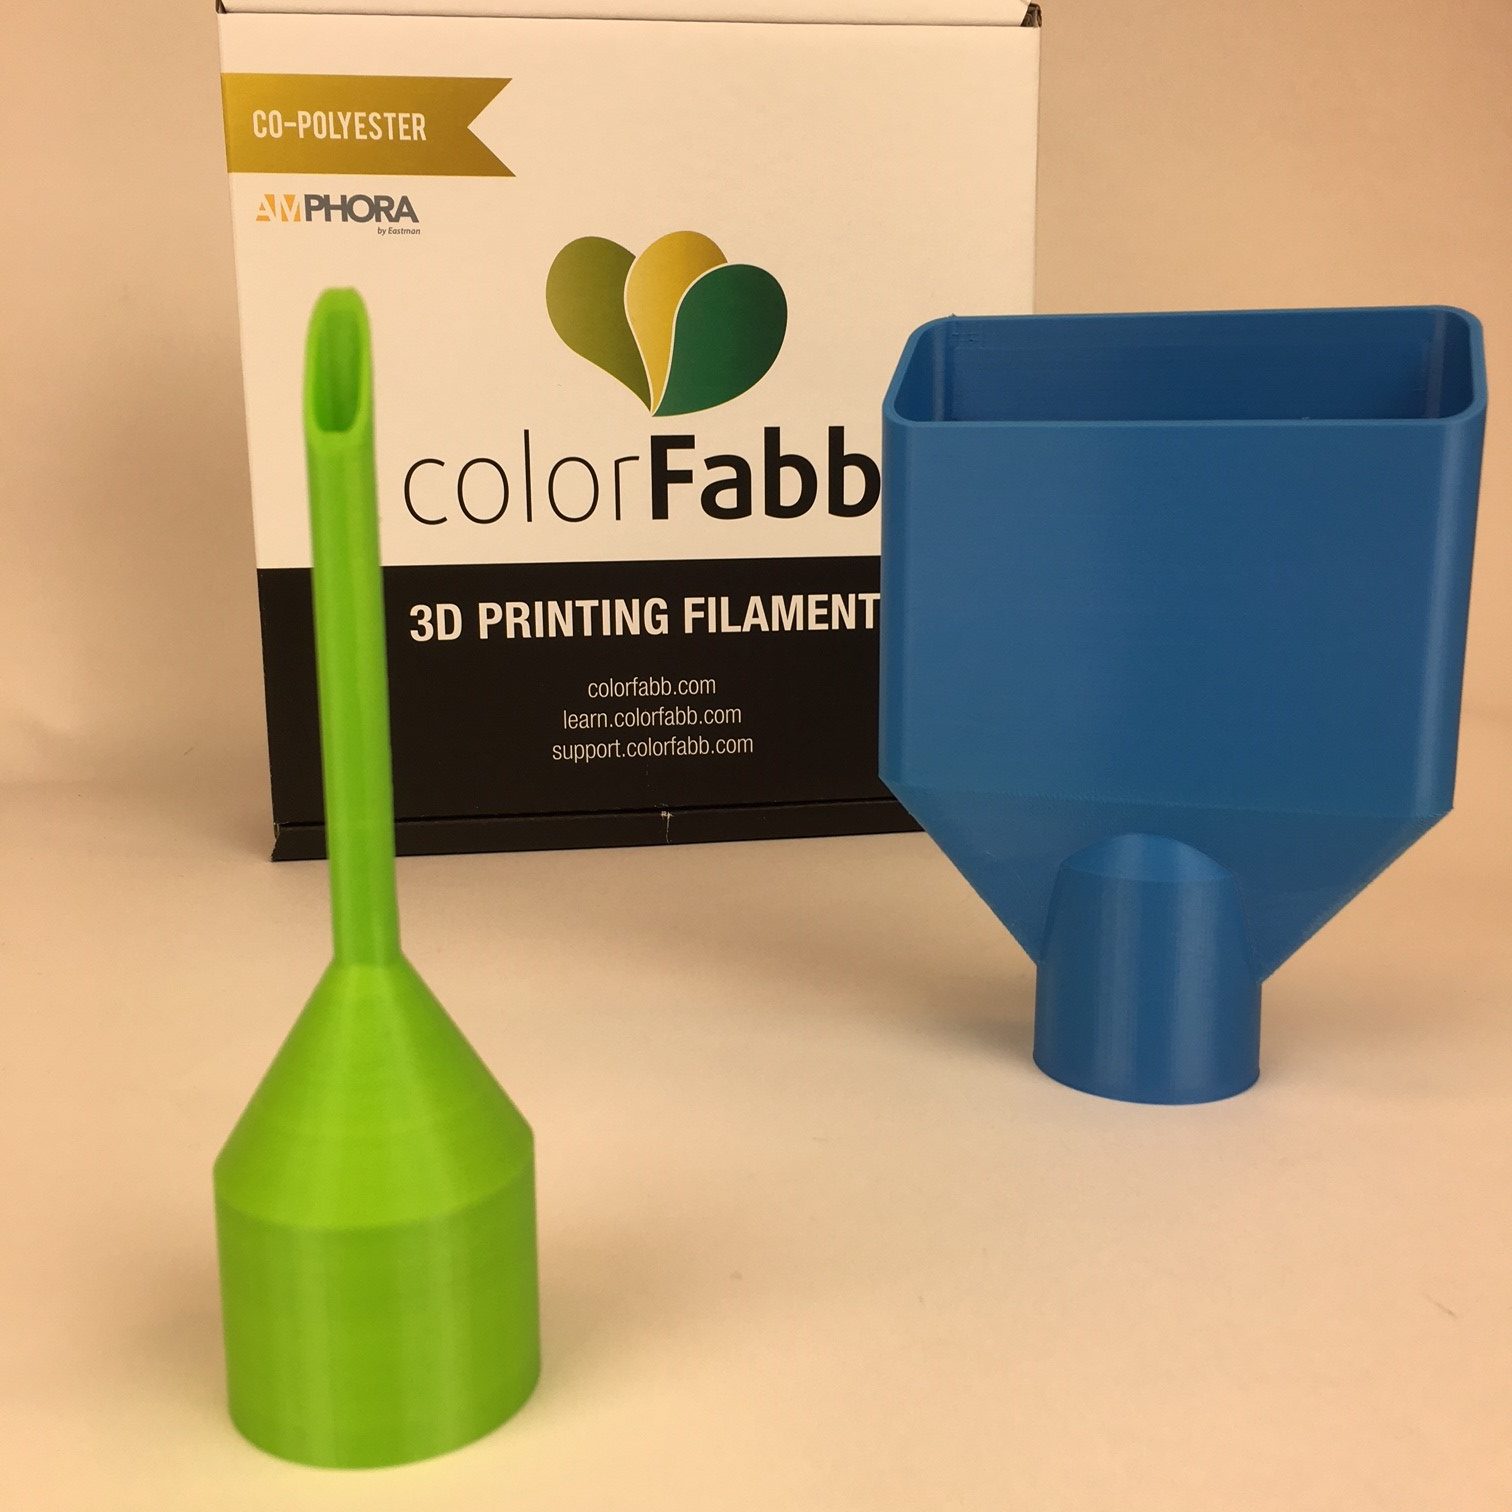
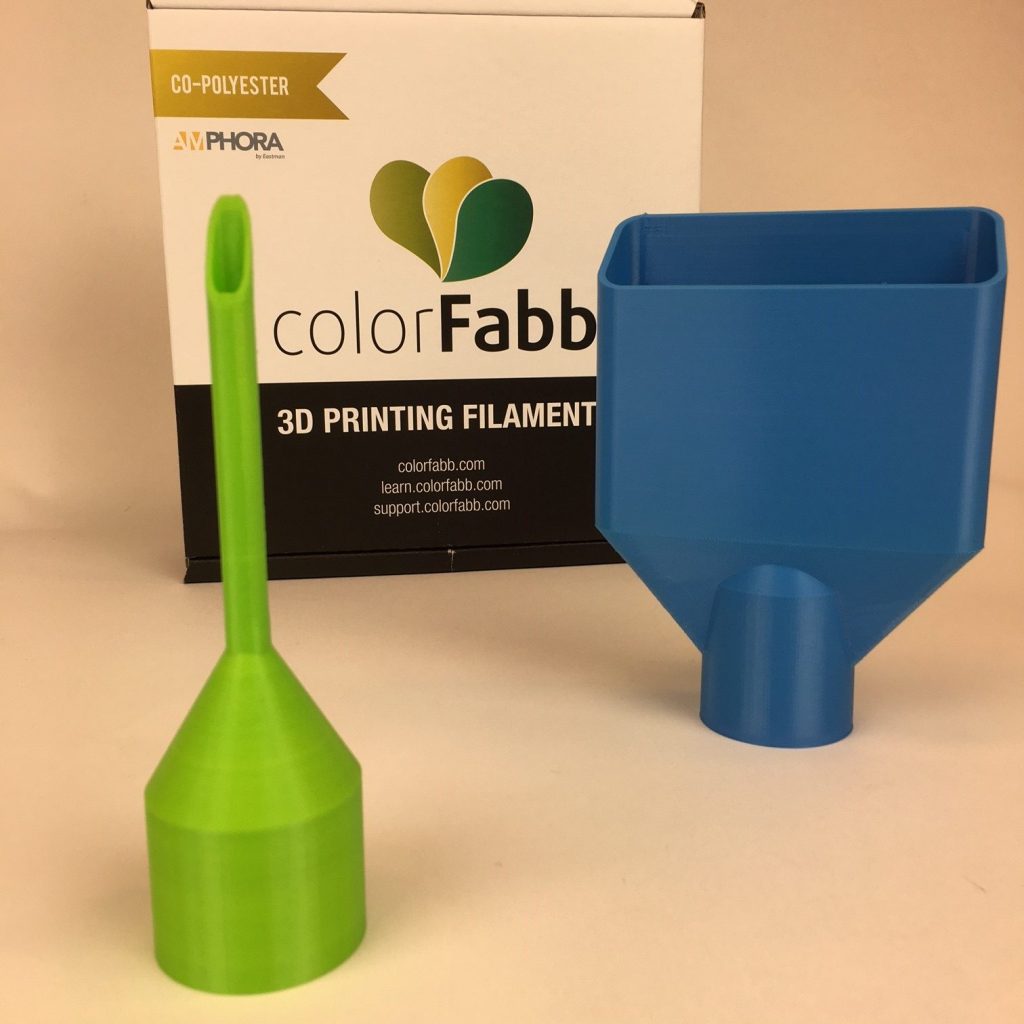
3D printed vacuum tool

We printed two of the vacuum tools recently featured by Thingiverse and designed by Zivbot with colorFabb_XT in light green and light blue. Excellent prints for practical use.

Design: http://www.thingiverse.com/thing:1571860

colorFabb_XT: http://colorfabb.com/co-polyesters/colorfabb-xt

xt-stofz

colorFabb_XT is made with Amphora AM1800 and has a unique formulation for 3D Printing that features excellent properties : High strength and very high toughness, Odor Neutral processing, High Tg / improved temp. resistance, Styrene free formulation, FDA food contact compliance, BPA (Bisphenol A ) free formulation. It will allow the user to produce 3D printed functional products in a safe way.

Eastman Amphora™ 3D polymer is a low-odorstyrene-free choice that is uniquely suited for 3D printing applications. With Amphora, items can be created that are more functional, more durable, more efficient, and attractive.

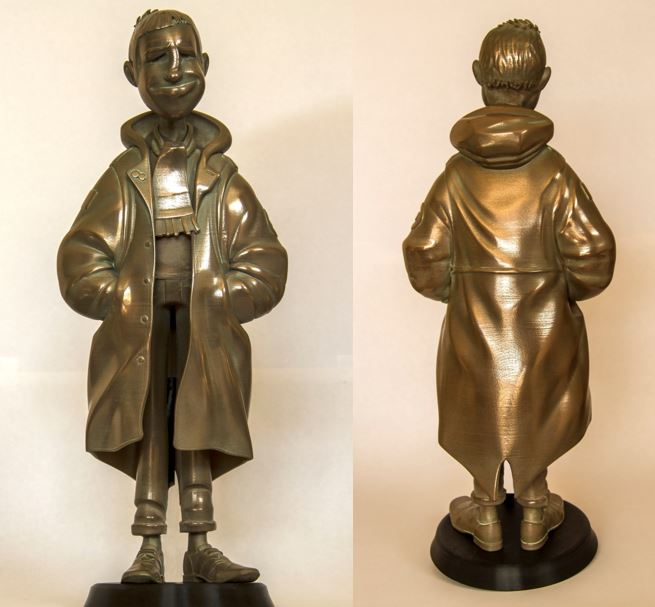
Steve Cox 3dprinting with bronzeFill

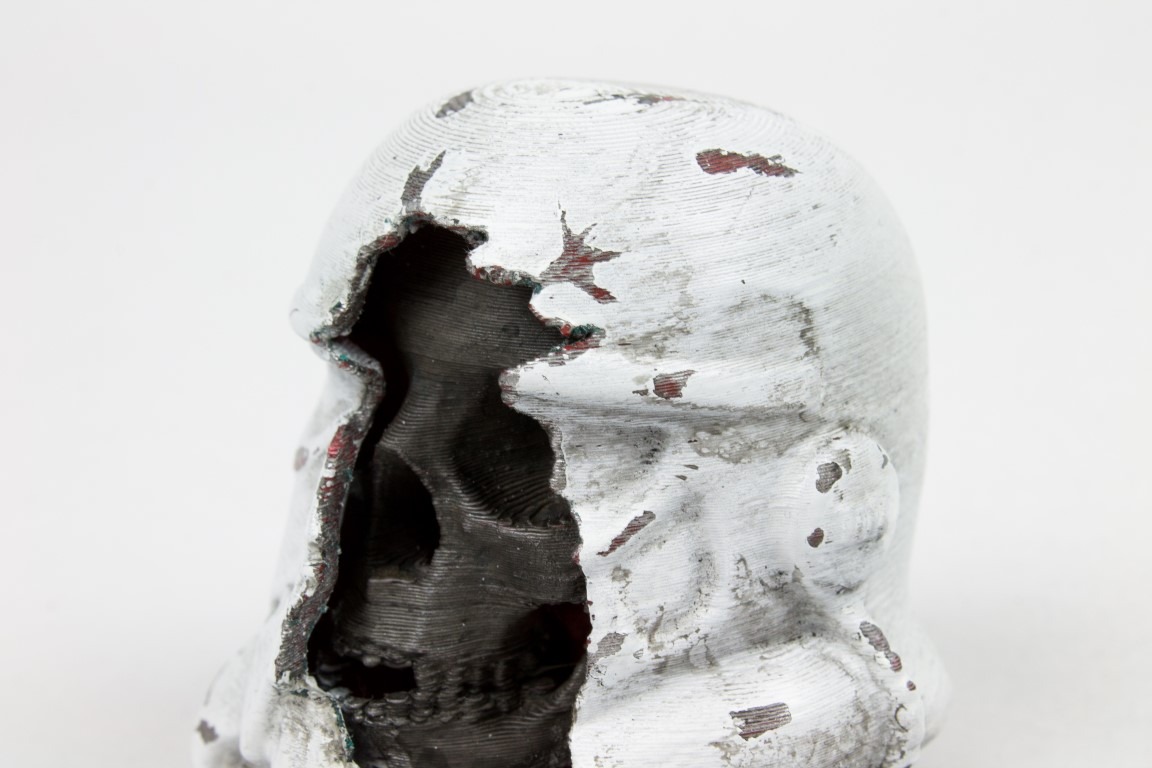
This beautiful print remains one of our favorite bronzeFill prints, printed by Steve Cox. In Steve’s words (via Twitter @SteveCox3D):

“Start with a stainless steel pan scourer, then fine grade abrasive paper, and then finish with liquid metal polish. It was all printed at 0.1mm layer height. The only support material I used was about 1 gram under the chin.” Printed in several parts.

More on Steve Cox: http://www.createeducation.co.uk/team-members/steve-cox/

http://colorfabb.com/bronzefill


What we talk about when we talk about co-polyesters

Two years ago, in the summer of 2014, we announced our partnership with Eastman Chemical Company. Eastman is a worldwide specialist on co-polyesters, a material we recognized to have benefits for 3D printing. In the past two years we have launched three filament grades with Eastman’s raw materials, branded as Eastman Amphora™ 3D polymer.

Why co-polyesters?

The way we see it, FDM 3D printing filaments will be all about functionality in the future. How you are going to use your prints in the real world will define what material you choose. We have found a lot of characteristics in Eastman’s range of Amphora co-polyesters that offer functionality, durability and efficiency. Added benefits compared to ABS are the low-odor while printing and that Amphora based filaments are styrene free.

Compared to PLA, Amphora features a much better heat resistance, starting at 75C for colorFabb XT, 85C for colorFabb nGen and 100C for colorFabb HT. You can find the comparison between our co-polyesters, ABS and PLA in the table below:

More information about emissions during 3D printing can be found in the brochure that Eastman has prepared after some extensive studies. You can find the pdf extract of this study by clicking the button below:

Continue reading

How to print with colorFabb_HT

How to print with colorFabb_HT

To get the best possible quality out of any 3D printing material it’s important to match the slicer settings with the material which is used. On this page we’ll run through the most important settings and suggest good starting values for various printers. If your machine isn’t in our list use the general recommended settings.

In the table below you can quickly find values for your machine, scroll a bit further down to read more about each settings.

[table id=10 /]


Heated platform

ColorFabb_HT is best printed with a heated build plate to preven medium to large sized objects from warping at the bottom layer. You don’t need to worry about layer delamination due to warping, but only about making sure the first layer stays nice and flat.

For printers with glassplate as build surface we recommend high temperatures of 110/120C. For most small to medium sized part this should be sufficient.

For bigger parts with a larger flat surface touching the buildplate you might need more adhesion to keep the part from warping. In this case BuildTak plate can help prevent warping.

Printing temperature

The temperature we set when starting a print really depends on the chosen layerheight and print speed.

Flow of material in mm3/s = (layerheight*nozzle width)*print speed

When considering normal settings such as 0.2mm layerheight and 50 mm/s speed we recommend for most machines a processing temperature of 260/280C.

At 0.1mm and 50mm/s temperature might be lower towards 250/270C.

Make sure your machine can reliably work at these elevated temperatures, not all 3D printers are able to go beyond 250C / 260C.

Cooling

In order to get best possible strength from colorFabb_HT we recommend printing without cooling whenever the model geometry allows for this. If your model doesn’t feature overhanging surfaces or fine positive features  (pointy bits) then it’s likely your model will print fine without cooling.

This will results in better layer adhesion, but also less issues with warping of the material.

We also like the option of only activating layer cooling for the perimeter lines, the infill is not cooled and therefore should maintain best possible layer adhesion.

Bridging

Most slicers will allow users to set special settings when a bridge is printed in a model. Usually we can set bridging speed, bridging cooling and sometimes also bridging perimeter width (or flow).

We recommend slower printing on bridges, since there’s no material to support the printed line we don’t want to ‘break the melt’ by moving too fast. Slowing down the speed when bridging helps retain the melt strength and also allows the printed line to cool down in mid-air.

Cooling can be set at 100% to help the cool down of the first printed lines.

If you can still see the melt break when printing a bridge, try and increase the flow or bridge perimeter width.

Retraction

Before you start tweaking the retraction values make sure you’ve found the sweet spot in terms of printing temperature and speed for your machine.

PLA retraction values should be a good starting value for most machines. One can expect slightly higher values of retraction speed and retraction length. For more specific values have a look at our table above.

Coasting is a nice option included in Simplify3D. This is the act of stopping the extrusion just before a travel move is triggered, this helps get rid of the pressure in the hot-end and therefor also making a retraction move more effective.

Minimal layer time

If you’re familiar with the minimal layer time setting then you’ll know this is what causes a printer to slow down when printing fine features on a model. Slowing down the print allows each layer to cool down a minimum amount of time. This is of course different for each material, because it depends on how fast a material can dissipate heat and  how much heat needs to be dissipated.

For colorFabb_HT it’s also important to adjust the minimum layer time when you want to print without cooling for best layer adhesion.