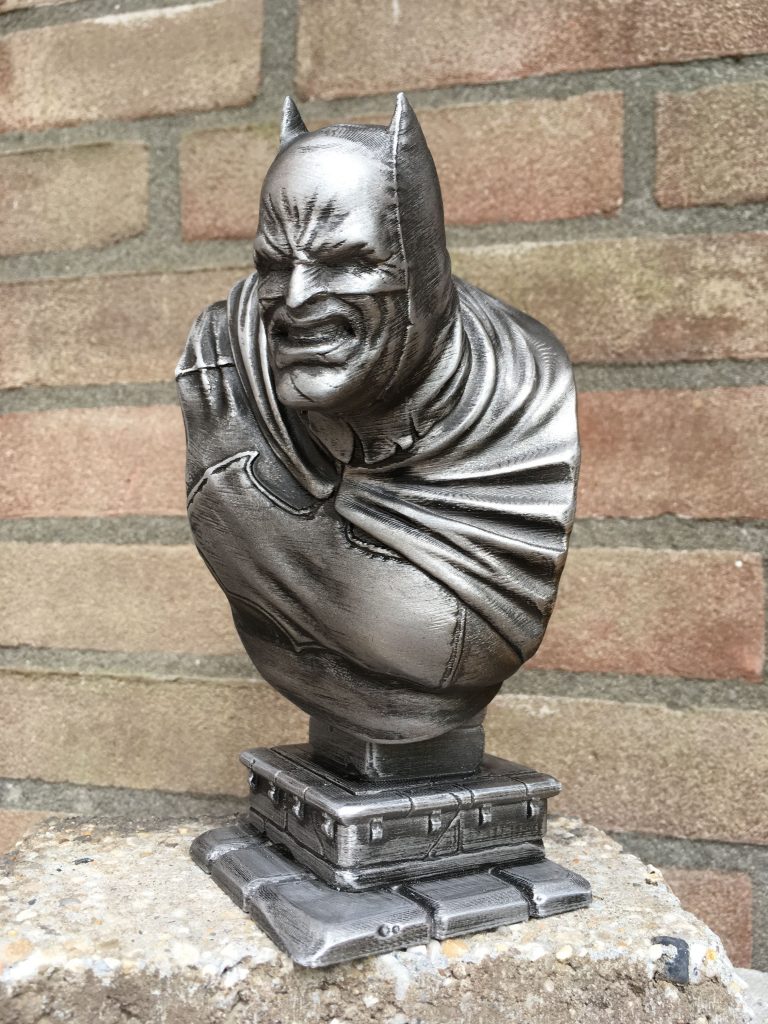
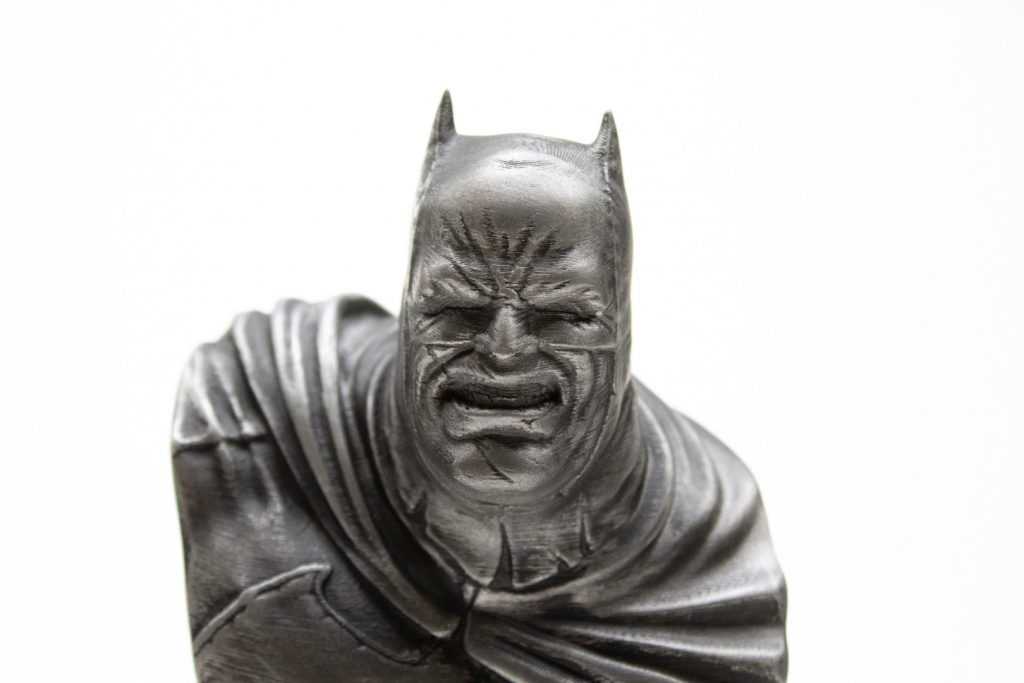
Our filaments already look great when printed, but we get a lot of questions about post-processing. Not only materials where this is kind of necessary (like bronzeFill or copperFill), but also other materials are often the subject of some serious post-printing work to make the printed object truly unique. For this post, our technical development manager (and part of the Team colorFabb from the very beginning) Gijs Houdijk takes you by the hand to show how he post-processed this awesome Batman bust, designed by David Östman.
Design at MyMiniFactory
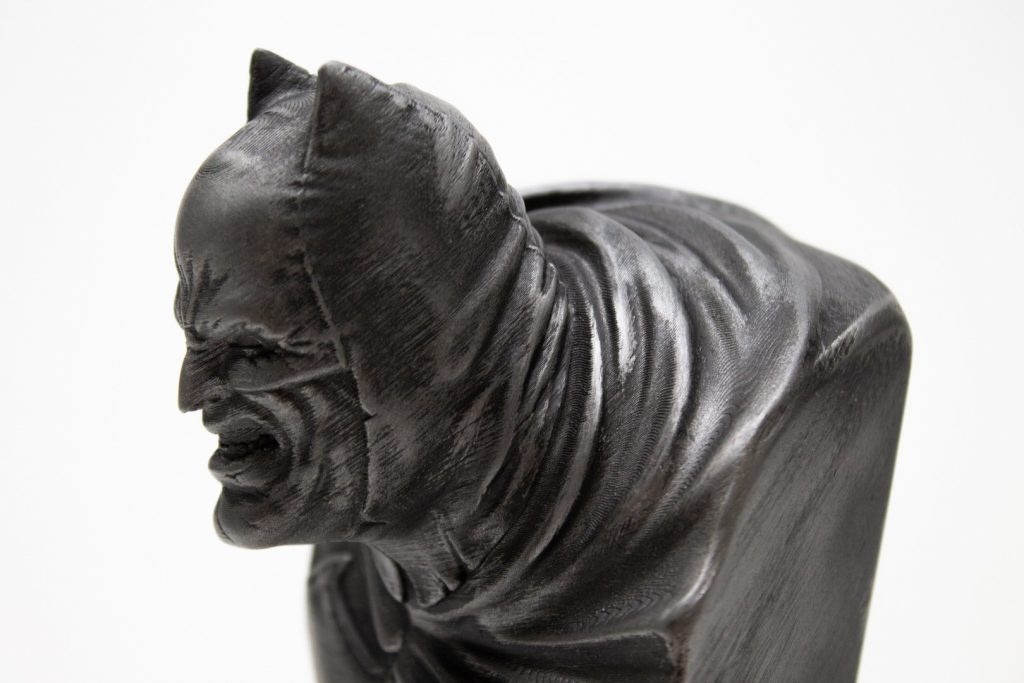
To begin with, we used our very own PLA Semi-Matte White as the basis for this print, using the standard PLA settings on the Makerbot Replicator 2. For this print we used a 0.15mm layerheight, lower layerheights equals less sanding to get smooth areas.
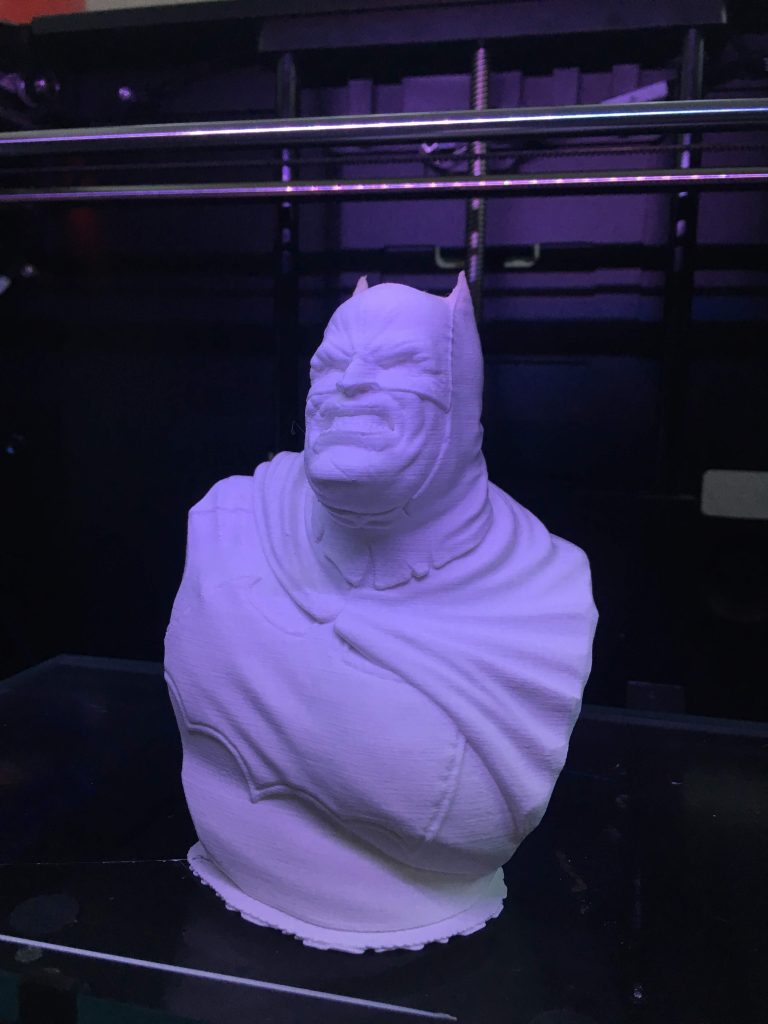
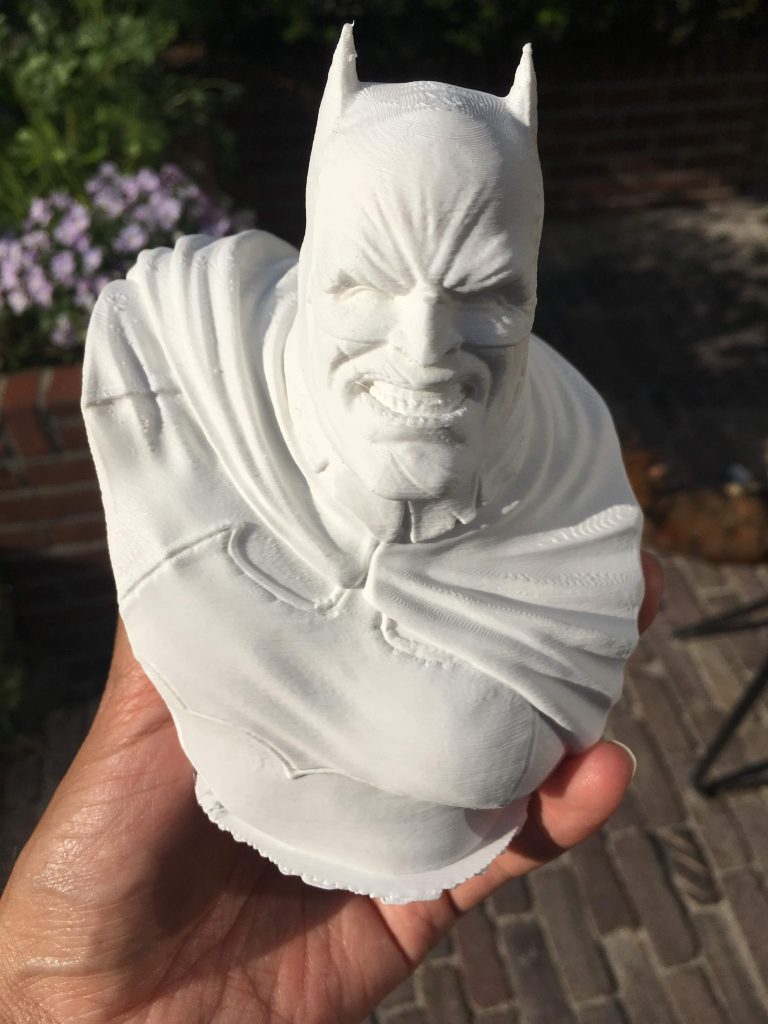
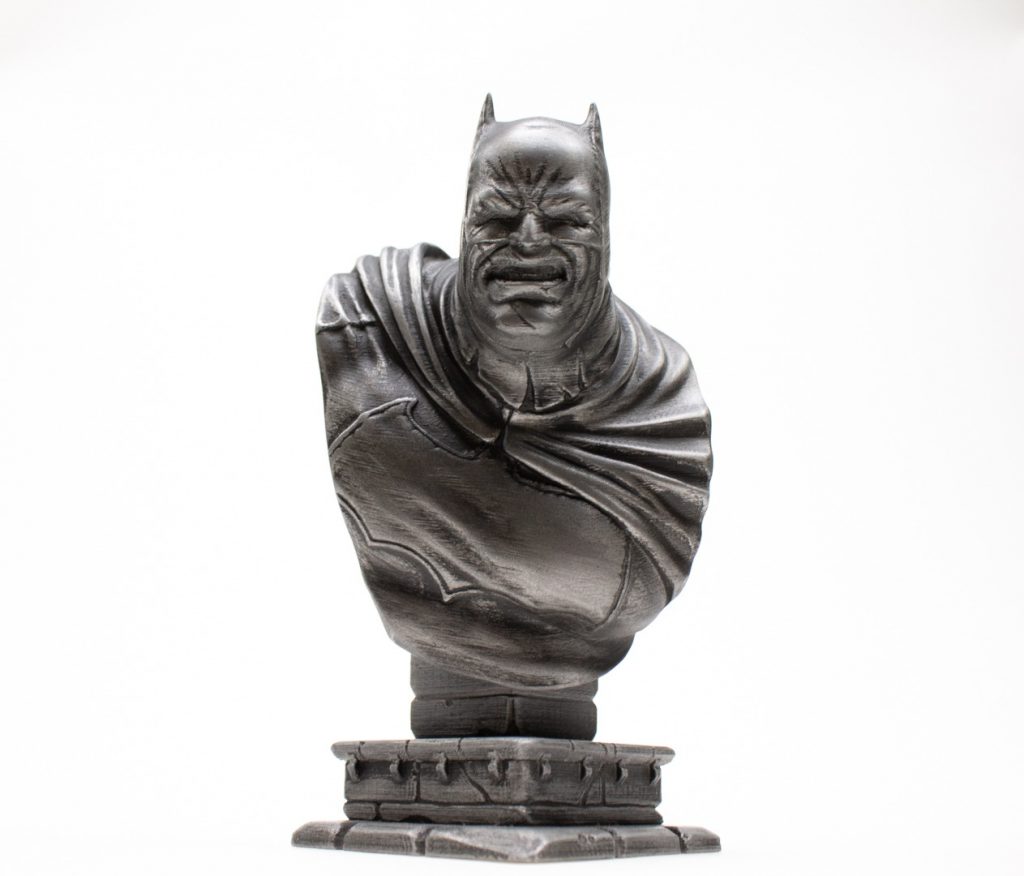
Well, this Batman bust already looks pretty great, but Gotham’s Caped Crusader can even look better! Below are the post-processing steps that Gijs took.
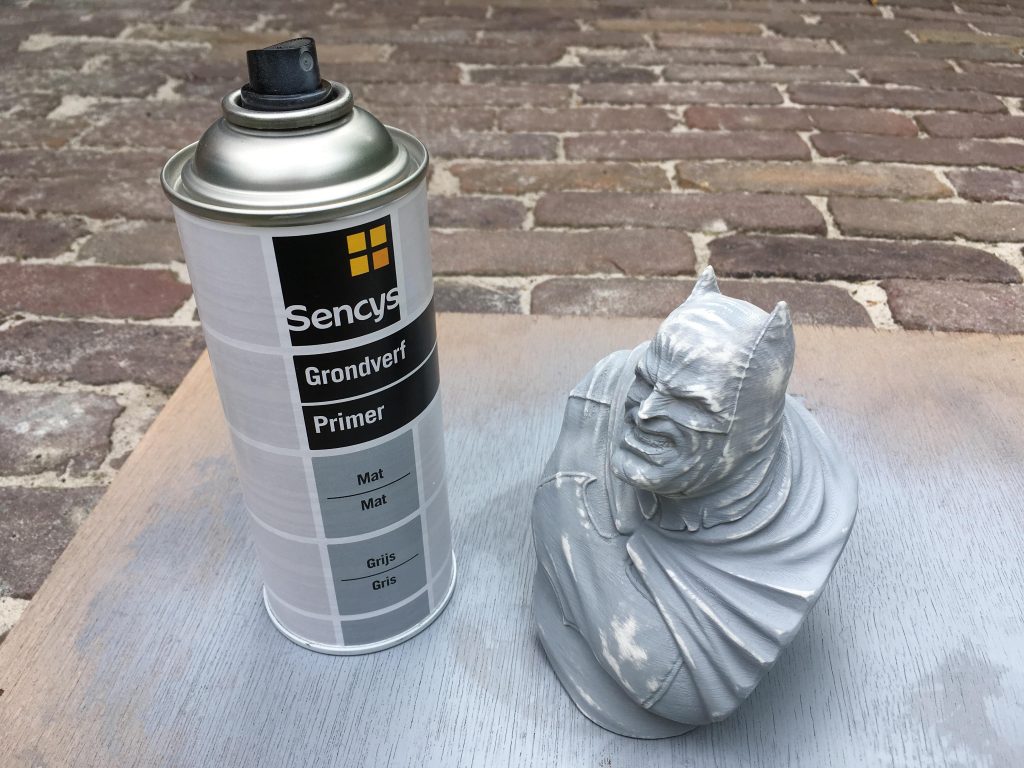
1. Primer & Sanding
I usually start with a couple of layers of primer. After this I’ll start with sanding, using 220 grit. Then add another layer of primer and continue with sanding. My goal is to smooth out af much as possible the exposed area’s, without loosing detail in the print. The smoother the exposed area’s are, the better they will look after Step 3 ‘Wheathering’.

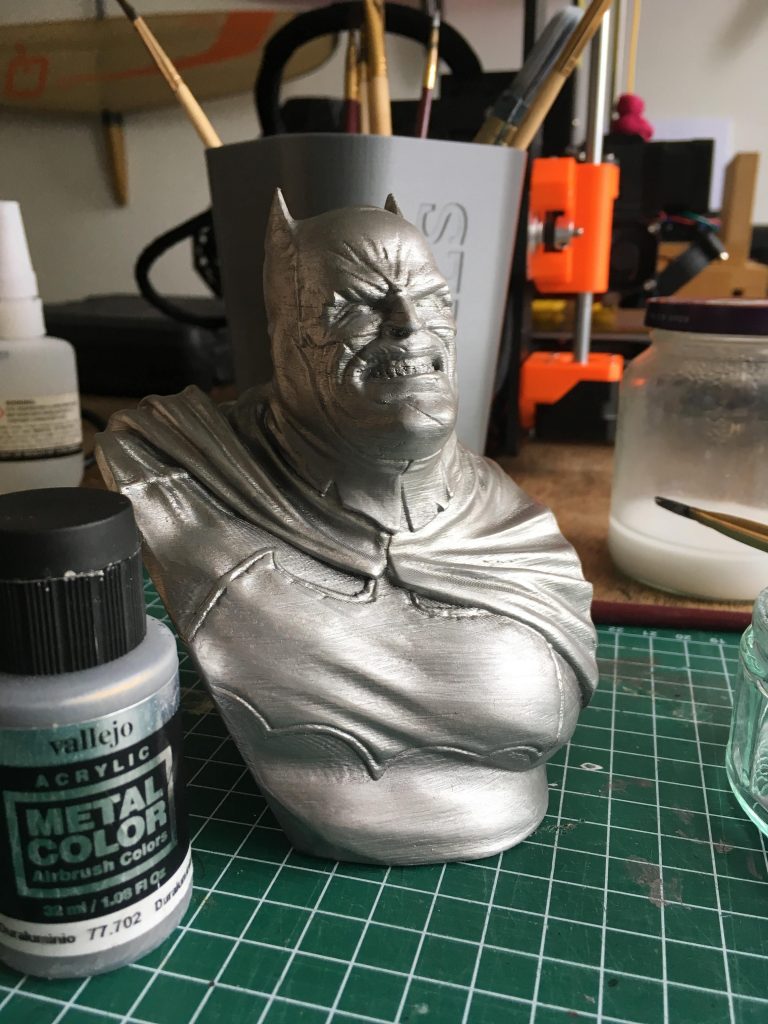
2. Silver base coat
I used Vallejo Acrylic Metal Color for the base silver metal coat. Instead of using an airbrush I used regular brush to apply paint to the model. It’s a very thin paint which coats really really well. It also dries super fast and is very easy to get an even coat.
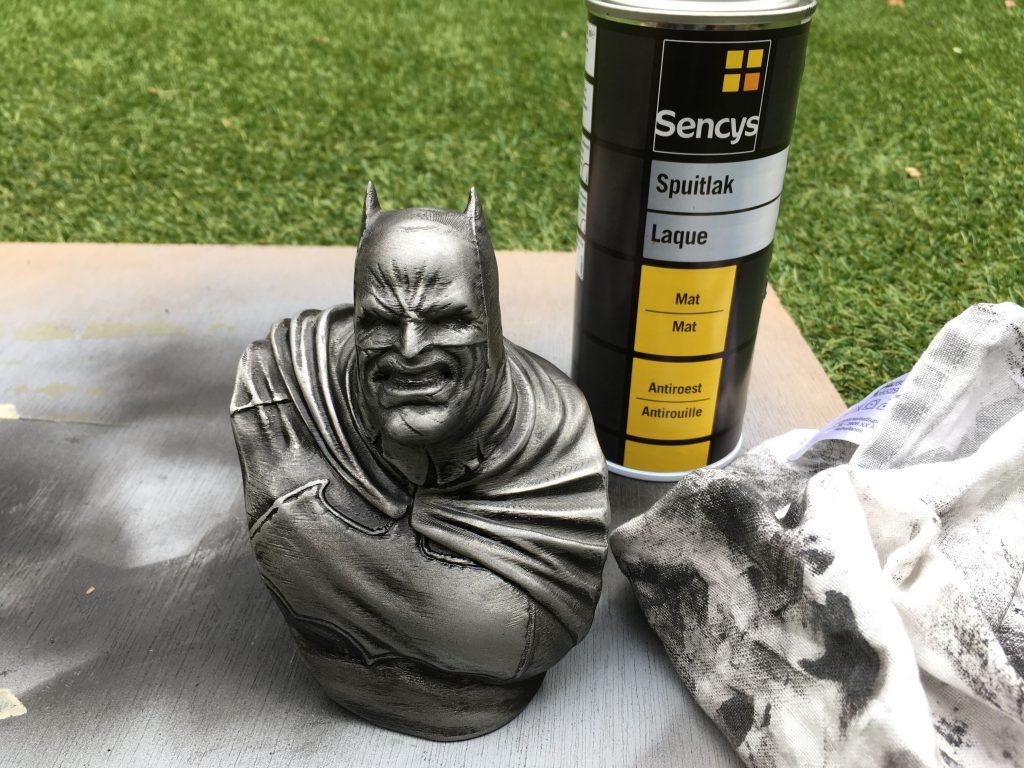
3. Weathering the model
After the base coat I apply black spray paint to the model and immediately remove as much as I can with a soft cloth. Don’t let the pain dry, you want to wipe it off while it’s still wet. You can do this one side of the model at the time. The smooth exposed area’s will be wiped clean, revealing the metal looking surface. All the nooks anc crannies will stay dark because of the black spray paint, creating a nice contrast with the metal looking surfaces.
4. Glue both parts together
I used LOCTITE® 3DP INSTANT BONDER. Great feature of this glue is that it hardly turns white after it’s set, which some CA glues do tend to have. Loctite is available in the colorFabb webshop.
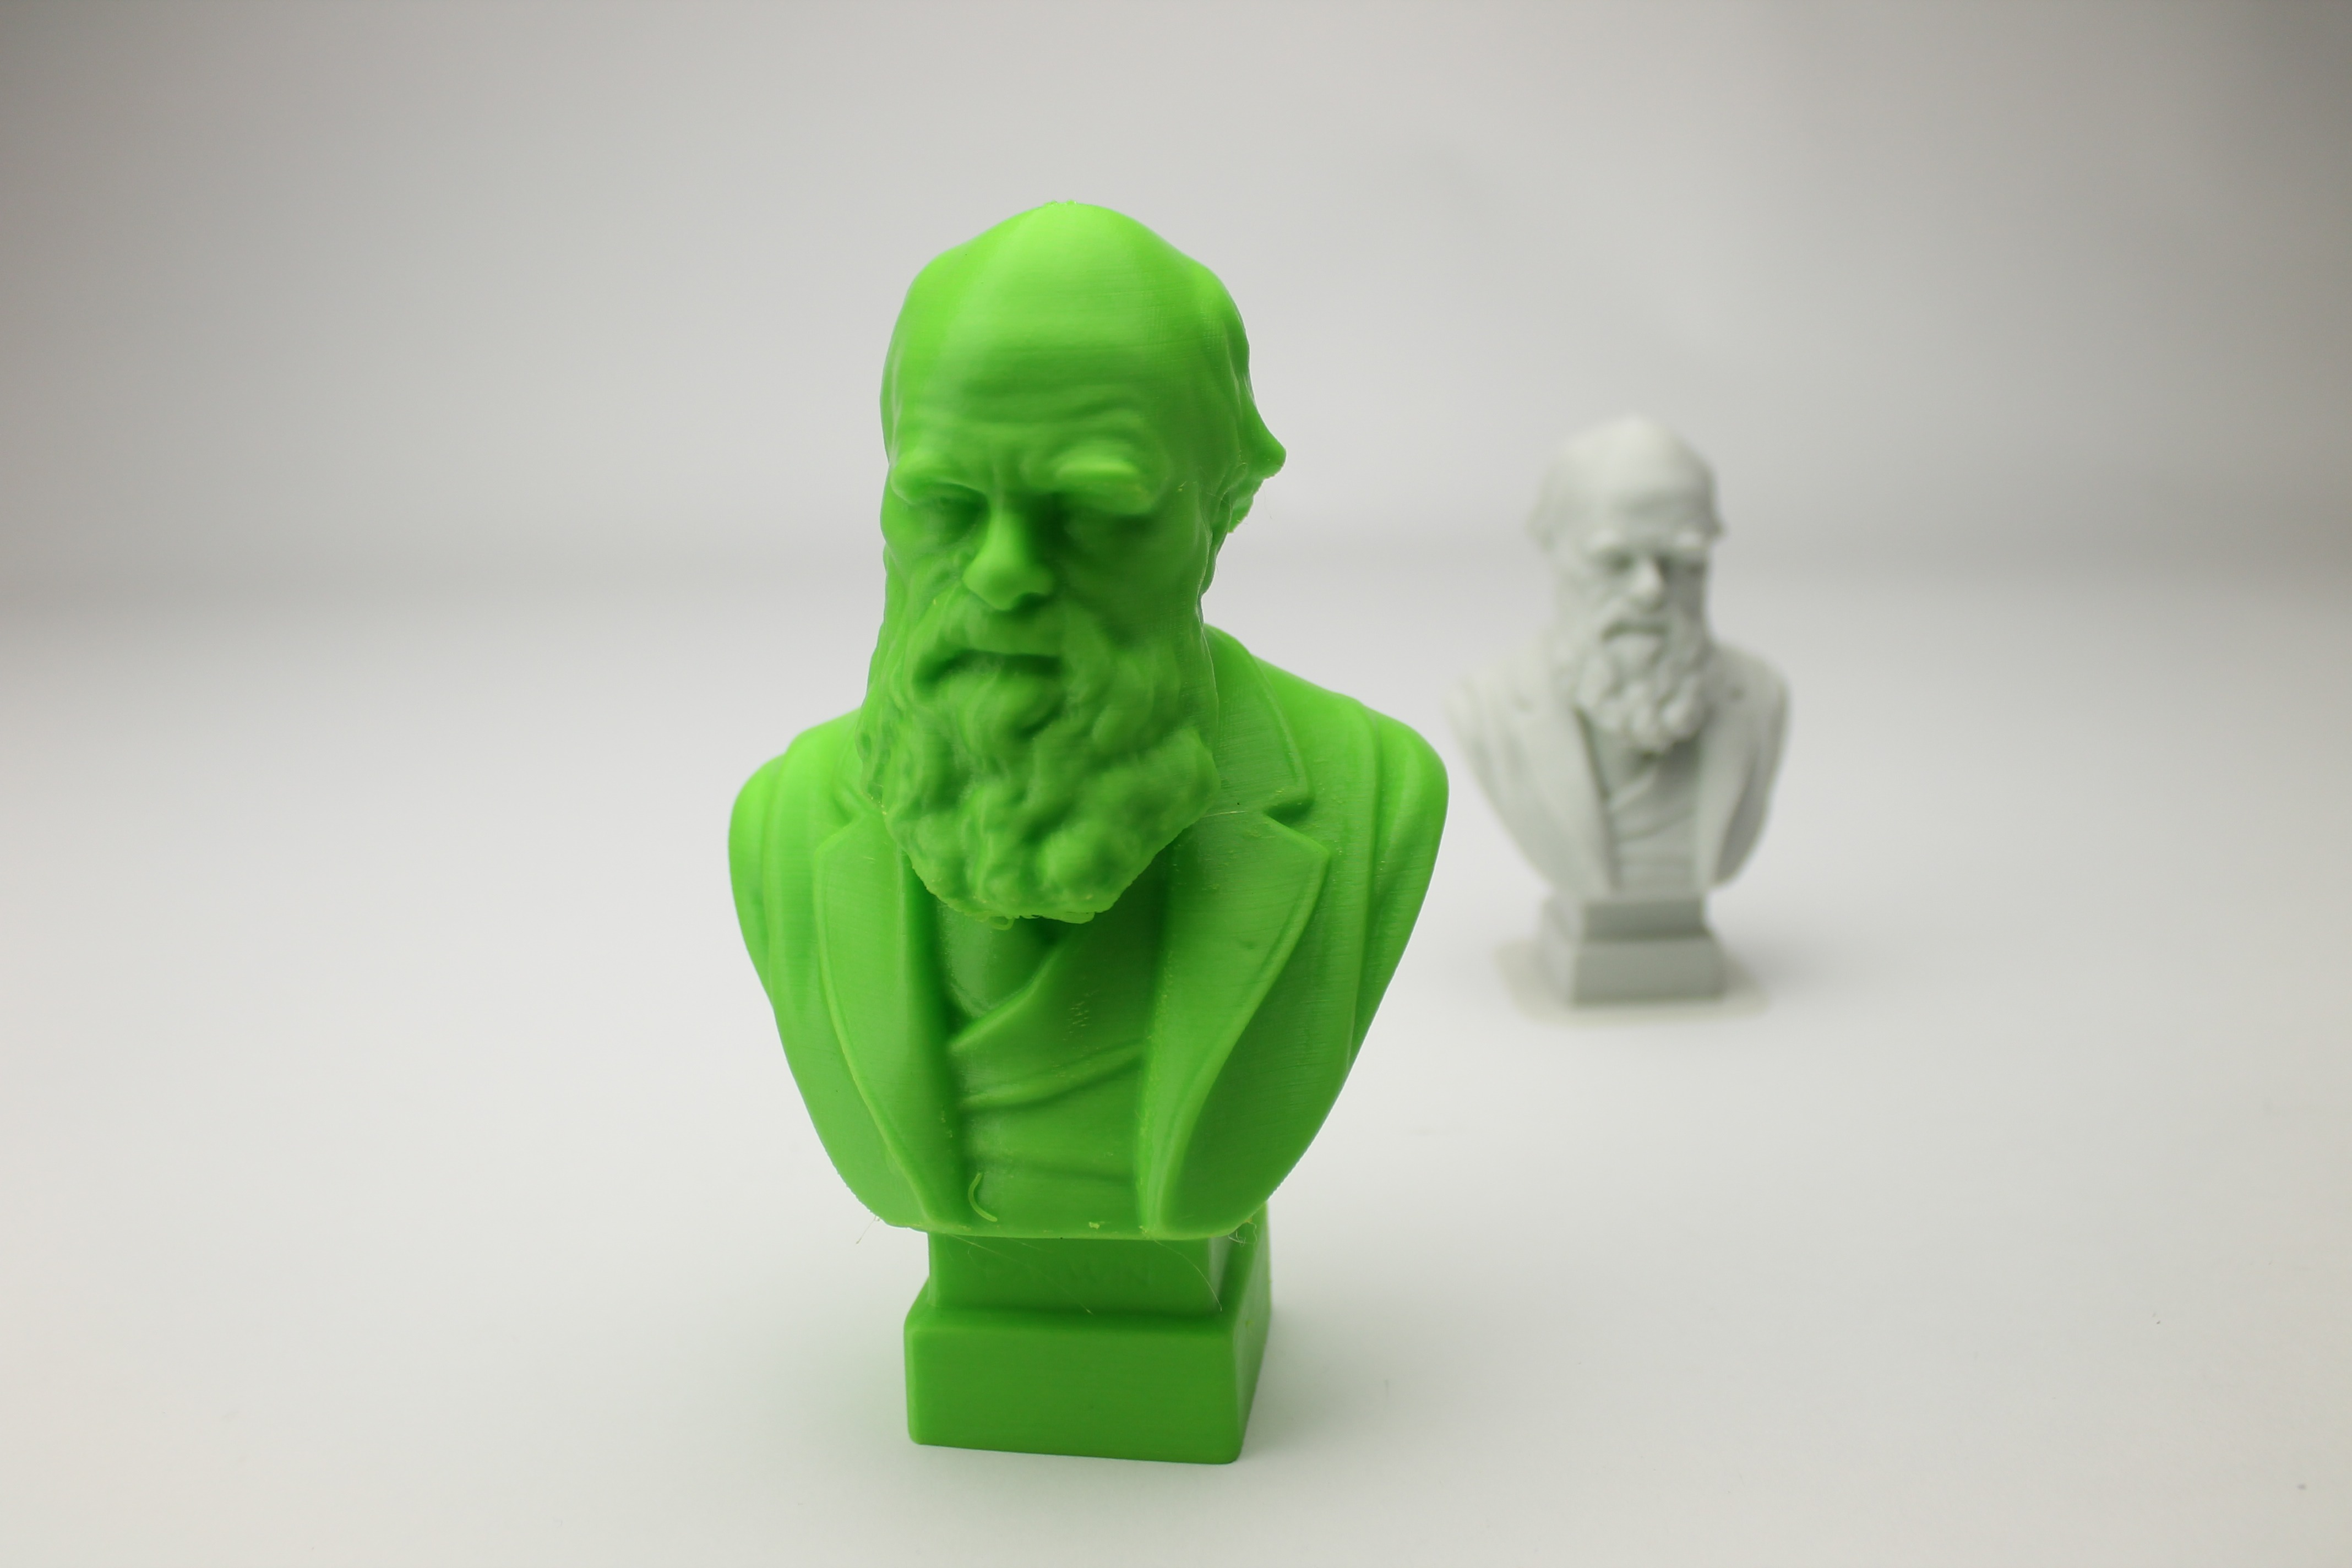
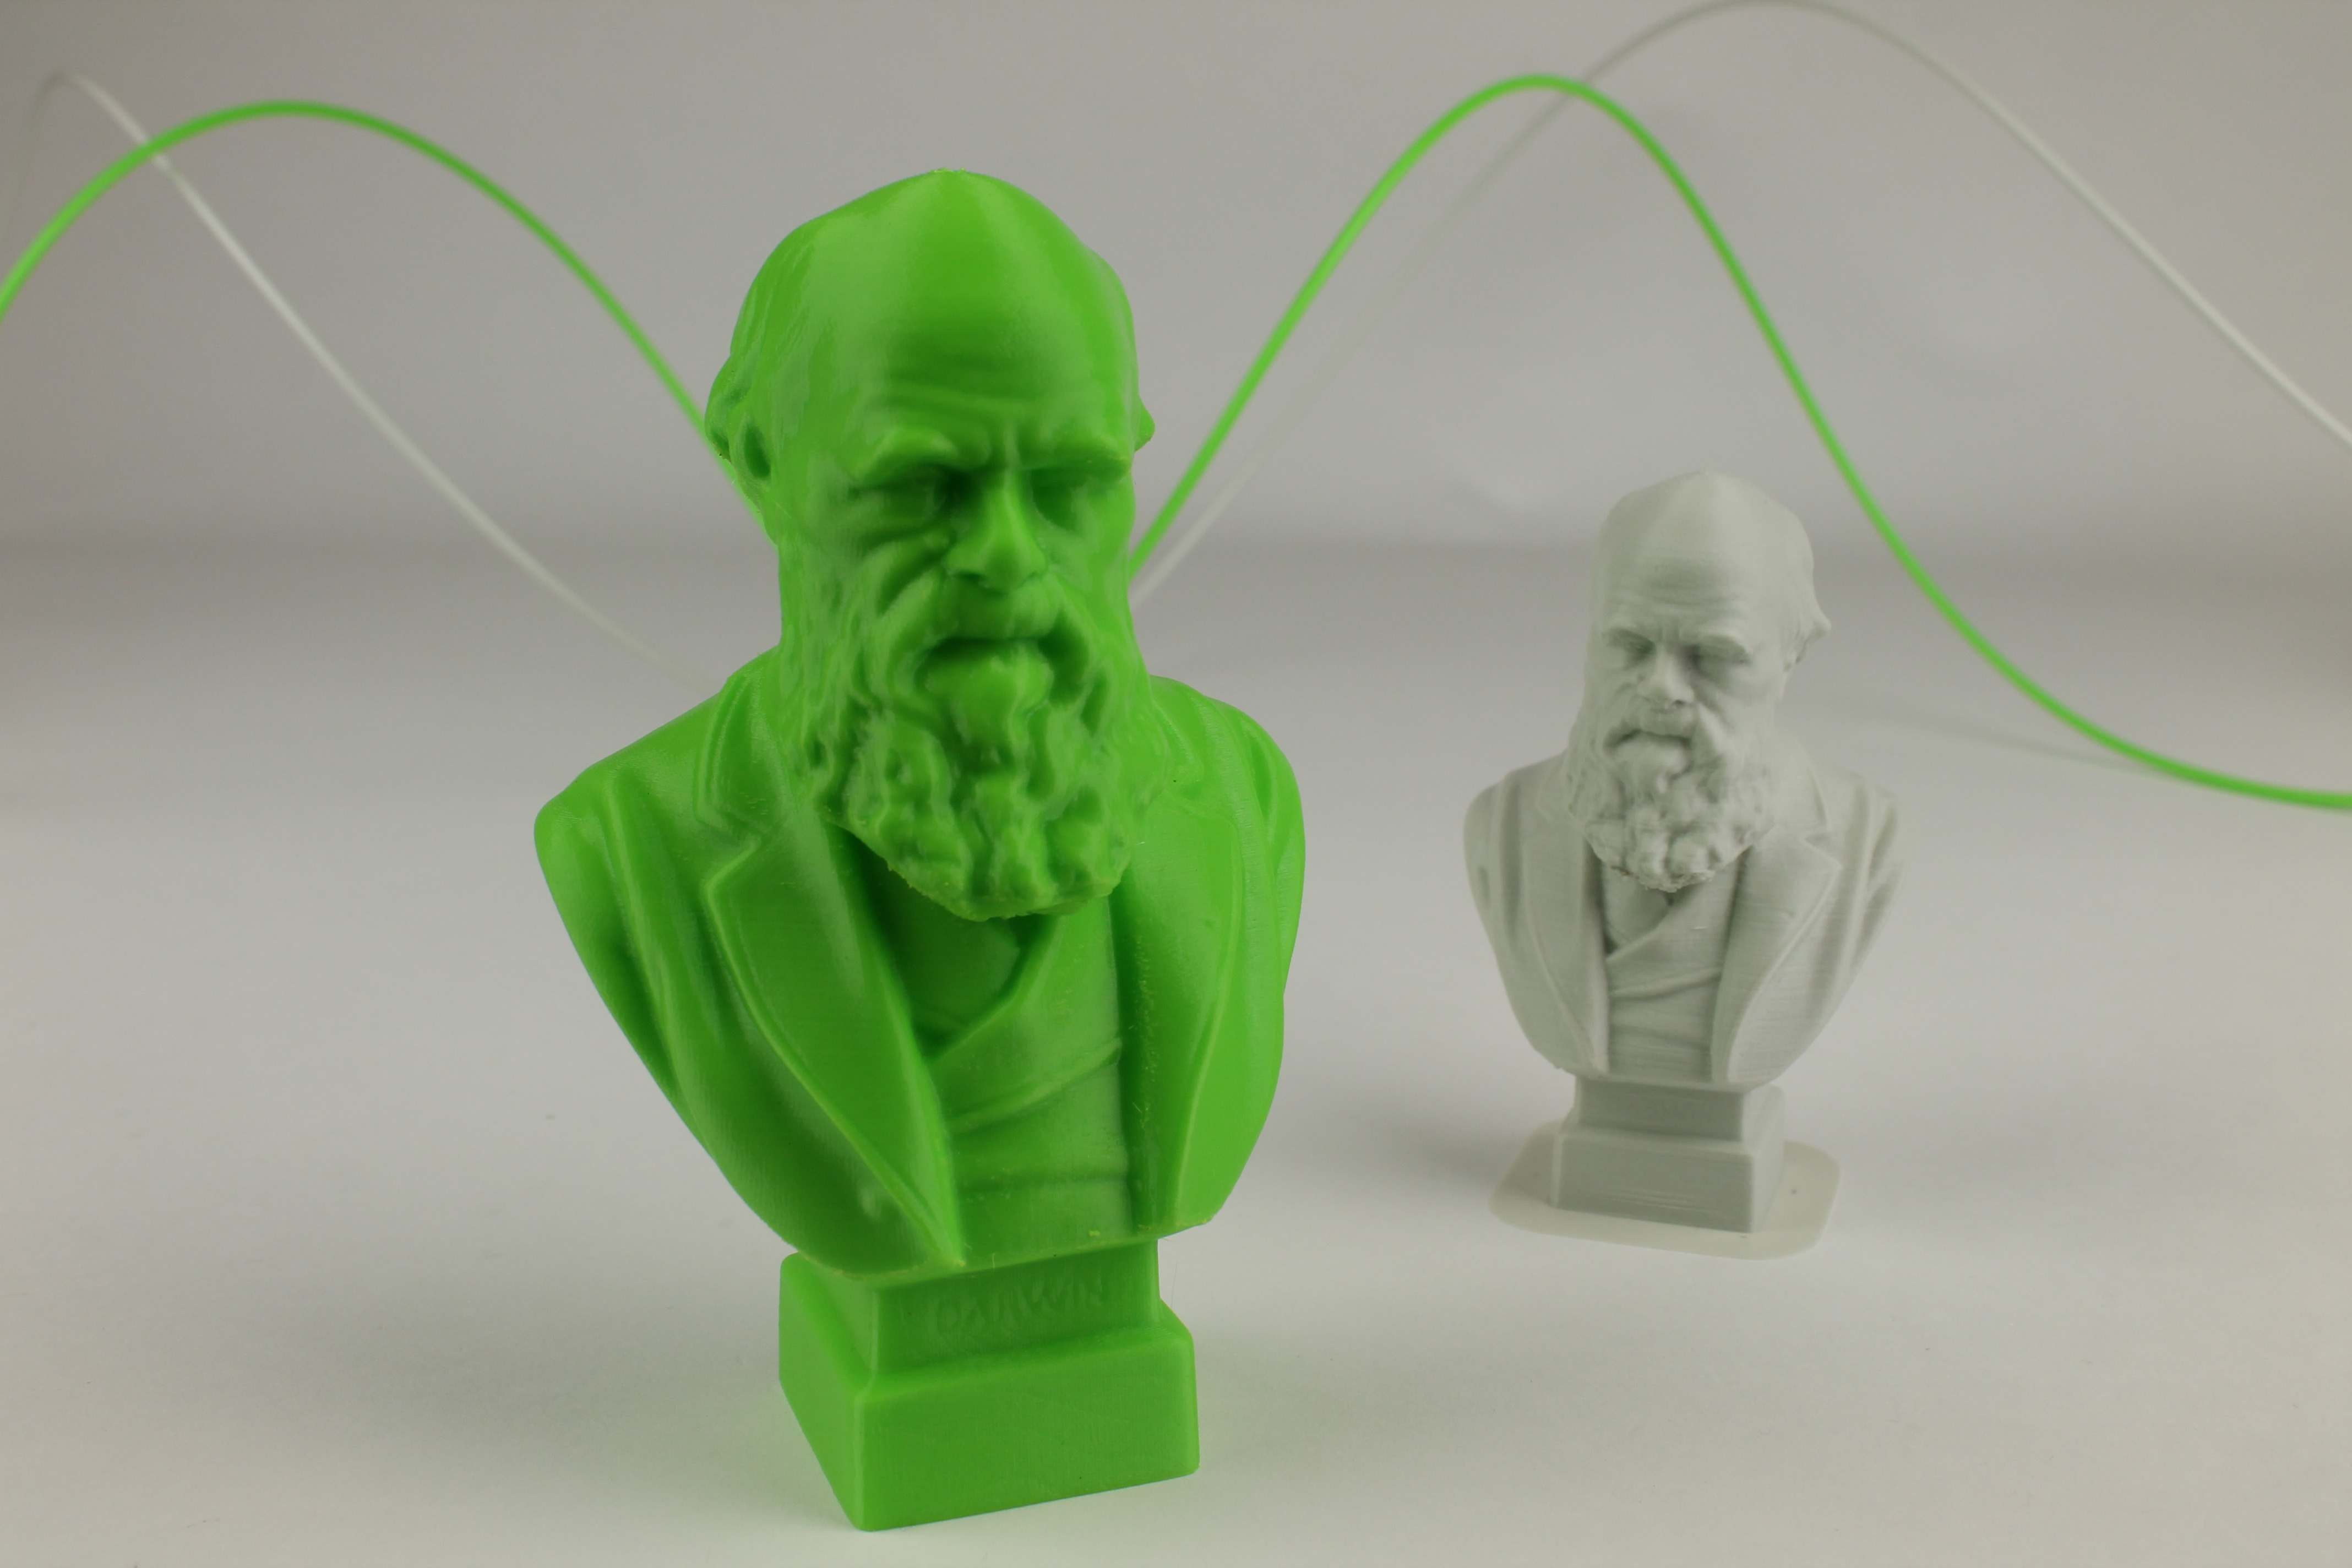
PLA Semi-Matte White is a great material for architects and model makers looking for a different aesthetic. Our semi-matte PLA filament eliminates the glossy appearance seen on most PLA 3D prints. The highlights on the surface will be less visible, resulting in an overall cleaner and much higher quality look. This makes it also a good choice to use as a base for prints that need to be post-processed.
As with its black sibling PLA Semi-Matte White contains no fibers and prints at regular PLA temperatures and settings. The material is as reliable and easy to work with as any other PLA type material.
Want to read more about post-processing other materials? Check out the links below:
- Post-processing tips & tricks for bronzeFill, copperFill and steelFill
- Post-processing co-polyesters (nGen, colorFabb_XT, etc.) – published by Eastman Chemical Company