5 years bronzeFill

Originally posted in May 2019

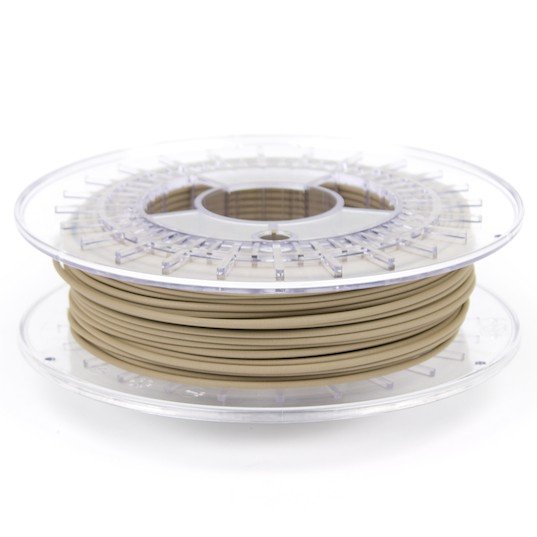
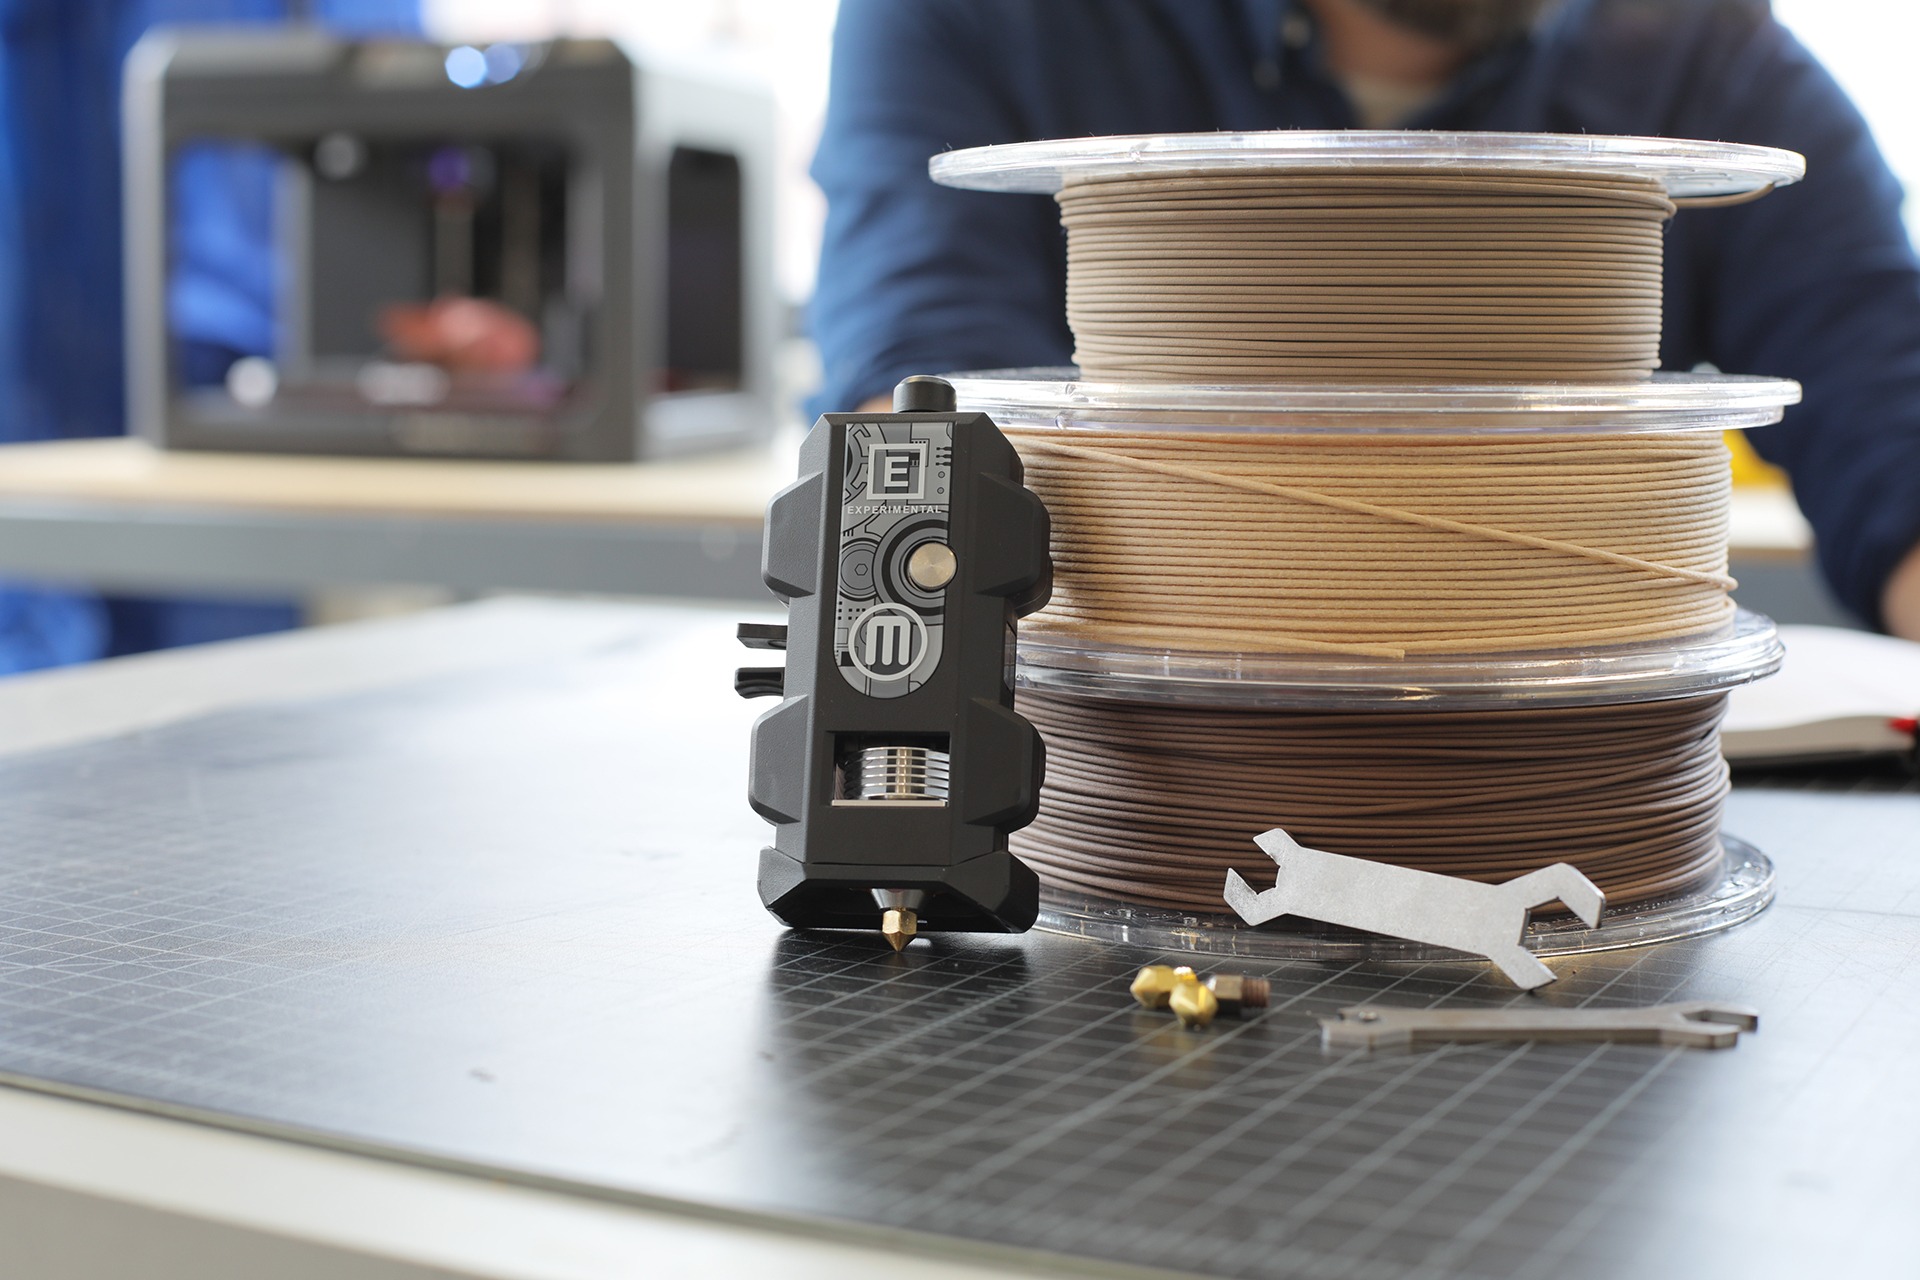
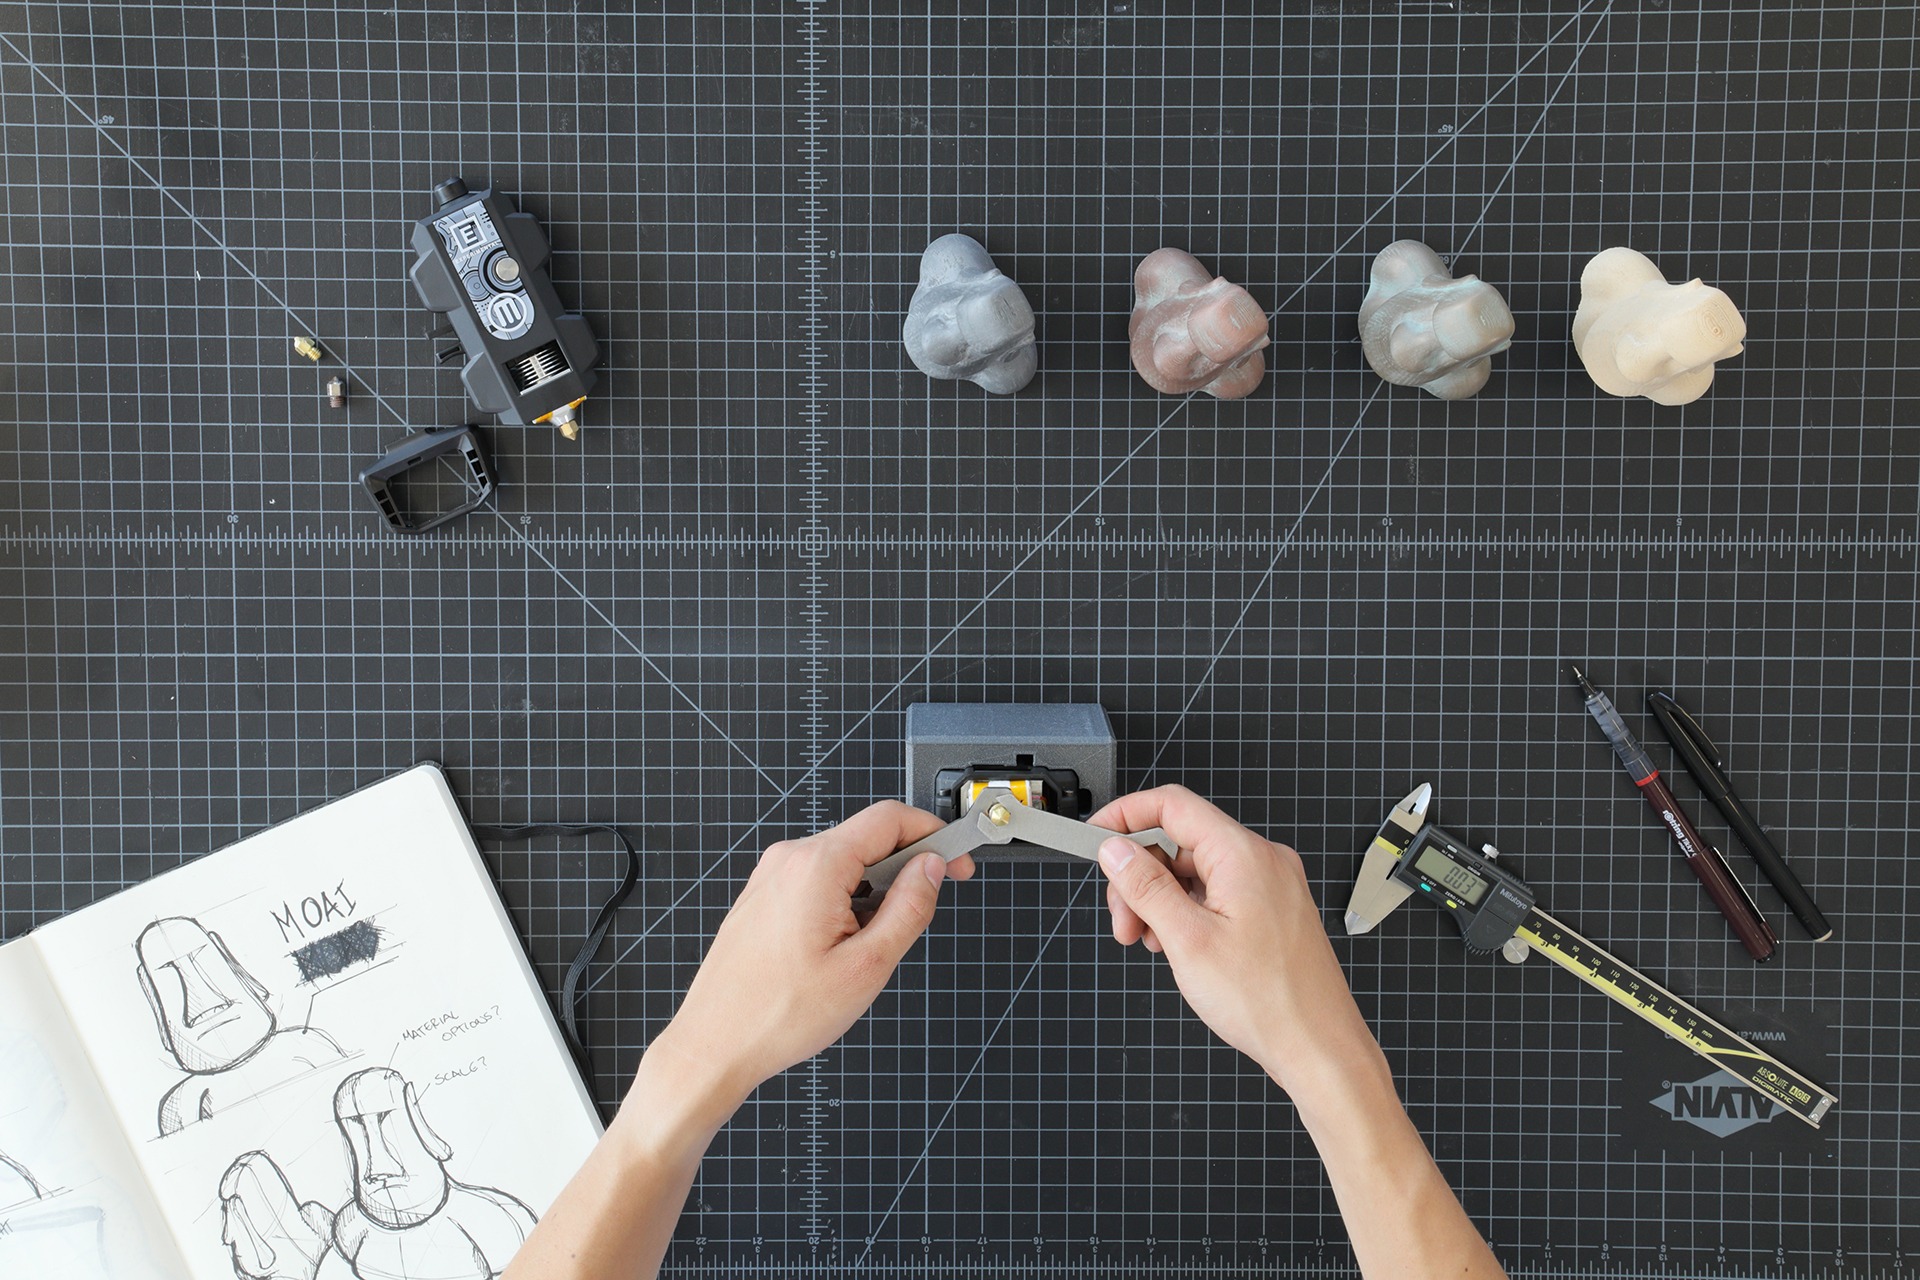
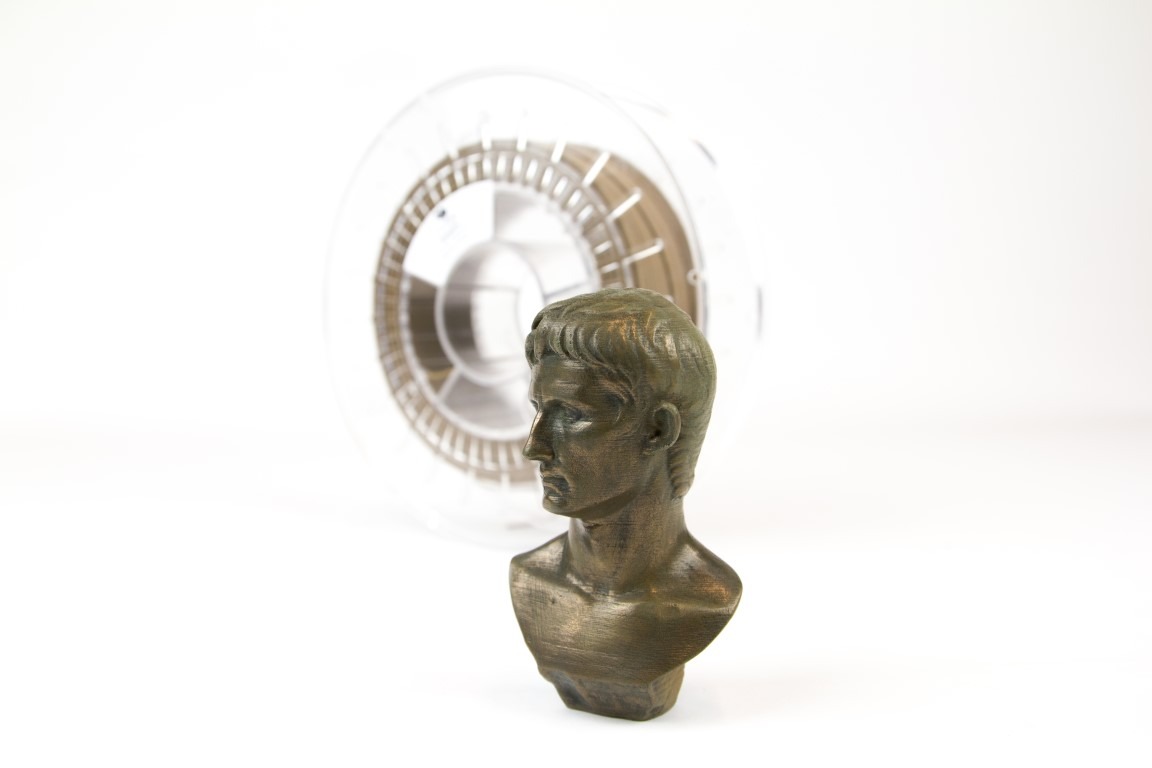
This week it has been exactly five years that we announced bronzeFill at the Fabcon show in Erfurt. The fantastic material was the first of its kind: our unique PLA/PHA compound with real bronze in it. Straight from the printer parts look almost laser sintered with a matte finish and with a bit of sanding and polishing the bronze particles will start to shine & shimmer unlike any 3d printing filament you have seen before. The weight of the material is something special as well, over 3 times heavier than our regular PLA/PHA.


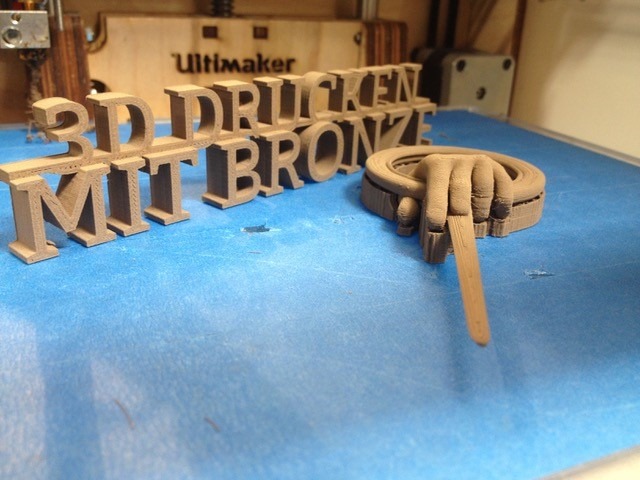
One of the first bronzeFill prints on the Ultimaker Original at Fabcon 2014. Translation from German: 3D Printing with Bronze

The uniqueness of this filament was not lost on our users. The announcement was made in May and we took in a lot of pre-orders. A lot. Finally, once we had produced the first batch and started shipping we were sold immediately.

bronzeFill has been a massive hit ever since that summer five years ago and the one that has been in backorder the most. It is one of those bestsellers which is almost constantly in production. Its continuous popularity is testament to its quality and to celebrate we have collected some of the most amazing prints that we have seen. Mind you, these are only a small collection of all the fantastic prints out there (click on the words “Original post” to go to the blog for more information).

Curious how you can post-process bronzeFill and our other metal filled filaments? Check out our collection of handy tutorials and examples here.
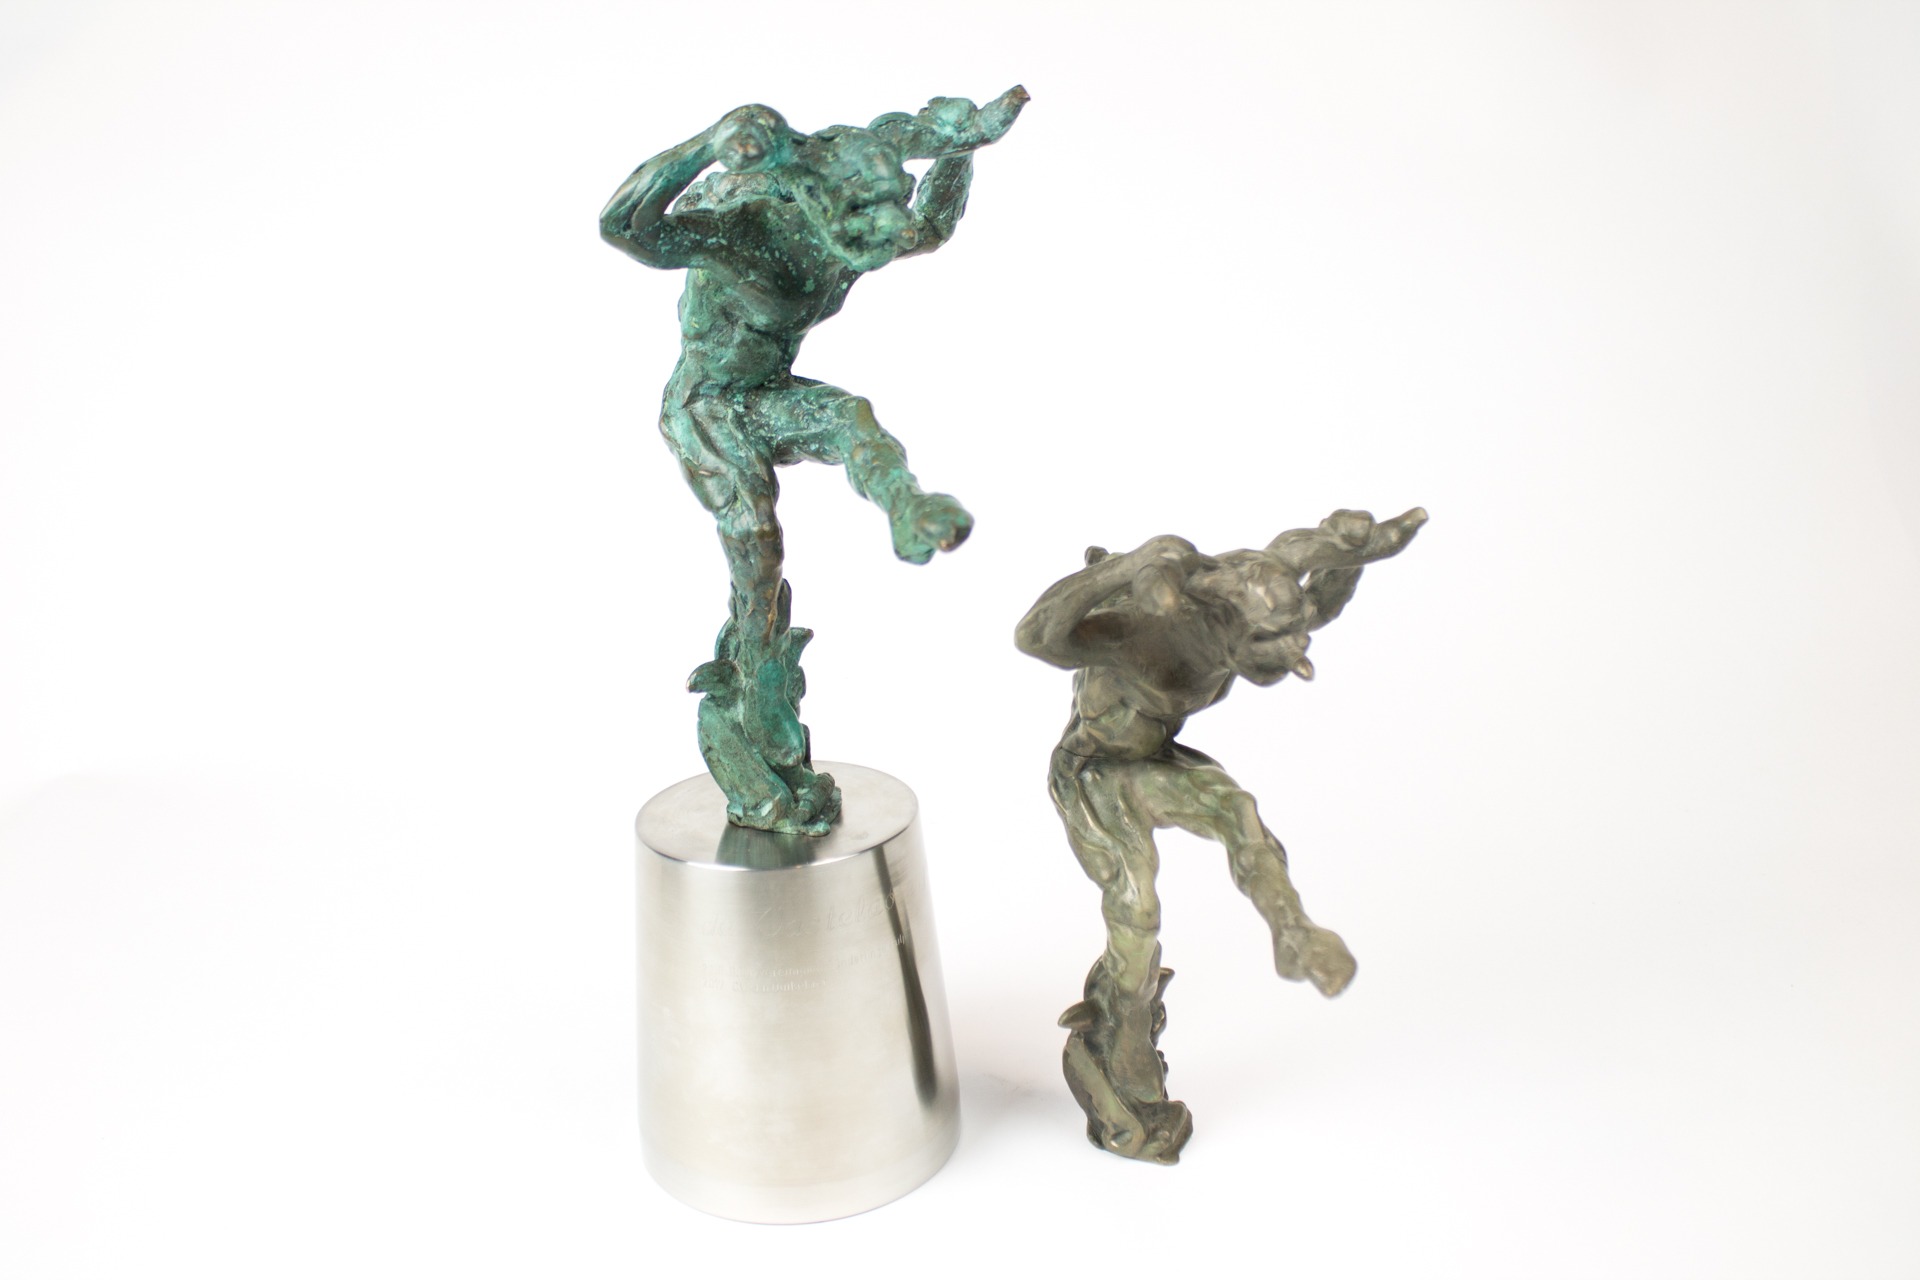
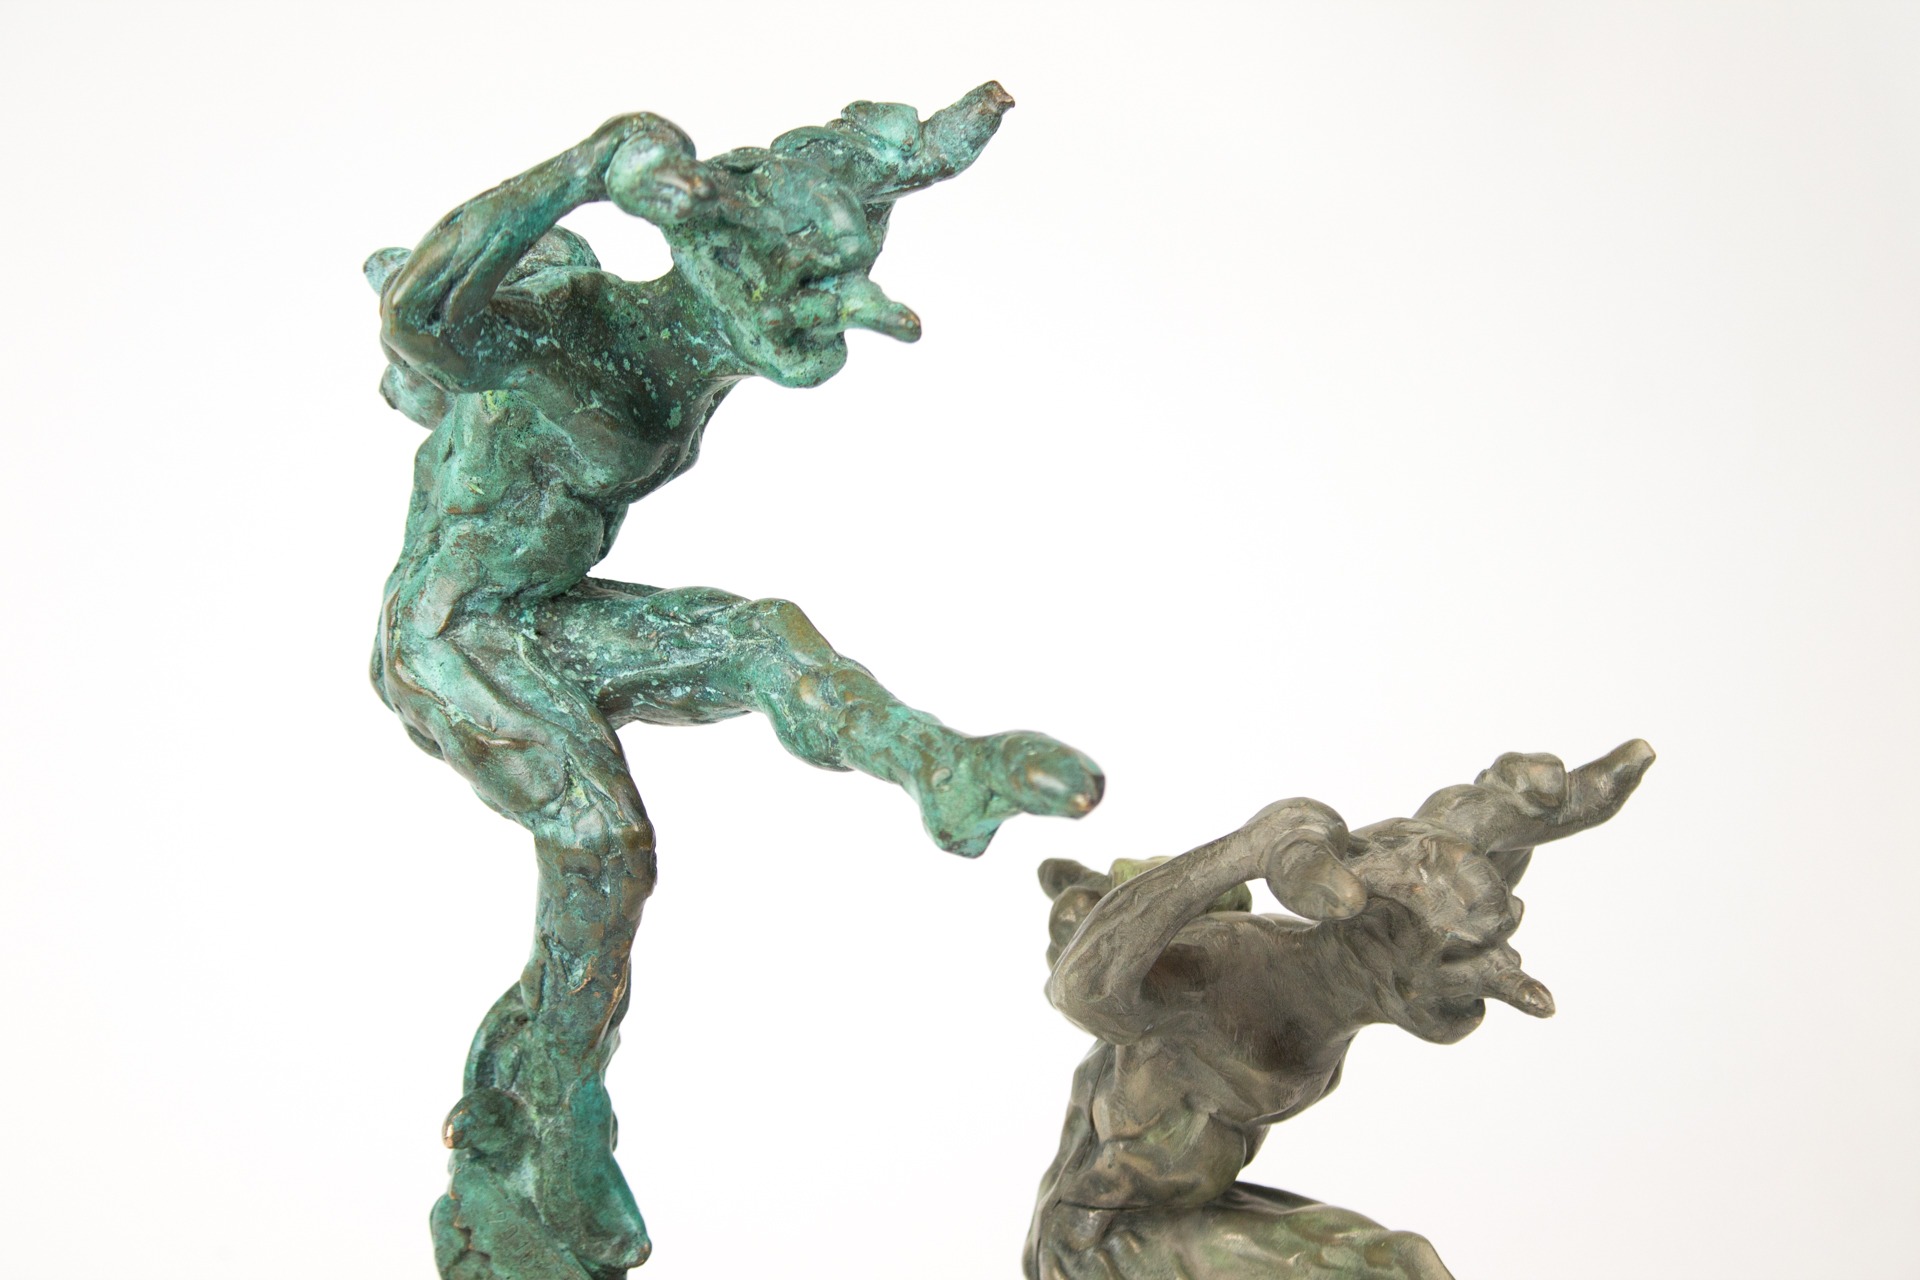
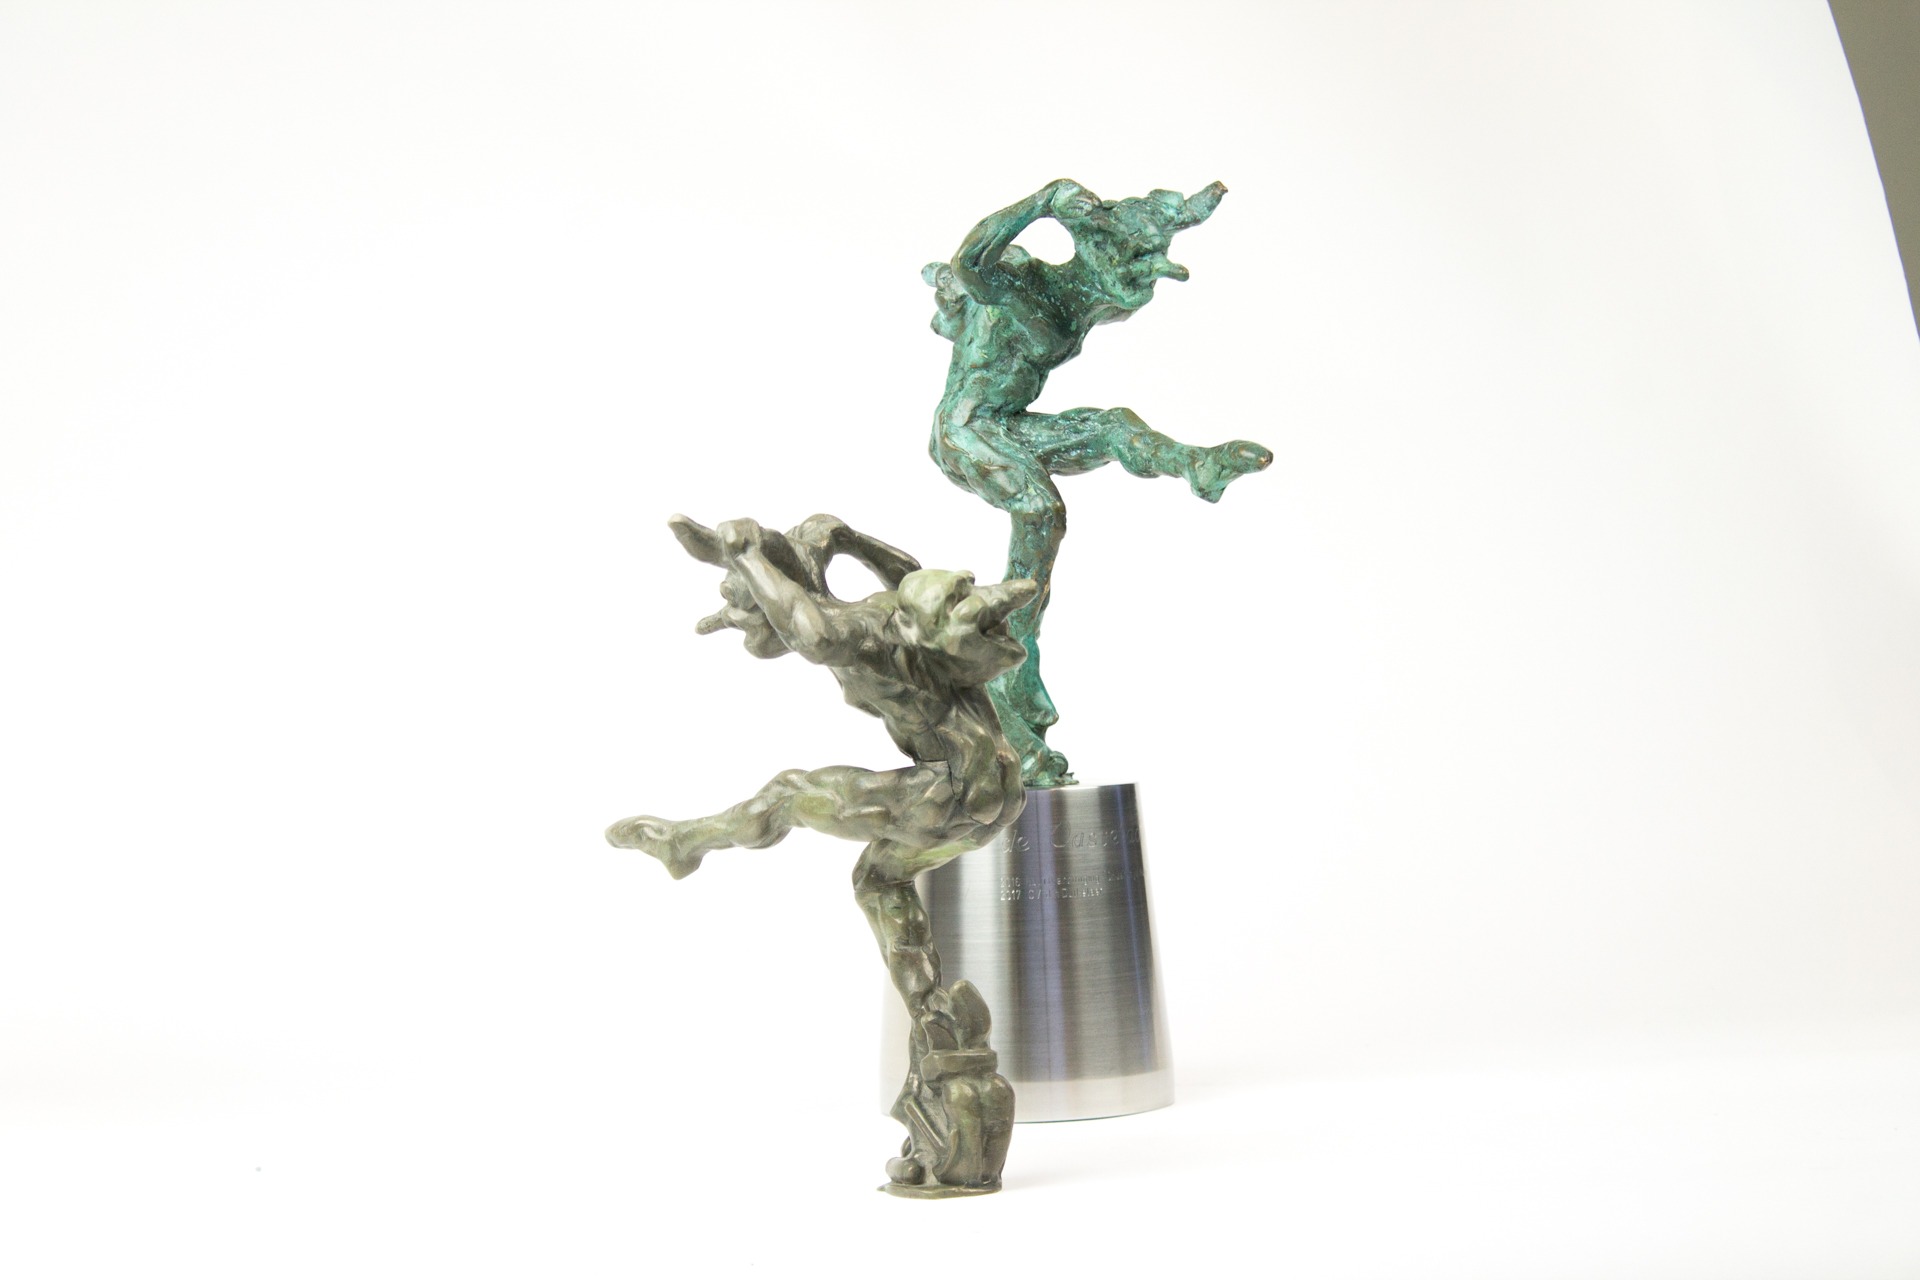
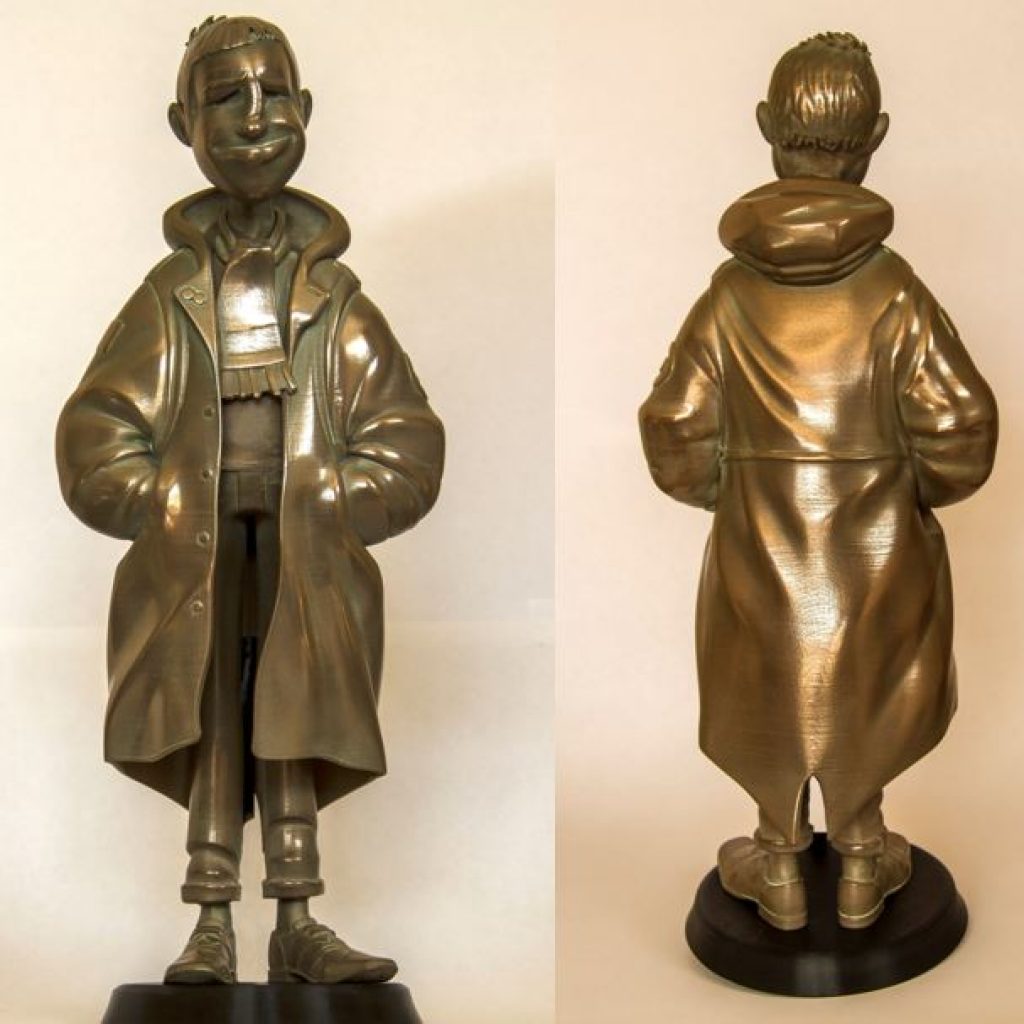
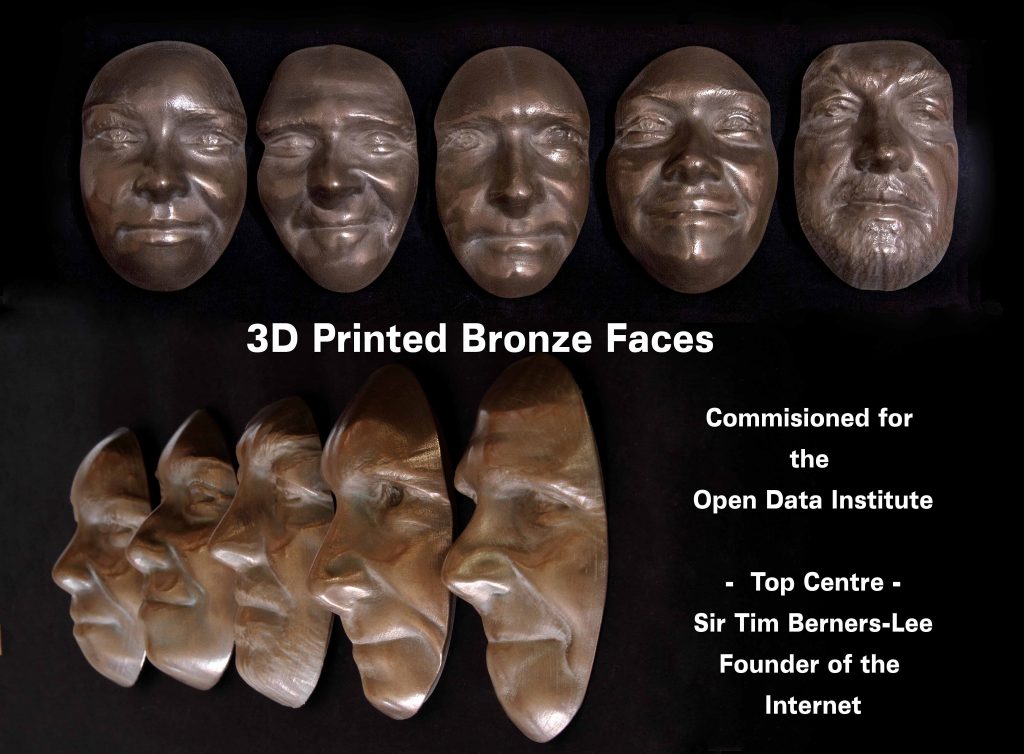
 

Steve Cox

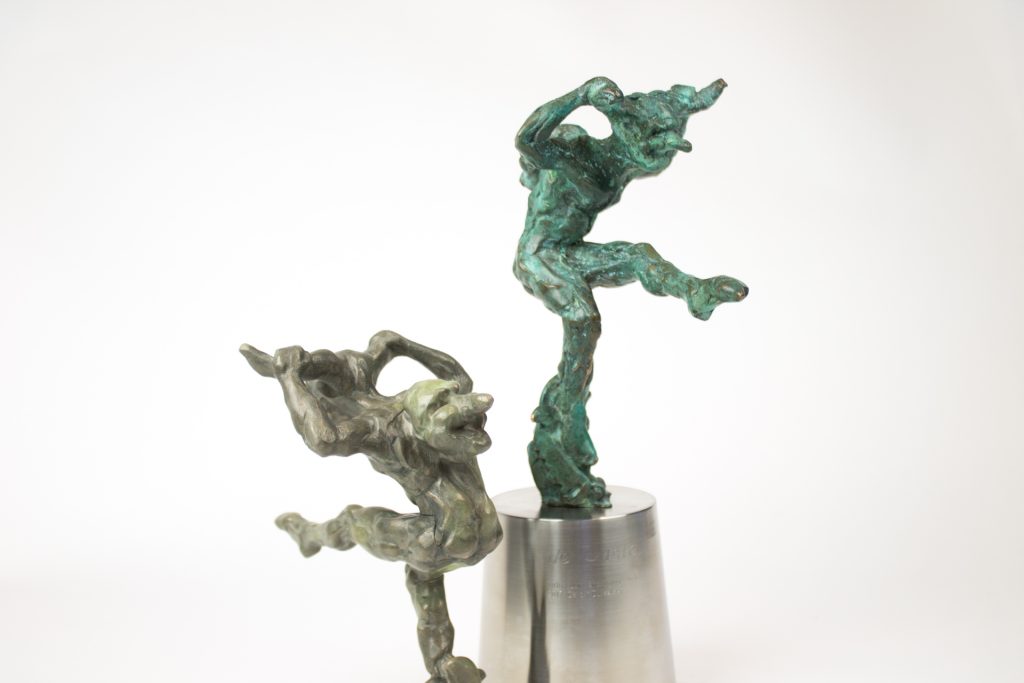
Special mention goes to Steve Cox, who has proven himself to be one of the masters of bronzeFill. He has shared his excellent work over the years. Below a few examples (and we have one in the office as well!)
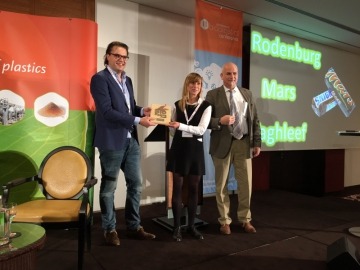
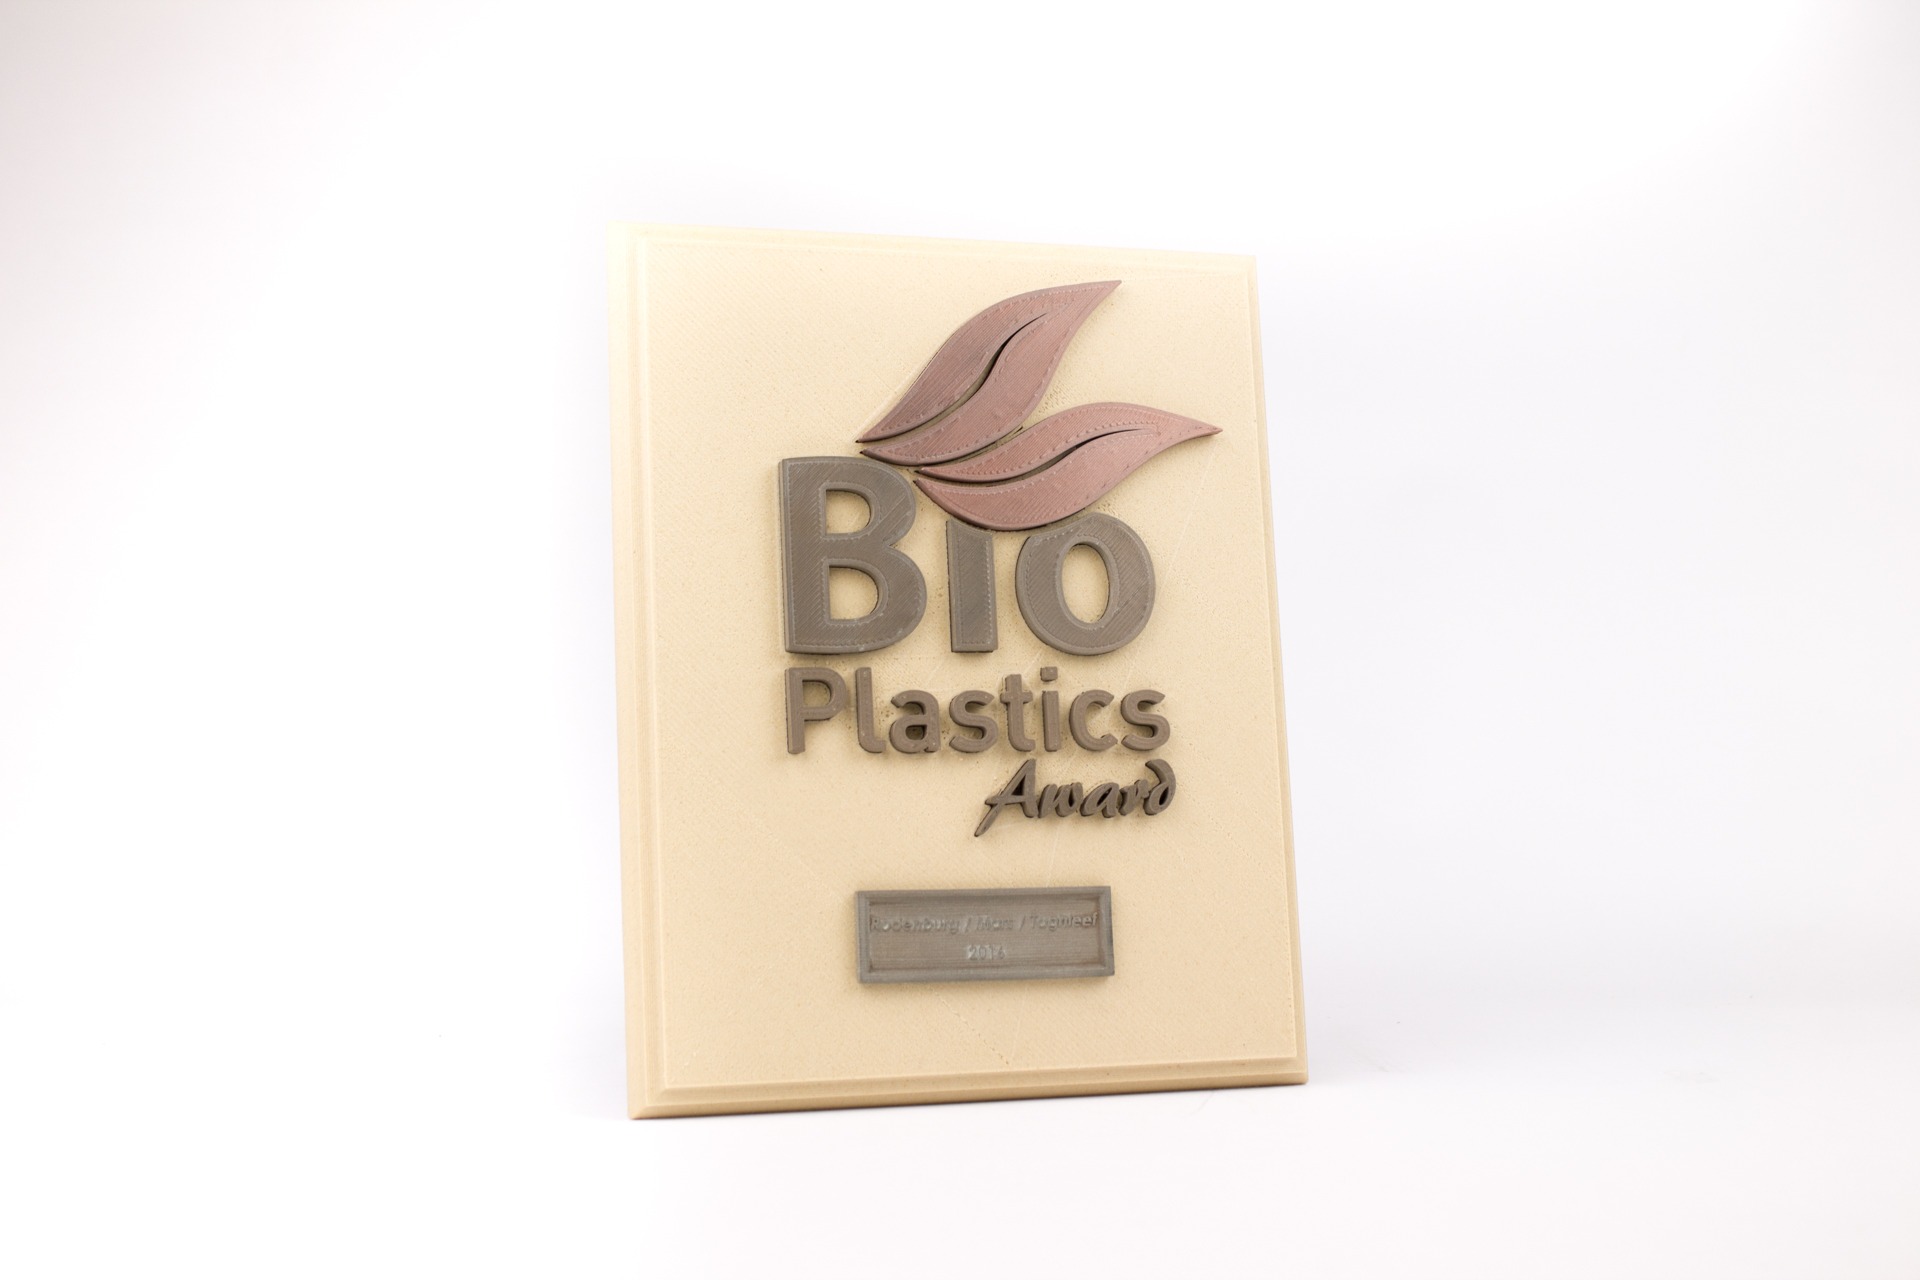
Original post


Original post


Awards

Our special filaments are ideally suited for special occasions, like awards. We have printed several ourselves and have seen quite a few popping up online. Below are our examples:

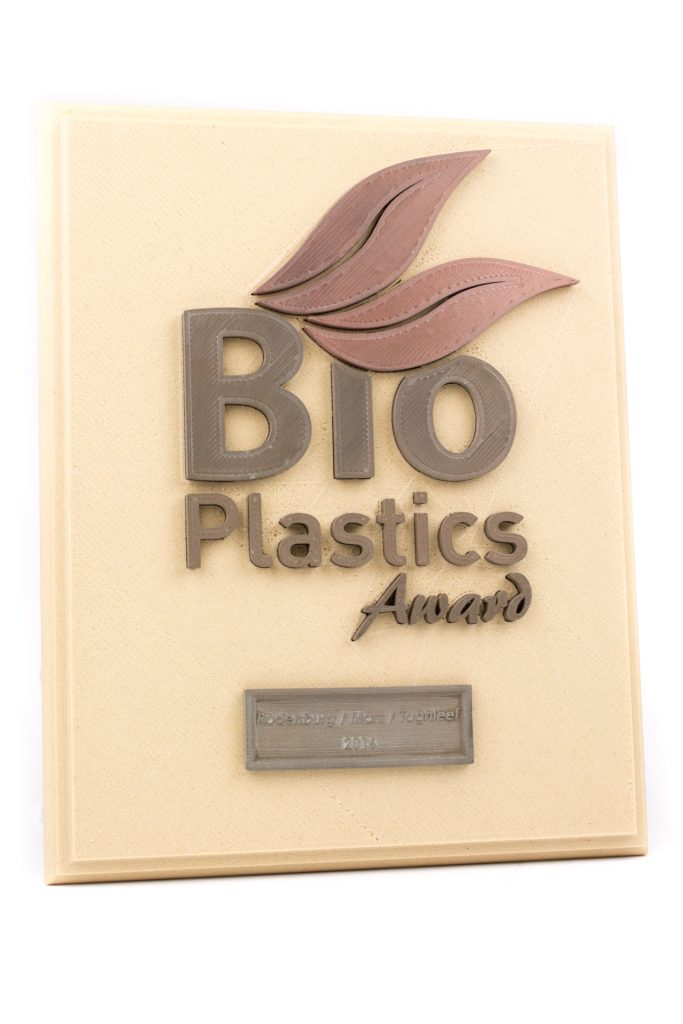
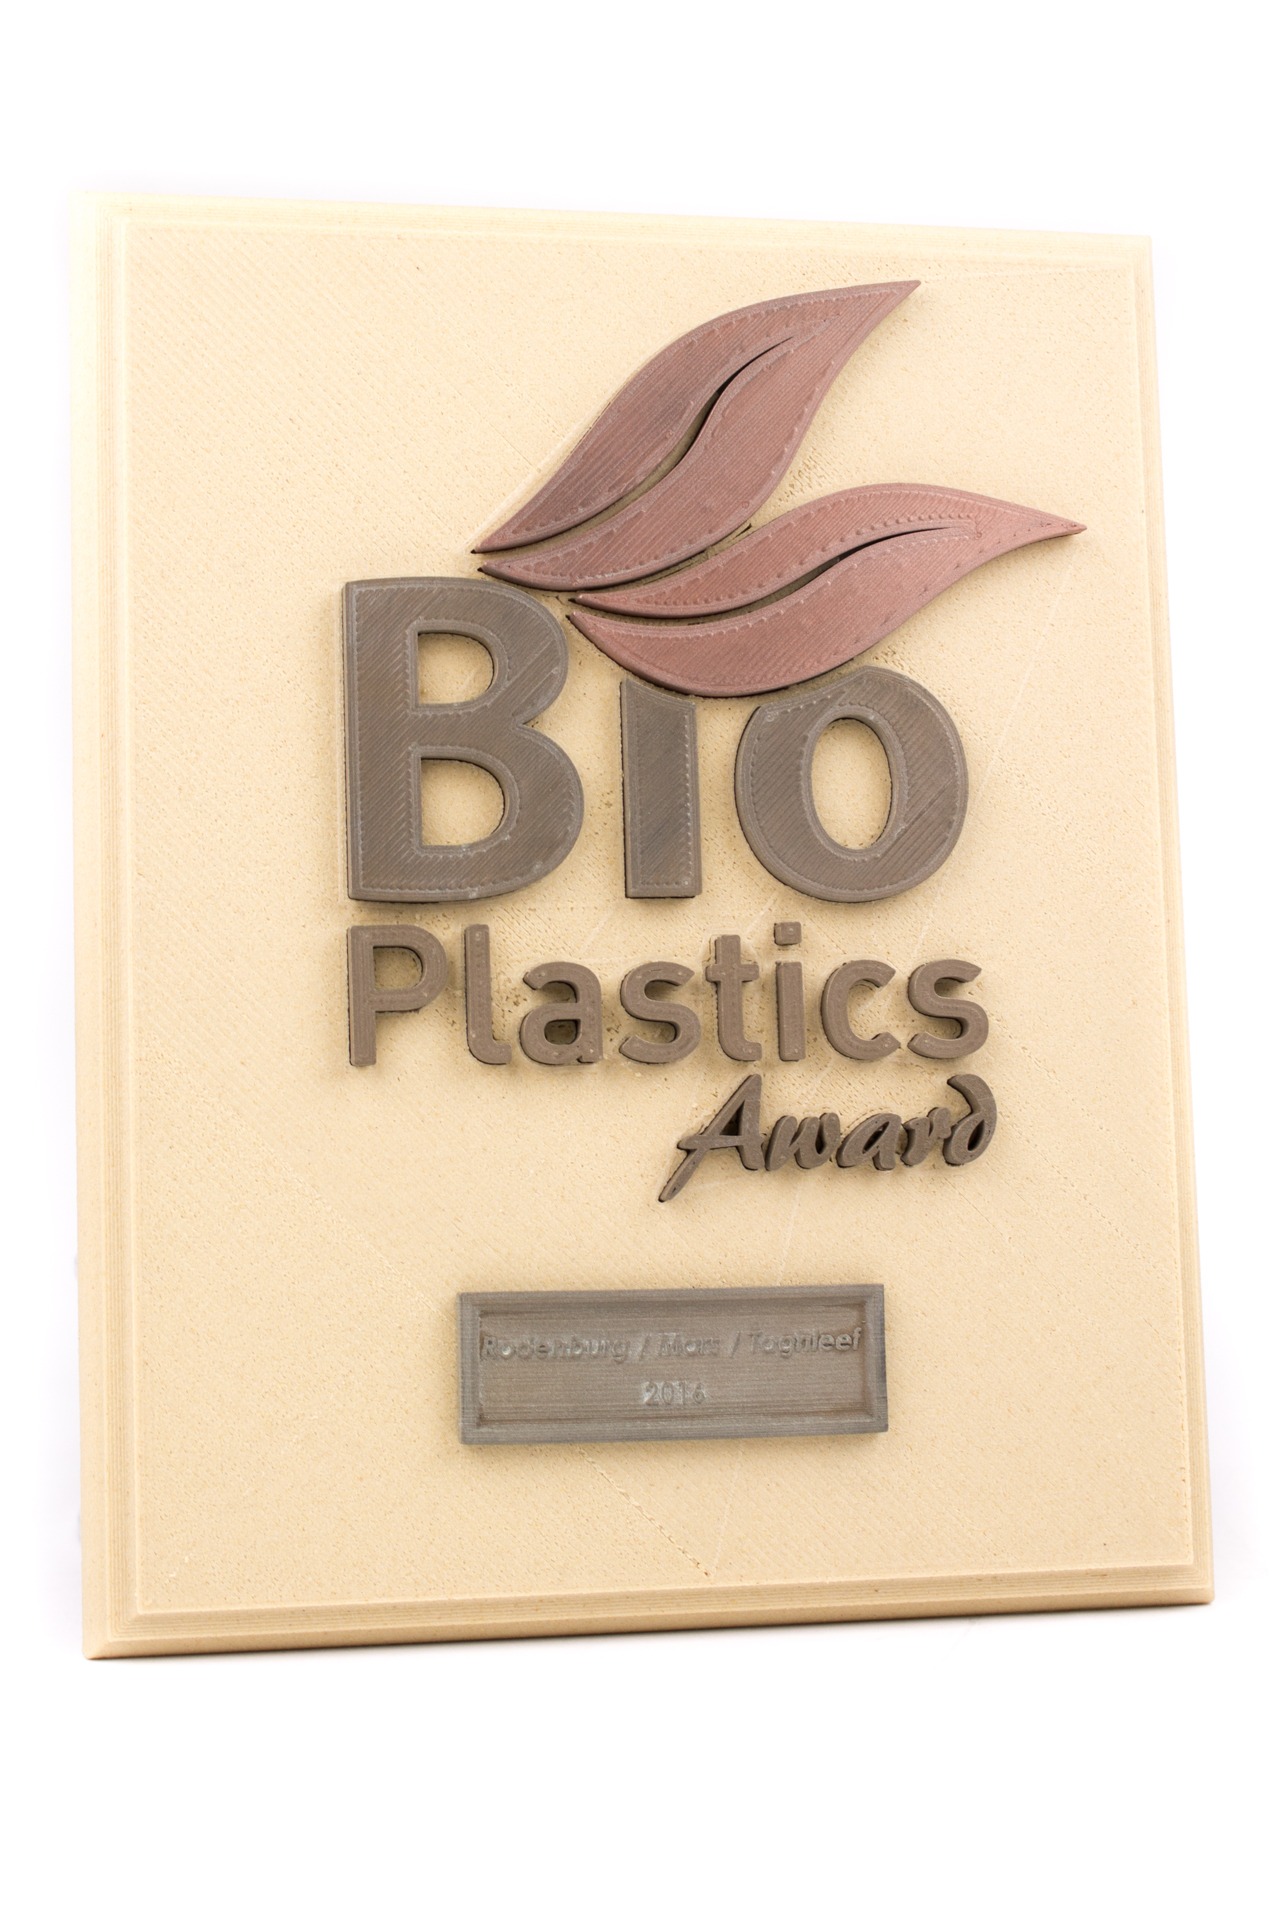
Bio Plastics Award Original post


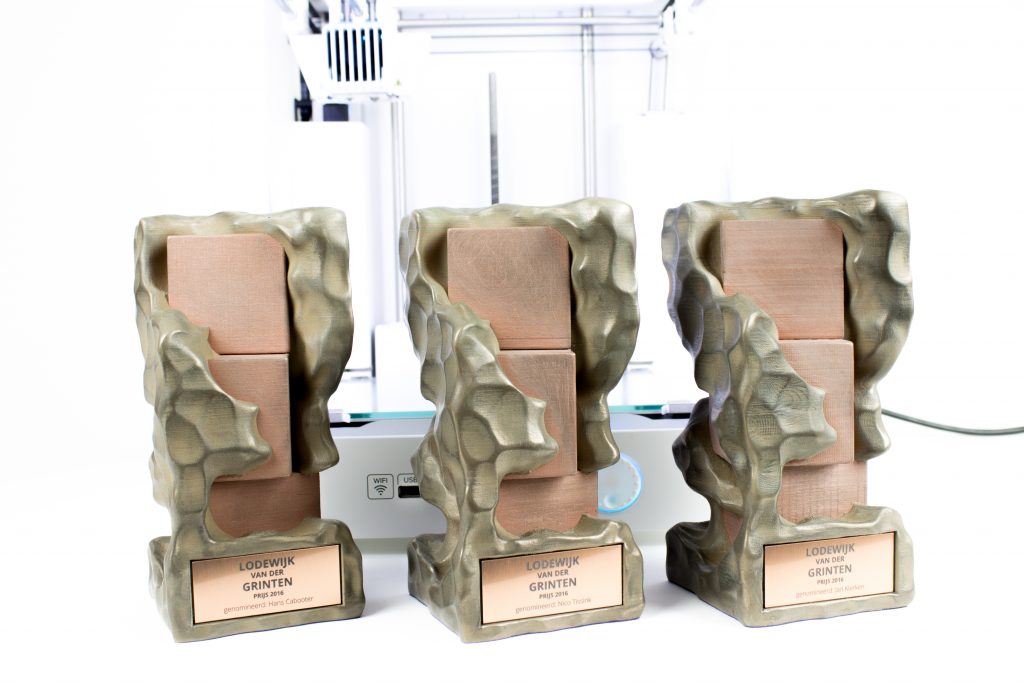
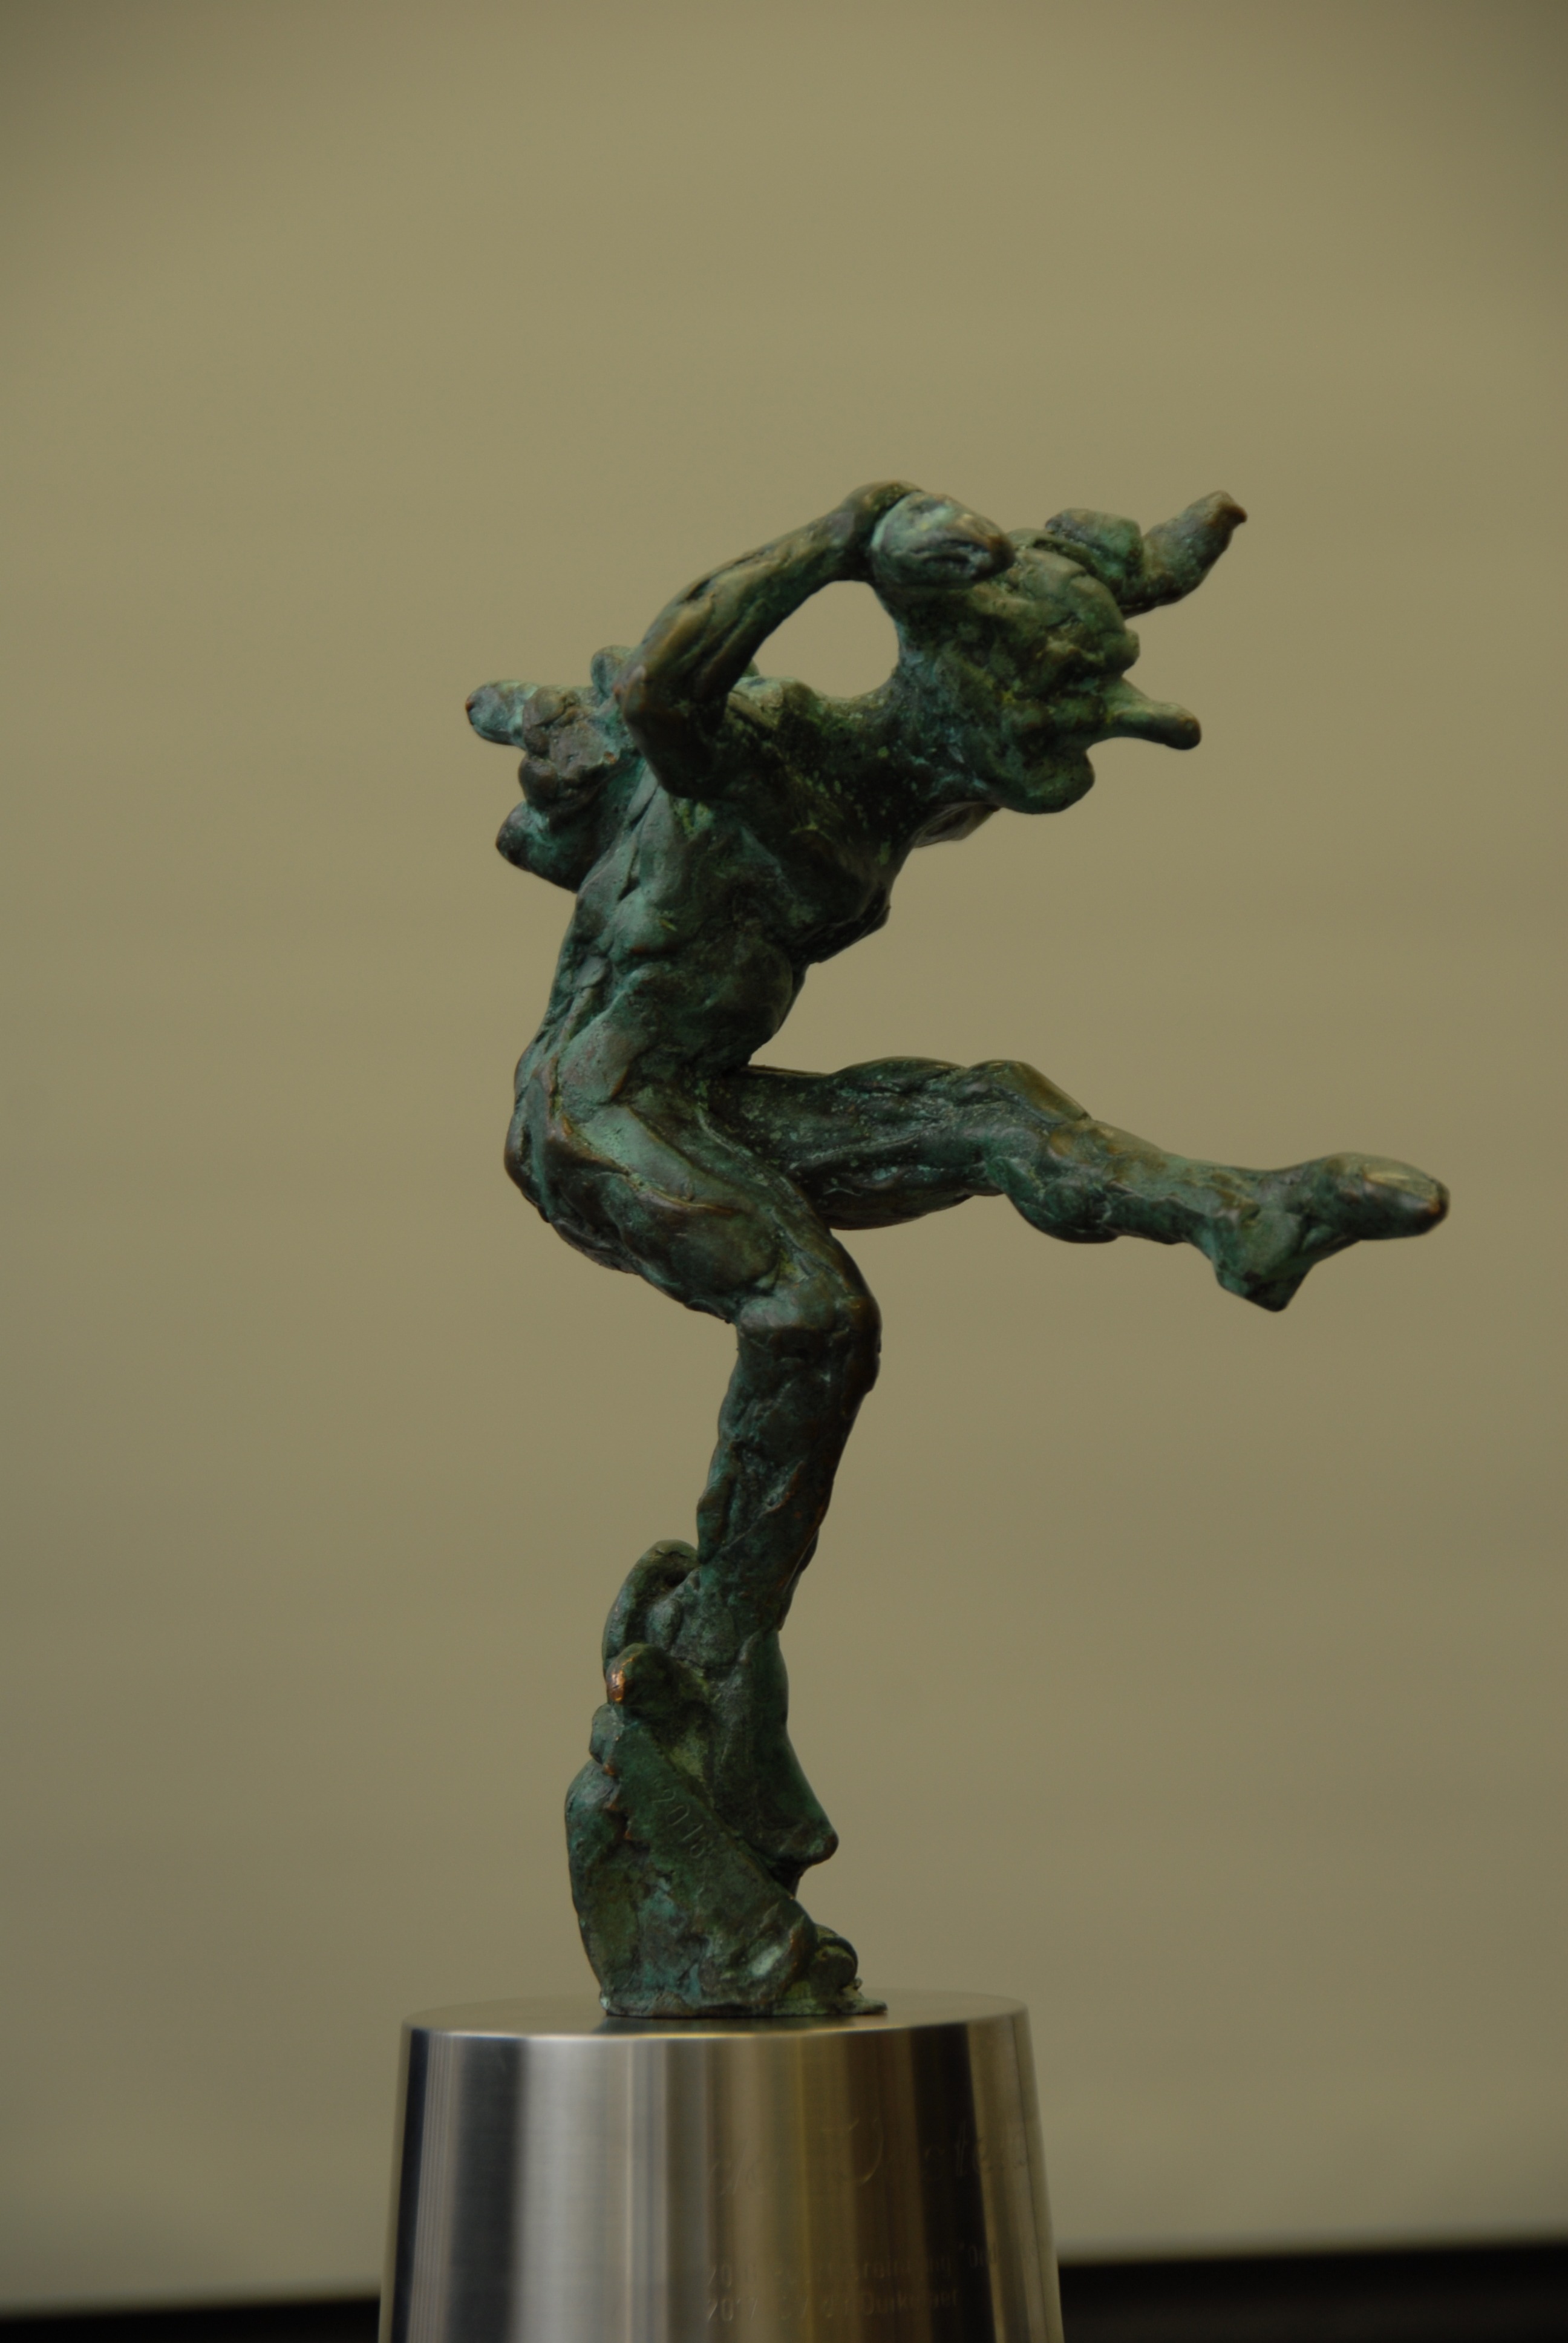
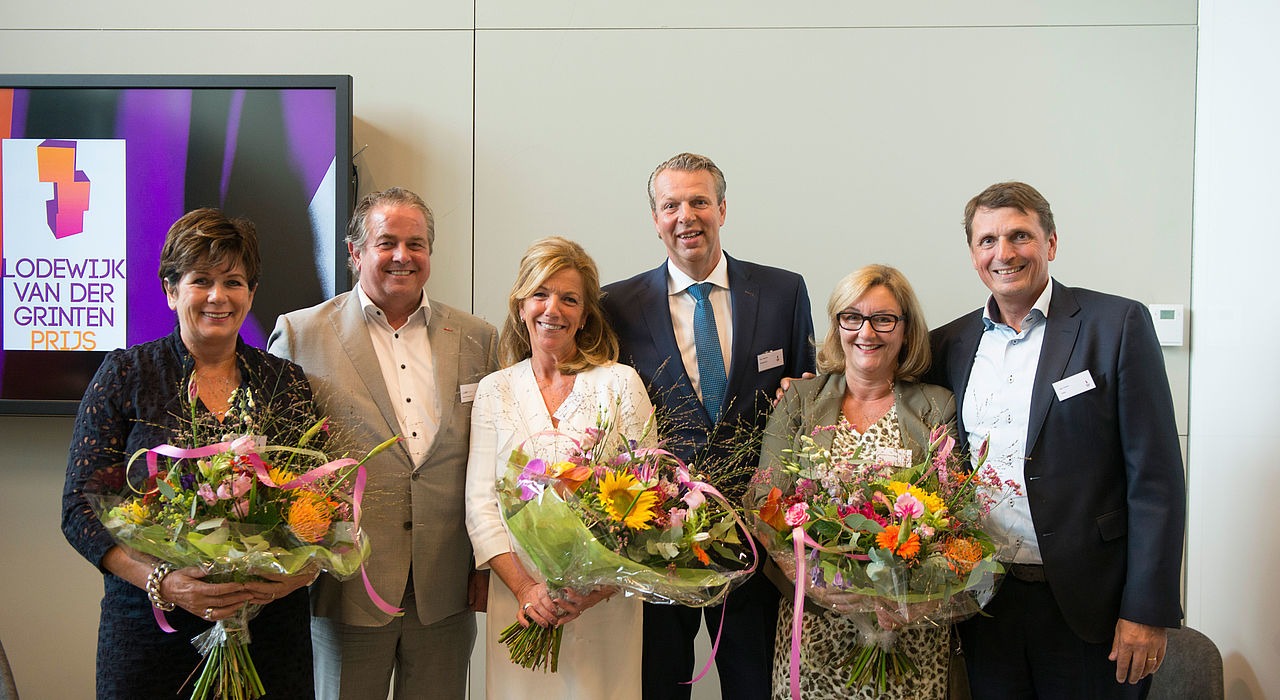
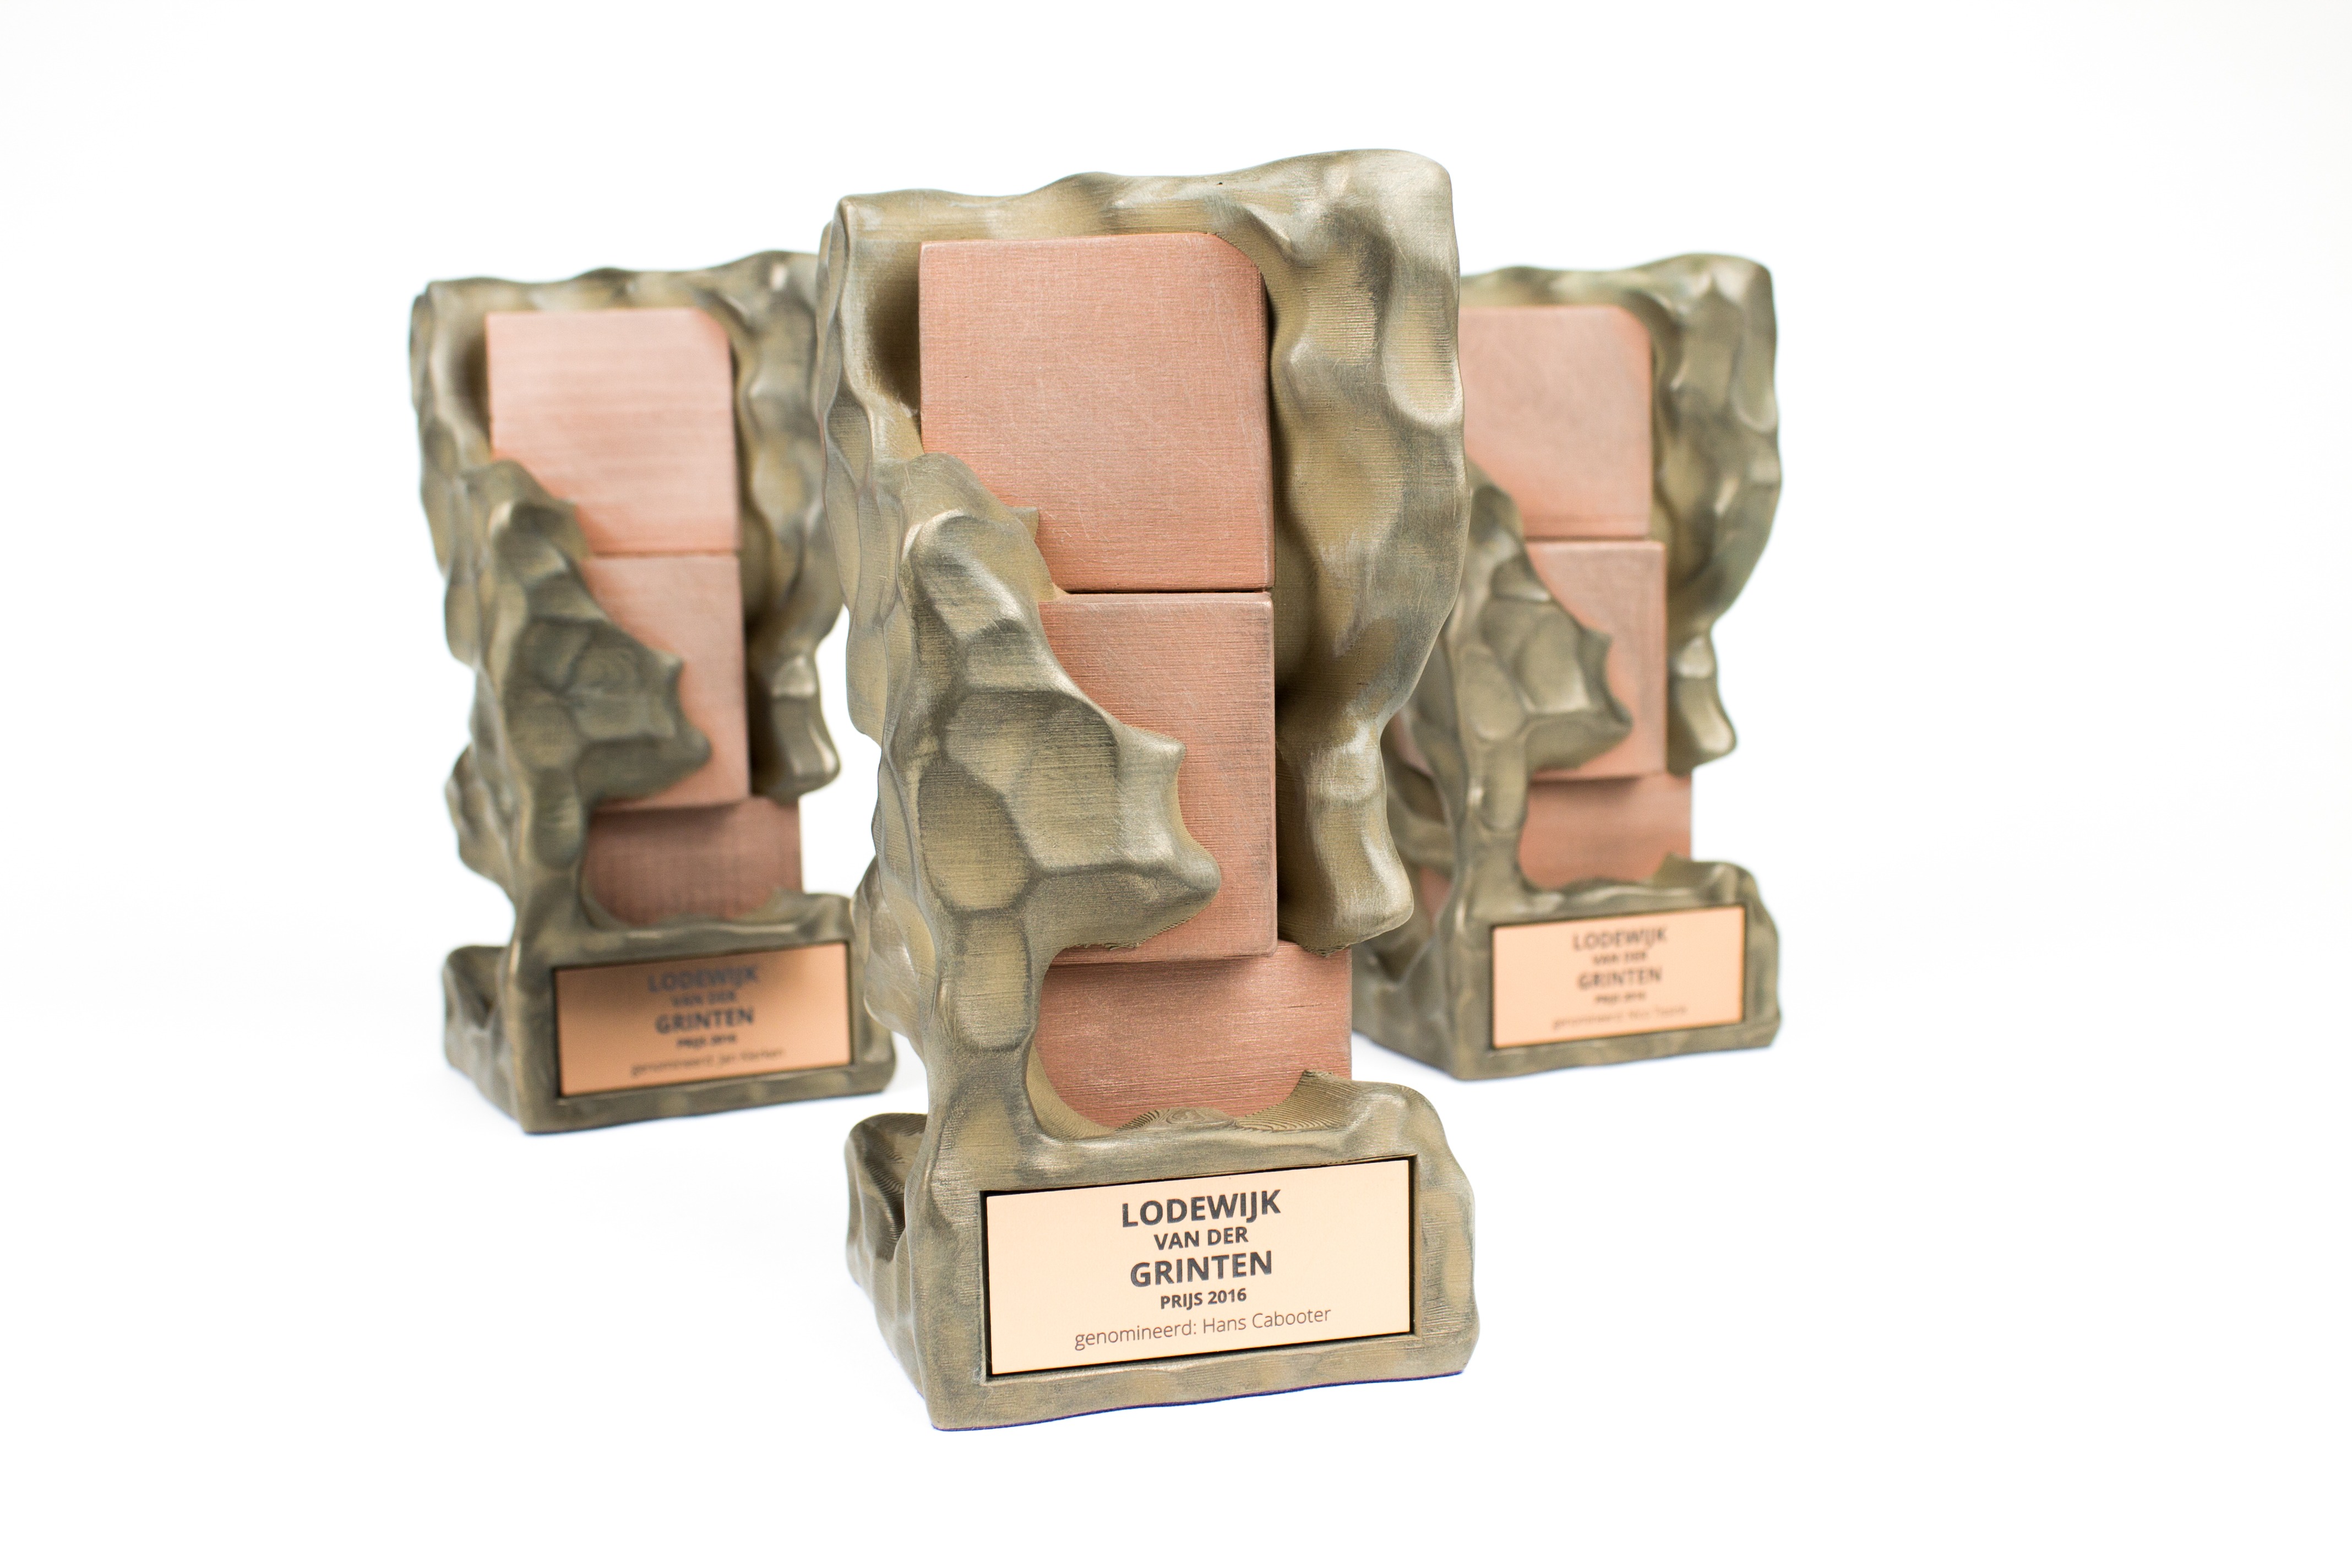
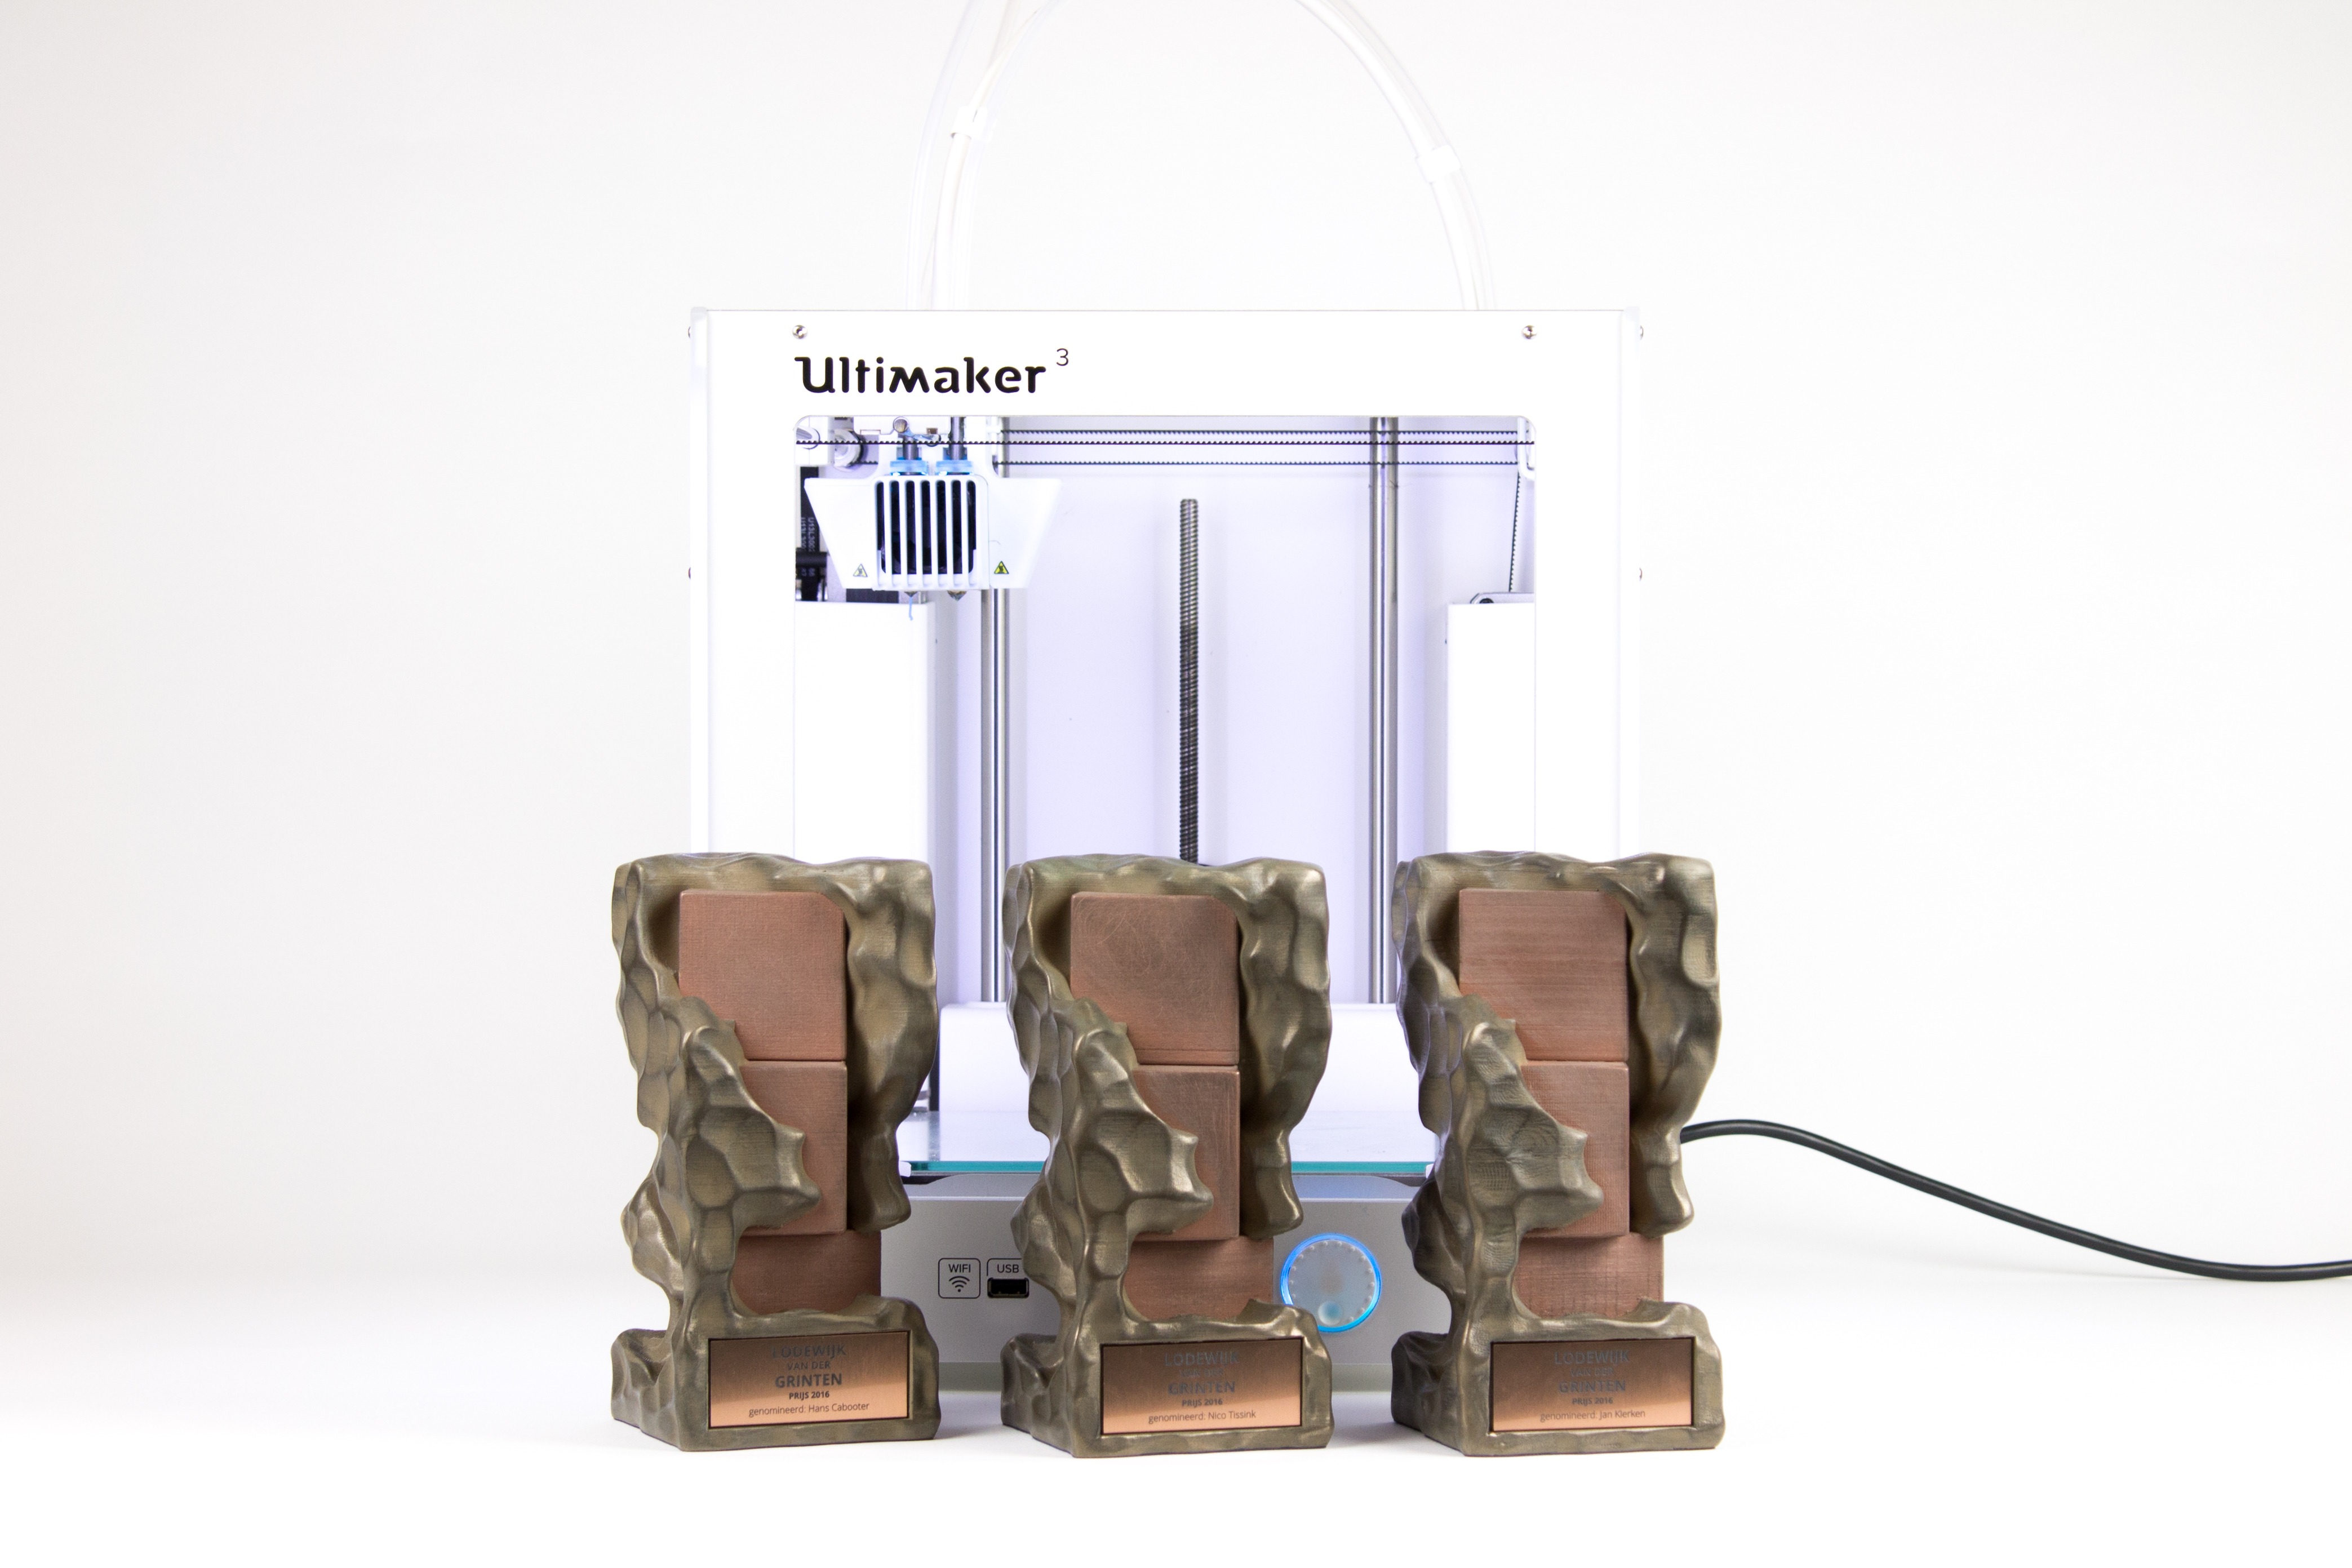
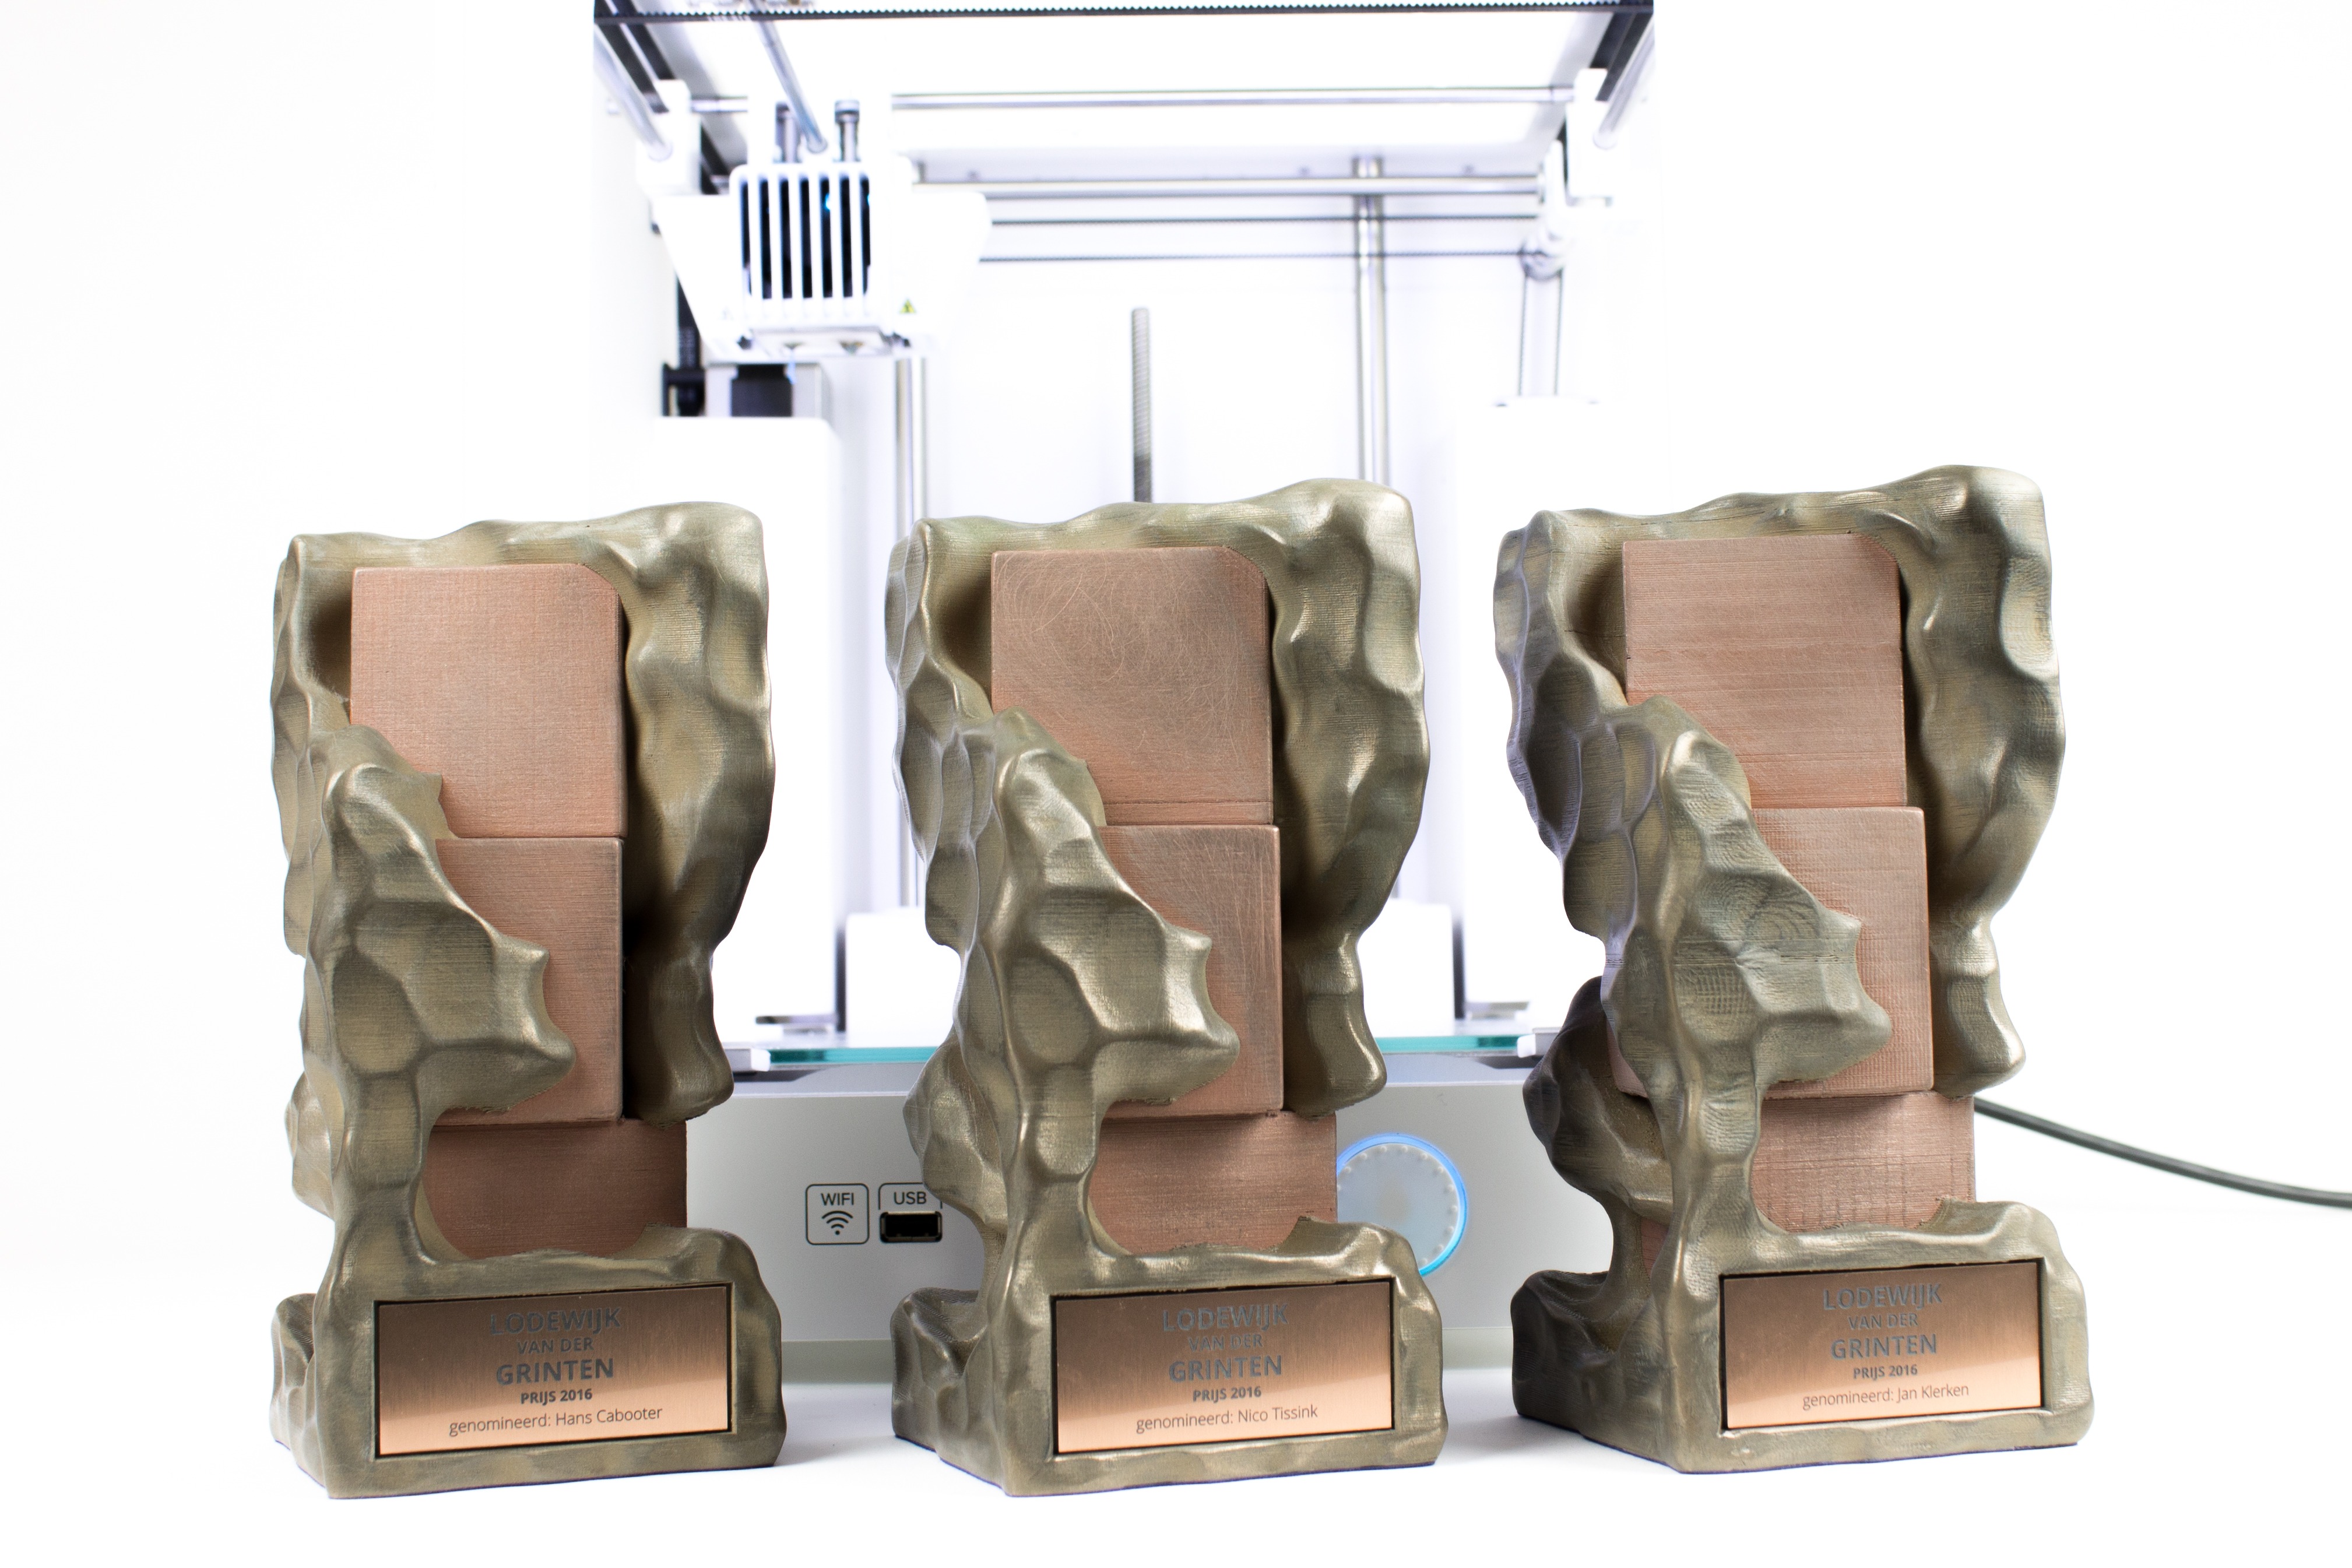
Lodewijk van der Grinten Prijs Original post


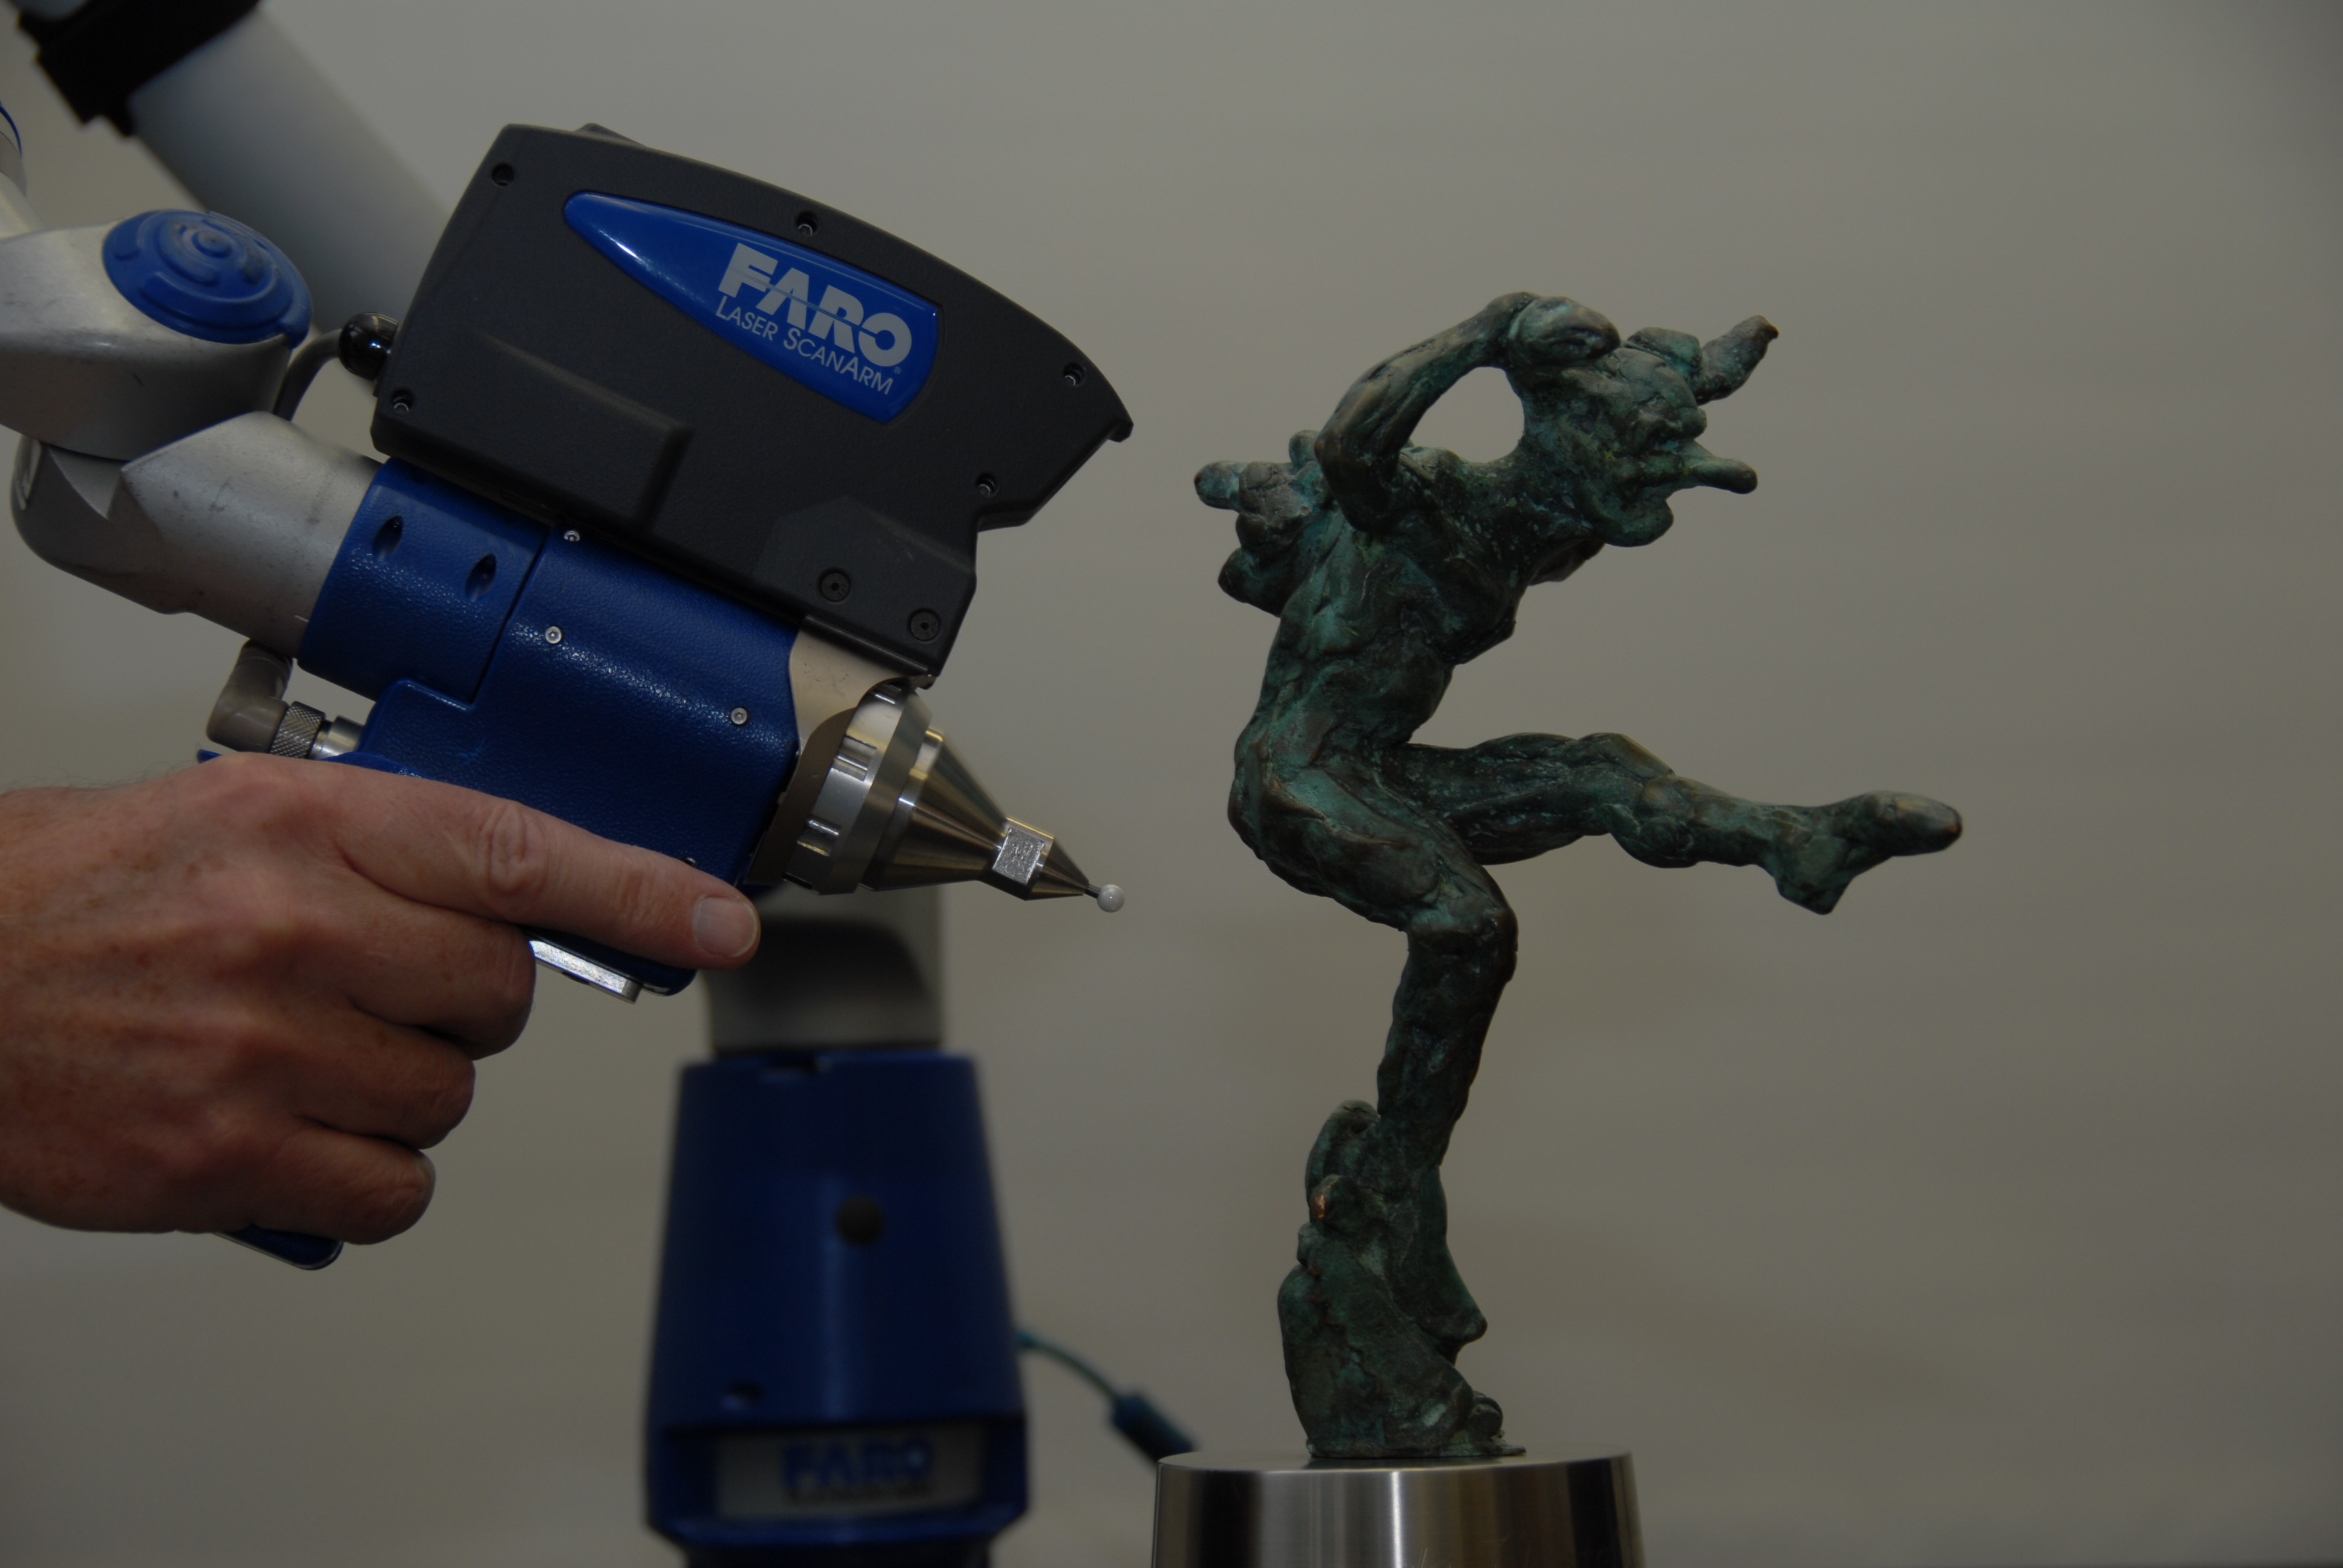
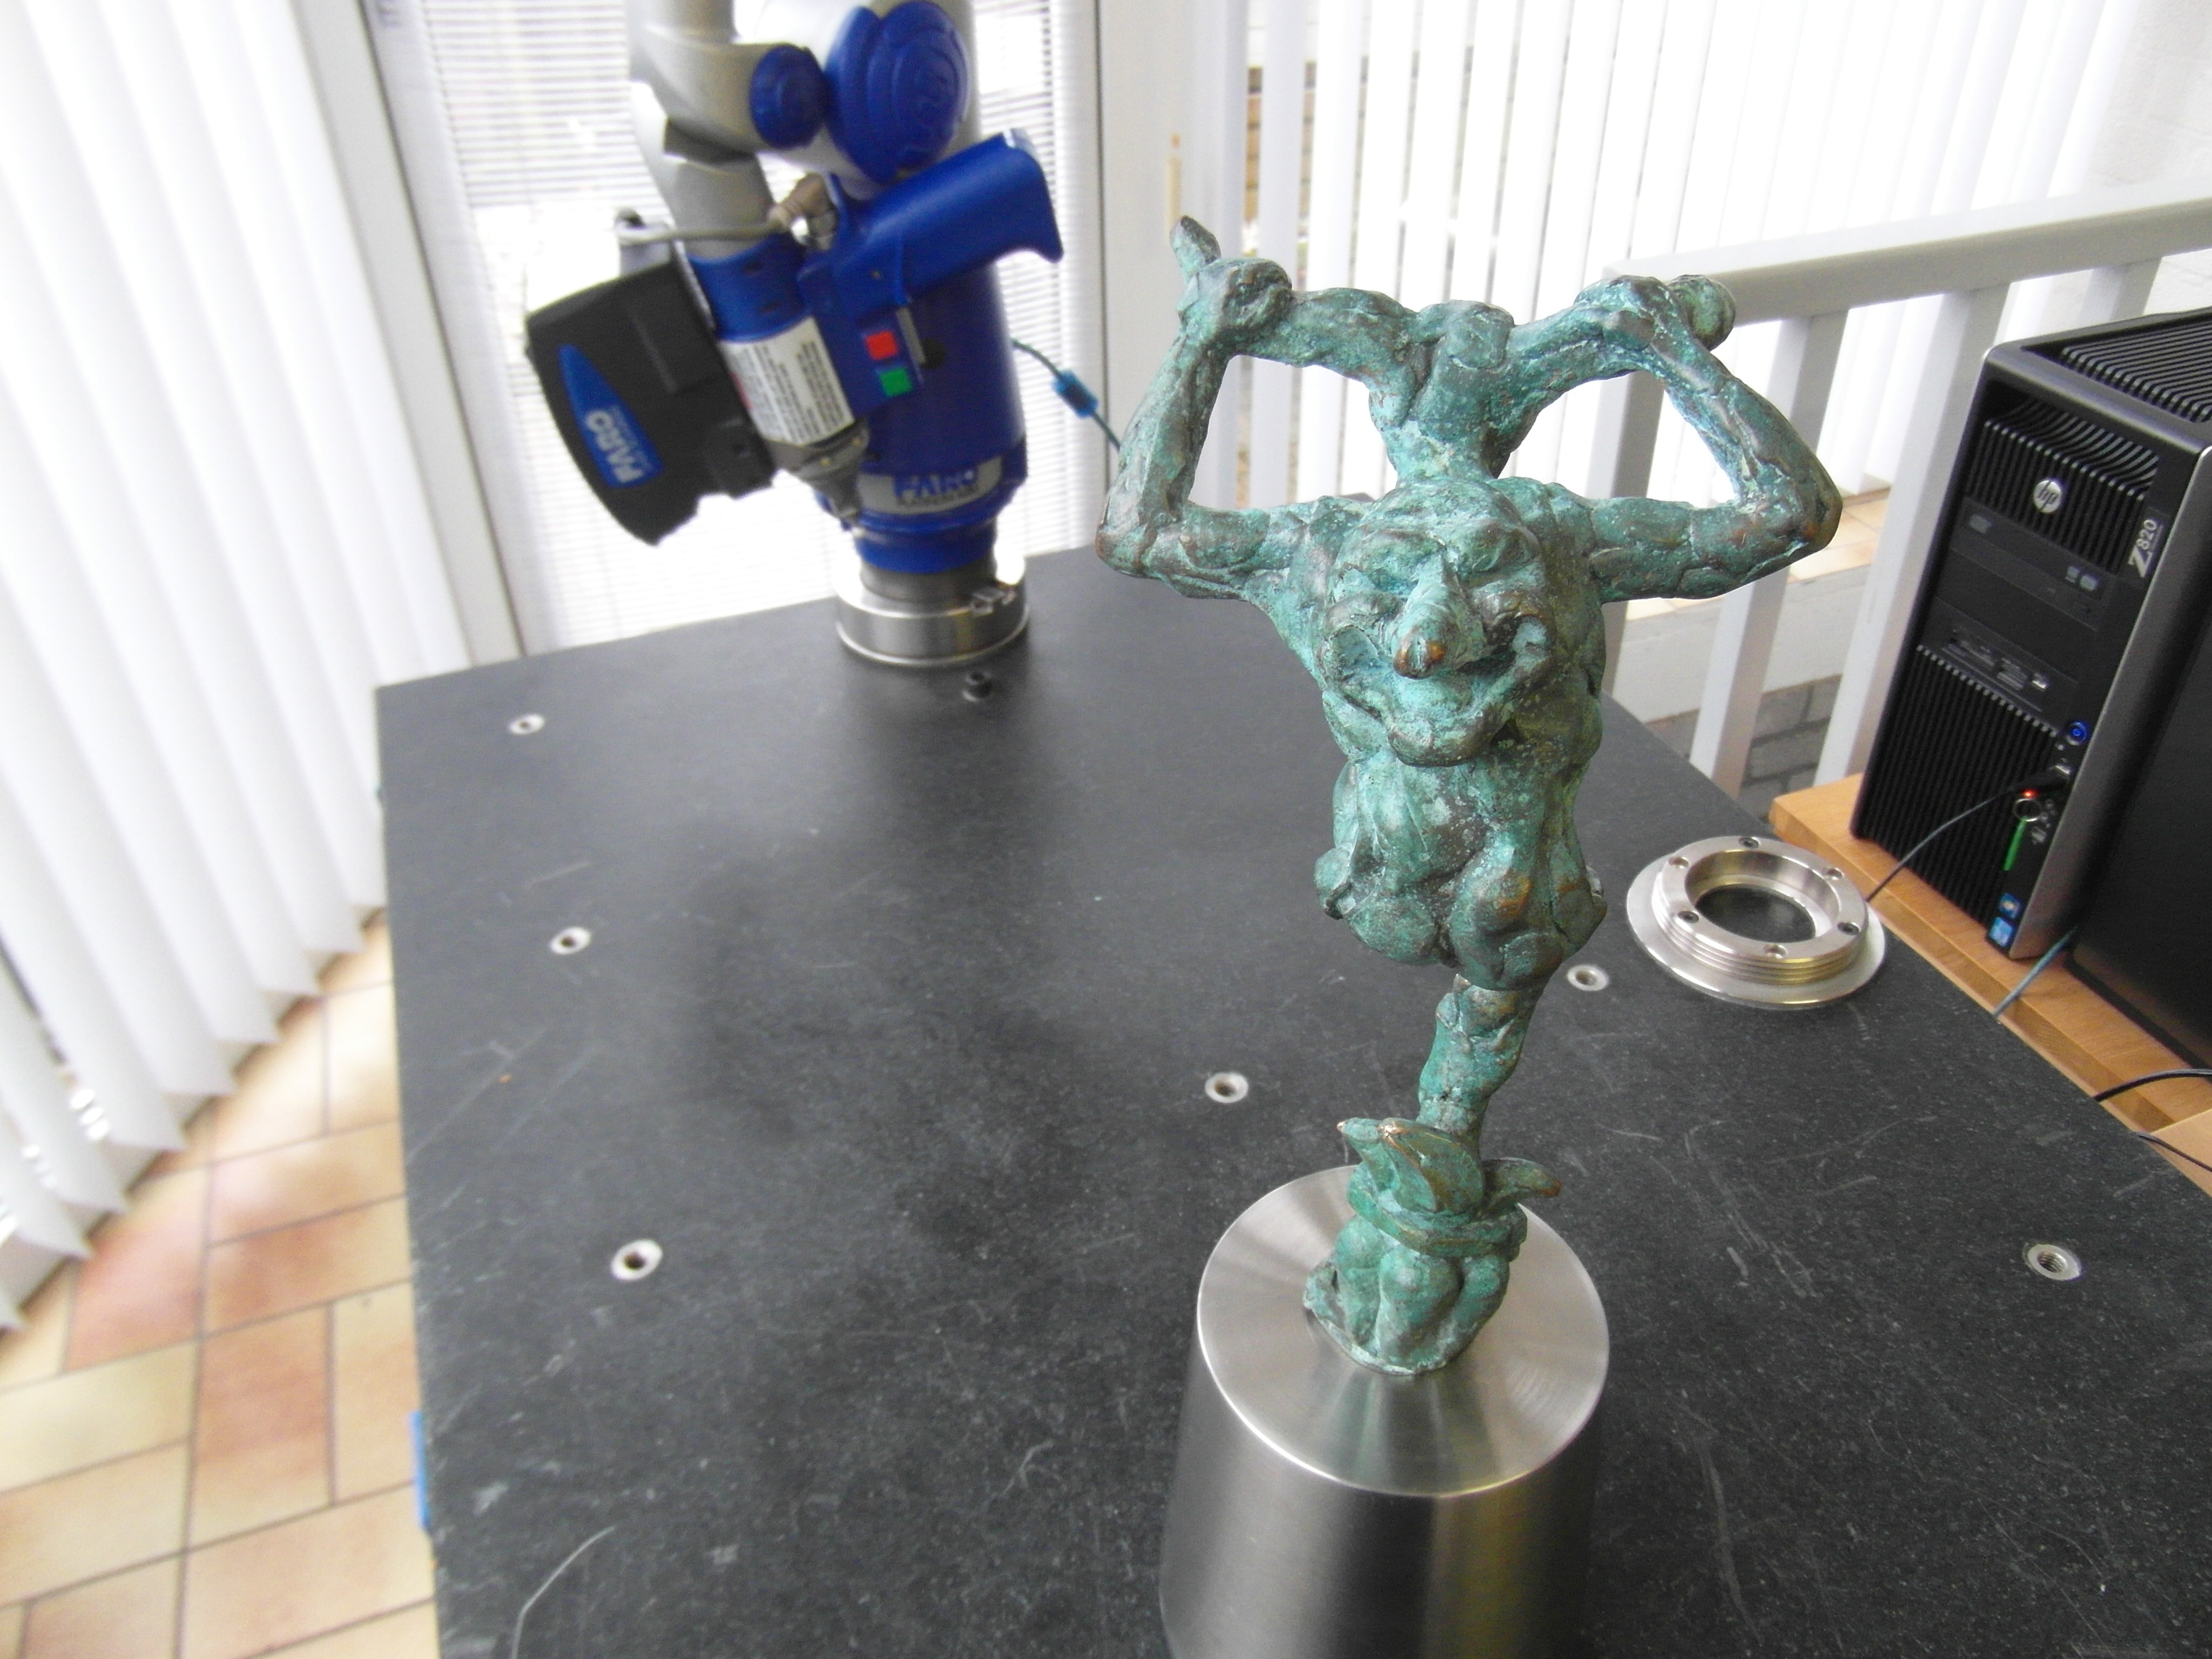
Scanned and printed carnaval statue Original post
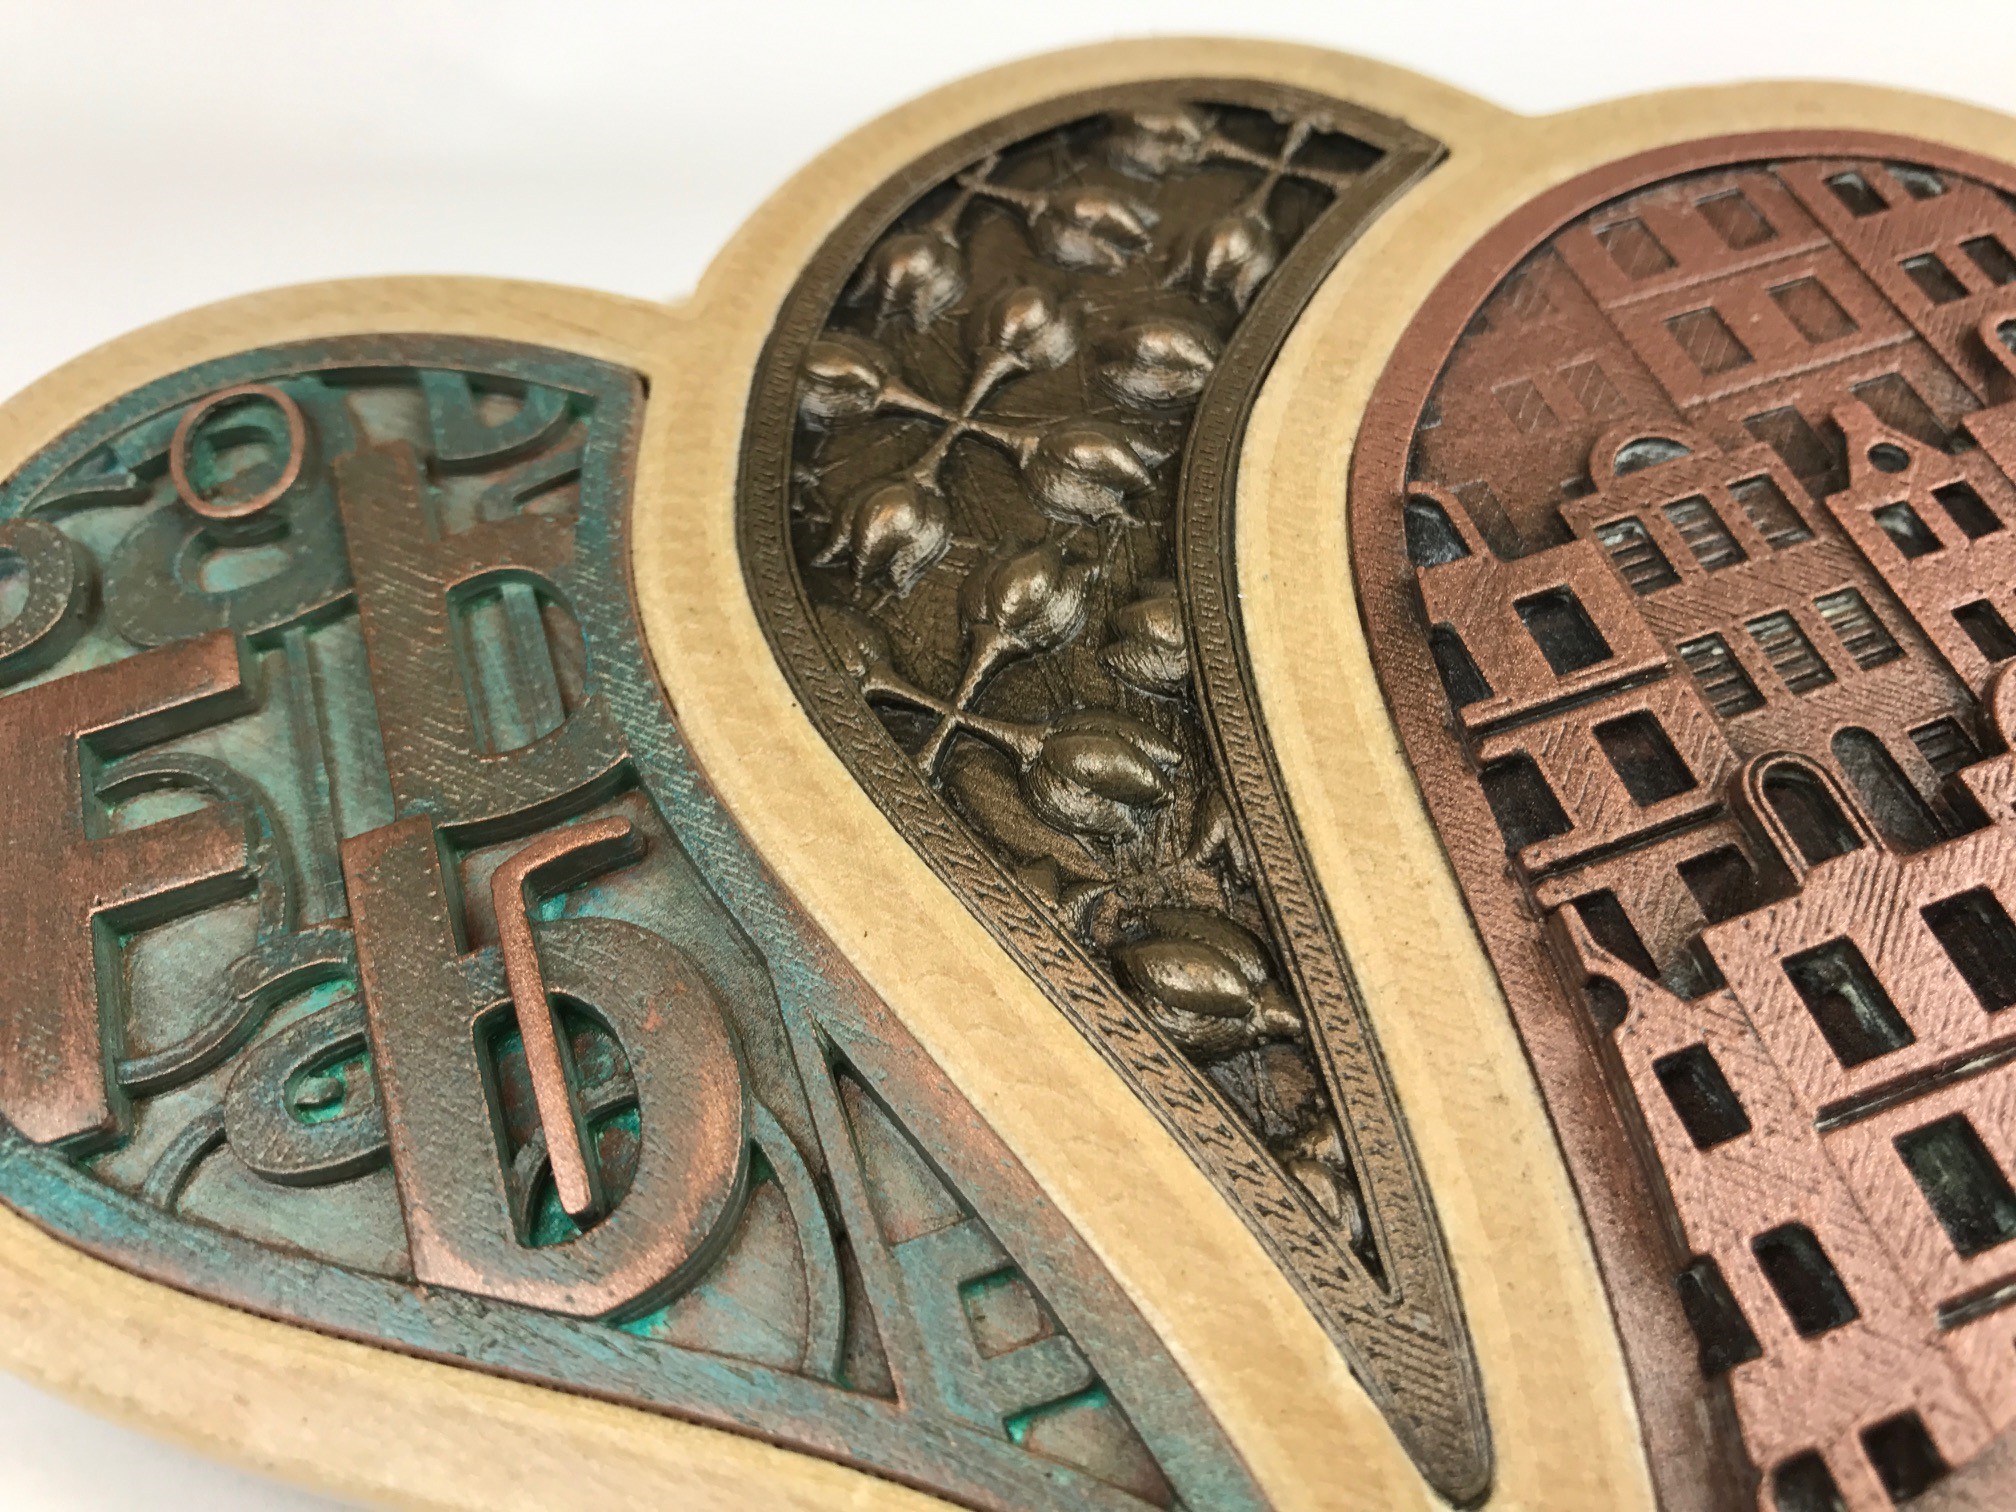
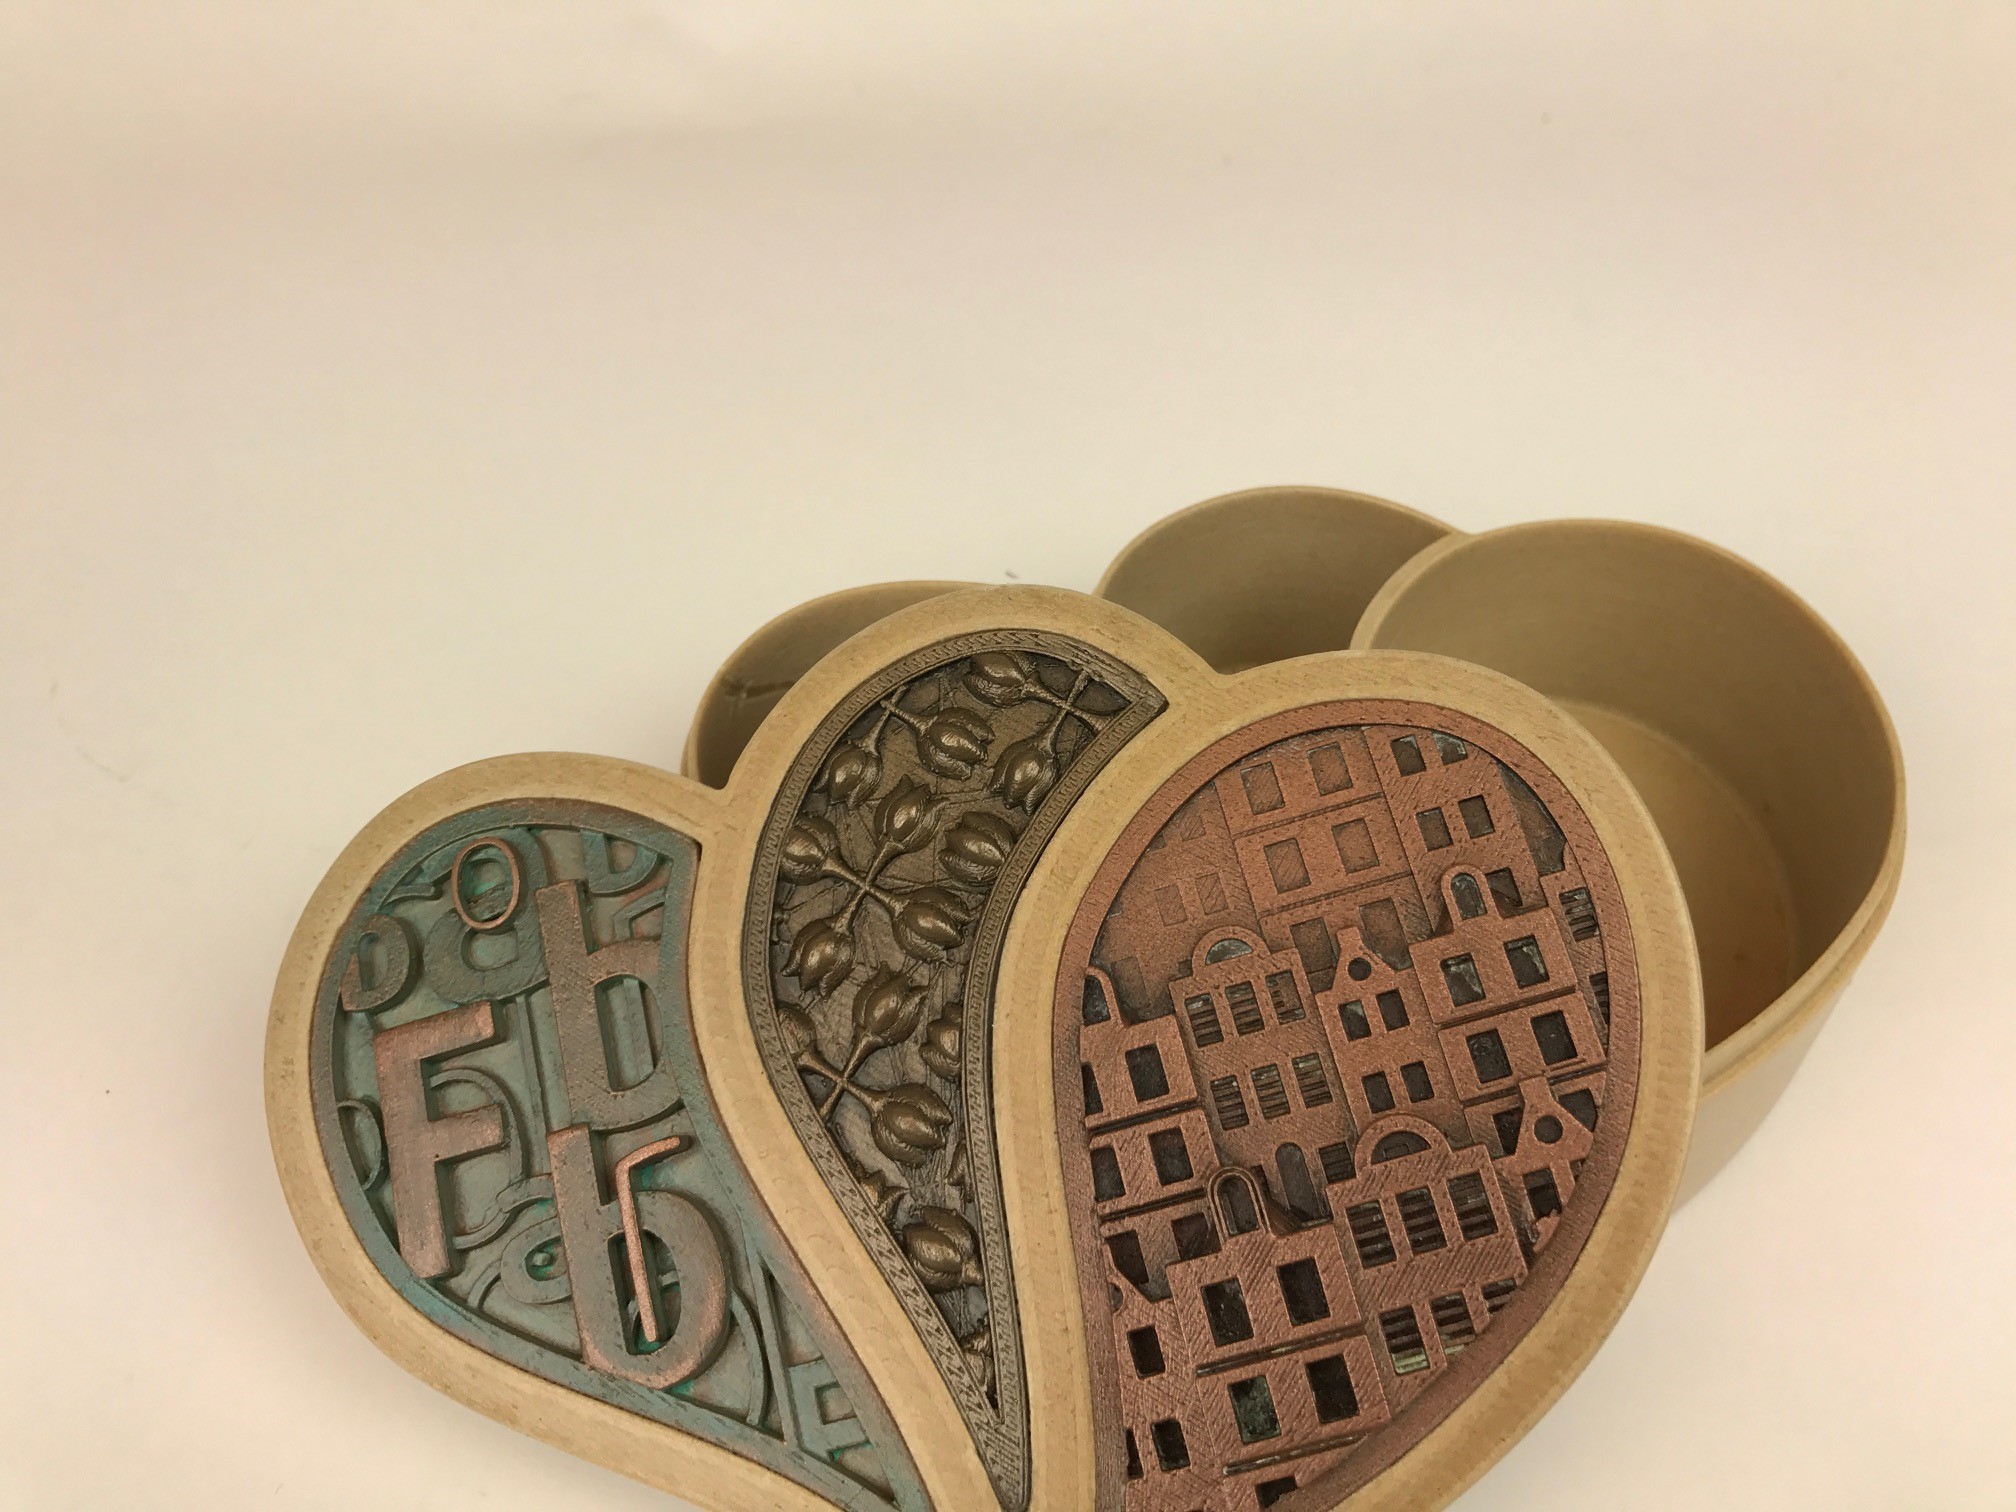
 

Gifts

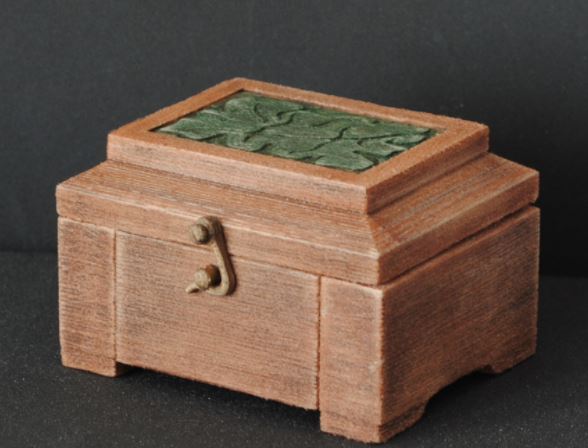
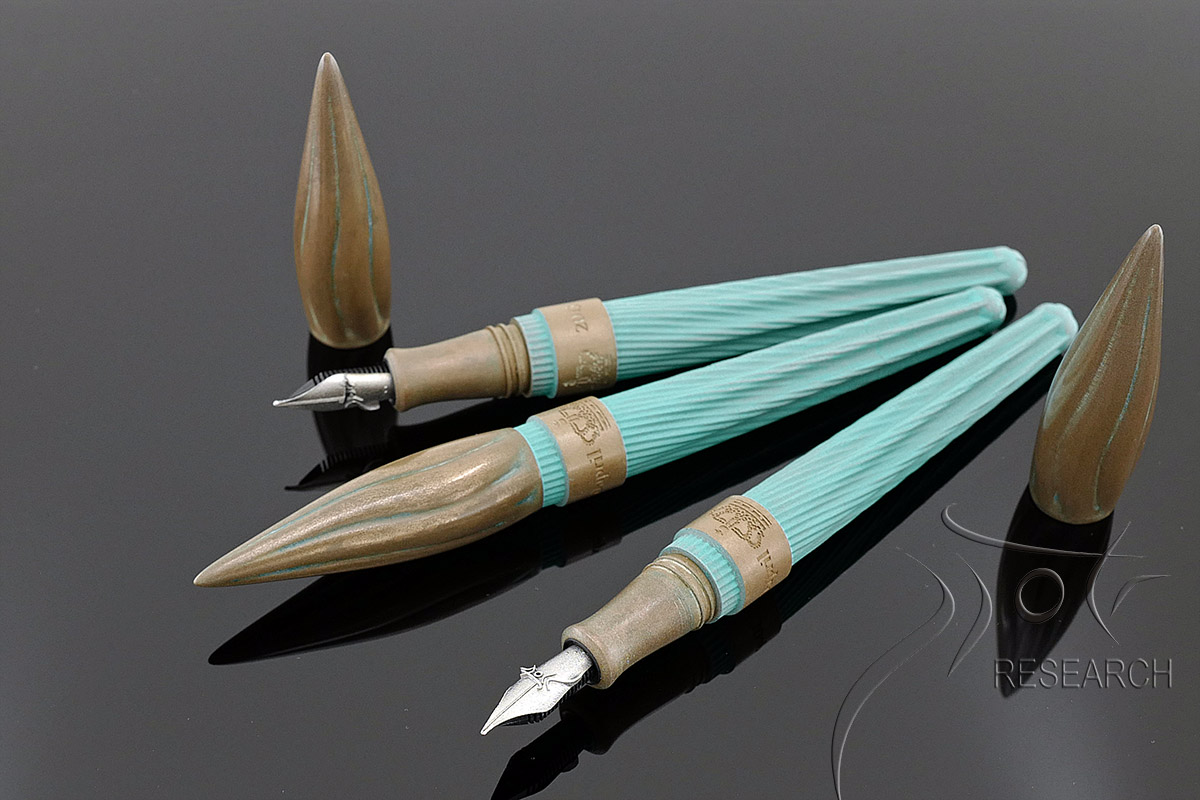
bronzeFill can also make terrific gifts. The extra weight gives that quality look and feel that normal plastics don’t have.

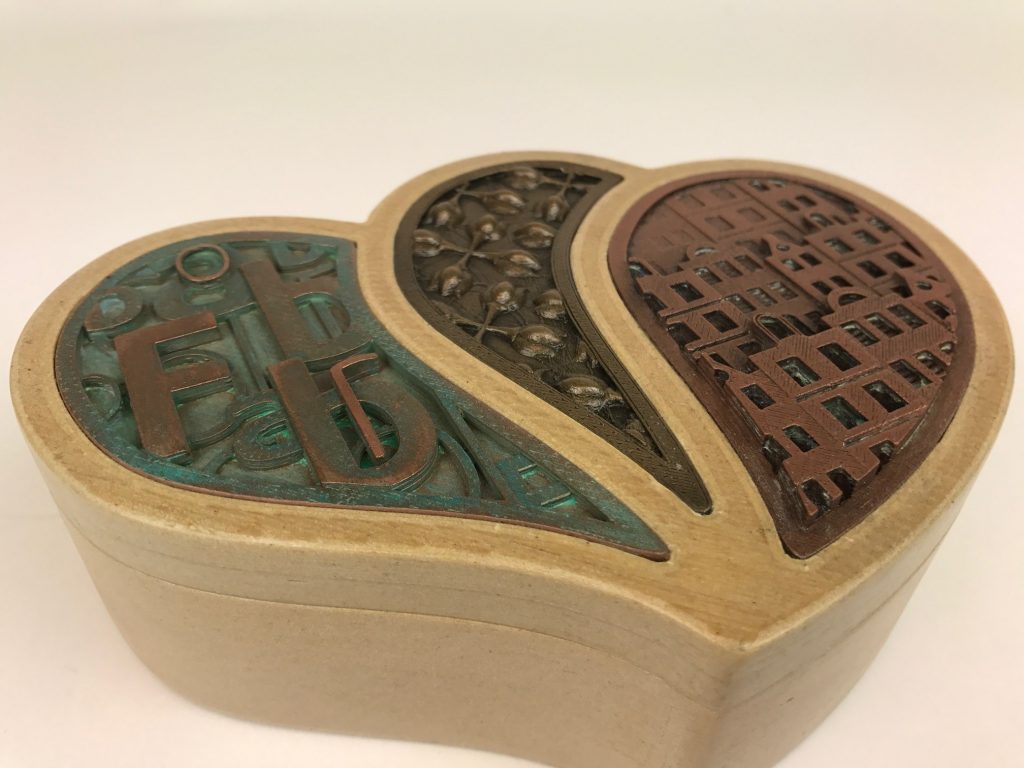
Tony Short’s amazing colorFabb themed gift box  Original post


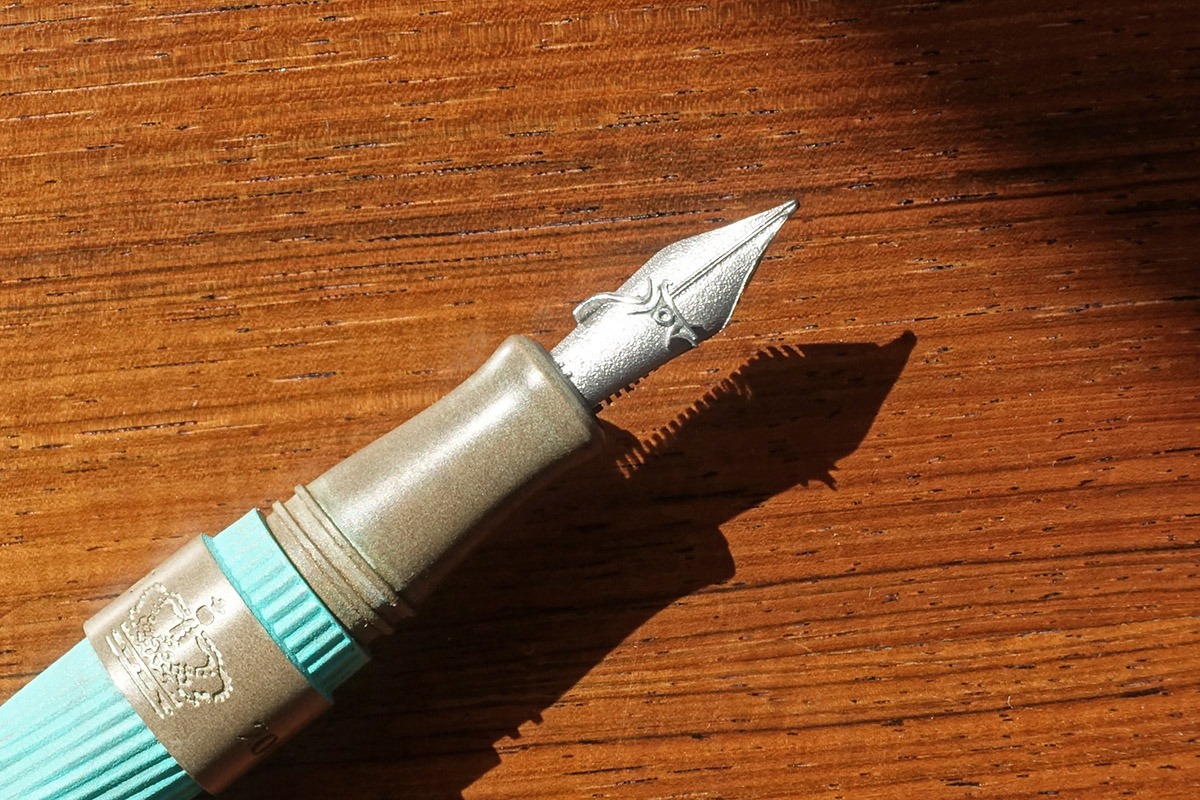
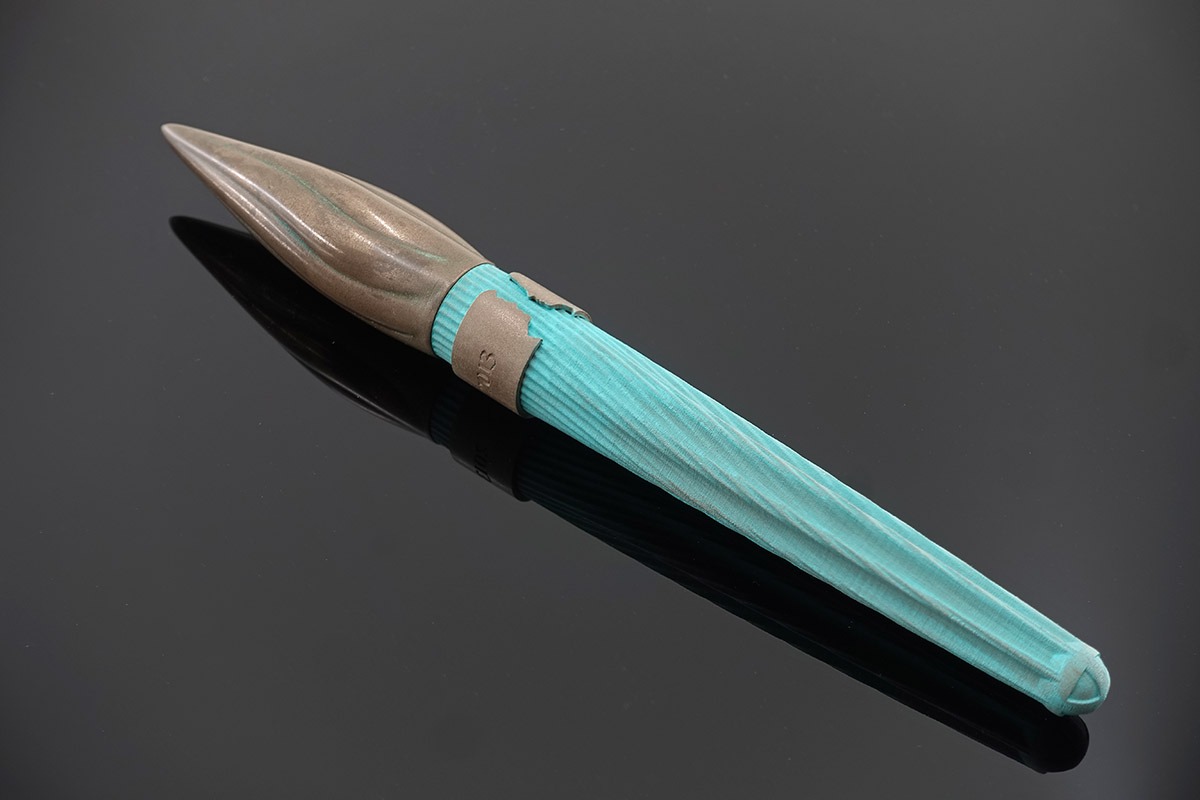
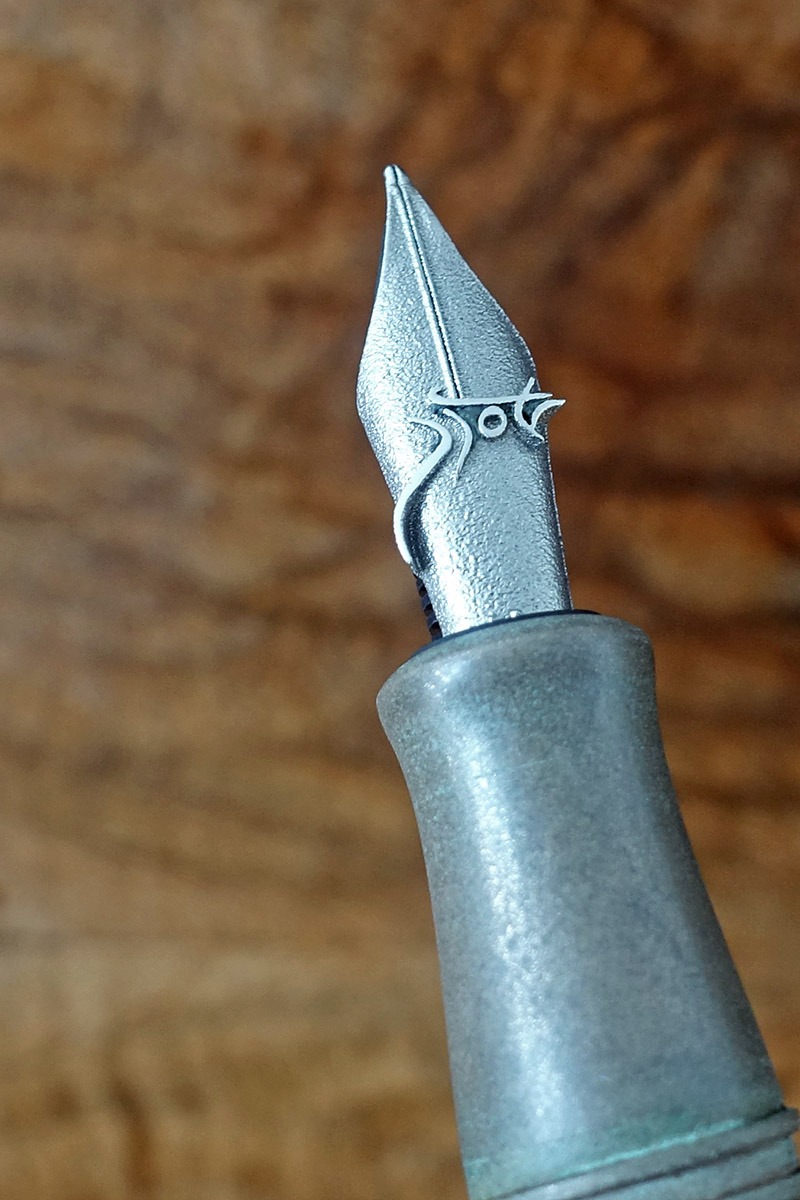
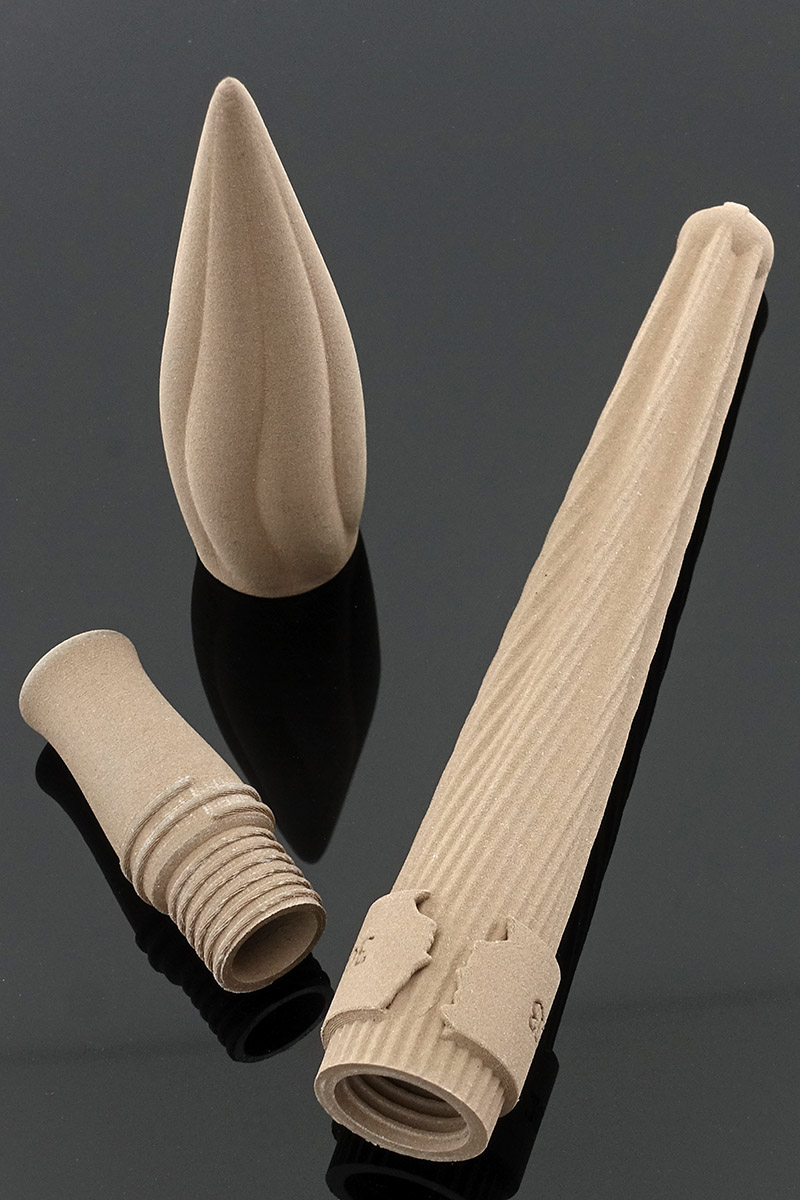
Rein van der Mast’s fountain pen Original post


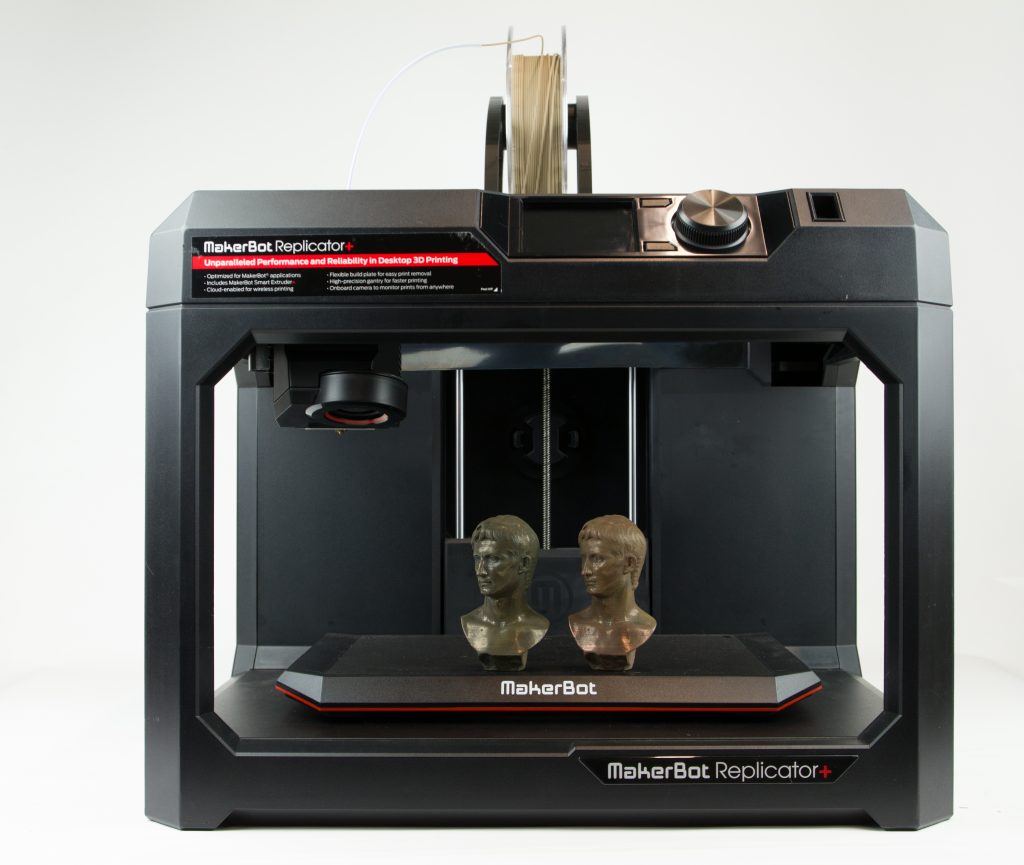
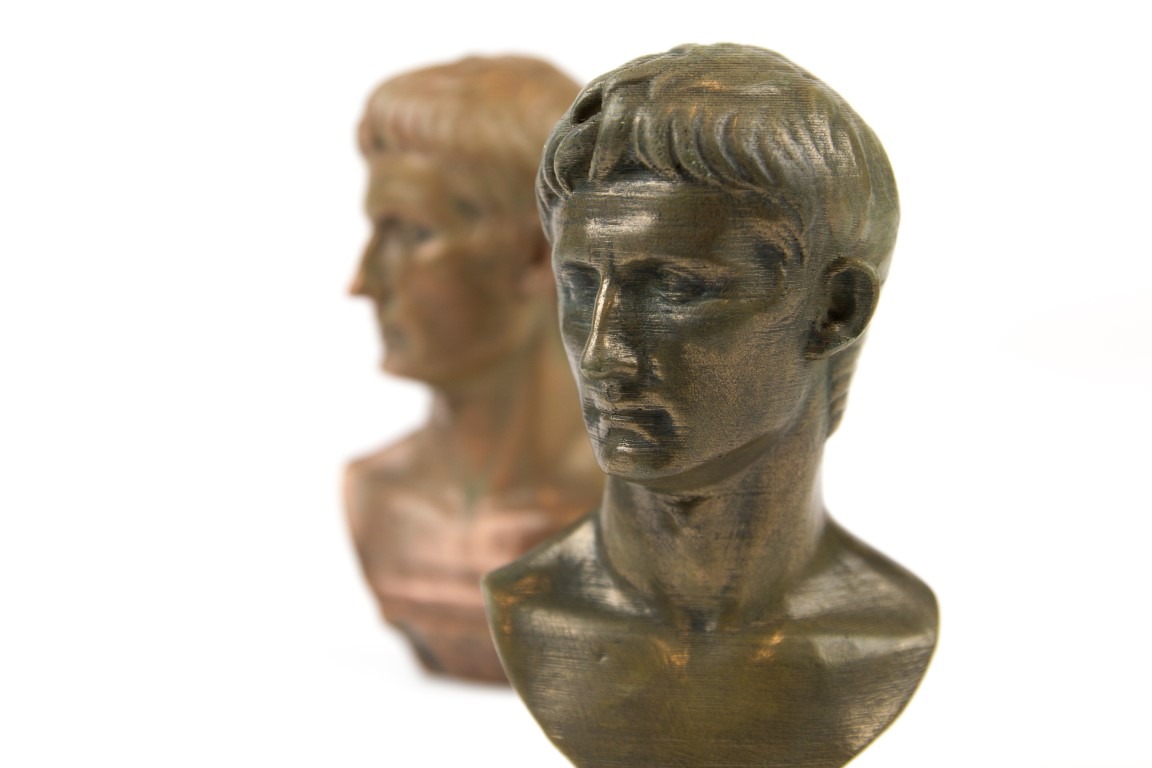
“It belongs in a museum!”

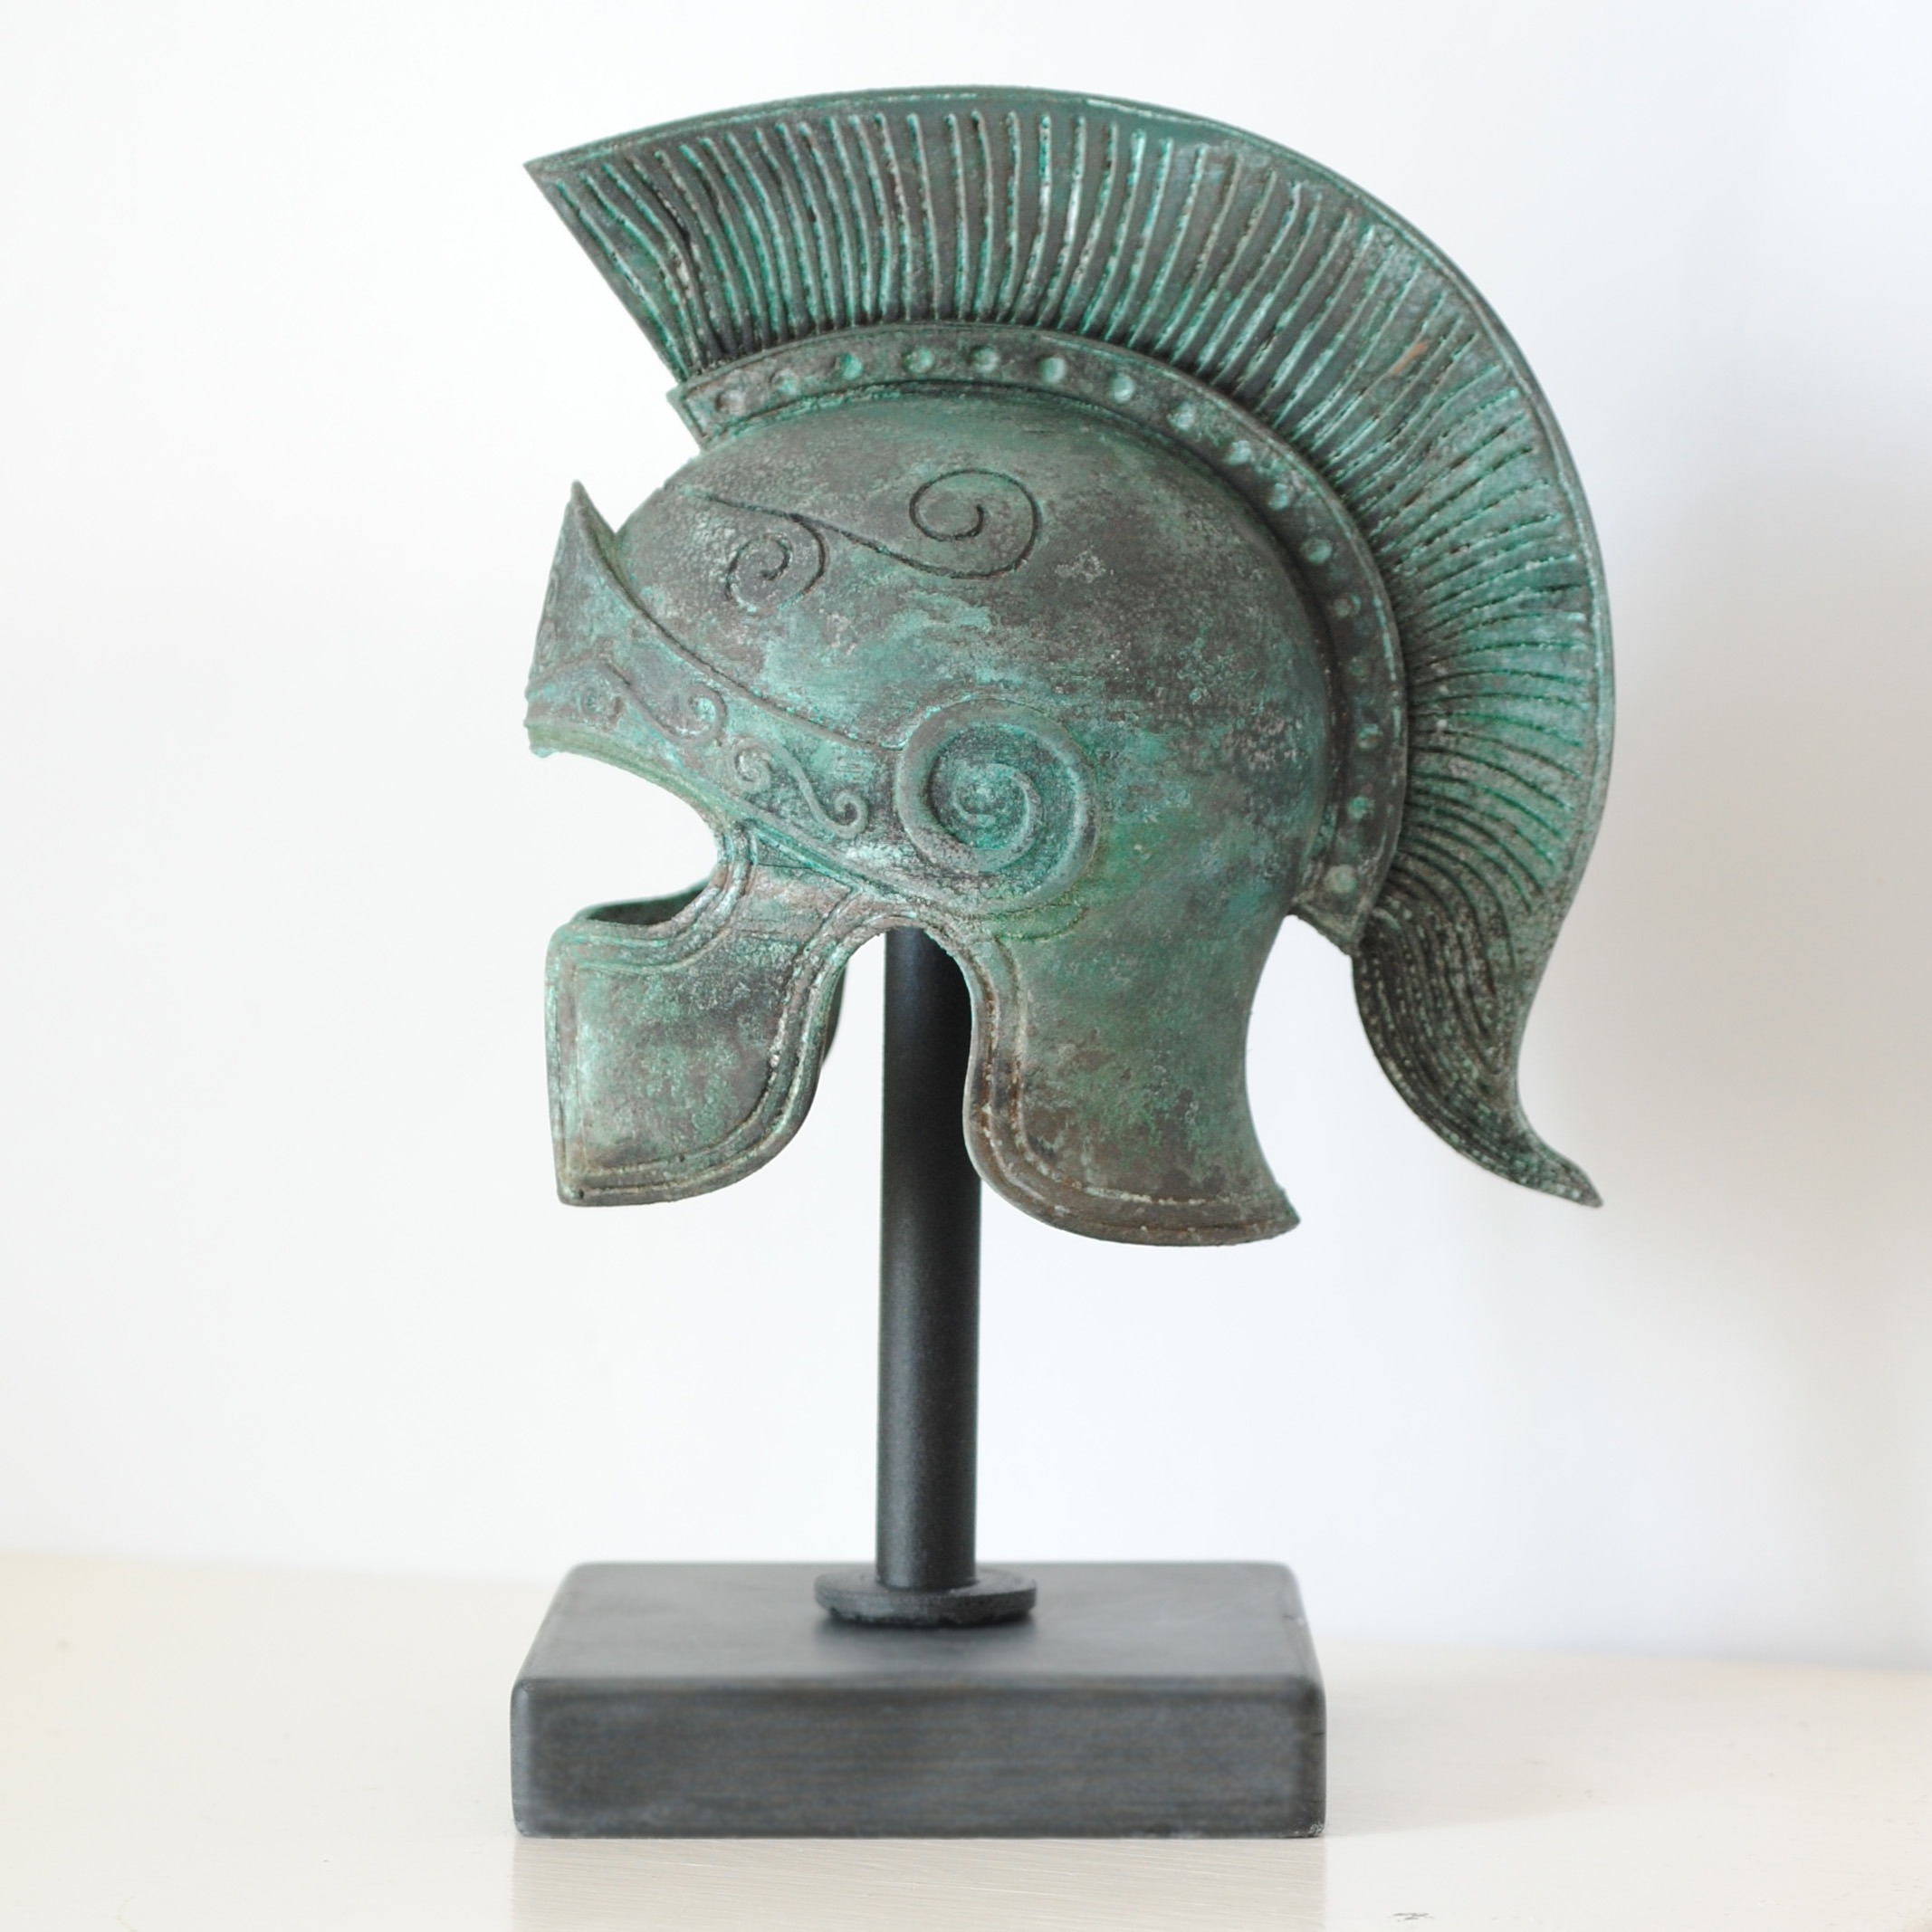
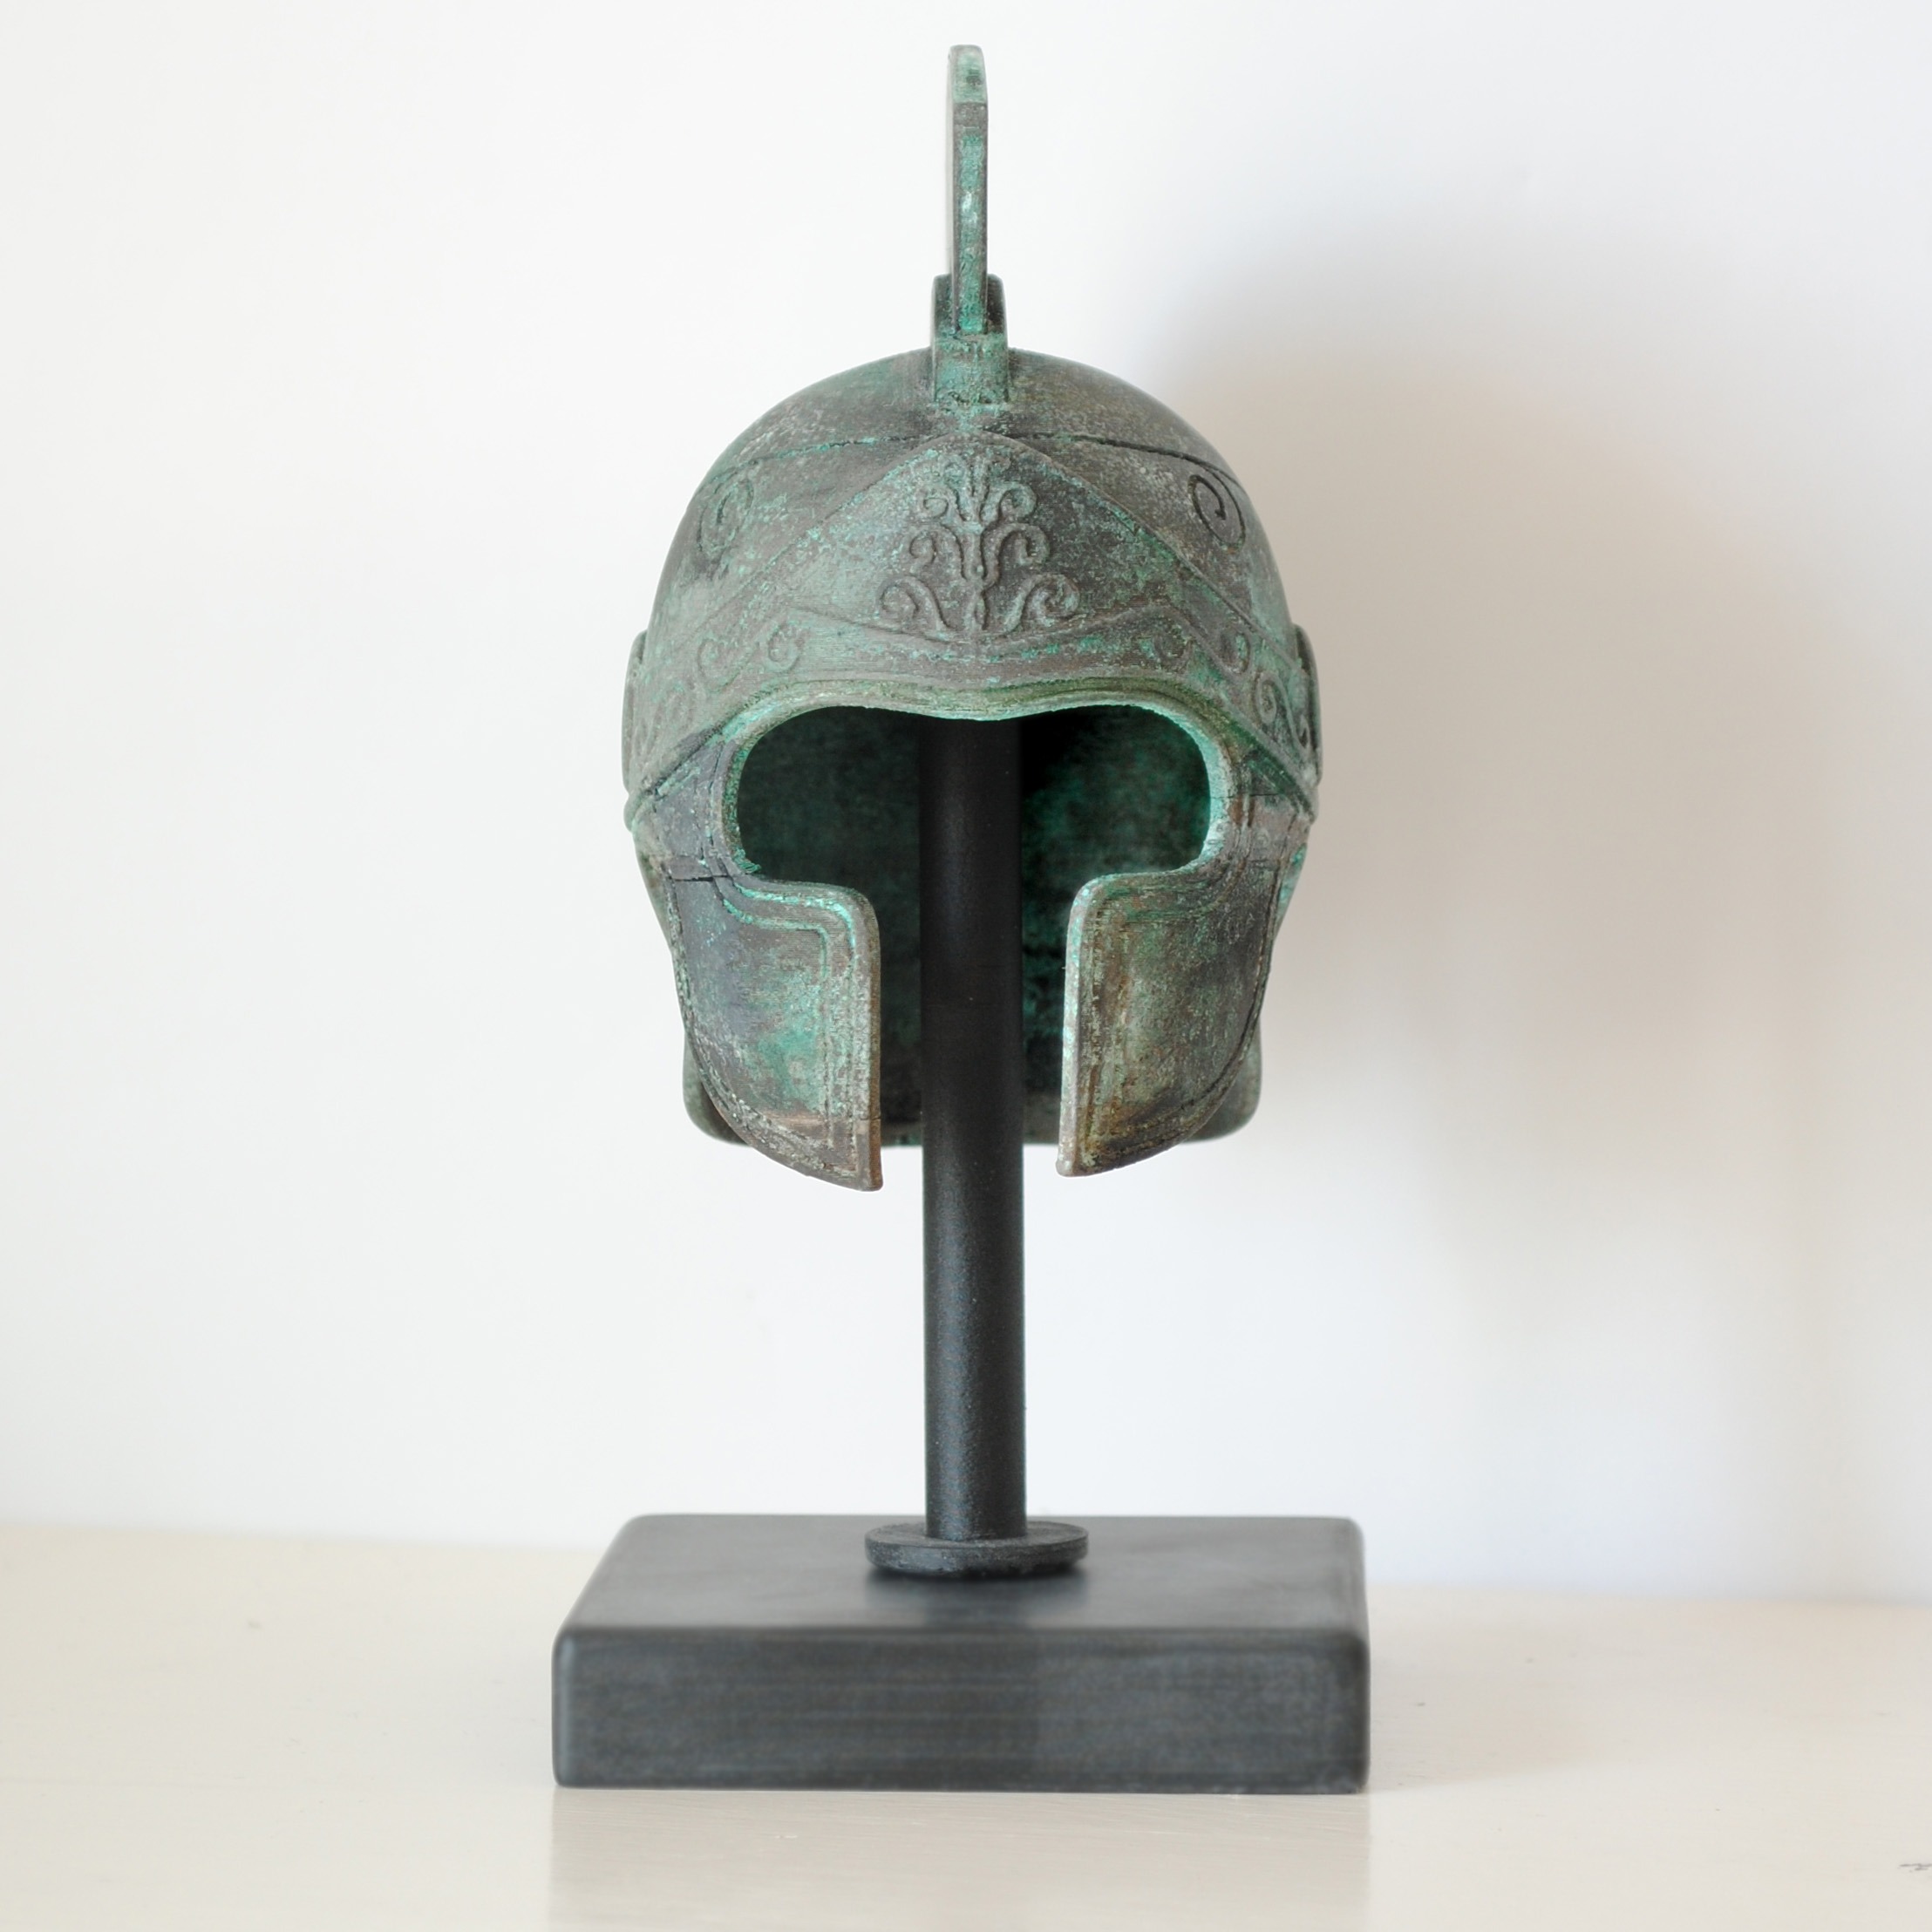
Even museum pieces, replicas or just awesome prints can be made with bronzeFill.

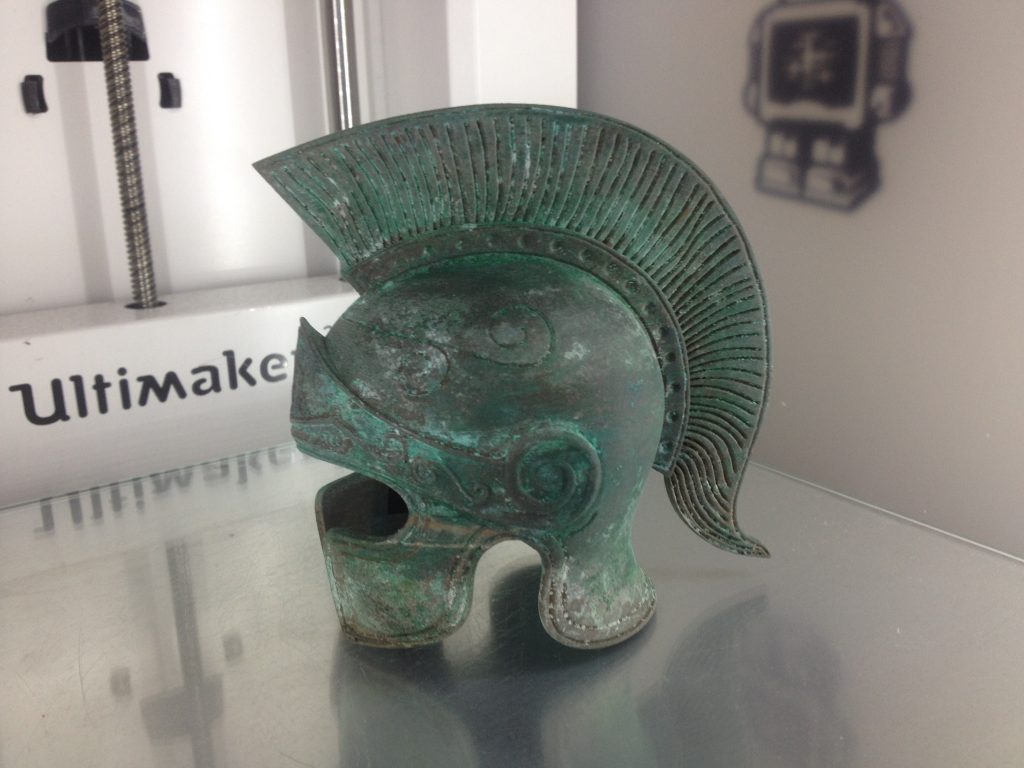
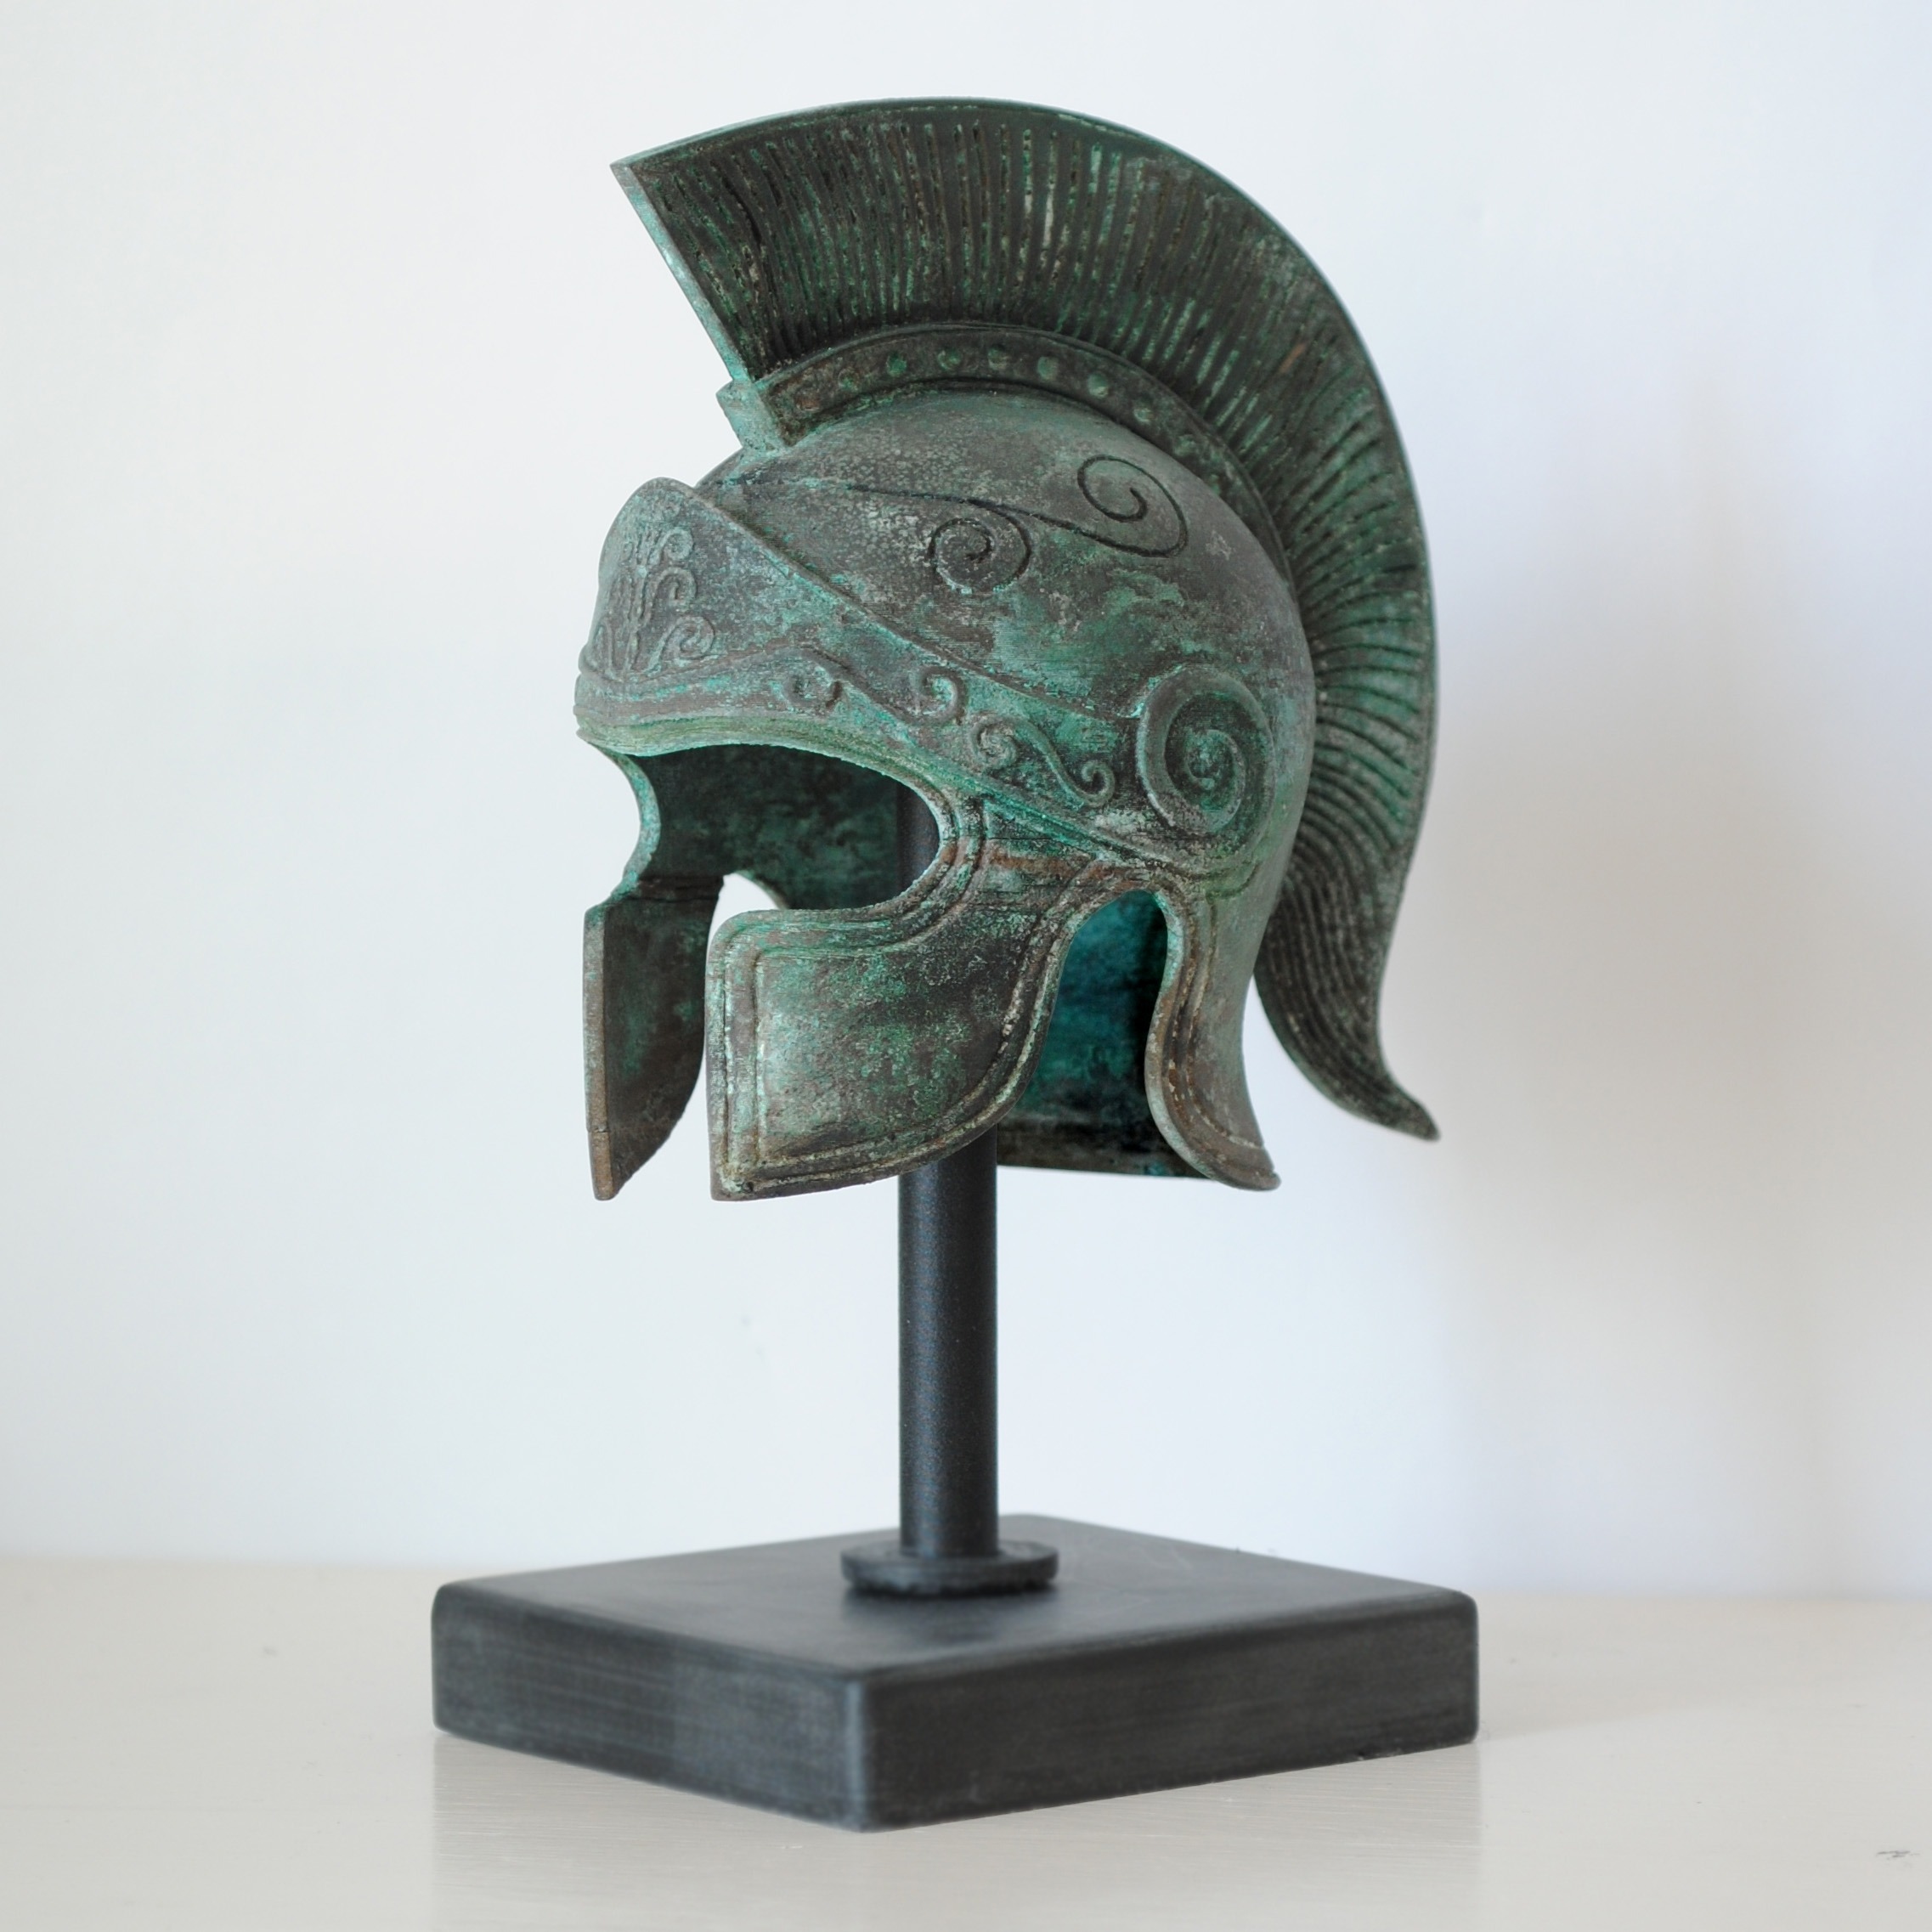
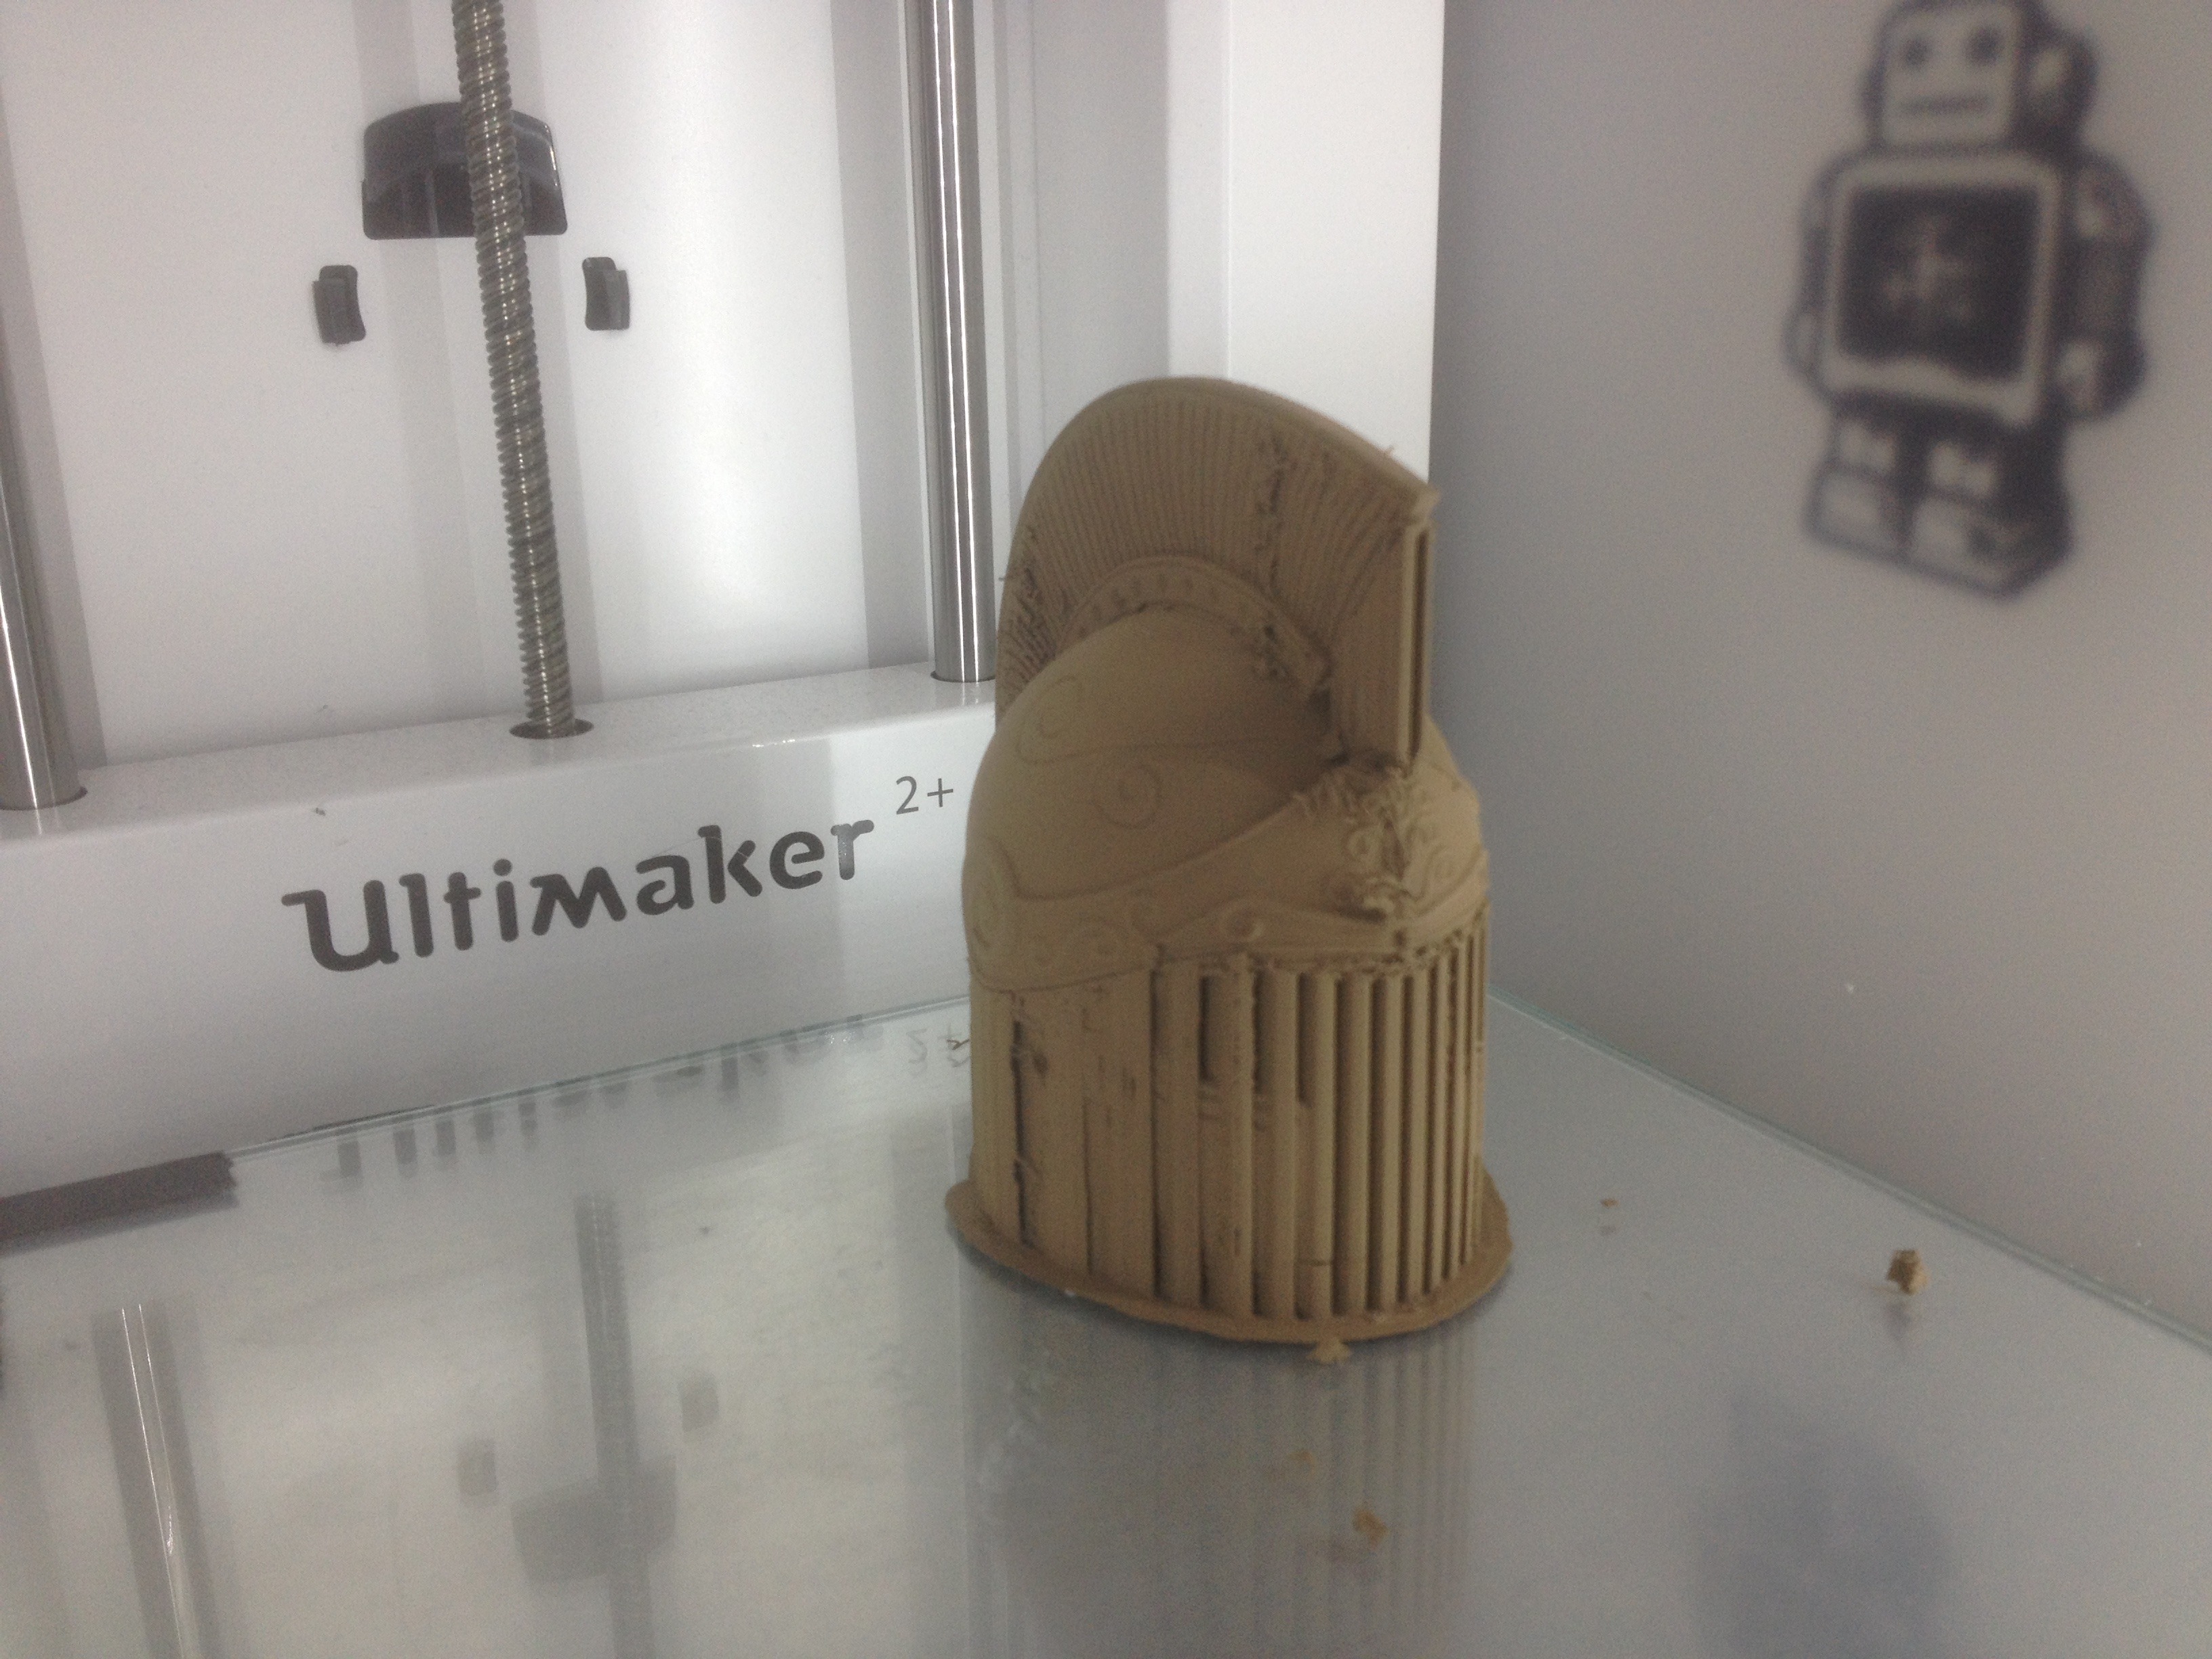
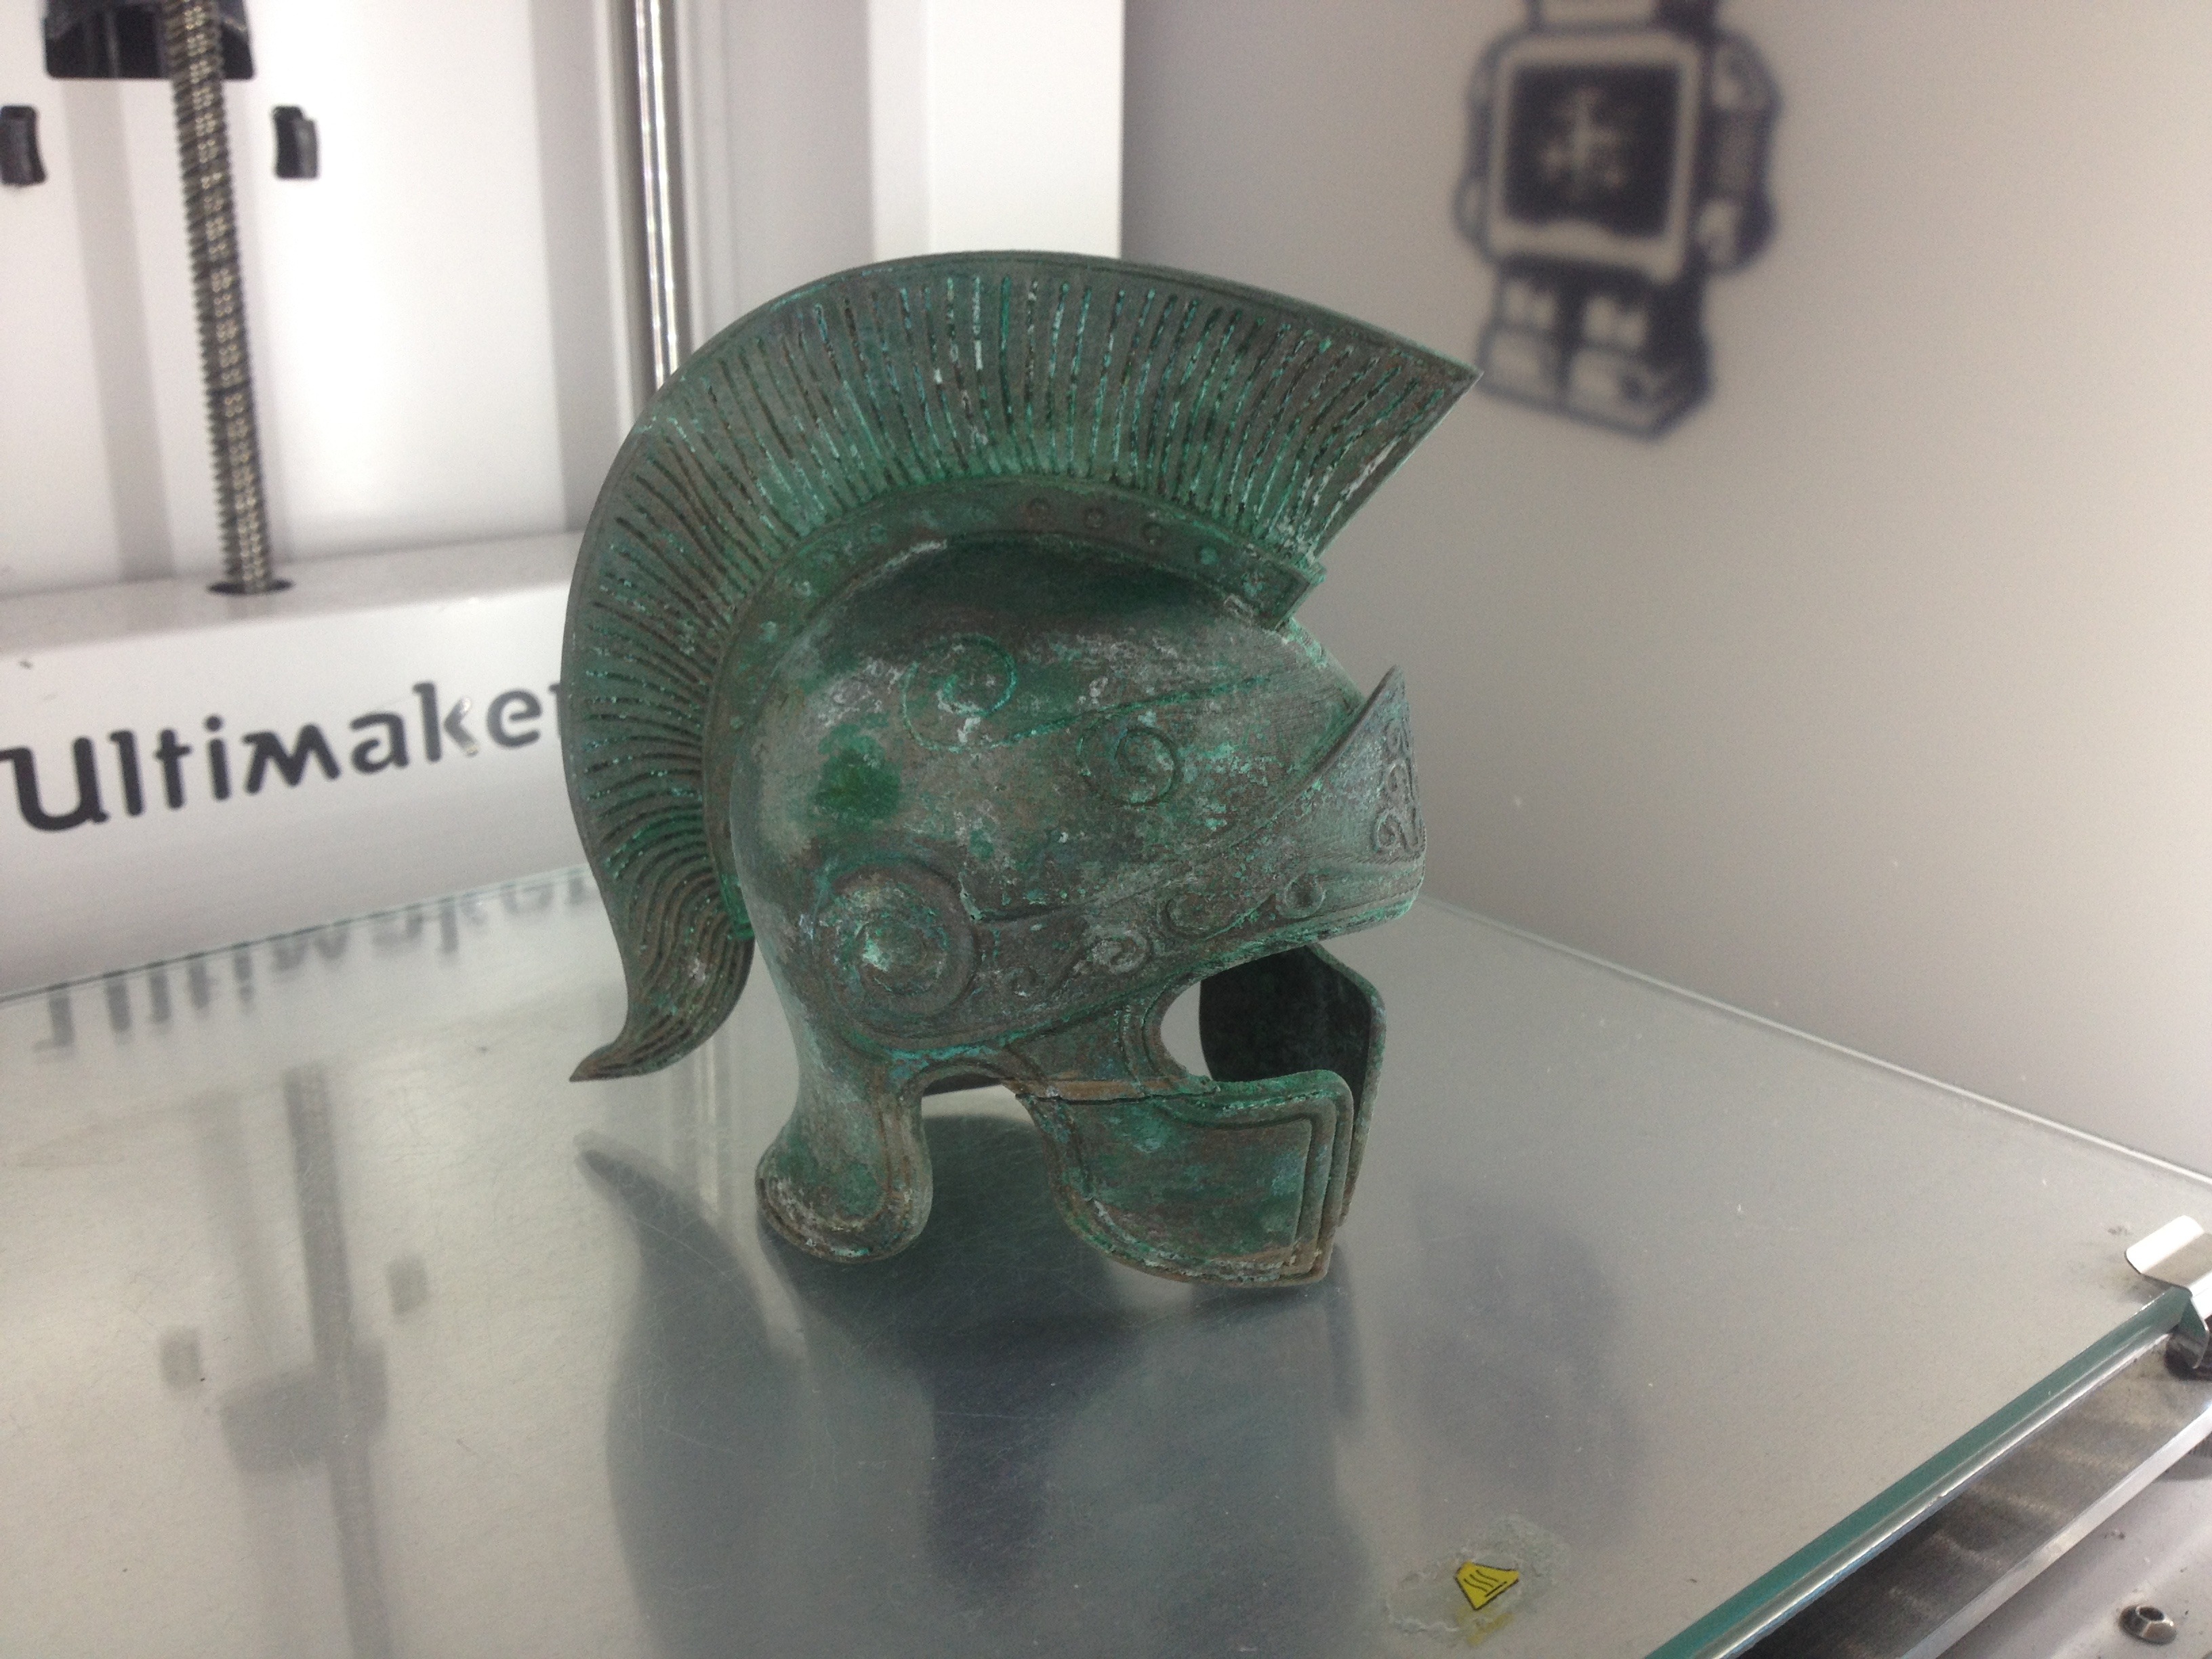
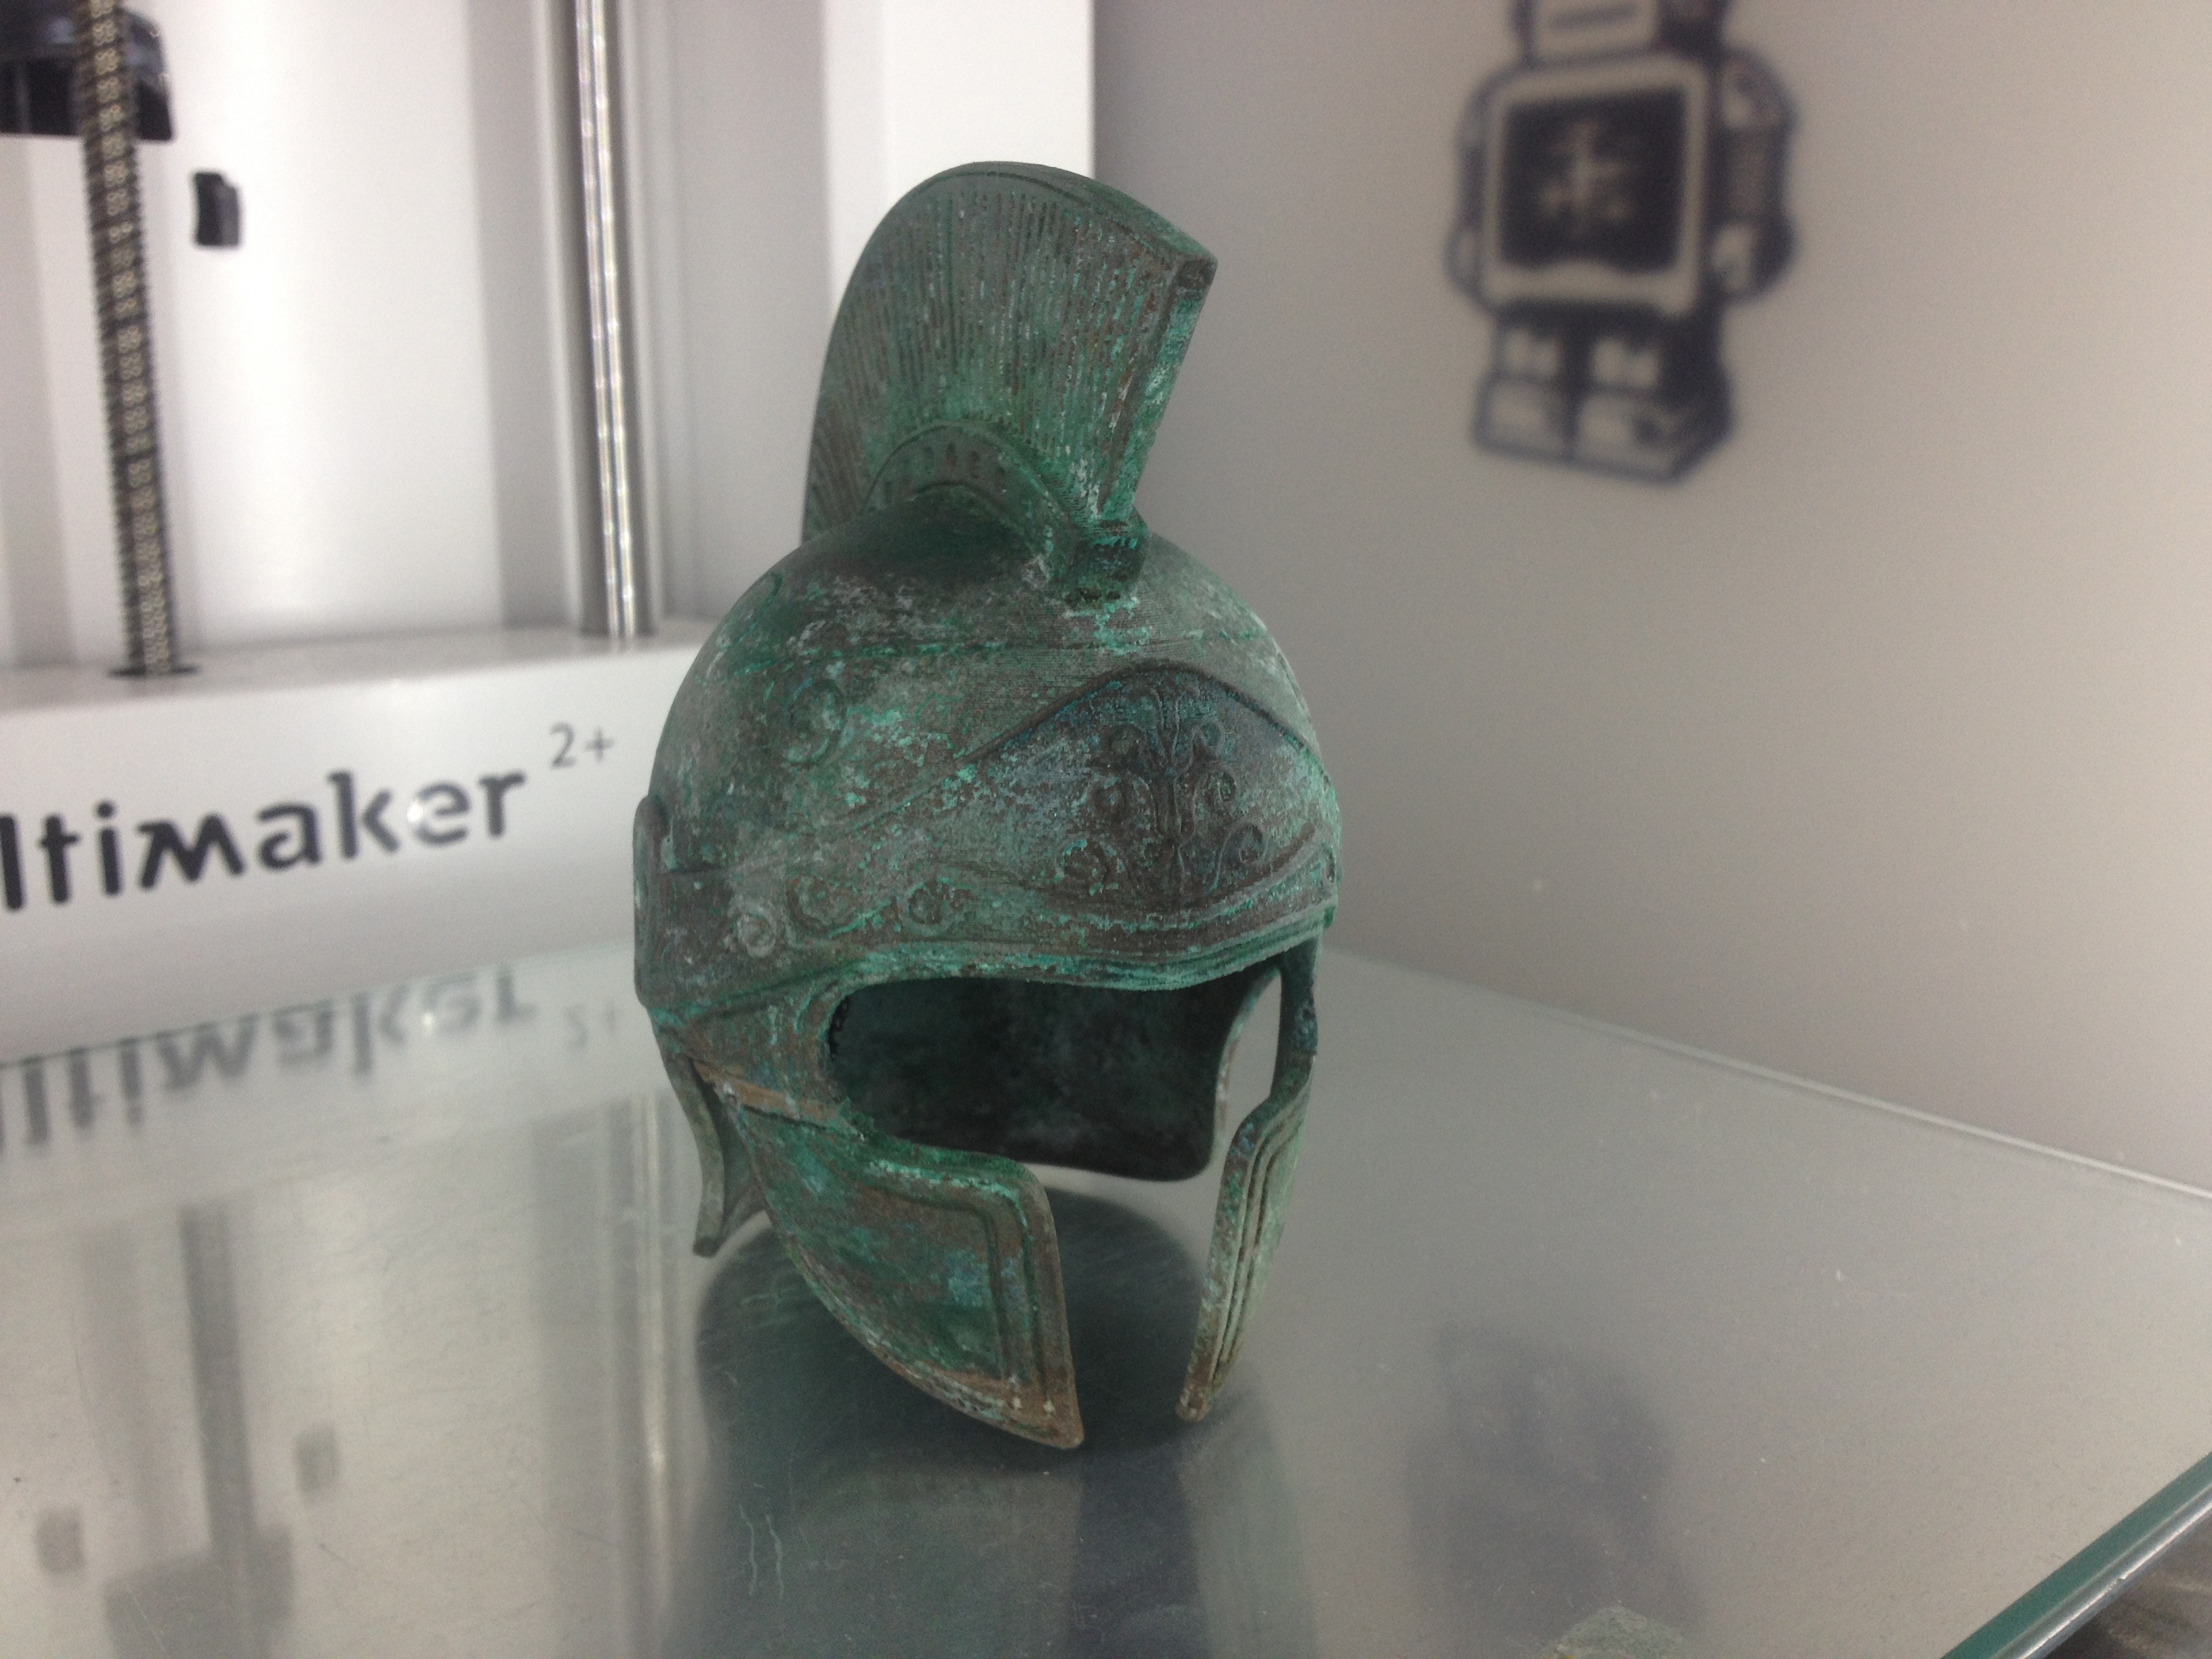
Andreas Mielonen’s ancient Greek helmet Original post


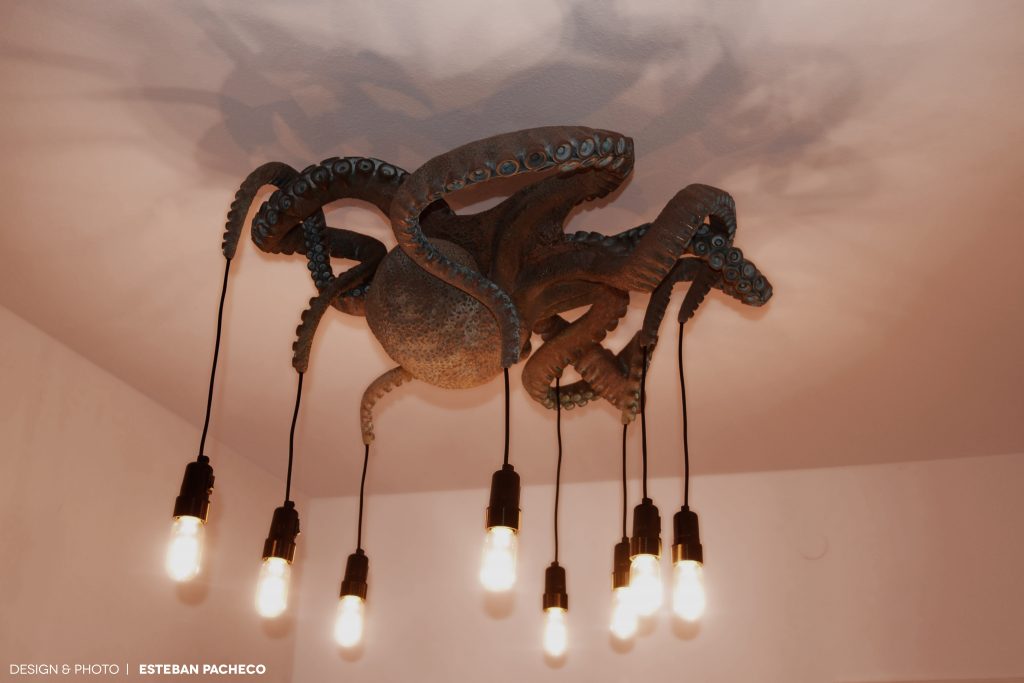
Esteban Pacheco’s epic Octolamp Original post


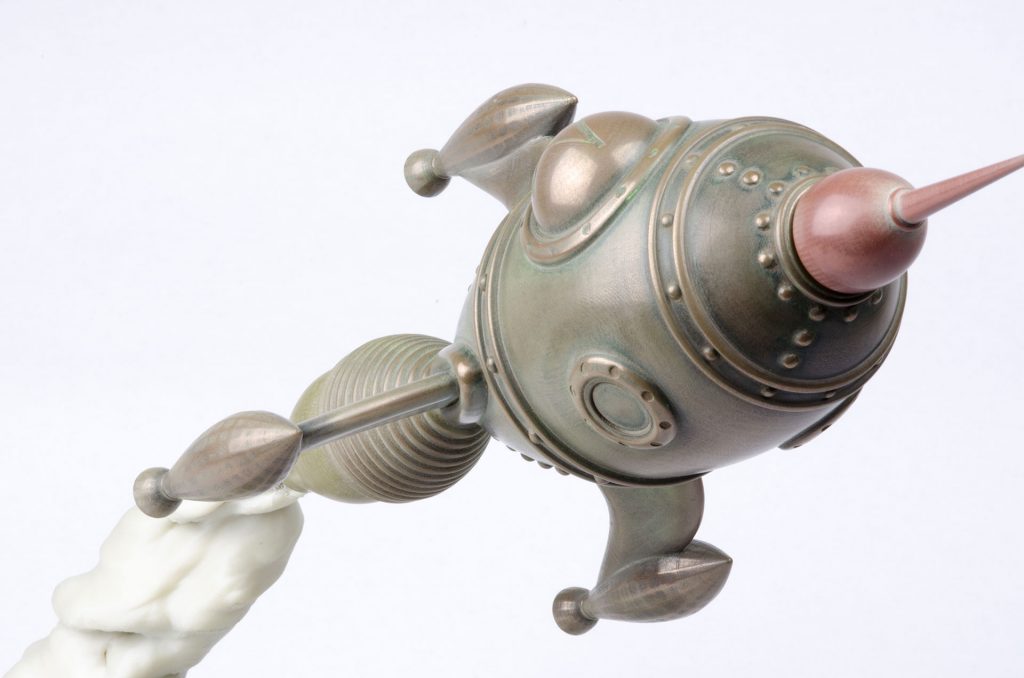
gCreate’s Rocket Ship Original post


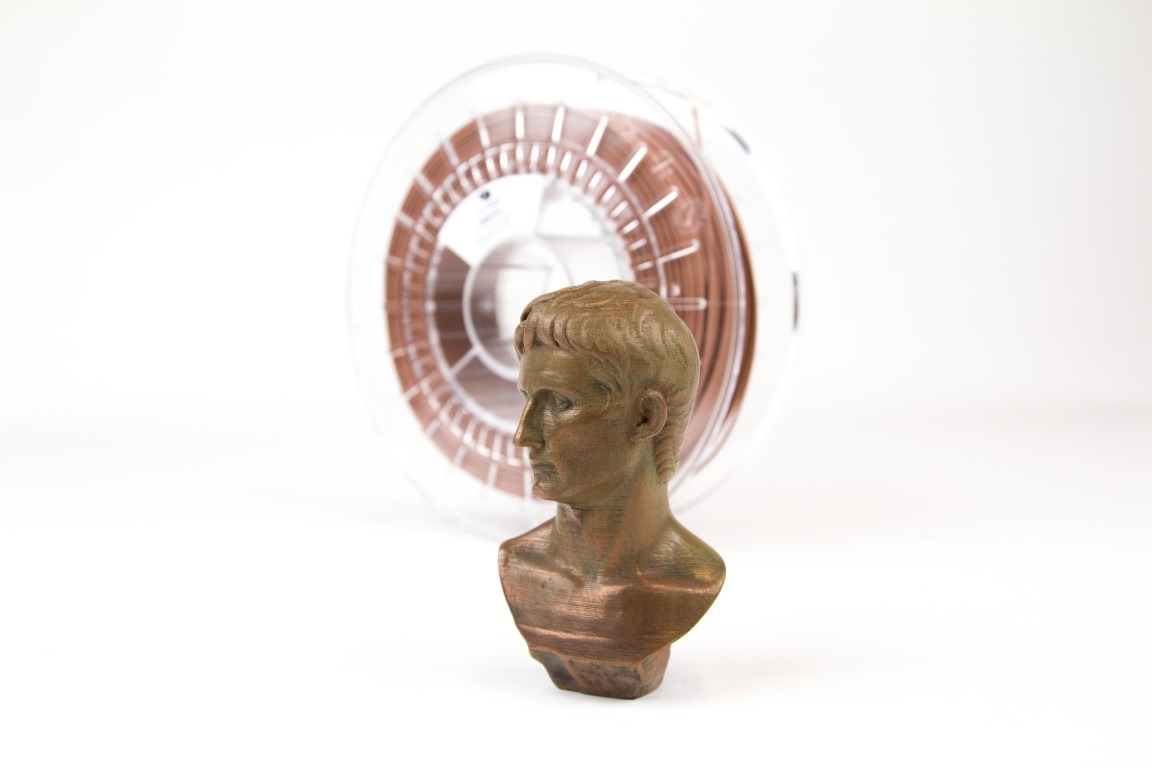
This is by no means a complete listing of all the amazing prints we have seen, but only a short summary. It has been a fan favorite ever since its launch half a decade ago in 2014 and was followed by copperFill, brassFill (since discontinued) and steelFill in our special filament range.

bronzeFill ships daily, worldwide and from stock (mostly). Click on the image below to go directly to our webshop:

Copy mode: a bronzeFill story

In the south of the Netherlands and neighboring regions we have the carnaval tradition. Worldwide known for the Brazilian variety, the version known to us is a different affair. It is an annual festival, celebrated widely, of Catholic origin in which people go wild and party one more time before Lent. It is a tradition chiseled into the fabric of society. It features mocking of establishment amongst other things, represented by clowns, demons and jesters.

The original statue

A local carnaval society needed a copy of a statue they use annually. The best way we found was to scan it, print it with bronzeFill and post-process it.

The scanning was done by local specialists at Hagenaars. This engineering company from nearby Roermond was founded in 1994 and specializes in 3D scanning solutions, amongst other things. They bought the first FARO laser scanning equipment in 2007 and this meant that 3D scanning and measuring became the main focus of this small family owned company. Their engineering background gives them an advantage over competitors since their customer base is more technical minded. You can visit their website here (Dutch only) and give some specific attention to their project page.

Scanning in progress…

With the .stl file generated we went to work and printed a copy on the Ultimaker 2+. (Before you ask, we are not allowed to share the .stl) Settings used:

Layer Height: 0.2mm
Speed: 30mm/s
Temperature: 215C
Material Flow: 106%

After that, the crucial phase of post-processing commenced.

The model was first sanded and polished. After that, we post-processed (and give it the old patina look) by using a mixture of salt, vinegar and ammonia. To achieve accelerated aging, add salt to the vinegar until the salt does not dissolve anymore and the vinegar is saturated. The Lulzbot team already did an extensive blog about this, which you can read here.

Post-processing these kind of prints require a lot of work and effort, but the results are rewarding and quite good, if we say so ourselves and the model aged quite nicely.

bronzeFill was our first truly special filament, launched over 3 years ago and still one of our most popular filaments. The added weight and unique aesthetic properties have made this an extremely popular material. Last year we published quite a bit about bronzeFill,  like the enormous Octolamp, the museum worthy Greek helmet and the stellar fountain pen.

If you want to have more information on how to print with bronzeFill, visit our handy tutorial: How to print with bronzeFill

If you are looking for more tips and advice regarding post-processing bronzeFill and our other metal filled filaments, we have a nice collection of articles collected on our site.

Interested in bronzeFill? It is readily available in our webshop as 750 grams and 1500 grams spools.

The MakerBot Labs Experimental Extruder

The MakerBot Labs Experimental Extruder.

The MakerBot Labs Experimental Extruder is an exciting new offering that brings MakerBot’s current selection of 3D printers into the world of experimentation and custom creation.

As a leader in the 3D printing materials space, we at colorFabb were excited to work with MakerBot on this endeavour. Over the course of several months, we participated in a beta-test program that included a select group of MakerBot’s Thingiverse power users. During this time the new Experimental Extruder was tested using a range of colorFabb specialty materials – including the corkFill, copperFill, bronzeFill, and woodFill.

The new MakerBot Labs Experimental Extruder like all MakerBot Labs products is community supported, and allows users to swap nozzles and comes complete with two nozzle wrenches and 4 nozzles:

  • 0.4 MM Brass
  • 0.6 MM Brass
  • 0.6 MM Stainless Steel
  • 0.8 MM Brass

These new nozzles are the key to printing in this new range of materials. We recommend that users use the 0.6 mm brass nozzle for woodFill and corkFill, and the 0.6mm steel nozzle for bronzeFill and copperFill.

The new MakerBot Labs Community will allow advanced users of MakerBot 3D Printers to share new Custom Print Modes – allowing users to now save and share their custom settings from MakerBot Print.

Our profiles.

We’ve been testing various settings for our materials and will share the profiles we liked best on Makerbot Labs. You can share your own profiles for our materials at Makerbot labs with fellow users.

Augustus by CosmoWenman printed on the Replicator+ using the 0.6mm steel nozzle.

bronzeFill and copperFill

bronzeFill and copperFill are a special type of PLA filament which is infused with metal powder. It will print with settings very similar to normal PLA filament, so users will be able to get a first print quickly.

When the 3D printer is done printing the model, the surface will look matte and dull. With some post processing such as sanding and polishing the parts will start to look like real polished metal. For more information on post-processing our metal infused filaments have look at this article – post-processing-gcreates-rocket-ship.

Apart from the unique aesthetics of the material, it’s also three times heavier than a regular PLA material. The added weight makes every print feel much more real and valuable.

Apart from polishing these materials there’s also an aging technique which will make your prints look like true antiques with a beautiful patina. Have a look at this article to learn more about this method.

Boot Planter by MakerBot


woodFill and corkFill
woodFill and corkFill are a special type PLA filament which is infused with very fine pinewood and cork fibers, which make up for about 30% of the content. It will print with similar settings to PLA.

The texture of printed parts are one of a kind, objects no longer look like shiny plastic, but have a great matte texture. During printing users can even notice the subtle smell of wood.

Users are recommended to keep good flow of material while printing, 0.2m – 0.27mm layer height at 50 mm/s – 65 mm/s will serve as a good starting point. Our profiles for the Replicator+ have been developed with this in mind.

Boot Planters printed with 0.6mm nozzle using the Replicator +.

Good to know.

The standard colorFabb spools will not fit the Makerbot Replicator+ machines. This means users will need to top mount our spools for easy and efficient unloading of filament. There is many variations on thingiverse to topmount filament spools on your Replicator+ and these can be found in the Hardware Mods section of MakerBot Labs on Thingiverse.

When printing woodFill and corkFill, we’ve found that applying blue painters tape to the surface of the Replicator+ platform can improve adhesion, resulting in less warping.

With bronzeFill and copperFill we’ve seen good adhesion on the grip surface that is standard on the Makerbot Replicator+.

For more information on Makerbot Labs visit: https://makerbot.com/labs/

ATTRIBUTIONS

Moai by ET-Huang
https://www.thingiverse.com/thing:144668

Propeller by dreyfusduke
https://www.thingiverse.com/thing:986079

Fibonacci Vase by mnemo80
https://www.thingiverse.com/thing:1054598

Boot Planter by MakerBot
https://www.thingiverse.com/thing:293223

Augustus by CosmoWenman
https://www.thingiverse.com/thing:196044


Ancient Greek Helmet

Back in August we came across the Instagram account of Andreas Mielonen and were immediately blown away by the work he had posted there: An ancient Greek helmet, printed with bronzeFill on his Ultimaker 2+:

All images in this blog post by Andreas Mielonen

We contacted Andreas to share a bit more about this fantastic print and he was very gracious in sharing his pictures and the process of printing. Andreas (31) lives in Stockholm, Sweden, and has been interested in 3D graphics since watching the Lord of the Rings trilogy. Andreas: “I was 3D-modeling as a hobby until five years ago when it became my job. Since then I’ve been involved in making commercials, illustrations for science articles and infomercials. A couple of years ago I started getting interested in 3D-printing and started to go to 3D-printing meetups in Stockholm which spurred my interest even more.”

After attending some workshops he decided to buy an Ultimaker 2+.

About the fantastic print of the Greek helmet he says: “I got the idea for the helmet when I got a roll of colorFabb’s bronzeFill and checked out what other people had done with it and saw how good it looked with the blue/greenish patina. So, instantly I thought of the amazing greek bronze helmets. I  designed the helmet in Maya and sculpted in the details in Mudbox. Before I started to print the helmet in bronzefill I made a test print in standard PLA in 1:4 scale, the scale I wanted for the bronzefill version was 1:3 but knew that if the helmet prints well in 1:4 scale the larger version won’t be a problem.”

The settings Andreas found working best on the Ultimaker 2+ were:

Layer Height: 0.2mm
Speed: 30mm/s
Temperature: 215C
Material Flow: 108%

Andreas used the Olsson Ruby Nozzle. Although not necessary for bronzeFill, he used it nonetheless. Also because the stand was printed with our carbon filled XT-CF20 which requires nozzles that can withstand extra wear due to its abrassive nature. (We wrote about our experiences with the Olsson Ruby Nozzle before).


Post-processing

Of course where bronzeFill, and our other metal filled filaments truly shine, is in the post processing of the prints.

Andreas explains the way he worked: “I started the post processing with sanding under water to prevent heat buildup using grit 240 sandpaper and finishing off with grit 600. When I was happy with the sanding I made a mixture of salt and vinegar sprayed the helmet two times a day for a week with the mixture, and kept it in a bucket with a lid to contain the smell and enhance the effect of the salt-vinegar mixture. After one week it had a nice patina and I used black oil paint to make the finishing touches.”

“I like the look of the ColorFabb XT CF20 both when it comes straight off the print bed and when it’s been sanded, so I choose that to print the stand for the helmet.”

We thank Andreas for all his input and the images he so kindly provided to us! Please follow Andreas on Instagram (link here) to see his latest creations. As you can see his love for Lord of the Rings has also translated into a terrific print of a small salt box from the Two Towers, made with woodFill. We will write another post about this soon!


bronzeFill was our first truly special filament, launched over 3 years ago and still one of our most popular filaments. The added weight and unique aesthetic properties have made this an extremely popular material. Before this fantastic ancient Greek helmet we have seen other great projects come to life in this year alone made with bronzeFill like the enormous Octolamp and the stellar fountain pen.

If you want to have more information on how to print with bronzeFill, visit our handy tutorial: How to print with bronzeFill

If you are looking for more tips and advice regarding post-processing bronzeFill and our other metal filled filaments, we have a nice collection of articles collected on our site.

Interested in bronzeFill? It is readily available in our webshop as 750 grams and 1500 grams spools.

Fountain pen

Every so often you come across a print that it needs extra attention. We saw Dutch engineer Rein van der Mast’s post on LinkedIn and were immediately triggered by his craftmanship. Using his own design, he printed a fountain pen with colorFabb’s bronzeFill 3D printing filament and the results are simply stunning:

Rein designed the pen himself and used an Ultimaker 2+ Extended with a 0.25mm nozzle to print this true piece of art. He patinated part of the surface to make it green. Rein has 3D printed the world’s first fountain pen nib in titanium – the results of his extensive research. Believe us if we say you have not seen or heard the last from Rein about this fantastic new development!

Rein van der Mast studied Industrial Design Engineering at Delft University of Technology (NL). He also immersed himself into machine construction. In the mid 90s he led the design department of a manufacturer of consumer products, where he successfully implemented 3D CAD and 3D printing to rapidly obtain prototypes of consumer products.

You can find more information about Rein’s activities in 3D printing on his SOLide website.

This print was intended as an experiment, but the results exceeded Rein’s expectations and he considers more commercial applications of bronzeFill in the near future. The surface quality is outstanding making it look not 3D printed at all! This is due to the printing resolution combined with the careful post-processing.

bronzeFill was our first truly special filament, launched 3 years ago and still one of our most popular filaments. The added weight and unique aesthetic properties have made this an extremely popular material. Seeing a project like the fountain pen materialize with this filament is fantastic!

If you want to have more information on how to print with bronzeFill, visit our handy tutorial: How to print with bronzeFill

Unprocessed prints

If you are looking for more tips and advice regarding post-processing bronzeFill and our other metal filled filaments, we have a nice collection of articles collected on our site.

Interested in bronzeFill? It is readily available in our webshop as 750 grams and 1500 grams spools.


Inverted bucket steam trap

Our metal filled filaments have great aesthetic characteristics. They look awesome when printed, even stunningly beautiful when post-processed, but one aspect that you cannot see – but all users agree on – is the added weight of the filament. This makes a great filament to create visual prototypes that also need that added weight. Like the inverted bucket steam trap we recently printed:

Inverted Bucket Steam Trap based on the 3D model by Tamas Cserto
Design: https://grabcad.com/library/inverted-bucket-steam-trap-1

Printed in steelFill, copperFill and bronzeFill, this cross-sectioned model beautifully shows the inner workings of an inverted bucket steam trap.
It’s screw threads are fully functional straight out of the printer so you can assemble it whilst showing the different aspects or even change out parts on the fly.

The metal filaments have a nice aesthetic and give the parts a genuine feel both in terms of added weight as well as the look and feel of the parts. Note however that this is not a functional part, working in real life, but a visual prototype.

We printed this model on the Ultimaker 2+ with Ruby nozzle (which is recommended for steelFill) on 0,10mm layer height.

One of the aspects of steelFill is that it has magnetic properties. steelFill is the latest in our range of special metal filled filaments, being launched in 2016 after bronzeFill and copperFill (both in 2014) and brassFill (in 2015). You can find some post-processing tips here.

We have also written handy tutorials on how to print with these special filaments:

The high steel content of the steelFill material makes this filament quite abrasive to brass nozzles.  Therefore it’s recommended to print with abrasive resistant nozzles. For the nozzle we chose the Olsson Ruby nozzle 2,85mm version. The ruby nozzle retains the excellent heat conducting properties of brass, while being extremely resistant to wear. This means that you can print your standard materials as usual, but also very abrasive materials such as XT-CF20, but also our steelFill.

The Olsson Ruby is a high-tech nozzle with a carefully designed ruby tip, which makes it have unique properties. The ruby nozzle is designed by Anders Olsson, inventor of the popular Olsson Block that is also part of the Ultimaker 2+ 3D Printers.

This nozzle was generously supplied to us by 3DVerkstan, our distributor and partner in the Nordic regiona and manufacturer of the Olsson Ruby Nozzle. For more information about the nozzle, contact 3DVerkstan: info@3dverkstan.se

colorFabb’s metal filled filaments are available online.

Lodewijk van der Grinten Prijs 2016

Our special filaments are perfectly suited for special occasions, like awards ceremonies. Last night was such a night and a special night for entrepeneurs in our region in and around the Dutch city Venlo, colorFabb’s home town. Every year the Lodewijk van der Grinten prize is awarded to a local entrepeneur or local business who has done something special for and within the city and the region.

Please note: links in this article mostly link to a Dutch language site.

This year there were three nominees: Cabooter Group, Scelta Mushrooms and Pulse Business Solutions. Being nominated is already an honor and all three nominees were awarded with a special trophy to commemorate their nomination. The trophy was custom designed and printed with colorFabb’s special filaments.

The nominees

The big winner of this evening, receiving the big award was Jan Klerken from Scelta Mushrooms for their work in R&D in the world of mushrooms! We congratulate Jan and his team at Scelta Mushrooms with winning this year’s award!

The trophy for the nominees

A little bit about the award…

The Entrepreneur Award is named after Lodewijkvan der Grinten (1831 – 1895), founder of the current Océ. The name is not chosen without reason. Océ has become one of the biggest economic powers in Venlo and its region. The award is an initiative of the Foundation Lodewijk van der Grinten Business Award, in which LLTB Horst Venlo, Venlo Small and Medium Businesses (MKB), Entrepreneurial Venlo and the city of Venlo participate. It is handed out during a ceremony ever since 2010. The award is also made possible by sponsors, of which colorFabb is one.

The city if Venlo is located in the south of the Netherlands, next to the German border and in between the big harbors of Rotterdam and Antwerpen on one side and the German Ruhr area and Central Europe on the other side. Venlo and its surrounding region has been called one of the (if not the) best logistics hubs of Europe! With so much business in the area it is hard to stand out, which makes winning the award such an achievement!

The trophy

The trophy for the nominees was designed by Van Alles Wat Ontwerp. It was then printed by the colorFabb print lab team on the Ultimaker 3 using both bronzeFill and copperFill with a 0.2mm layer height – which dual nozzle system was especially suited for this task. It took 38 hours to print every trophy.

After that, we have post-processed the prints further by sanding the outer edges roughly and quickly. After that we used a polishing wheel to do the bulk of the polishing and finalized the print by polishing the details manually with some steel wool.

Check the video below for how the print was designed and printed (not in real time, of course):

Our special filaments have proven themselves to be quite award worthy, after seeing our woodFill, bronzeFill and copperFill have been used for the bioPlastics award only 2 weeks ago! You can read the post on that here.

colorFabb’s entire range of special filaments are available in our webshop and through our network of distributors and resellers worldwide. If you are interested in post-processing the metal filled filaments, look no further than the article we wrote earlier this year about post-processing! But if you decide to look further, there is a nice collection of articles and blogs to be found here.

And remember, for the remainder of the year, because it is colorFabb’s fourth anniversary, we continue our Buy 4, Pay 3 promotion. Use coupon code colorfabb4you on our website to get the fourth spool you order for free! Some conditions apply though: cheapest spool is for free and samples and PLA Economy are exempt from this part of the promotion. Since it is less than two weeks before Christmas, don’t forget to order in time!

Bioplastics Award

The feature print we want to show today is special in more than one way. Normally, our prints are for in-house use and showing off what our filaments are capable of on a wide variety of platforms. Today’s print however has been made by us to be presented as an award: The Bioplastics Award!

colorfabb_specials_bioplasticsaward

The Bioplastics Award is annually given during the Bioplastics Conference to a company who has achieved something special in the field of bioplastics. This year, the jury selected a project on which three companies had collaborated: the new bioplastics wrapper of the Snickers bars. The project started when a product manager at the Mars factory in Veghel, the Netherlands, approached Rodenburg, the Dutch bioplastics producer, with a challenge: Could Rodenburg develop a biobased packaging material for Mars’ candy bars that was just as good as the one the company was currently using?

The answer was “Yes!” and after some trials the product was approved, resulting – amongst others – in the Bioplastics Award 2016. You can read the full article here.

wimage

Bioplastics Magazine is the leading magazine in the world in regards to bioplastics. They have published about colorFabb before, which you can read about here and about Stacker as well.  The magazine organizes the annual Bioplastics conference which was held this year on November 29 and 30 in Berlin.

The award was printed by us with colorFabb special filaments: woodFill, bronzeFill and copperFill. The base polymer of these materials is our very own PLA/PHA, which has been the basis of a wide range of filaments, both a portfolio of 30 colors and our special filaments, for the past four years.

colorfabb_specials_bioplasticsaward-2

The woodFill base plate was printed no the Swiss made DeltaTower while the bronzeFill and copperFill parts were printed on the MassPortal Pharaoh and post-processed afterwards.

You can find more information about post-processing in our dedicated blog here and in a collection of articles.

colorFabb’s entire range of special filaments are available in our webshop and through our network of distributors and resellers worldwide. For the remainder of the year, because it is colorFabb’s fourth anniversary, we continue our Buy 4, Pay 3 promotion. Use coupon code colorfabb4you on our website to get the fourth spool you order for free!

celebrating4years_2


colorFabb gift box

Recently at the TCT Show we finally caught up with Tony Short. Tony has been using colorFabb’s special filaments with great effect and we have been following his impressive work for quite a while now. You can find a few examples of his work on Twitter: here, here and here. We are always happy to meet up with our users at shows, but Tony had a surprise for us in store: a printed giftbox made with our special filaments, based on the colorFabb logo. A typographer by trade, Tony put in his best effort and came up with a truly stunning print:

box-2

We’ll let Tony explain in his own words how he made this beautiful gift box:

“Since I began 3D printing I’ve been a big fan of Colorfabb’s more exotic materials. I’ve been creating artworks with them for the last year or so, and I was very pleased to find that colorFabb loved my designs / prints as well. I decided to make one of my printed fancy boxes, using CF’s wood and metal filaments. Normally my work has a typographic flavour (given that’s my background) but in this instance I designed a box using the ‘petal?’ device from the CF logo.”

“I designed the box using Moments of Inspiration (MoI3D) software. Starting with the ‘wooden’ shell first, and creating the holes for the inset ‘metal’ panels.  On my Ulitmaker2 printer the Woodfill filament has always been slightly less than perfect, but I don’t mind that because it gives the finished job some defects, which makes it look more natural. They are printed at 0.3mm layers with a 0.6mm nozzle, so don’t take much time. Afterwards the minimal supports for the inset holes are removed, and because they will be covered with panels I don’t need to worry about the surface finish there.”

“I finish Woodfill prints with multiple passes of sandpaper, usually 120, 180, 400, 1500, 4000 grit, and then a couple of coats of acrylic lacquer.”

box-5

“For the three metal panels I wanted to create patterns that related to CF, ending up with a Dutch townhouse scene, a more traditional tulip pattern and an abstract design based on the CF logo letterforms. I did think that using tulips might be a bit stereotypical, but given that CF use windmills on their packaging I thought I would be fairly safe.”

“All three patterns we built as 3D objects in MOI3D, then repeated, merged and flattened to create the finish 3D files. They were printed in Copperfill and Bronzefill, 0.1 layer height, 0.4 nozzle. No supports are needed, and finishing is a lot easier than the Woodfill sanding!”

“The townhouses and tulips were given a rough sand down to remove any stray bits and blobs. Then sprayed with black matt paint, fairly thick to get into all the nooks and crannies. This is then wiped off with a rag, whilst still wet, to give an aged look. Once dry these are then brushed with a brass wire brush, and finished with some high grit paper. The lettering panel was roughly brushed, but then treated with some oxidising liquid which accelerates the ‘verdigris’ process. Left overnight it was bright green the next day, so some strategic sanding and polishing knocked back the effect to look more realistic.”

img_5140

“The metal panels were simply glued into their holes, and the box given a final coat of lacquer to protect the metal finish, and stop any additional oxidisation. I use a lacquer designed for covering gilding with metal leaf, but I guess any would do.”

“The way the box is printed with Woodfill gives a realistic wood grain effect, and the 3D printing means you can make designs that would be very difficult using traditional techniques.”

box-4

We once again thank Tony for his beautiful gift box and using our materials to such a great effect.

We have seen great use of our special filaments and post-processing possibilities. We have collected several blogs about post-processing metal filled filaments in one place, which you can visit here.

Tony’s work can be followed on Twitter, via his account. Follow him and be amazed by his work.

Our special filaments are available online and throughout our worldwide distributor and reseller network. Enquire locally for availability. We also offer a special filament value pack online, where you can choose 8 special filaments in one package.

Steve Cox 3dprinting with bronzeFill

This beautiful print remains one of our favorite bronzeFill prints, printed by Steve Cox. In Steve’s words (via Twitter @SteveCox3D):

“Start with a stainless steel pan scourer, then fine grade abrasive paper, and then finish with liquid metal polish. It was all printed at 0.1mm layer height. The only support material I used was about 1 gram under the chin.” Printed in several parts.

More on Steve Cox: http://www.createeducation.co.uk/team-members/steve-cox/

http://colorfabb.com/bronzefill