
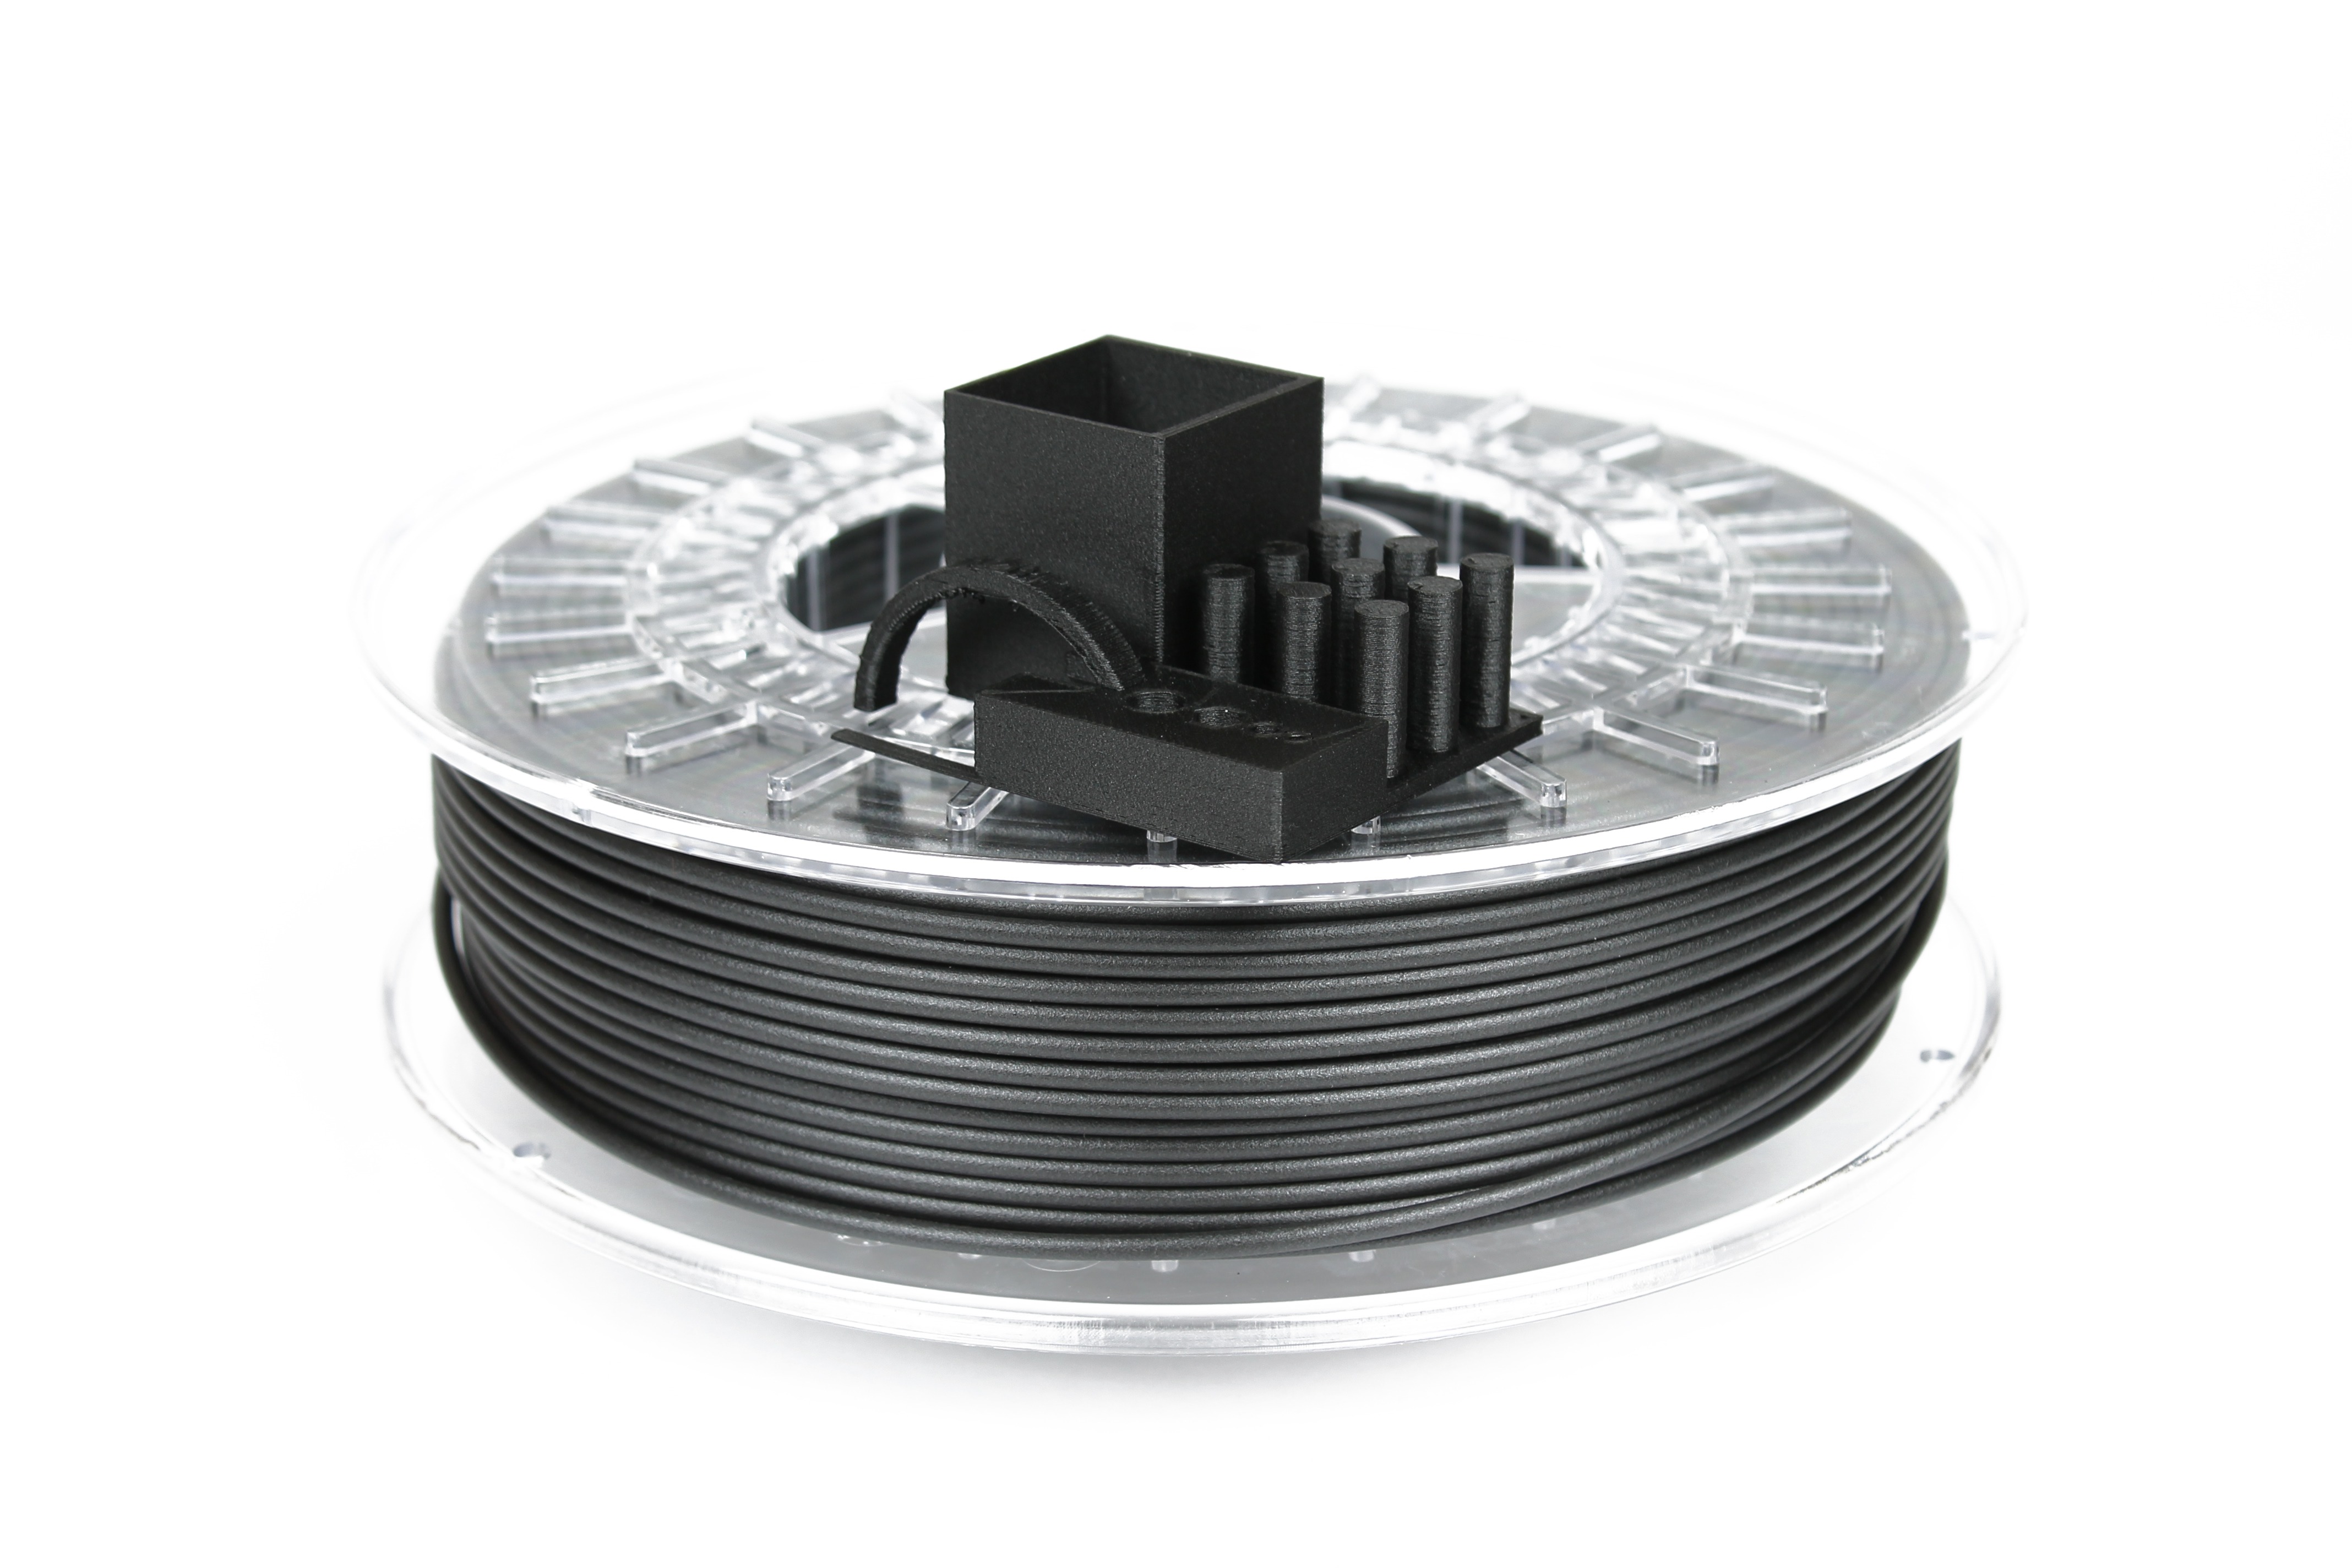
ColorFabb XT CF20 is a copolyester based carbon fiber composite material that is based on the unique Amphora 3D polymer from Eastman Chemical and is loaded with no less than 20% specially sourced carbon fibers suitable for 3D Printing.

Combining carbon fibers in filaments material is not a new idea, but colorFabb has been able to combine a lot of desired properties into 1 new material :
- Extreme High Flex Modulus (6.2 GPa) / twice as stiff as PLA
- Moderate strain at break (8-10%), so no extreme brittle filament, but toughness
- High Glass Temp. (Tg = 80C)
- Very high Melt strength
- Very high Melt Viscosity
- Good dimensional accuracy and stability
- Low odor / Styrene Free solution
- Easy processing on many platforms
- Highly attractive matt black surface

CARBON FIBER IS ABRASIVE:
A special point of attention is the abrasive nature of the carbon fibers. In general these fibers will accelerate the nozzle-wear of brass nozzles, much faster than unfilled filaments. There colorFabb recommends to use nozzle’s from Stainless steel or hardened copper alloys.
[mwi_product sku=”020012″/]

42 Comments
Hi, is there a dedicated profile for the ultimaker S5 for this material?
I use Simplify 3d with my FlashForge Dreamer. Is there anyway to add XT-CF20 to the settings, or do I have to do everything manually?
We don’t have a plug and play profile for the material in Simplify3D. So unfortunately you have to put in the parameters by manually.
Will you offer the Amphora HT5300 with carbon? Thanks!
At this moment not. We only offer XT-CF20 (colorFabb_XT based) and PA-CF Low Warp (nylon based) with carbon fiber.
How does XT CF20 compare in strength and heat resistance to HT?
Heat resistance of _HT is better: 100c for _HT and 75c for XT-CF20
XT-CF20 is more geared towards stiffness, _HT is tougher.
Also take a look at the material’s Technical Data Sheets here: https://colorfabb.com/materials-data/
How does it compare with HT in strength? Also how hot can it be used until it begins to melt?
How do you keep the filliment from breaking off on a long print ???
Not sure what you mean Al, does it break off before entering the feeder?
Please send us some more details and pictures about what’s going on to support@colorfabb.com so we can take a closer look.
Hi, I’ve tested the XT-CF20 today on a simple model. My first try was almost perfect on my flashforge creator pro using the settings you recommend in your tips. The only problem was the upper layers did not succeed to fill the gaps in the honeycomb structure (35% infill).
I’ve tried a couple more times with different parameters, it got better (not yet perfect) but I’m not quite sure what’s the best approach (parameter to tweak) in this case. Any ideas? (next try: more top layers)
Also (maybe it’s correlated): the extrusion head, at the end of each print, has built up a blob of XT on its side, a fair amount (it detached on a subsequent print and messed it up). Layer height? too much flow? speed too slow?
I’ll post more if I succeed!
Hi z0,
More top layers is the easiest way most of the time.
Keep in mind that honeycomb infill leaves relatively large sections open inside the honeycomb for your top solid infill to fill up.
Some more top layers will help close the gap no problem but if you don’t require honeycomb infill than you could also use rectilinear infill.
With regards to blobbing, make sure you are printing hot enough for proper material adhesion.
Lower layerheigts will also help and you can tweak down the flow a few percents.
Make sure to clean the nozzle (and printer) anyways between prints, it’s always a good idea to start with a fresh and clean printer.
Well, I’ve experimented some more and now have great results.
Printer: Flashforge Creator Pro
Slicer: Simplify3D
Nozzle diameter: 0.40mm / Extrusion multiplier: 1.00
Ooze Control: Retraction box CHECKED – Retraction Distance: 4,5mm / Extra restart distance: 0,0mm / Retraction speed : 2400 mm/min
No Coast at End, No wipe Nozzle.
Primary layer Height: 0.1mm
Top Solid Layers : 9 (yeah, nine, otherwise it leaves gaps over the infill)
Bottom solid layers: 5
Outline/perimeter shells: 3
Outline direction: Inside-out
First layer height: 90%, first layer width: 110%, first layer speed: 50%
Internal fill pattern: full honeycomb
external fill pattern: rectilinear
interior fill percentage: 35%
outline overlap: 35%
infill extrusion width: 100%
print sparse infill every: 1 layers
Heated build platform: 1st layer -> 75°C, from 2nd to last layer : 70°C
Nozzle temperature: 1st layer -> 250°C, from 2nd to last layer: 245°C
Cooling: default settings (autoconfigured for ABS)
Deafault printing speed: 3000.0 mm/min
Outline underspeed: 75%, solid infill underspeed: 80%
Support structure underspeed: 80%
X/Y axis movement speed: 3200mm/min
z axis movement speed: 1200mm/min
Filament diameter: 1.75mm, filament density: 1.36grams/cm3
Note: i see that i forgot to uncheck the box “only retract when crossing open spaces” which might account for the blob of material accumulating on the extruder.
Note: DO NOT USE THIS MATERIAL WITH BRASS NOZZLE (like me), because the wear is already visible after 8 small prints (i compare to the nozzle not in used). It can get really problematic with a dual extrusion printer since you will not be able to adjust the print bed to the nozzle you’re using (the unused, unweared nozzle will touch the bed first) and it will cause poor first layer adhesion – it still prints, but the result looks bad – far far away from the smoothness i’ve had on the three first prints.
I’ve ordered steel nozzles from protopasta.com, I’ll test that next week and post.
I hope it helps some of you!
Omfg, z0
I love you so bad. Your comment here helped me a lot trough my wrk. I printed some jewels for Preciosa which designs and makes jewels and chandeliers, real nice bijouterie and another custom stuff.
I had my slice like this:
PRINTER: UM2+
SLICER: Simplify3D
EXTRUDER:
Overview:
Nozzle diameter: 0,25mm (brass nozzle)
Extrusion multiplier: 1.04 (I had either 1,03 or 1,05, both were ok, I found 1,04 the best)
Extrusion width: Auto
Ooze Control: Retraction box CHECKED – Retraction Distance: 4,5mm / Extra restart distance: 0,0mm / Retraction speed : 30 mm/s
Coasting at End box CHECKED: 1 mm
NO nozzle wiping
LAYER:
Layer Settings:
Primary layer height: 0,06 mm
Top Solid Layers : 7
Bottom solid layers: 3
Outline/perimeter shells: 2
Outline direction: Inside-out
Print islands sequentially without optimization box CHECKED
No vase mode
First layer settings:
First layer height: 167%
First layer width: 100%
First layer speed: 50%
Start points:
Used random start points for all perimeters
ADDITIONS:
Use Skirt/Brim box CHECKED
Skirt extruder: Primary one
Skirt layers: 1
Skirt Offset from Part: 2 mm
Skirt outlines 10 to 25 (I use them to level a buildplate properly, taking my time to do it nicely)
INFILL:
General:
Infill Extruder: Primary one
Internal Fill Pattern: Rectilinear
External Fill Patern: Rectilinear
Interior Fill Percentage: 30%
Outline overlap: 33% (This one was tricky because I have had set bad temperatures, I experimented here with 33, 35, 40, 45 and 66)
Infill Extrusion Width: 100%
Minimum Infill Lenght: 0,5 mm
Print Sparse Infill Every: 1 layers
No solid diaphragms included
Infill Angle Offsets: 45 and -45 deg
One angle at a layer.
SUPPORT: NONE
TEMPERATURE:
Primary Extruder:
1st layer / 250 (After reading your comment but it was all damn wrong with 230)
2nd layer / 245 (I have had 225 here with that 230 I mentioned before)
No Relaying of the Temperature
Wait for temperature controller to stabilize before beginning build box CHECKED
Heated Bed:
1st layer / 75 (After reading your comment it went one hell of a better way when 1st layer have been 75 since 1st try)
2nd layer / 70 (I have had this one temp set first for whole printing time, it was kind of ok)
No Relaying of the Temperature
Wait for temperature controller to stabilize before beginning build box CHECKED
COOLING:
Per-Layer Fan Controls:
1st layer: 0 %
2nd layer: 10 %
3rd layer: 20 %
4th layer: 30 %
5th layer: 40 %
6th layer: 50 %
Fan Options:
Blip fan to full power when increasing from idle box CHECKED (This one I dunno if needed)
Speed Overrides:
No adjustings were needed.
Fan Overrides:
Increase fan speed for layers below 14 sec box CHECKED
No bridging fan speed override
OTHER:
Speeds:
Default Printing Speed: 20 mm/s
Outline Underspeed: 80 % (or 100 %)
Solid Infill Underspeed: 60%
Support Structure Underspeed: 70% (but I did not need it so I dunno)
X/Y Axis Movement Speed: 80 mm/s (or up to 150 mm/s but it wabbles with my UM)
Z Axis Movement Speed: 16,7 mm/s
Dimension Adjustments:
Horizontal size compensation: 0 mm (I hit the leveling of the platform hard after the start of the printing)
Filament Properties:
Filament Diameter: 2,85 mm
Filament density: 1,36 grams/ cubic cm
Bridging: (I didn’t really need it)
Unsupported area treshhold: 5 square mm
Extra inflation distance: 0 mm
Bridging extrusion multiplier: 80%
Bridging speed multiplier: 130 %
ADVANCED:
Layer Modifications:
No box checked
Slicing behavior:
Non-manifold sagments: Heal
No box checked (I doesn’t matter, does it, when printing netfabbly checked models)
Thin Wall Behavior:
Allow gap fill when necessary: Allowed perimeter overlap: 50 %
Ooze Control Behavior:
Only retract when crossing open spaces box CHECKED
No retraction forcing
Minimum reatraction travel: 0,02 mm
No retraction during wipe movement
Only wipe extruder for outer-most perimeters box CHECKED
Movement behavior:
Avoid crossing outline for travel movements box CHECKED
Maximum allowed detour factor: 20 (I went up from 3)
Tool Change Retraction
Tool change retraction distance: 12 mm
Tool change extra reastart distance: -0,5 mm
Tool change retraction speed: 10 mm/s
P.S.: If only this material was cheaper, I’d use it on everzthing. For its strenghtness, surface, color, shading and look/use overall.
Hahaha 🙂 glad I could be of service
I’m just sad I didn’t catch your answer sooner. I would be interested to see the results you’ve had.
I came back here to see if anyone had posted printing parameters, because I’m about to make a rather long print with XT CF20 and i was wondering if it was wise to crank up the speed to 70mm/s.
I see you did it the slow way.. i guess i’ll try and post the results on sunday 🙂
I’m very disappointed that every question asked has been “please contact us at support” because when I did do so about this material, I got very poor responses. When compared to other materials you sell, you usually offer an in-depth list of suggestions for settings in Cura, etc. (nGen’s Learn page has this) Using an Ultimaker Original with heated bed and hardened nozzle, flat objects…or those with no overhangs print fine. But those that require a vertical curve (think like a loop for a screw to pass through), this material fails miserably. In Cura, these are the settings I am having decent results with…
Layer Height 0.2
Shell Thickness 1.2
Retractions enabled
Fill – bottom/top thickness 1.2
Fill Density 20%
Print Speed 35
Print Temp 256 (Start high to get good flow and to stick to bed! After first layer, I went to 252)
Bed Temp 72
(Fan off, Retraction speed 15 mm, 4mm distance)
Please consider A) Adding more info to your website and B) Stop referring to support and answering these posts =)
Hi Paul,
We are looking into ways of improving the product page for XT-CF20, but at the moment this is a limitation in the software we’re using.
If you had or have further questions about the material you can just add these to the support ticket in question or even start a new one.
I understand that you would like to see the answer to all the questions asked online to learn from them. However, since there are so many different variables to troubleshoot and look at it is practically not possible to list every response / process online.
As you will no doubt know the final result is highly depended not only on a specific settings, but also user-case, hardware (feeder and hotend), material, etc.
For us to get the best impression we can also ask for slicer profiles, pictures (/movies) and even gcodes to try and understand the situation.
This is all not possible when replying on a comment on this page for example or on social media.
As for the overhangs, it can be a bit tricky to get them right due to the fibers inside the material.
In general lower layer heights can help overhangs as the outward step gets smaller for the same angle. Choosing the right temperature is a must and you can enable mild cooling to help on these parts. High amounts of cooling can however lead to limited layer adhesion.
Worn down nozzles will also negatively affect overhangs as the bottom horizontal plane will become larger and pull the material back up when moving over it. But with a hardened nozzle this may be less the issue.
Also keep minimal layer time in mind to allow for plenty of cooling for introducing the new layer.
Not working for me with 4mm retraction, also I understand that with ct20 evrey object is different, you can’t use exactly the same setting every-time but little adjustment are require to best result. Also the printing temp is chained to the room temp that change the cooling of the flow.
Some general information to print with this wire:
-Infill 100% everytime, less will create troubles on slow (short layer setting) layer due to temp overhang that melt the under-layer.
-Infill type rectilinear (any other setting will melt the underlayer in case of small infill area)
-Infill concentric (see top-bot layer info)
-Deactivate the optimization for the printing (Print Island sequentially) to prevent over heating of the underlayer
-6 Top and Bottom layer (not less, to stabilize the base’s temperature, TG @75-80 mean that to keep the base flat you need to prevent that the printed “wire” will reach that temperature. thanks to concentric filling)
-Retraction is the most variable value to print the ct-20, it is influenced by:
kind of angle
kind of holes
external form
For example a model with some short movements require a short and fast retraction (1mm 1,2mm @35-40mm/s) with a bit of extra restart(0.05mm to 0.1mm), model with some long movements require a long but slow retraction (0.5mm to 1.5mm @20-25mm/s) with a bit more extra restart(0.12mm to 0.53mm).
-Print Speed is the most critical values for the external finish of the model, this is a personal point of view, i love smooth surface but is just my opinion, i work with a max speed of 25mm/s (bronze original nozzle, maybe microswiss one allow better speed…idk) but:
1)first layer underspedd 30%
2)outline-infill-support 80%
3)X-Y 60mm/s (in case of a lot of short movements 35-40mm/s)
4)Z 20mm/s
5)allow underspeed 35% for layer less then 30sec
-Thin Wall set to “Only use perimeters for thin wall”
-Deselect if selected:
1)only restract when crossing open space
2)avoid crossing outline….
3)merge all outlines into a single solid model
-Start point se to “Optimize start point for fastest printing speed”
-Layer always at .2 with 4 perimeters:
The retraction with ct-20 create a bad effect, the 1st part of every extrusion is poor of materials and create crests (if you experience a big crests reduce a bit the retraction and add a bit more extra restart), with 4 perimeter you will ensure that 3 are good and keep the defects inside where the filling oversize value will help you to fill the leakage.
-1st Layer H=110% W=113
-Skirt/Brim
the scope of that setting is to ensure a full flow of material. in the nozzle the filament start expanding due to the temperature, this effect force the extrusion of some material without the refill of filament from the extruder and when you start printing the flow is very poor. This value is chained with the size of the model, so for small model use a big distance (15-20mm) from brim to the model and 2 lines or for big model use 1 line with a short distance (5-15mm) but remeber that it follow the underspeed setting about the speed (1 layer speed) if it take too time the glue on the blue tape will dry and you will have troubles with the adhesion of the first layer
I hope that my experience after 10 spool of ct-20 can be more useful then the info issued from colorfabb learning (not so much) center.
@support
I’m disappointed too. Why you ask all people to contact the support, here is a learning section of your main website just put the info here or why you create that? put the responsibility on the R&D department that (I hope) will experiment every days now things!
I spend 500€ to learn how to print with your filament, these info need to come from your company not from the costumers!!!! and sometimes put exotic filament at a special price or invest to produce a better support… not just to gain more money. thanks with respect
Elstak
I am having problems with overhangs
tried range from 245 to 255; with both cooling off, 10, 20 and 30%
50 mm/s and 75 bed temp
Printer is a bigbox with hardened nozzle, 0.4 mm and 1.75mm filament
Please contact us over at support@colorfabb.com with some detailed information about your issues, so we can take a closer look.
I am from athens greece and we are a hot country. Some prints made in Pla (not yours ) i left on the car and next day was damage (melt). So do you know what tempereture can handle Xt-Cf20 after printing? thank you.
Hi Loannis,
PLA in general has a Glass Transition Temperature of around 50c – 55c, depending on the specific brand etc.
XT-CF20 is based on the _XT Copolyester which has a glass transition temperature of around 75c, which means it can withstand a higher temperature before getting soft.
The carbon fibers can help a little to prevent internal stress from warping the part around those higher temperatures, but basically it will have the same Tg (Glass Transition Temperature) as _XT.
Our other Copolyesters have higher Tg’s, nGen is around 85c and _HT goes over 100c.
Hi,
I recently purchased a roll of XT-CF20, I have a Replicator 2X and have been unable to successfully print anything… I have changed the nozzle heads to an upgraded version of them… My current settings: Extruder Temp: 250, Bed Temp: 60, speed: 30mm/s
However, I am unable to print because the 3D printer just can’t keep the temperature…. I pre-heat, and it stays constant at 250, but when I select print, the extruder just loses temperature and decreases very fast…. so when it finally starts printing, the extruder temperature is down to 235 and nothing comes out….
I would greatly appreciate it if you could post your own settings and or a video tutorial for those of us who use Makerbots…. since you seem to only focus on those who use Ultimakers….
Thank you kindly
Hi Agustin,
If you have specific issues with printing the XT-CF20 we’d love to take a closer look and try to help out.
Please contact us: support@colorfabb.com
We only have a Makerbot Replicator 2 here in the lab without the heated.
So it’s not really possible to properly test the Copolyester range of materials.
On first thought though, if your printer is not able to maintain temperature it sounds more like a hardware issue.
Our Makerbot Replicator 2 is able to maintain 250c no problem also during printing.
Could there be an issue with your part-cooling fan or maybe the isolation of the hotend?
The main recommendations do not change for the Makerbot Replicator 2 series.
Around 250c, bed temp 60 – 70c and 50mm/s is generally a good starting point.
Thanks a lot for your reply, at first I thought there was an issue with the hardware as well… however I went back to printing with ABS since that’s all I can successfully print with… and I can print ABS with no problem at all….
The following issues I have found are:
– filament extrudes well for minutes when its not printing (moving), so constant (load filament settings) extrusion is not an issue
– motor skipping (drive gear is not able to push filament through while printing an object)
– I have to physically pull up the carbon fibre filament and push it down for it to start coming out again when building an object….
After leveling-releveling and re-releveling the plate, cleaned nozzles, switched nozzles to less abrasive material, slowed down extrusion speeds, sped up extrusion speeds, and added a cooling fan for the print… I am really at a loss here…
I also started to doubt MakerWare… but my ABS prints come out beautiful as always…. I also switched to sailfish for makerbot and no…. I have noticed also my carbon fiber filament’s melting point is somewhere closer to 180 – 200…. so extrusion is great at 210… and oozes at 250….
I’m going to get in touch with your support thanks for the suggestion… I just hope I can get printing with this awesome filament…
If you have any suggestions I’d be glad to take them as well! Or if anyone else has had success with a Replicator 2x and the XT-CF20 your settings would greatly be appreciated!
Hi Agustin,
Thanks, via our helpdesk system it’s easier to address specific issues / questions and also to share data like pictures, settings etc.
Please include as much data and visuals so we can get a complete picture of what could be going on here.
hi,
i have an ultimaker 2 and just bought your filament, i think i found about every detail i needed in the coments but i can’t figure out if i need to use the fans on the print or not.
i also have the posibility to use a closed chamber to keep the heat, is it any use or better not?
thanks
louis
Hi Louis,
You can definitely use fans for _XT and XT-CF20.
If you are experiencing warping issues though, you can consider leaving the fan off for the first centimeter but normally you should be fine.
Whether it will work better with a heated chamber we can’t say as we have no experience.
Normally you should have no problems with the UM2, but maybe it can increase part strength if you increase chamber temperature.
We haven’t tested this though so if you try it please share your experience.
Stephan Schurmann wrote on March 13, 2015 that bluetape would work on a cold bed
ColorFabb advises (als of Februar 2014) to use a heated bed.
What can I expect if I just bought a spool right now and print it on a cold bed with blue tape?
Is it gonna work, or should I invest in a heated bed?
Hi Bernhard,
A heated bed is advised, as it will pretty much eliminate the chance of warping.
The fibers make it that it warps slightly less than regular XT-Copolyster, but it stills warps.
But it also depends on the parts you would want to print.
Smaller parts will still print on a cold bed without warping, but bigger prints will have some warping.
A brim will also help of course.
I will edit Stephan’s response to make that more clear.
Density of XT is listed as 1.370 g/cm3. Do you have the value for the XTCF material?
Hi Rex,
The technical datasheet for the XT-CF20 material is now also available on the website here: http://colorfabb.com/Materials/
It’s 1,35 g/cm3.
Hi. we are having trouble printing a new development part using this material and our Ultimaker 2, could you please suggest optimal settings
thanks
Hi James,
Printing with XT-CF20 is not a lot different than printing with regular XT-Copolyester.
Please take a look at the _XT settings post here:
If you have specific questions about printing with colorFabb materials, please contact us at support@colorfabb.com
Hi there,
You say most parts are printed on a Ultimaker 2. I have the same printer and I thought the nozzle is made of brass. Is this true and how big is the problem of wearing out the nozzle of the Ultimaker 2 while printing XT-CF20 with it’s abrasive nature?
Hi Joost,
It is true that Brass nozzles show higher wear with the XT-CF20 material.
We always try to have spare nozzles on hand and change them out as soon as we see the print quality go down.
Of course it depends a lot on how and what you’re printing, but we indicate that you need about 1 nozzle for 1 spool if you want to maintain a high print quality.
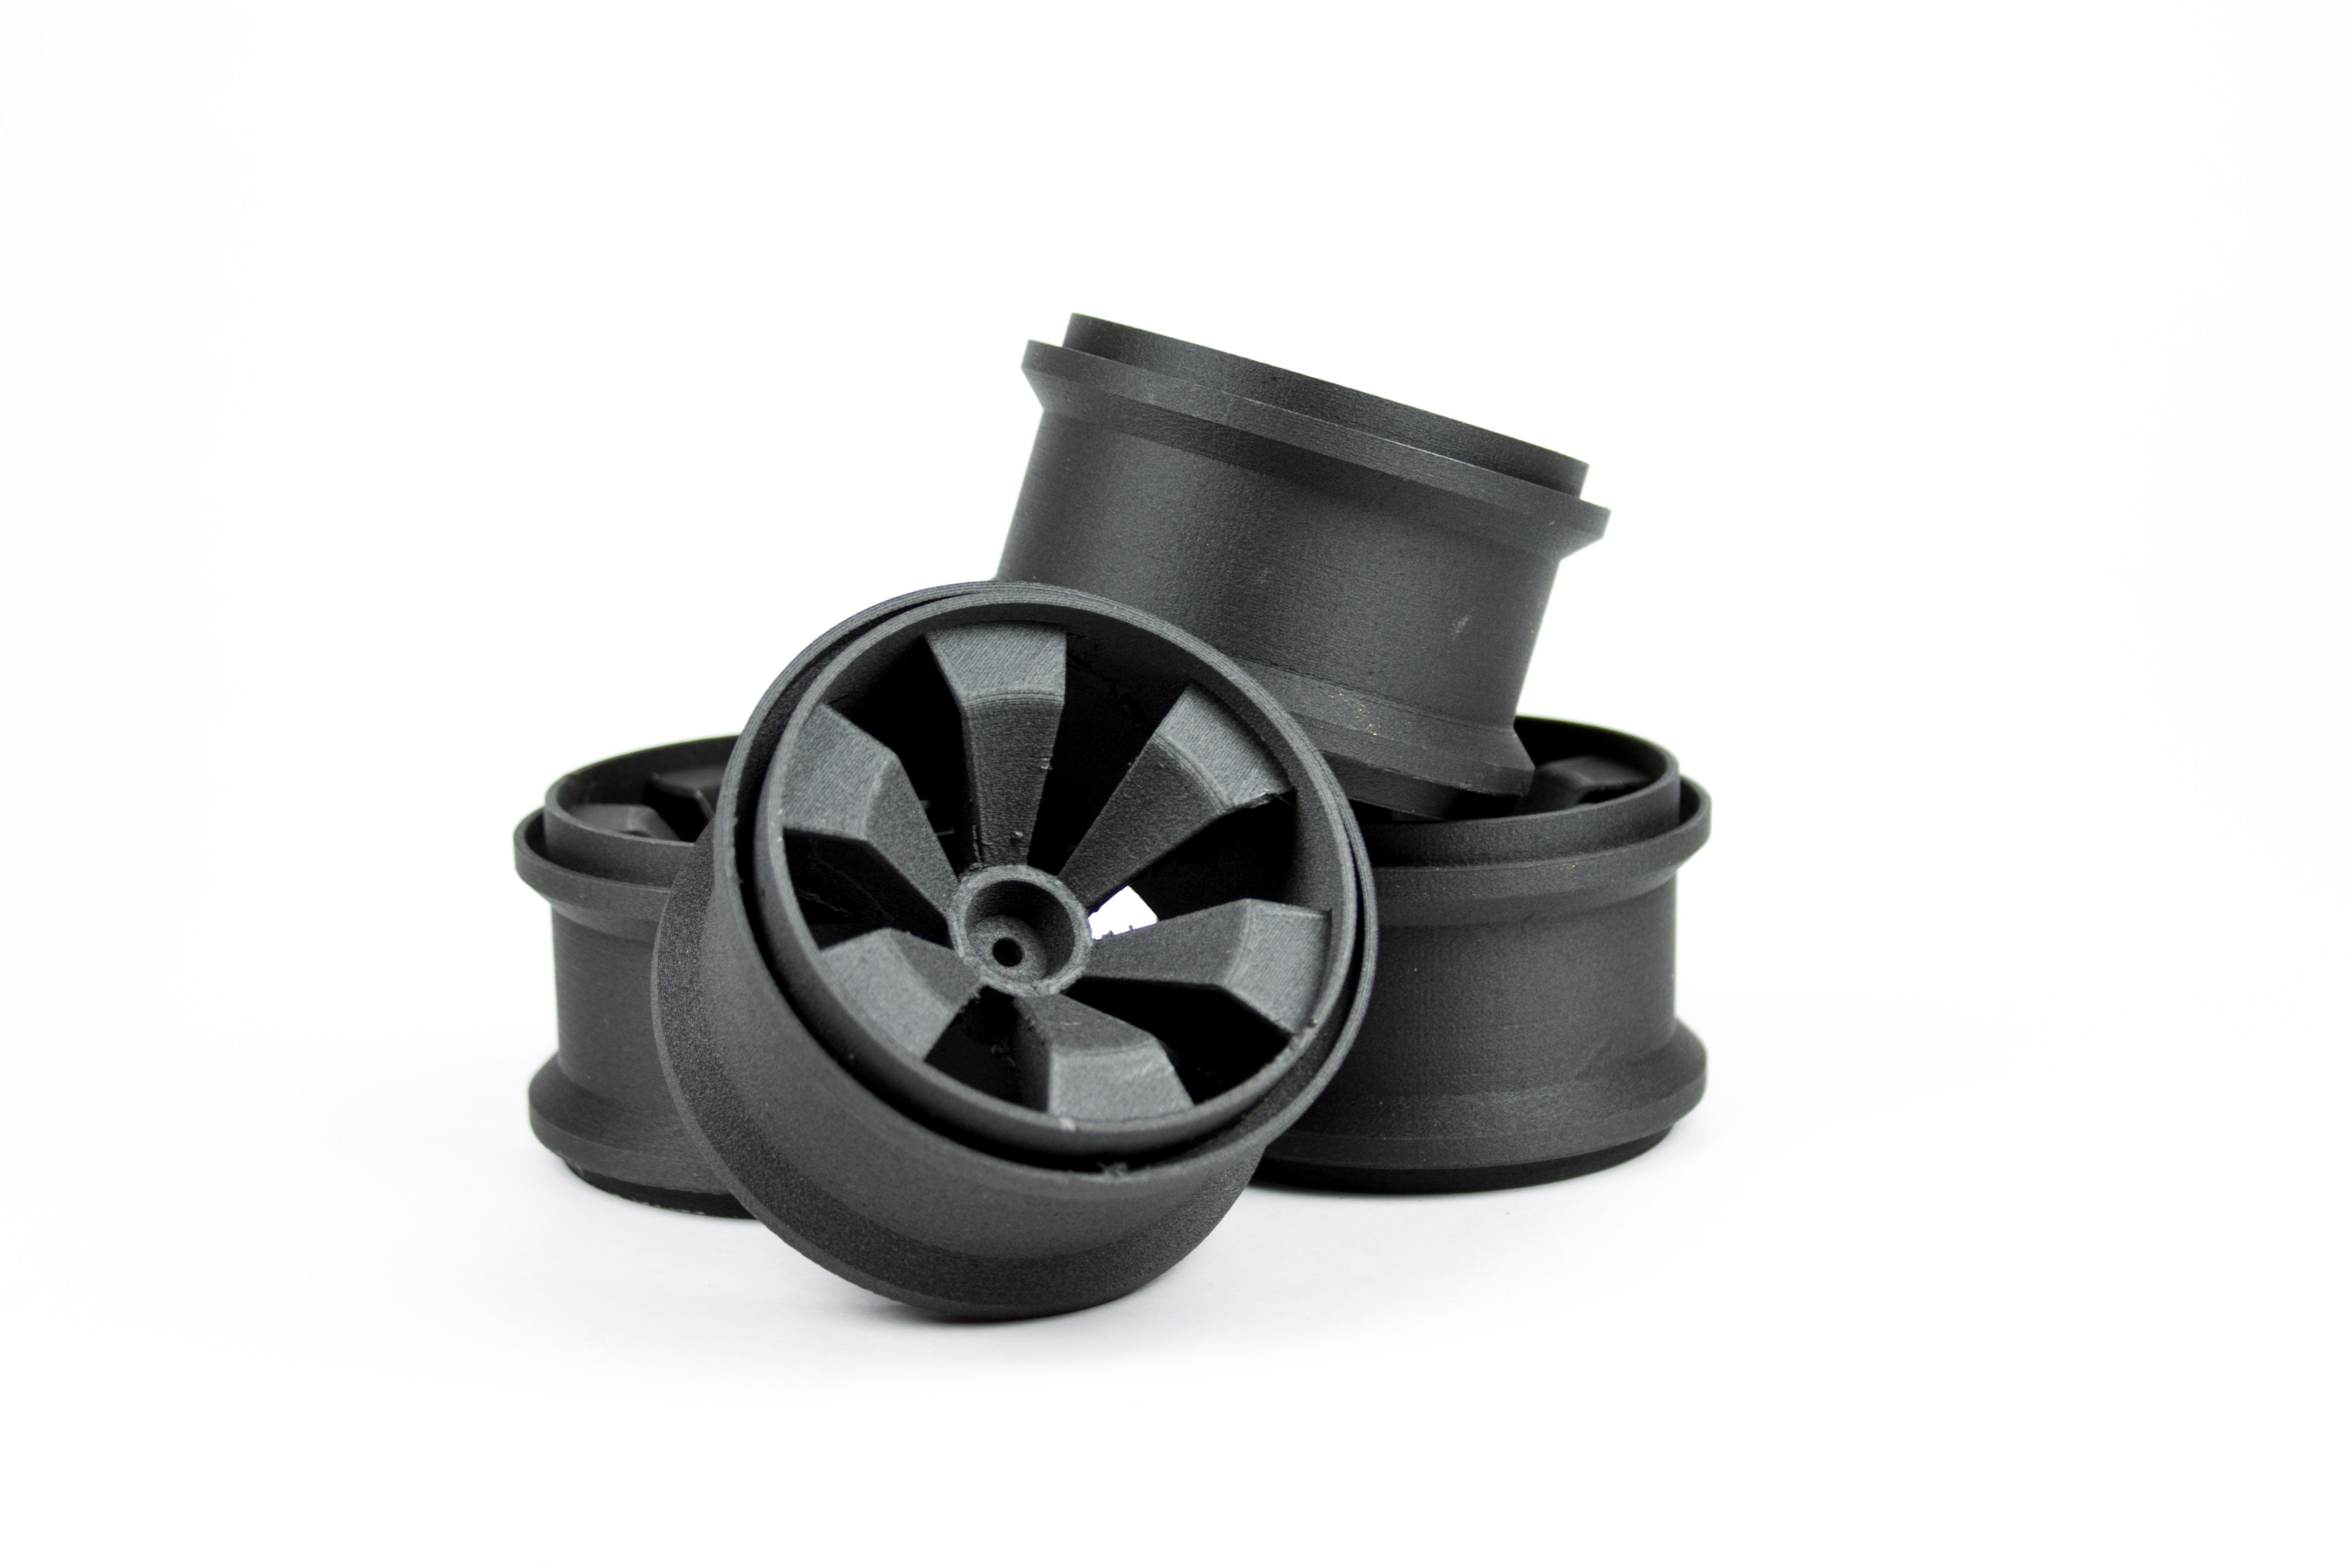
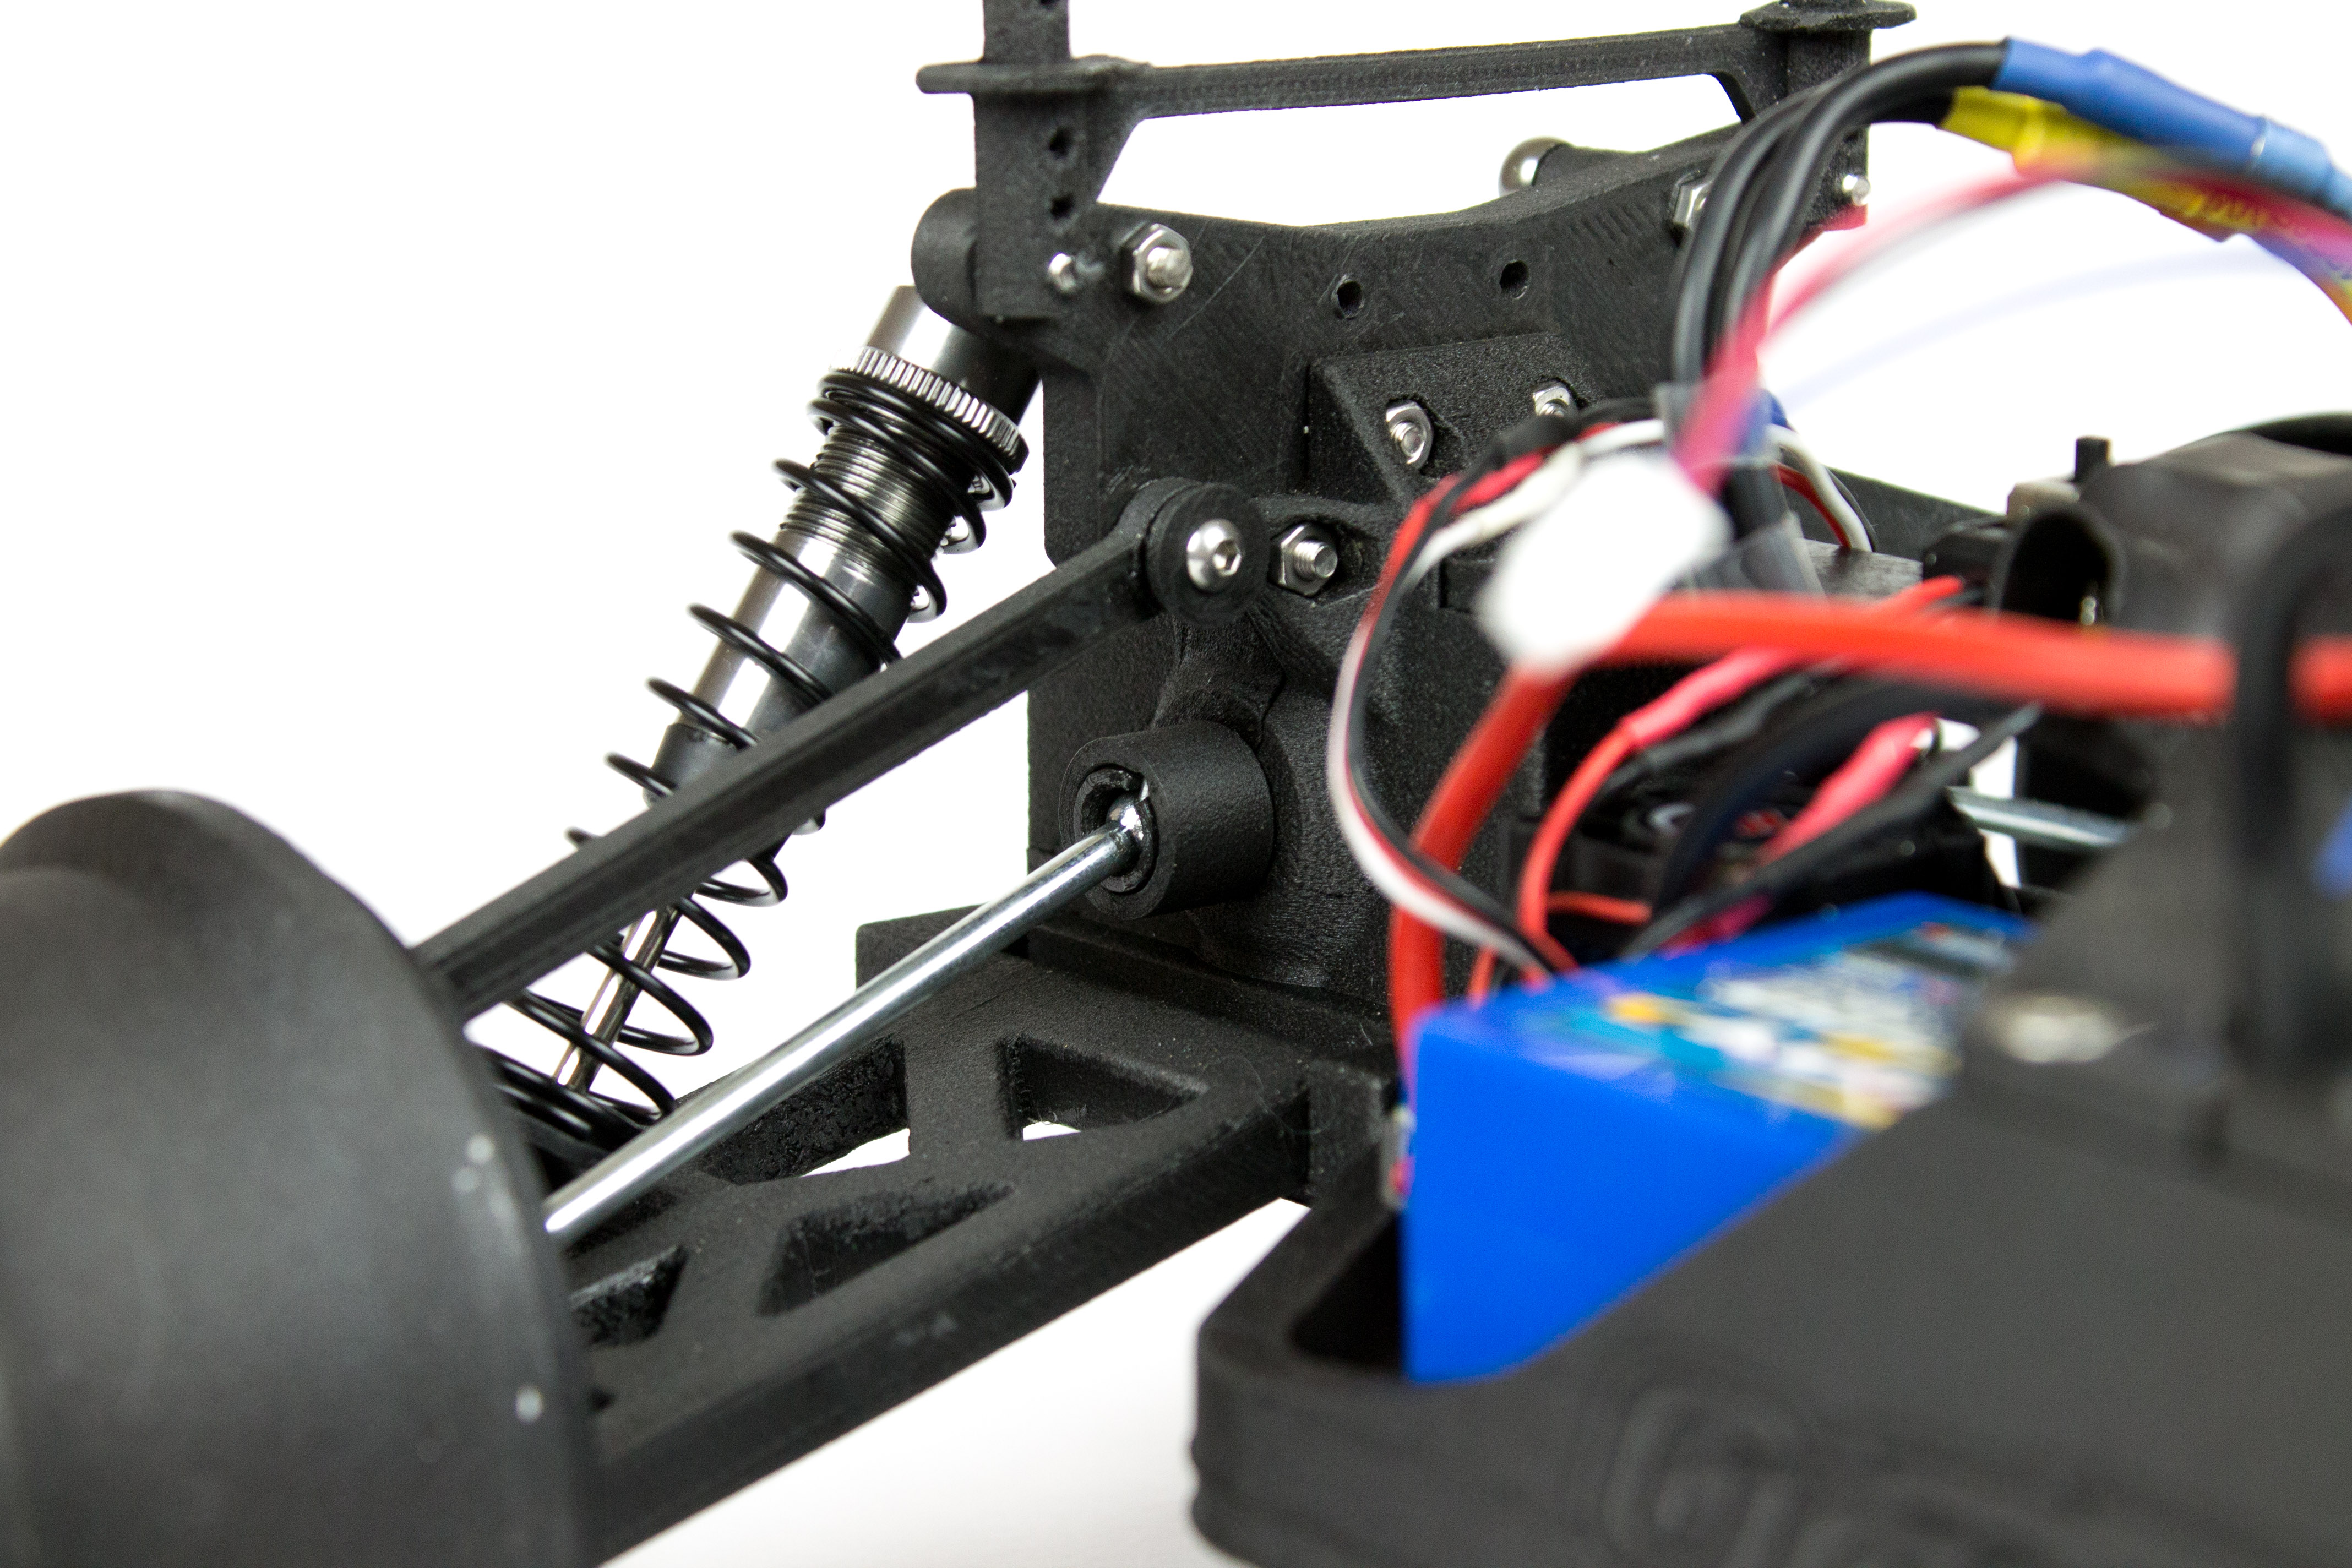
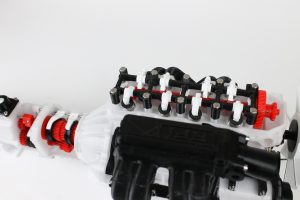
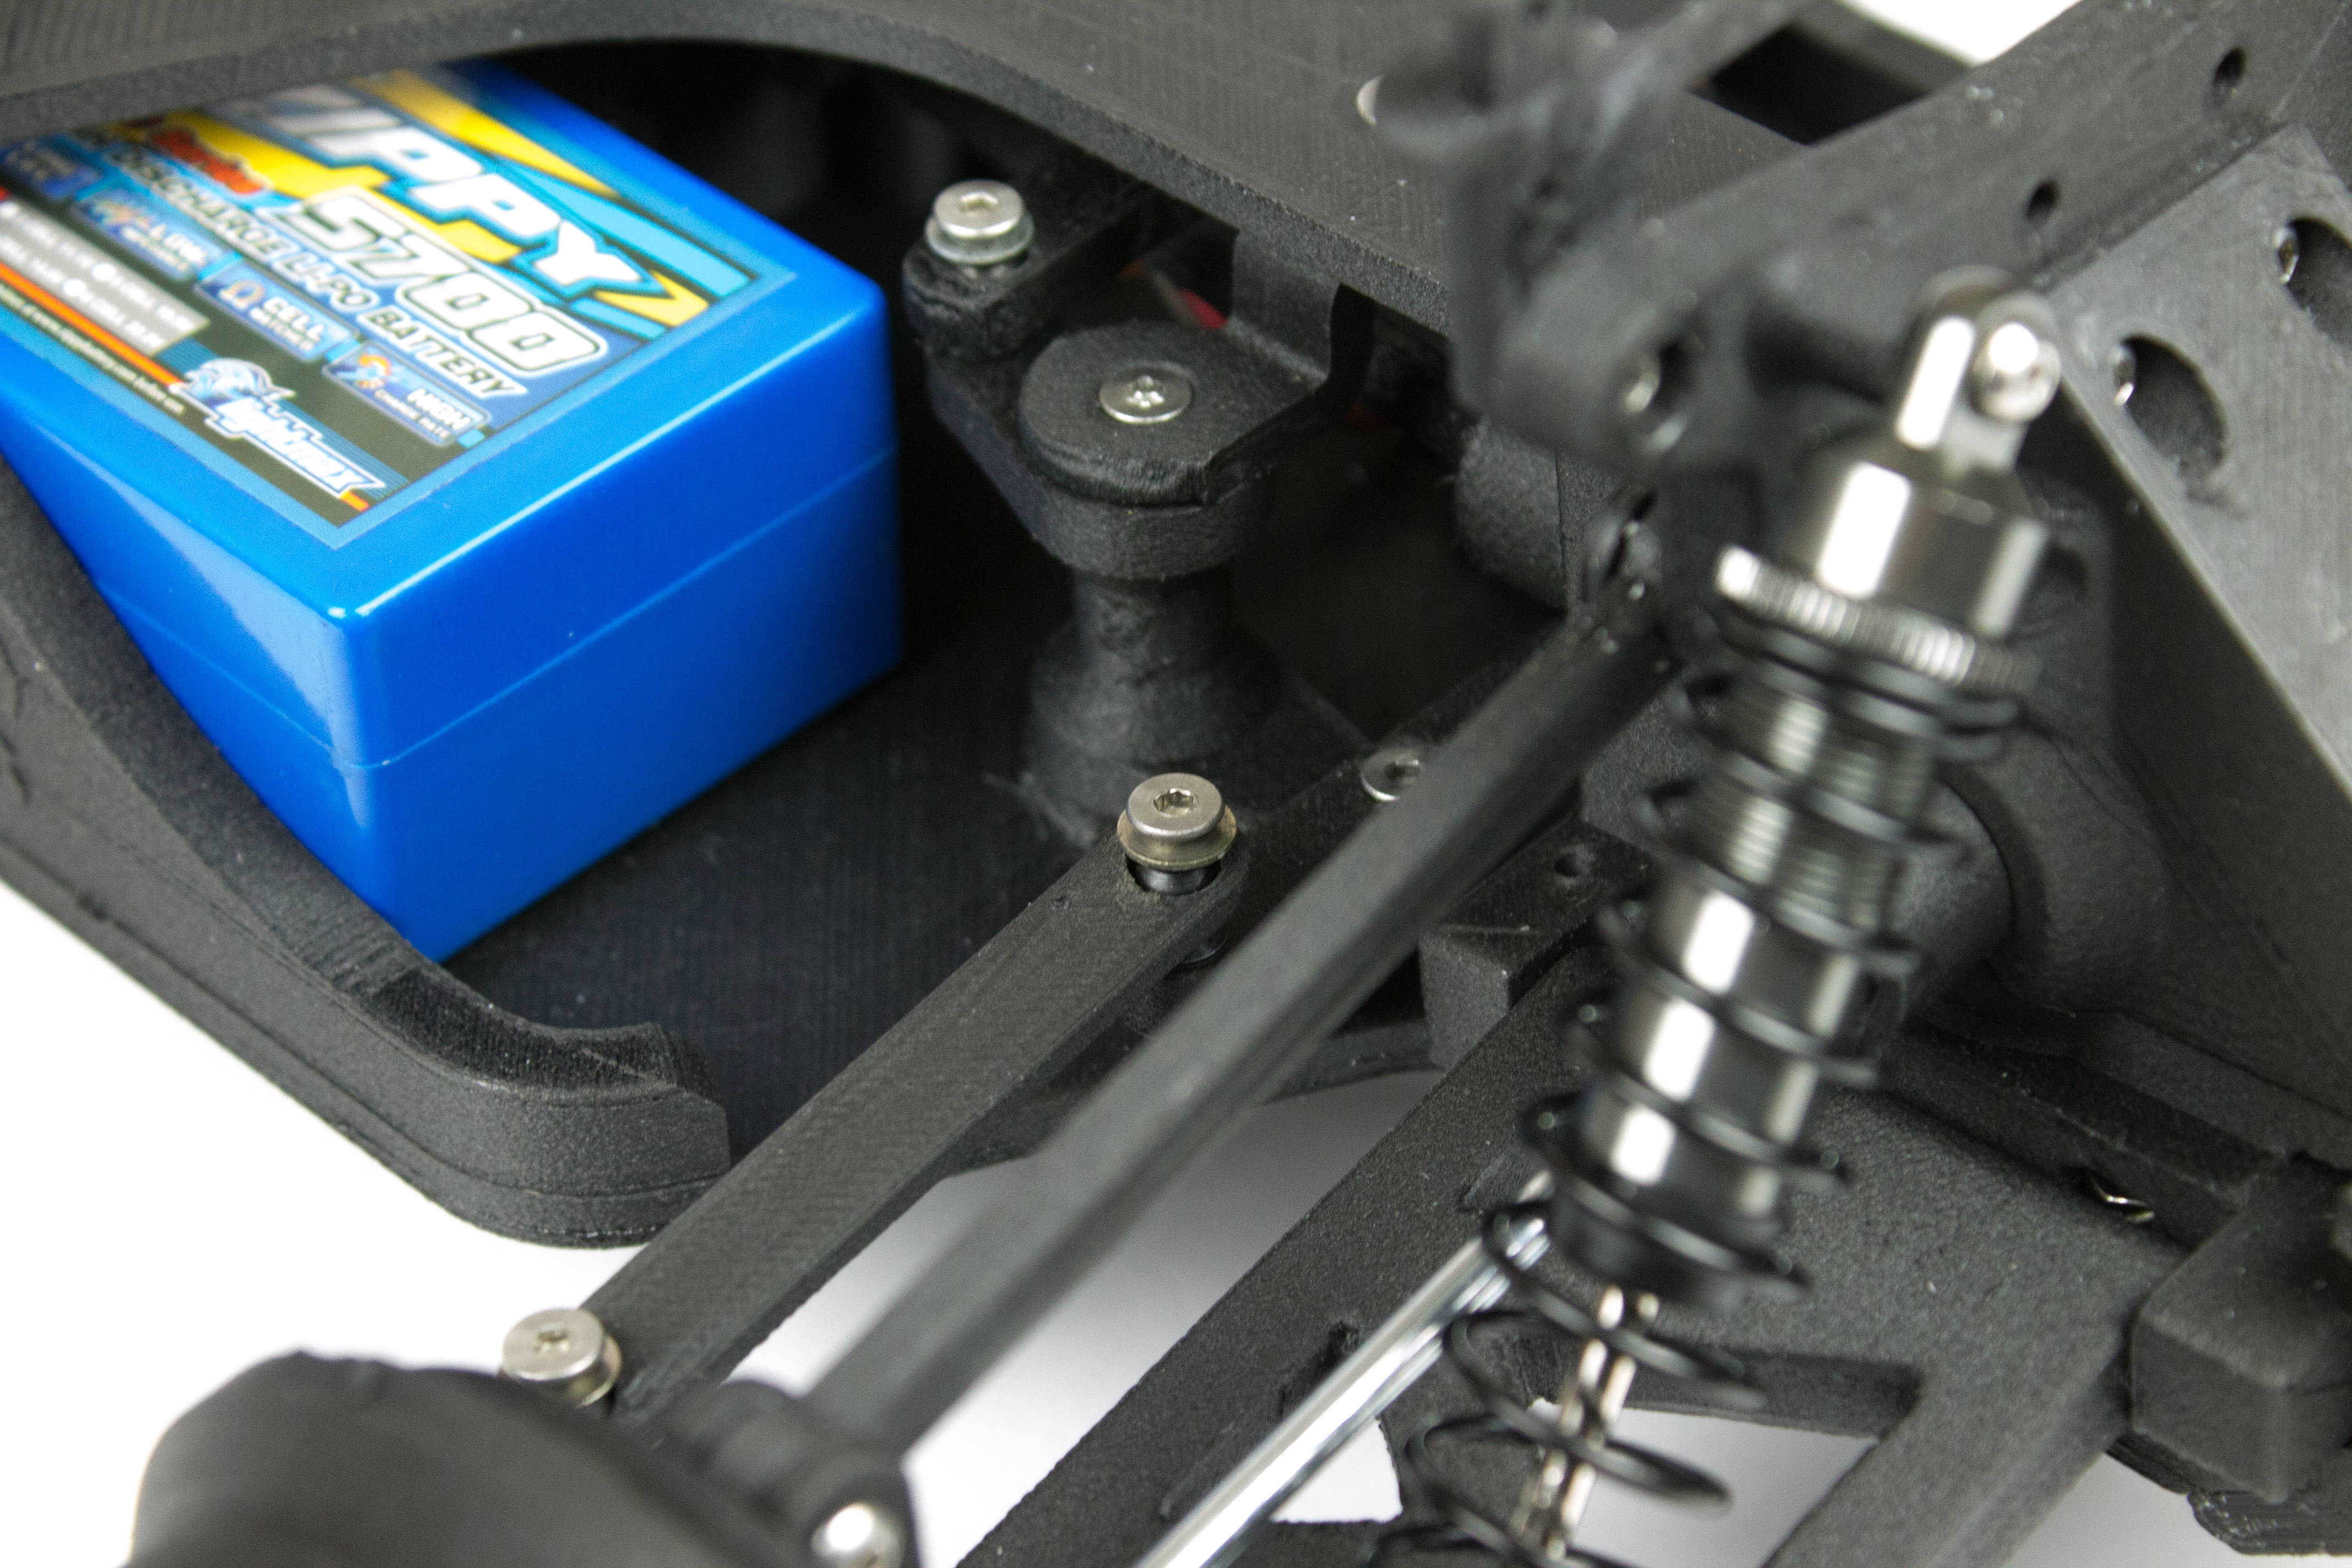
What machine was used to print the RC parts, and what is the layer thickness? Very cool!
Most of the parts were printed using the Ultimaker 2’s in our printlab, though we have also used some of our other printers.
Layer height for most of the parts is 0,2mm.
Some might be a bit lower for some finer detail but I don’t think we’ve gone below 0,16mm layerheight.
I seem to have a couple of issues. Inconsistency which is evident when printing tall and flat surfaces such as the side of a cube. Occasionally I will see a gap in between layers. Also on covering the base of something similar to a 2″ cube I see periodic lifting in some areas as it builds up solid layers.
I also notice that I get quite a bit of residual material build up at the start of the tool path once the extruder has travelled back to the start for the next layer. Do I need to play around with retraction settings?
I’ve been printing with a LH of 0.2mm m using a Flashforge Creator with 0.4mm extruder. I’ve tried 240c, 250c and 260c. I don’t have a problem with bottom layer adhesion once extruder clearance is good, printing onto either glass at 70c or onto Kapton tape at 70c. I’ve had more consistent results printing at 0.1mm LH with residual less mess but it’s still evident.
Sorry for the late reply Phil!
If you haven’t already, please send this question to support@colorfabb.com with some more details about your printer settings and possibly some pictures etc.
Thanks
I have been testing for a few days the new ColorFabb XT CF20 … I got very good results at the beginning but for 2 days the results are very different… at the beginning, the filament looked very strong but now it is acting more than pla… the only difference I see is hygrometry which increased from 20% to 40%… do you know if hygrometry has an impact on quality ? I would like also to know if you have a profile for makerbot replicator 2 or 2X? (makerware or simplify 3d) …. Thanks
Hi Frédéric!
The moisture has a negaitve influence on the print quality. You can put the spool in the oven for 20minutes @50°C to get rid of the water that is in there.
The settings for XT-CF20 are the same that you use for regular XT. Slower print gives more layer adhesion and so stronger parts.
I recommand the following settings for your replicator as a starting point:
LH 0,2mm
T 240 – 250°C
speed 30 – 40 mm/s
Blue painterstape and buildtak printing surface works great on a cold bed when the parts are not to big, If you have a heated bed you can use glue stick on a glass platte and around 60-70°C.
Happy printing 😀